Project Updates
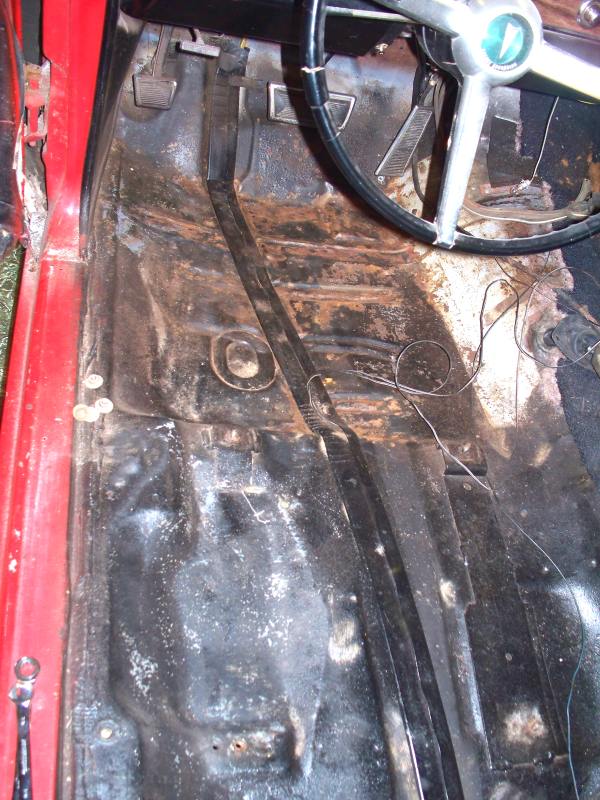
I pulled the carpet out to check the condition of the floor. I was very happy to see there were no problems. The picture looks far worse than the floor really is, this is mostly dirt appearing to be rust. A wire brush removed this junk immediately leaving a black coating (POR 15?) Removing the black coating left clean metal. After what I found in the trunk I didn't know if I would find a floor pan full of bondo.
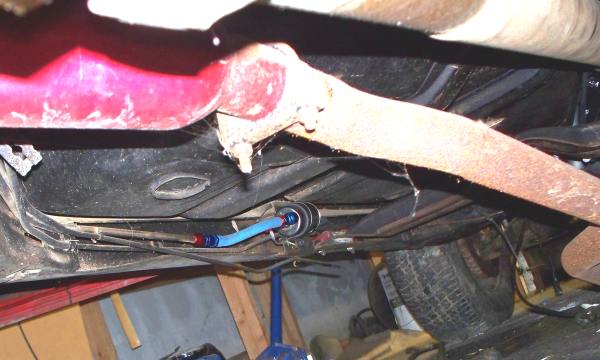
I also mounted the fuel pressure regulator. There was not enough clearance between the back of the gas tank the axel and the exhaust pipes to mount the regulator at the back of the tank. The regulator was also too large to fit inside the frame rail so I mounted it at a frame rail brace near the driver side door. The return line is 1/4" and should be larger but it appears to be impossible to install a new line with the body on the frame. I will use the 1/4" return line for the time being, in order to test the engine/trans before I start the body off restoration. Then it will be easy to run new fuel lines.
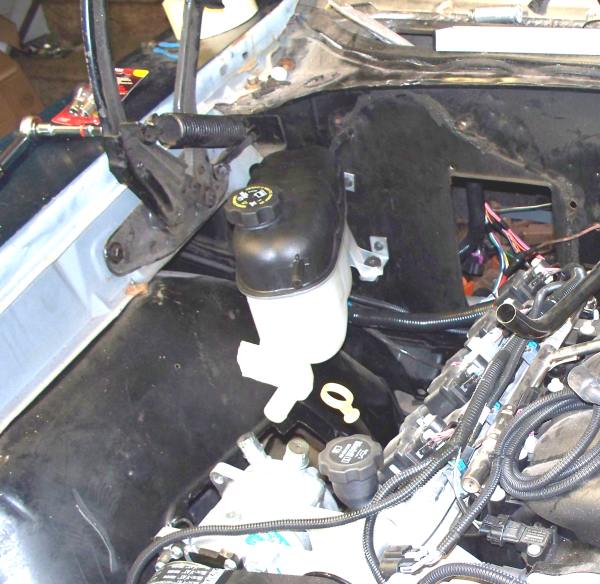
I also made the air intake. I ordered a summit cone style air filter with the same size specs as a K&N and got a K&N filter in white box with a summit part number. The tube size is 4".
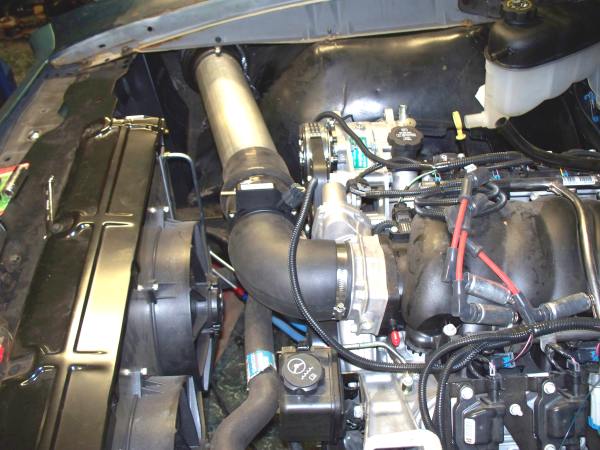
I mounted the surge tank. This tank was probably not the best choice. I didn't notice that the large inlet is 1" diameter and the steam inlet is 1/2" until I started to mount the tank. Since I had the tank too long to return it I just bought adapters to convert the 1/2" line to 1/4" and the 1" line to 5/8". One of the Corvette tanks probably would have worked better.
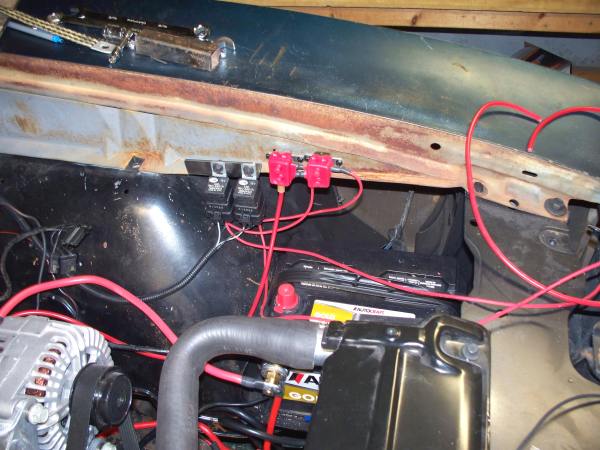
Wiring. After removing the unnecessary wires from the engine harness only a few wires remained. The starter wire, oil pressure, temp sensor, alternator light, brake light and 12V feed. The alternator llight wire is probably worthless, I think the computer gives you a check engine light and at the momement can't think of any way to make the gen light work. (Although I haven't tried very hard). It is necesary to make changes to the wiring so that the ECM is powered in both "RUN" and "CRANK" positions of the ignition switch. A quick bump of the ignition key engages the starter so electrically I'm ready to go as soon as everthing else is taken care of. I have also started the fan wiring. I have completed it except for running the wires to the fan. My connector kit had female termials when I needed male terminals so I waiting for replacements.
If all my parts, hoses, terminals etc arrive monday, I might be able to crank the engine next week.

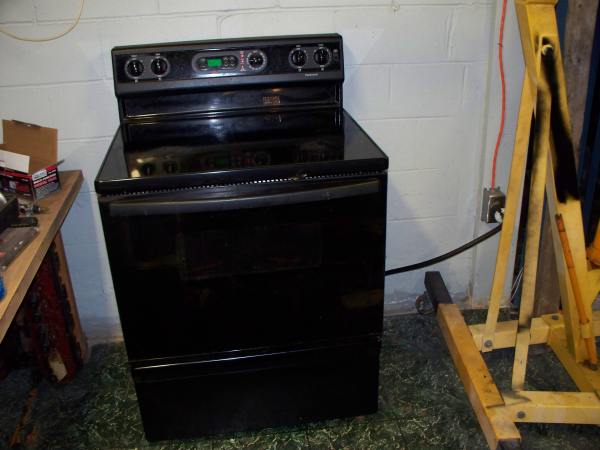
New shop equiptment. I got lucky and got a stove for free. My girl friends neighbor had put this out as trash. Now I have a oven to do powder coating. I have the Eastwood Powder Coating gun, just didn't have a oven to bake the parts in.