


| FAQ |
| Members List |
| Social Groups |
| Calendar |
| Search |
| Today's Posts |
|
#221
 08-06-2011, 11:58 PM
|
|||
|
|||
|
So How did it turn out?
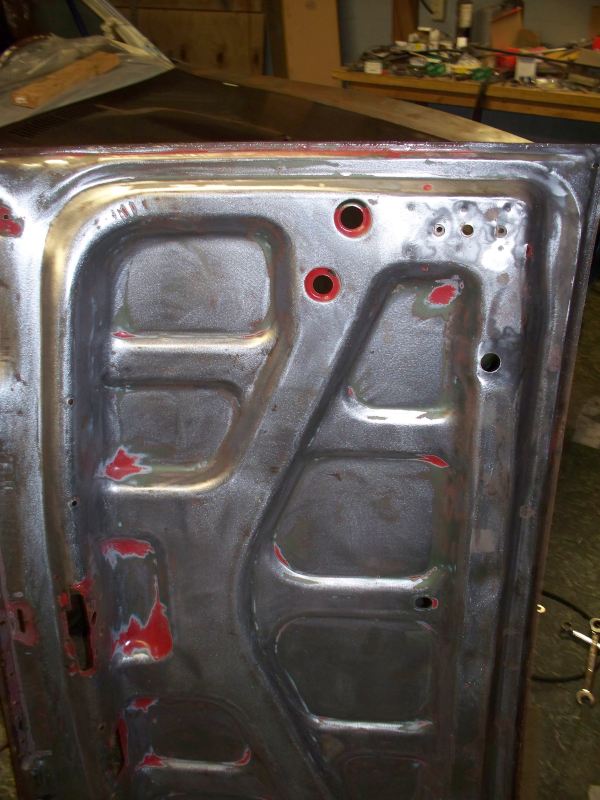
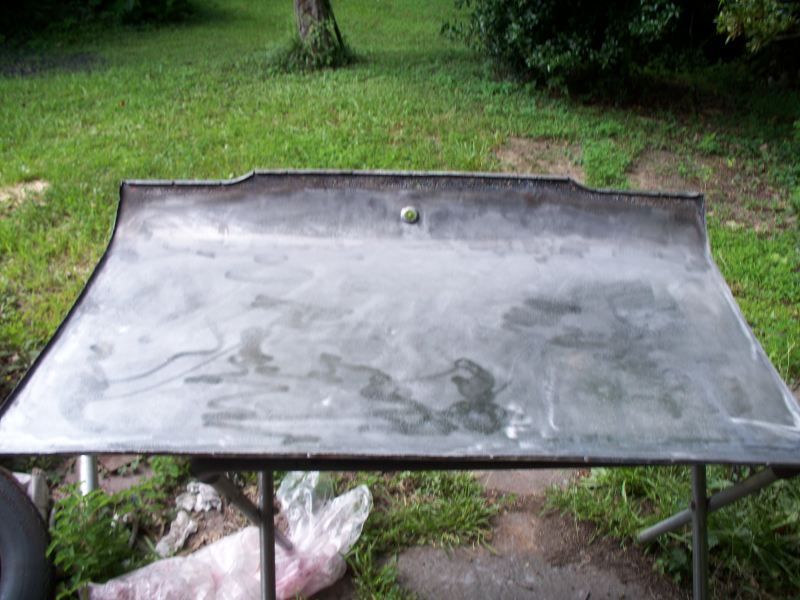
 Not to bad, the crater near the relief point is not nearly as bad as it appears in the picture. There is no need to metal work it since the whole area will require a light coat of filler. Still scratchy since this is 24 grit.  Now for the next major problem, the trunk lid. I have been looking on and off for about 2 years and the only trunk lids I find, are in far worse shape, that is they tended to be rusty. So I going to take a shot at repairing the lid I have. I don't have anything to loose, if my repair sucks I won't be any worse off than I am now. This is what I am starting with. 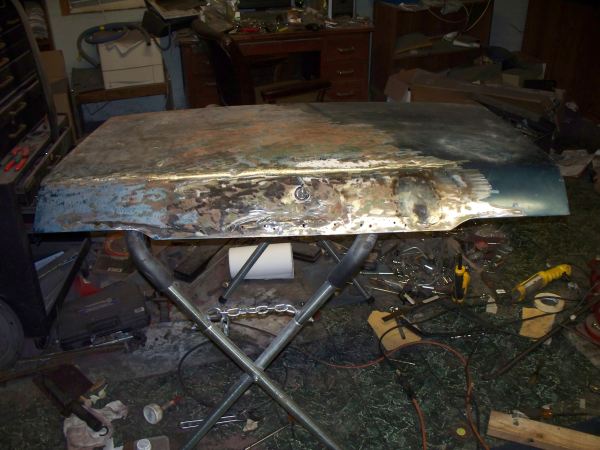 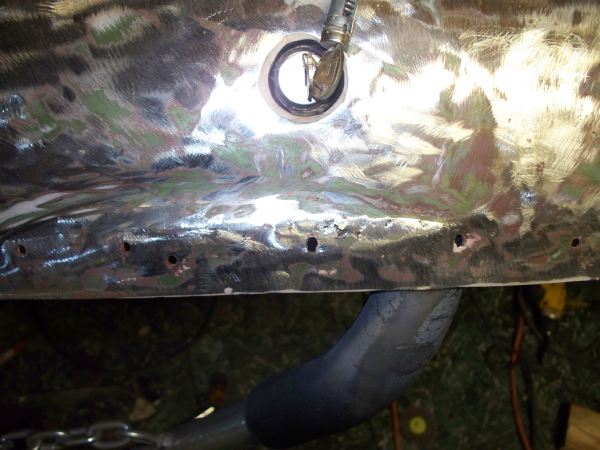 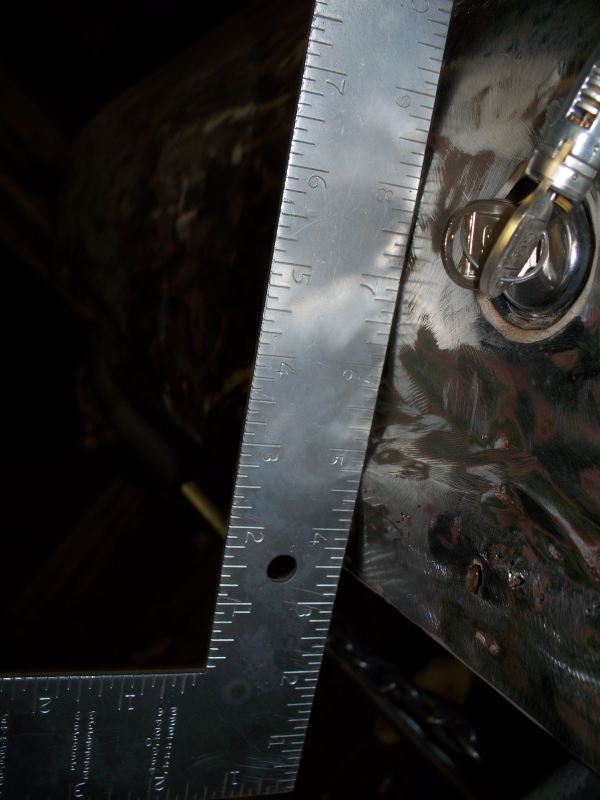 The under side looks good, no sign of rust. At least in the places I stripped. 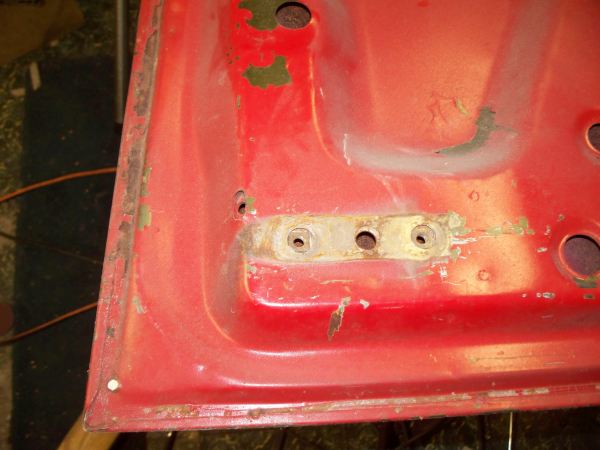 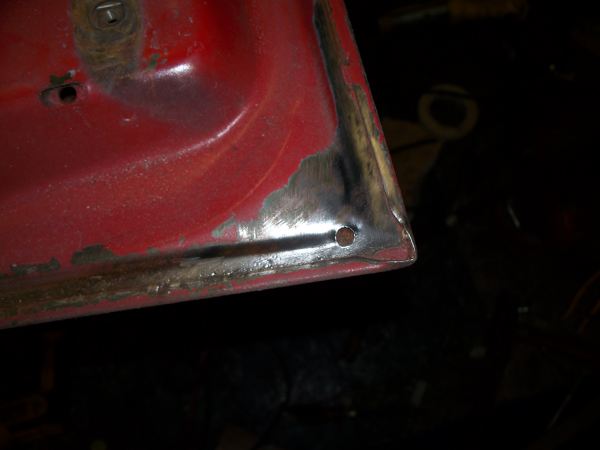 What I'm thinking about doing is to make a patch as show with the pink line. The metal is very thin and or rusting along where the Lemans letters are so a patch is required. The only thing to consider is how big to make the patch. My first though is to make it big enough to not only replace the thin metal but also replace most of the dented metal. This will be the largest patch I have attempted to date but it probably won't be to difficult since there are no complex shapes, only a light curve.  Parts came in Friday. I got vent window frames. These were done by The Parts Place, which is the only place I found that had re-chromed vent frames for sale.  This is bad my originals were 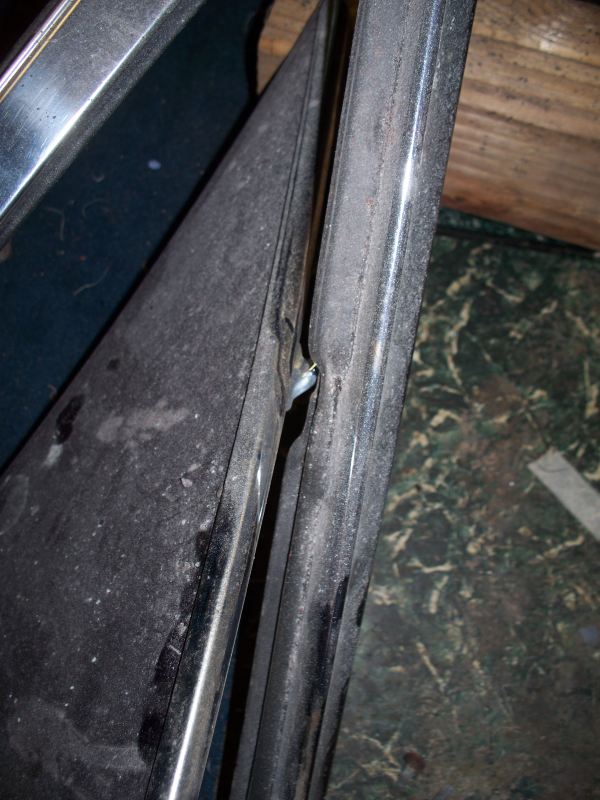
__________________
68 Lemans - GTO appearance LS3 68 Eldorado - waiting for restoration 96 Roadmaster Wagon 2014 Infiniti Q50S Hybrid Marietta GA |
|
#222
08-07-2011, 04:53 AM
|
||||
|
||||
|
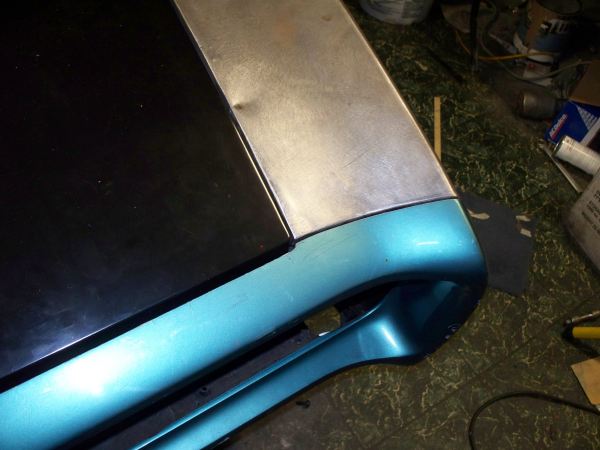
Fender came out really good. Can't see a thing wrong with it. The fact that it's tough to move is a good thing IMO.
As for the trunk lid, someone on here peeled the entire skin off a '68 or '69 trunk lid, did all the repairs/rust removal and re-installed it. Looked like a good way to deal with it. The way I looked at my car was that the worst I could do was screw it up....and it was already screwed up...at least I'd have a welder when I got done...lol
__________________
Greg Reid Palmetto, Georgia |
|
#223
08-07-2011, 11:12 AM
|
||||
|
||||
|
Nice work on the fender, it really looks great!
I got really lucky on the trunk lid- the one I ended up buying was expensive but it turned out to be just about perfect. After my experience with the fenders I had it crated and shipped regular freight. I thought about donating my original lid if it is still around since I remember it being in better shape than yours, even though the guys weren't successful in getting it really flat. But the 68 and 69 lids are different so its not a real option even if it is still kicking around at the shop. I saw one for sale this morning that looks like it might be good, don't know what the reserve is and there are a couple of guys after it already. And then you would have to pray that it makes the bus journey without incident... : http://cgi.ebay.com/ebaymotors/1968-...item2eb6d11325 Probably best to spend time on yours first to see what you can do. At least you are not paying by the hour to fix it.
__________________
1969 Lemans vert, matador red, 462 CI, 3.07 12-bolt posi 1974 455 TA, admiralty blue/red interior HPP "cover car" - sold "The best way to show a car is to drive it" |
|
#224
08-08-2011, 12:30 AM
|
|||
|
|||
|
Quote:
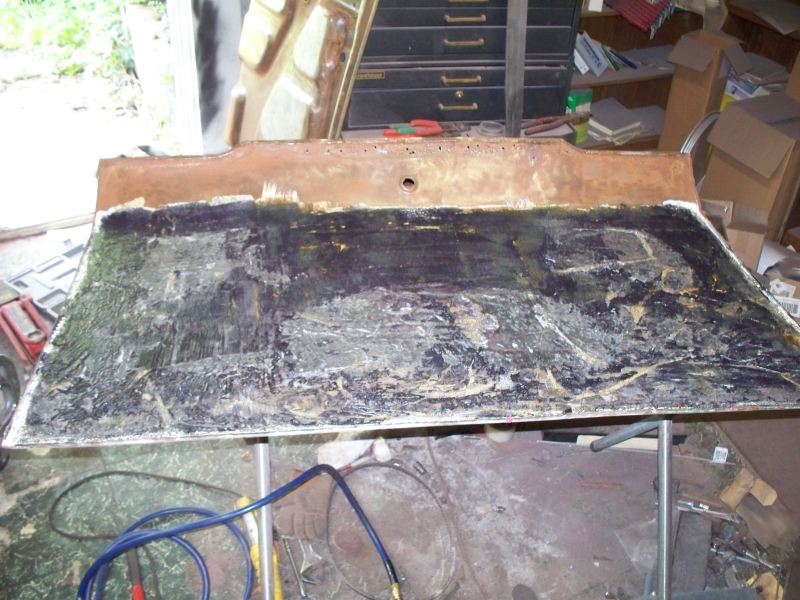
I stripped more of the paint from my trunk lid today. It looks a little better and I can tell better where the damage is. The major dent areas are outlined in pink. The green shows where the metal is very thin.  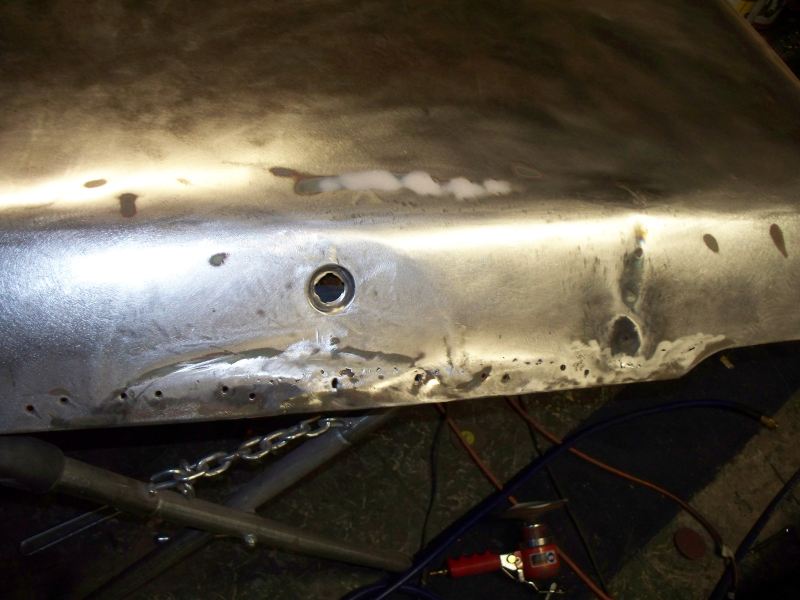 It looks like the skin will have to be removed. This are almost no holes in the frame and without access to the back it would be very difficult to get a good repair. The likely size of the patch would be the area shown in the pink line, with the other damage being repaired. This could change when I get the skin off and can examine the back side. 
__________________
68 Lemans - GTO appearance LS3 68 Eldorado - waiting for restoration 96 Roadmaster Wagon 2014 Infiniti Q50S Hybrid Marietta GA |
|
#225
08-09-2011, 01:01 AM
|
|||
|
|||
|
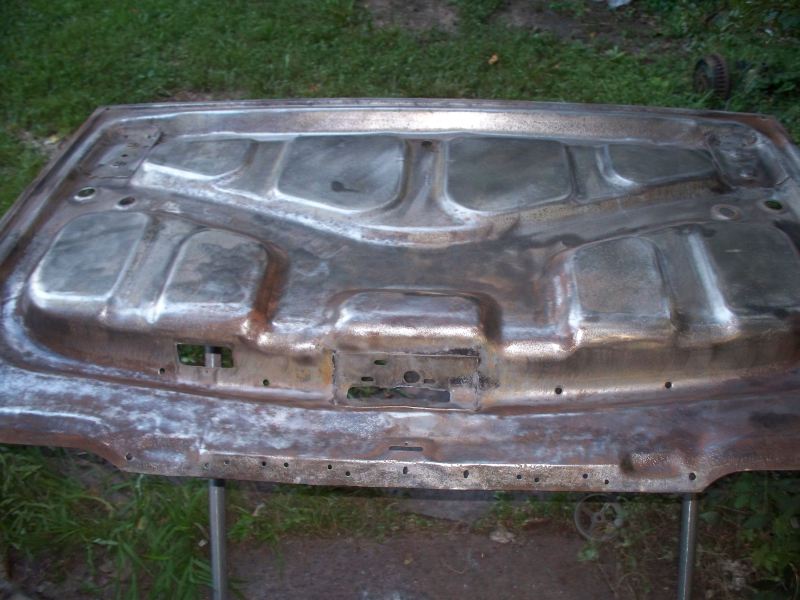
I got a late start tonight, didn't start till nearly 11PM but still managed to get the skin off.
Under side of support 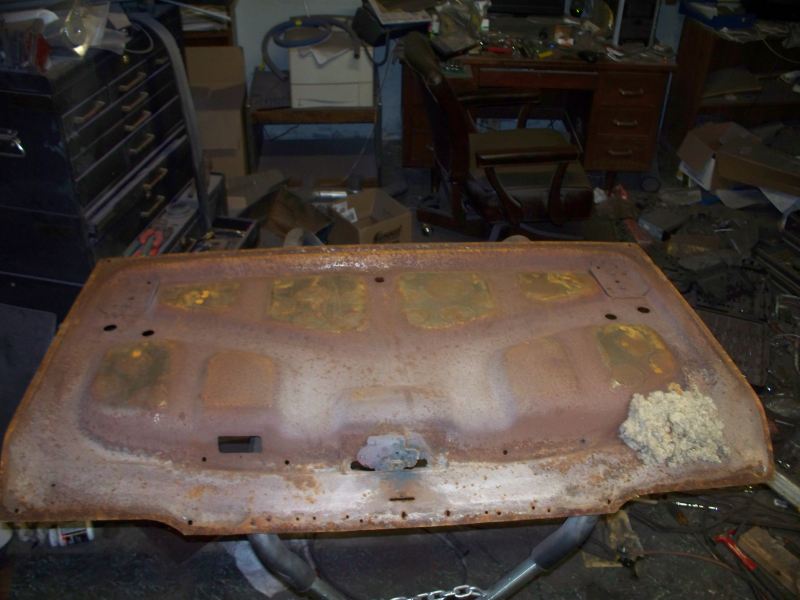 Unknown wad of something 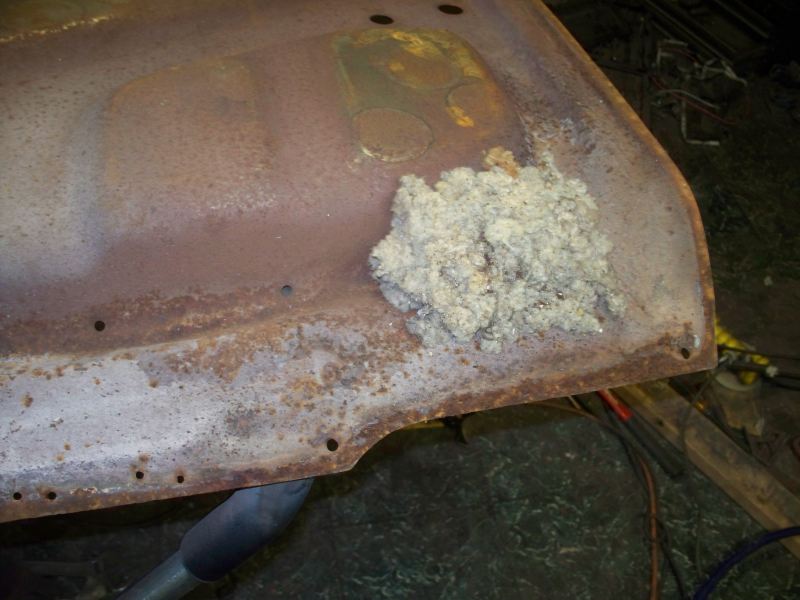 The skin side 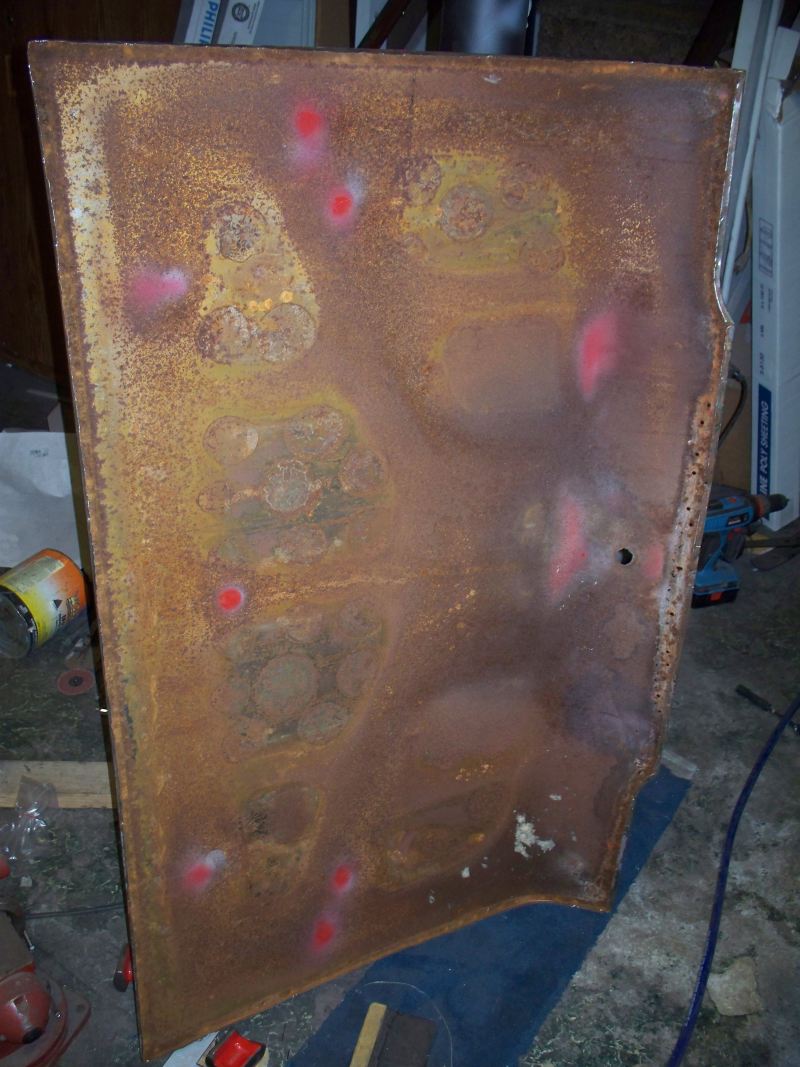 Looks like a couple of inches across the entire bottom of the skin needs replacement 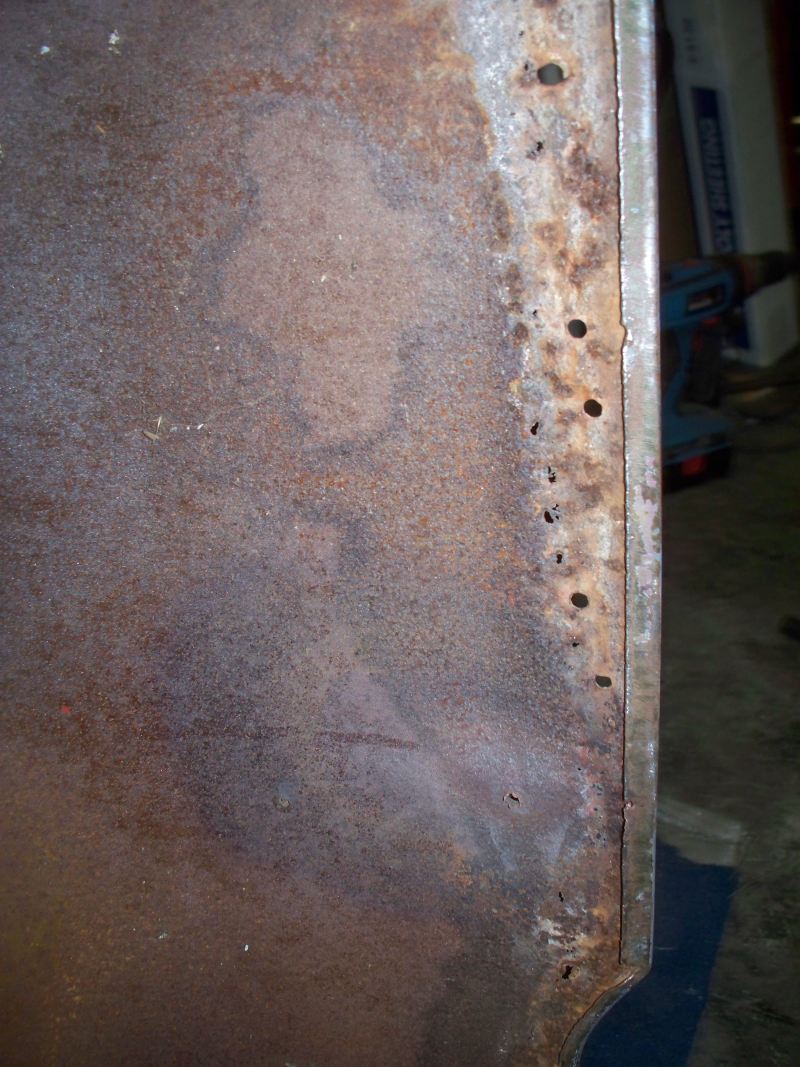
__________________
68 Lemans - GTO appearance LS3 68 Eldorado - waiting for restoration 96 Roadmaster Wagon 2014 Infiniti Q50S Hybrid Marietta GA |
|
#226
08-09-2011, 06:47 AM
|
||||
|
||||
|
That unknown wad is a mouse nest.
__________________
Greg Reid Palmetto, Georgia |
|
#227
08-09-2011, 09:20 AM
|
||||
|
||||
|
Hey fbrown, how difficult as it to skin the deck lid? my son & I have talked about doing that to his car. btw I enjoy your thead & keep up the good work
|
|
#228
08-09-2011, 11:58 AM
|
|||
|
|||
|
I recommend removing the skin as a last resort. The total labor involved will likely exceed 40 hours and could be quite a bit more depending on how much work you need to do. If there is a reproduction lid for your car or good used ones are available, I would consider replacement instead of repair.
To remove the skin. 1 - There were about 40 tiny welds holding the skin in place, for me most of these welds were very poor and were not holding. I drilled the balance out by center punching the middle of the spot and using a drill bit to remove the weld. A spot weld cutter would have been overkill and would have removed far more metal. These little spots were about 1/8" in size. 2 - Bend the folded lid up, I used a junk wood chisel and hammer to start lifting the edge. I continued the bend by using a claw hammer to grab the edge the chisel lifted and continue working around the lid. At some point the hammer becomes ineffective, so I returned to using the wood chisel pry the edge up, in a few places I used a 2x2 and hammer to beat on the edge. You should attempt to bend the edge as little as possible, since the fold has been work hardened. Bend it too much and it will break and you will be doing repair by welding the edge back together. 3 - There are tools that will bend the lip up for you. The tools range in the $80-$120 range. Considering that I don't have anything else on this project that would need such a tool, I elected not to purchase a tool. 4 - Plan on several hours to remove the skin. I gained practice from partially removed the skin on one of my doors. This made the skin removal faster since I had already developed some skills and tricks. 5 - Reinstalling the skin, for this I am going to buy some door skinning tool. The usually method without a door skinning tool is to use a hammer and dolly to bend the edge back. I was not able to get my door skin to clamp the door frame as tightly as the factory bend by using a dolly and hammer. One last thing, if you do remove the skin be sure you have completed anything you want to do before reinstalling the skin. It very unlikely you will be able to remove and replace the skin again without the folded edge breaking. There are many variations to remove door or trunk skins. Ask 6 different people and you will probably get 6 different answers and none of them will be wrong. Use whatever tools you have available that works for you.
__________________
68 Lemans - GTO appearance LS3 68 Eldorado - waiting for restoration 96 Roadmaster Wagon 2014 Infiniti Q50S Hybrid Marietta GA |
|
#229
08-09-2011, 06:32 PM
|
||||
|
||||
|
thanks fbrown, the deck lid is an extra one we have that is rusted but just a thought about giving it a try if its not a nightmare. but it will be awhile before we tackle it my son is in the army. so its on the back burner. but keep us updated on your build
thanks, Craig |
|
#230
08-09-2011, 10:33 PM
|
|||
|
|||
|
The trunk lid is now at the dull and boring stage. Removing all the rust is slow boring work. This would be where a sand blaster would be really good. I probably will need about a dozen rotary wheel wire brushes to complete the job. I pretty much destroyed the only wire brush I had left. This is about 3 hours of DA sanding followed by about 30 minutes of wire brush work. These surfaces will need to be treated with Naval Jelly to get rid of all the rust in the pits. It is still best to spend time with a wire wheel brush and remove as much rust as possible before using Naval Jelly. This will probably take four treatments of Naval Jelly, with each treatment taking a day.
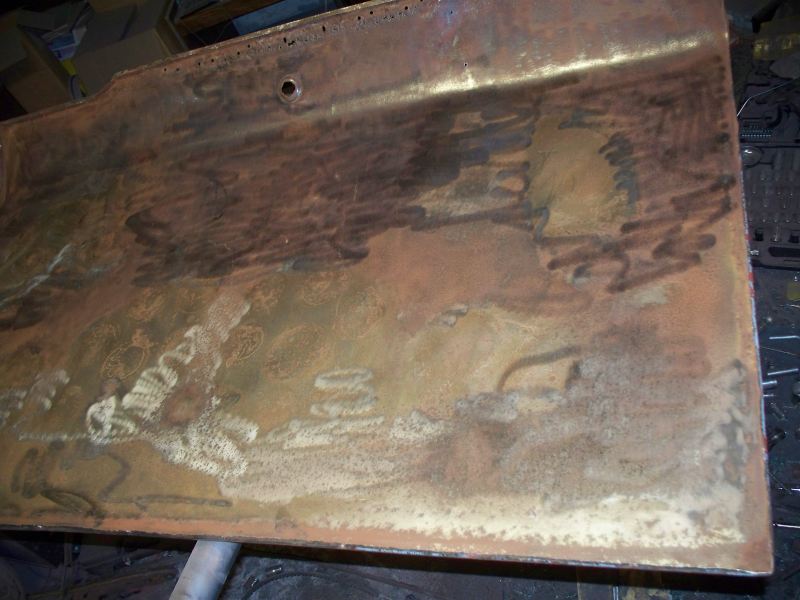 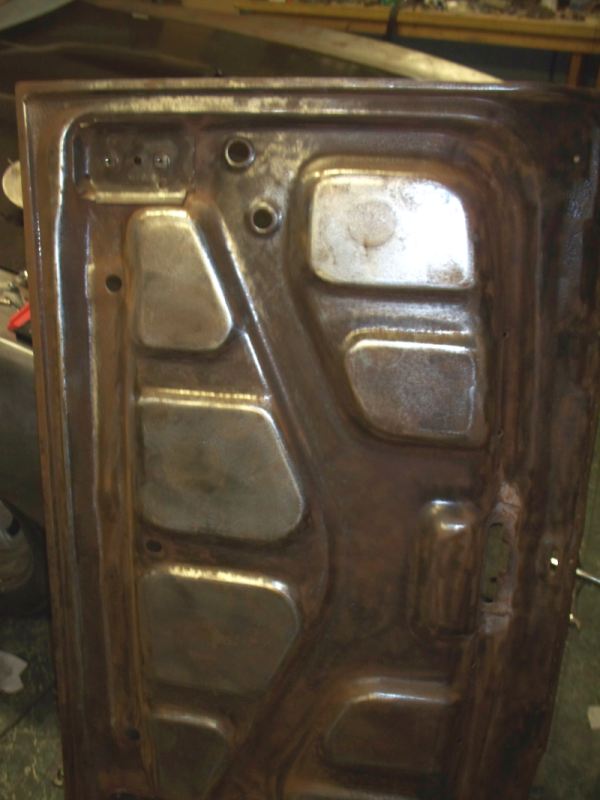  With the skin removed, 10 minutes of hammer and dolly work got the metal almost back in shape. The lock cylinder is now where it should be and not pushed in at the bottom. I will spend more time later getting it better after I finished with the rust removal. I just wanted to see it I thought it could be repaired. At this point it looks more like rust repair rather than collision work since I will cut out most of the damaged metal when making the patch panel 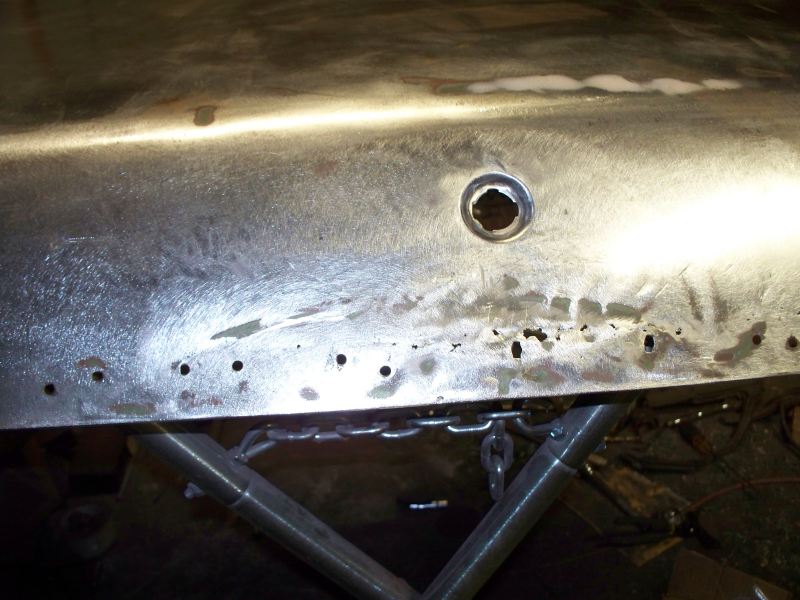 The entire bottom edge with require a patch. I plan to make the cut just under the lock cylinder. As you can see here the bottom is pretty bad. 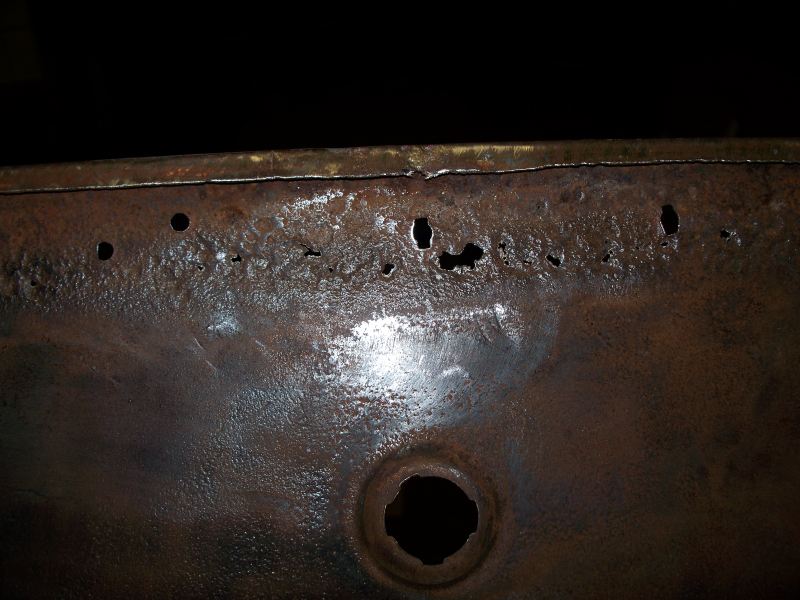 This is the patch I will need the make. 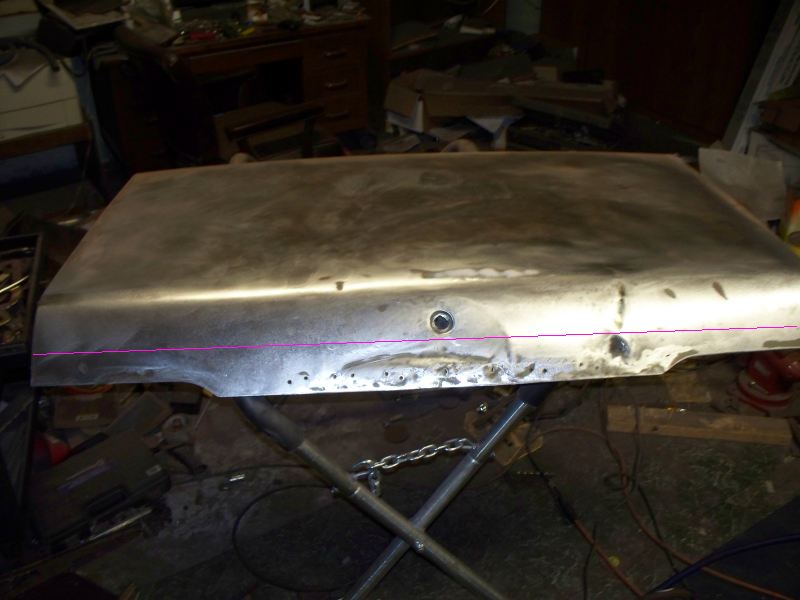
__________________
68 Lemans - GTO appearance LS3 68 Eldorado - waiting for restoration 96 Roadmaster Wagon 2014 Infiniti Q50S Hybrid Marietta GA |
|
#231
08-10-2011, 07:32 PM
|
||||
|
||||
|
I removed the skin from a 72 LeMans trunk lid. You are so right, it's a lot of work. I wasn't as patient as you and I bent up the skin in several places around the edge. It is a great way to be 100% sure you have all the rust removed though. On my lid, there was dum dum or black wads of sticky stuff placed around between the two panels. Most of it was hard and dried out. This is to keep the skin from popping up and down on the finished trunk lid. I couldn't tell if yours had it or not but I thought I would mention it anyway. If yours had it I would be sure to put it back in. It seems like the natural crown of the sheet metal would prevent the flexing but I guess GM felt it needed to be there.
Great post. Keep up the good work. Paul
__________________
I never met an old car that I didn't like. |
|
#232
08-10-2011, 11:45 PM
|
|||
|
|||
|
Quote:
Since some of you seem to be interested in the trunk lid restoration so I will post pictures as I go, but this really isn't very interesting stuff. Here you can see the rust removal by using a wire wheel. This isn't perfect since it doesn't get all of the rust out of the pits, but it's a good start.  Here is a close up showing the pits after using a wire brush. 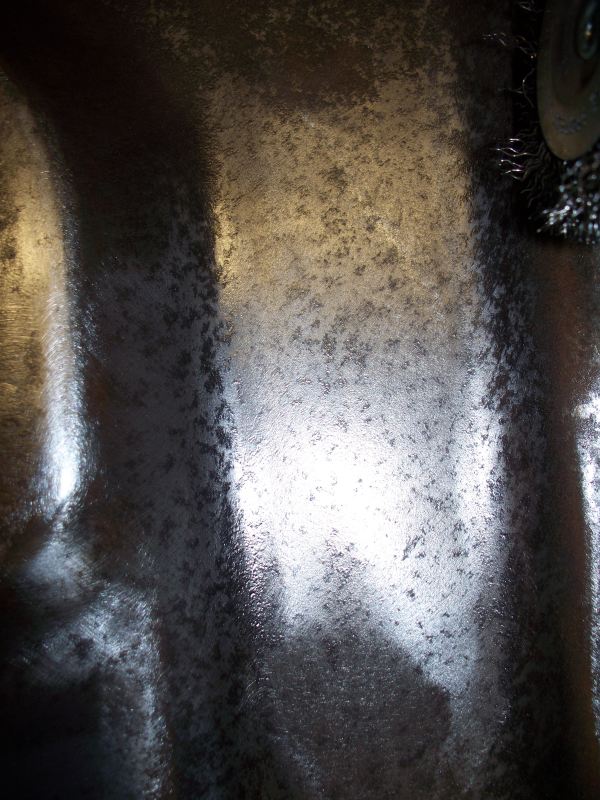 This is the under side of the skin. I did go over the entire panel with a wire rush, but the area near the lock cylinder hole just has more surface rust the the rest of the lid. I was only able to get a single wire brush on my way home so by the time I got to this area the brush was almost worn out. 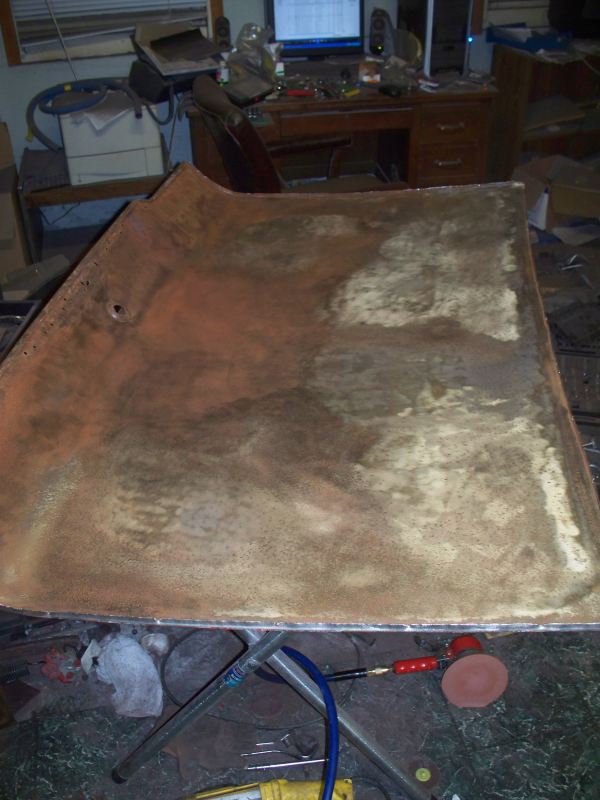 The goal is to get as much rust out of the pits as possible, since Naval Jelly works really slow. However since I'm out of wire brushes I decide to coat the surface with Naval Jelly and call it a night. 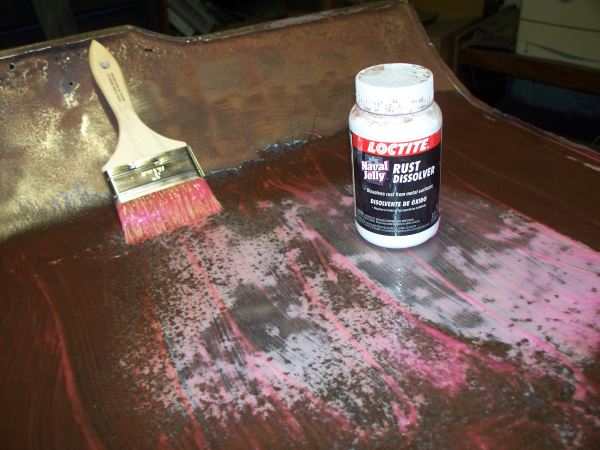 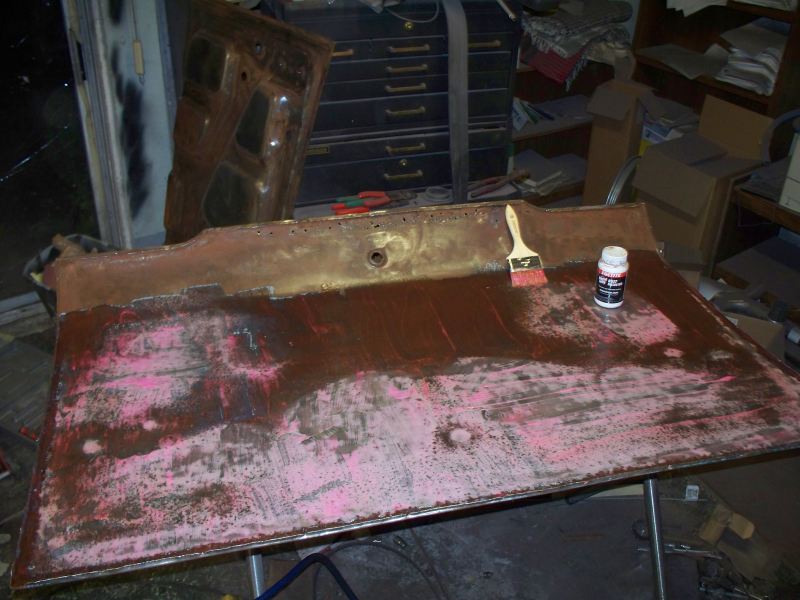 I then cover the lid with a sheet of plastic to help keep the Naval Jelly from drying out. 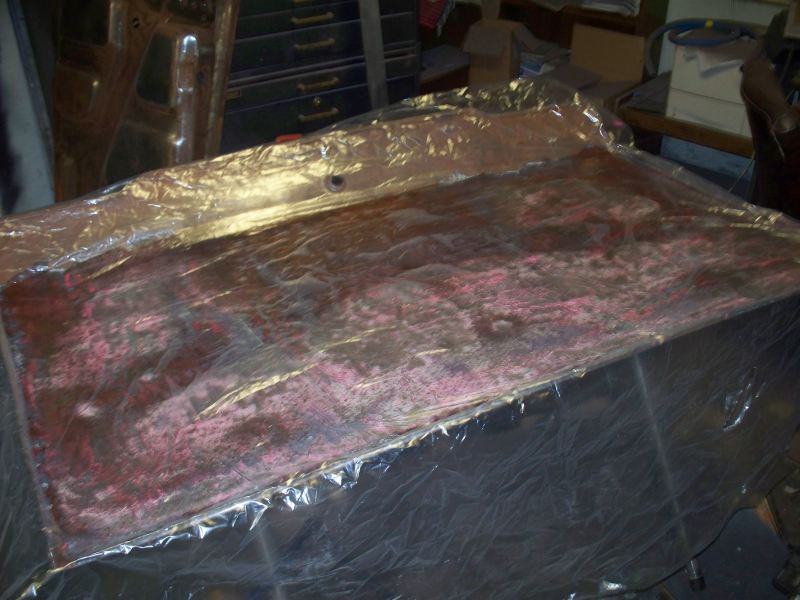
__________________
68 Lemans - GTO appearance LS3 68 Eldorado - waiting for restoration 96 Roadmaster Wagon 2014 Infiniti Q50S Hybrid Marietta GA |
|
#233
08-12-2011, 12:20 AM
|
|||
|
|||
|
This is what the Naval Jelly looked like the next morning. Looks really bad until you clean it.
 This is the result after scrubbing with a brush and washing it with a water hose. 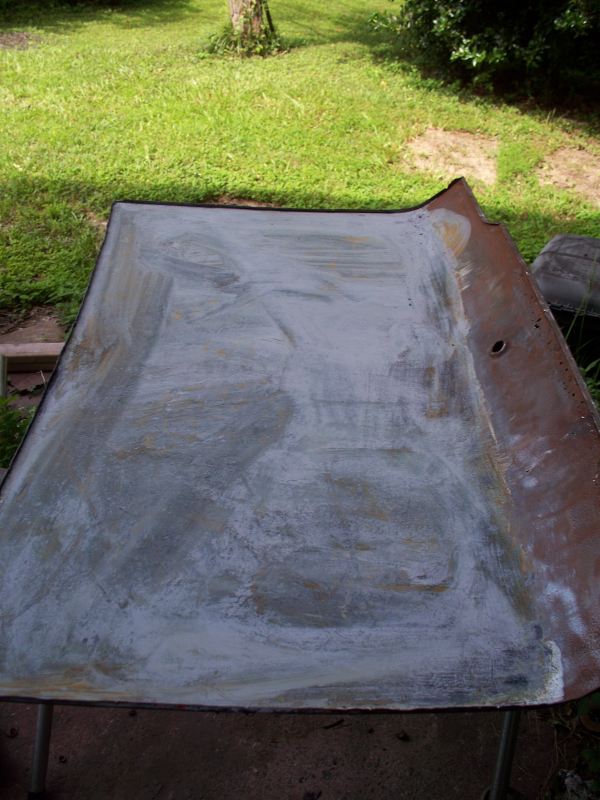 This is the result after going over the panel with a wire wheel brush. 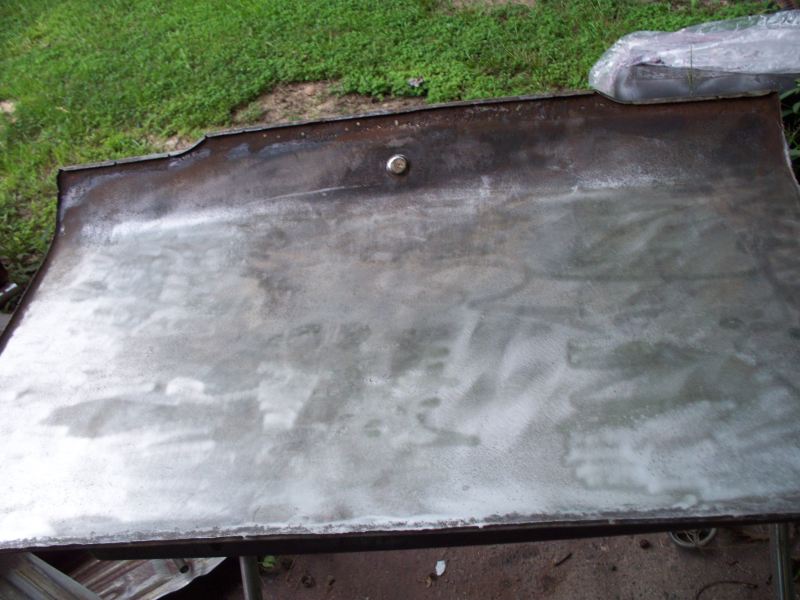 Close up of a couple of places. In this picture you can see that most of the rust in the pits has been dissolved. It still needs to be treated with Naval Jelly until all of the black is gone. 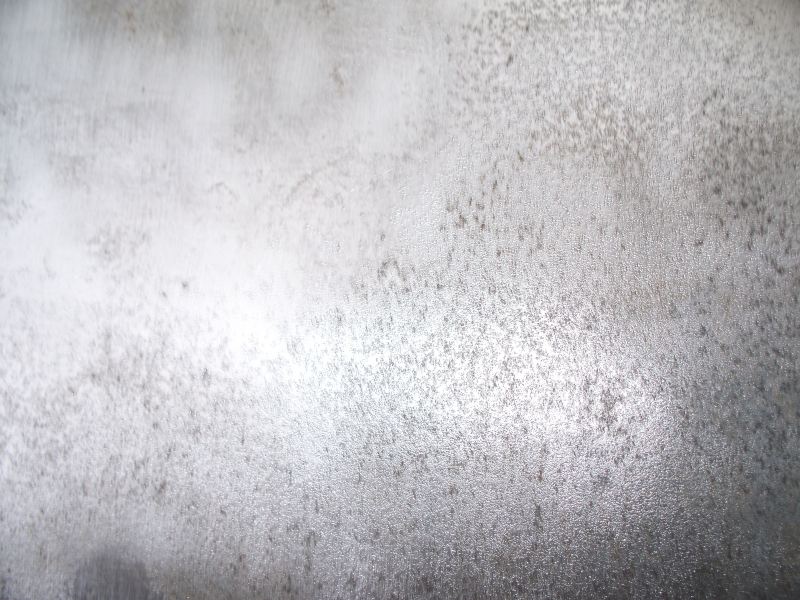 In the area near the lock cylinder opening there is still a good bit of rust, but it is coming off.  Already the rust around the edge of the lid where it folds over the frame has been greatly reduced. Several more treatments of Naval Jelly will be required to remove all of he rust from the pits.
__________________
68 Lemans - GTO appearance LS3 68 Eldorado - waiting for restoration 96 Roadmaster Wagon 2014 Infiniti Q50S Hybrid Marietta GA |
|
#234
08-12-2011, 02:40 AM
|
||||
|
||||
|
Looks like you are getting through it- lots of work involved! (I am glad I didn't have to pay the guys at the shop to go through all that.) Keep it up!
__________________
1969 Lemans vert, matador red, 462 CI, 3.07 12-bolt posi 1974 455 TA, admiralty blue/red interior HPP "cover car" - sold "The best way to show a car is to drive it" |
|
#235
08-13-2011, 12:43 PM
|
|||
|
|||
|
Quote:
A few things to consider. There are shops specializing in trunk lid restoration, the article I read showed a shop doing a similar repair to a Mopar trunk lid, I think the repair came to $1200 dollars. While I don't remember what model was being repaired it was one of the less common models like maybe a Duster, where repair or finding a good core is your only option. A shop will media blast the lid. This will greatly reduce the time to remove the rust. A shop will probably send the lid out for blasting and get it back a day later. I don't have the option of blasting so I use Naval Jelly, while this is effective, it is very slow. If you are planning to do this at home it will be very time consuming. For those of you with families it may take you several months of nights/weekends to complete the repair. I generally have 4 days per week to work on this, so I can spend time more time than most of you have. I'm not married or have a family so I don't have a lot of things competing for my time. Now on to progress pictures. 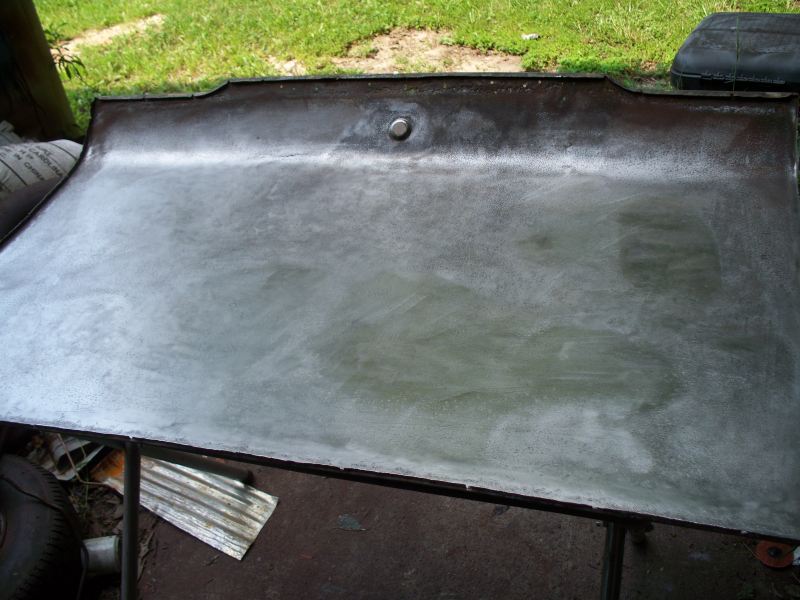 And the before picture. As you can see it has come a long way. The edge which was heavily rusted is cleaning up. 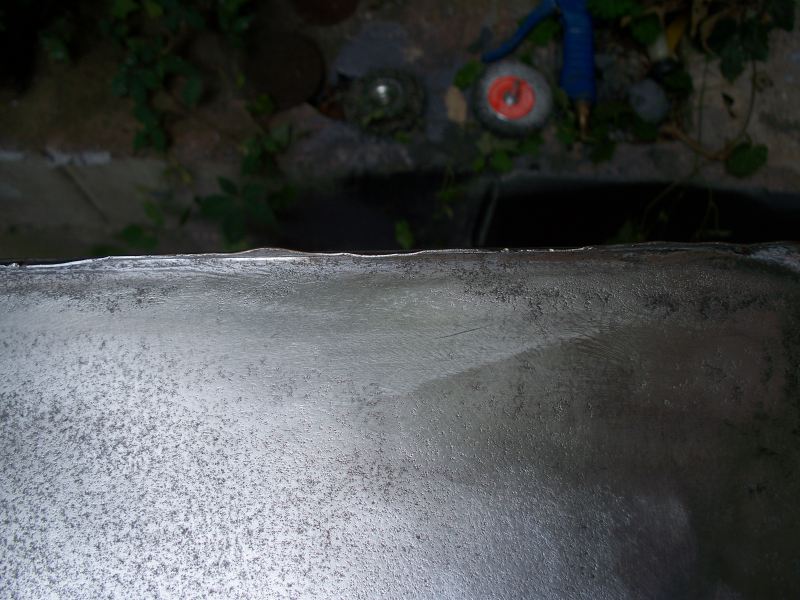 The area near the lock cylinder is getting better, but not good enough. 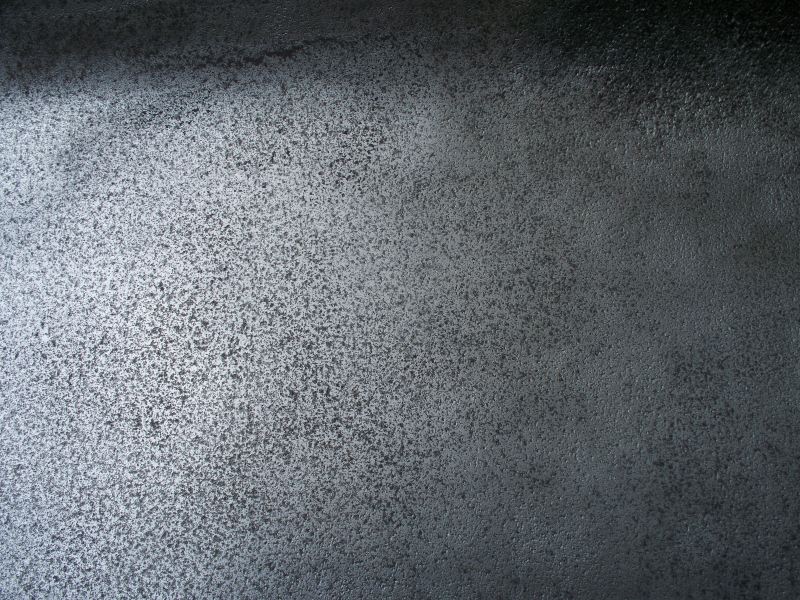 On to more rust treatments. All I'm trying to say is to carefully consider if repair makes sense. Restorations take long enough without getting bogged down repairing something that should be replaced.
__________________
68 Lemans - GTO appearance LS3 68 Eldorado - waiting for restoration 96 Roadmaster Wagon 2014 Infiniti Q50S Hybrid Marietta GA Last edited by fbrown; 08-13-2011 at 12:44 PM. Reason: Spelling |
|
#236
08-13-2011, 05:48 PM
|
|||
|
|||
|
This afternoon's effort yielded this:
Metal so shiny you can see clouds reflected in the trunk lid. 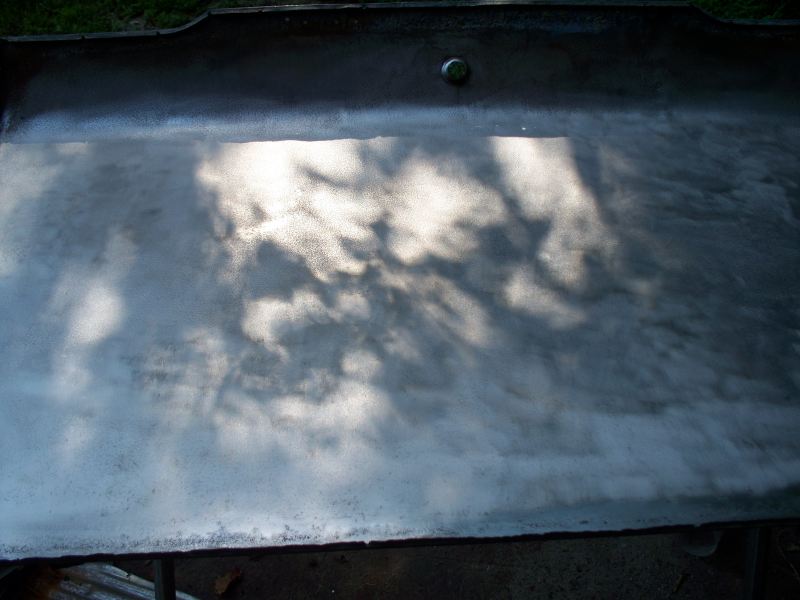 OK I dragged it under a tree so you can get a better look. 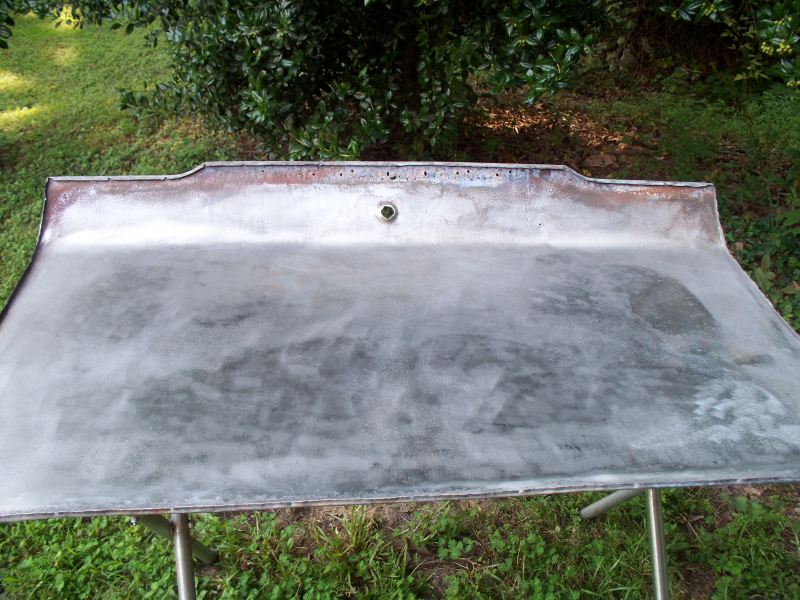 The area where the lids folds over the frame still needs a little work. The rust is totally removed along parts of the edge. 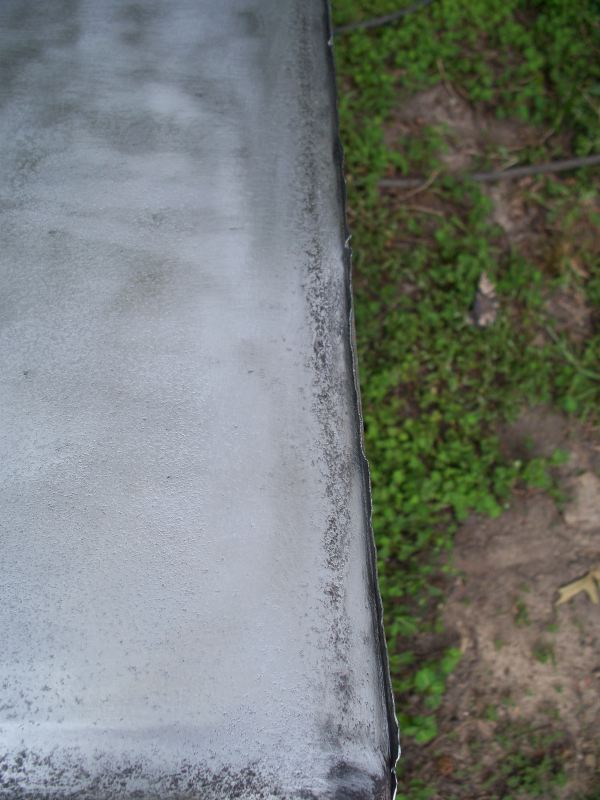 The area where the lid bends down to the bumper still needs some work. 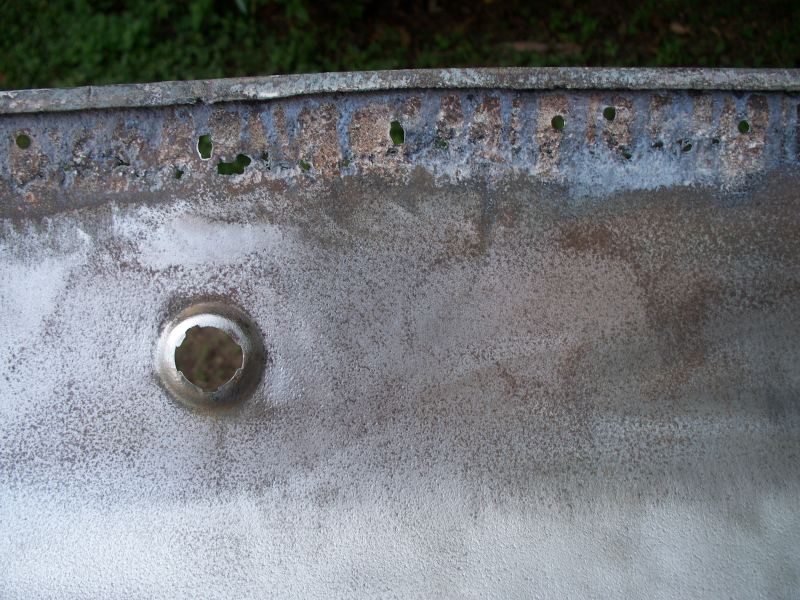
__________________
68 Lemans - GTO appearance LS3 68 Eldorado - waiting for restoration 96 Roadmaster Wagon 2014 Infiniti Q50S Hybrid Marietta GA |
|
#237
08-14-2011, 02:36 PM
|
|||
|
|||
|
The skin is nearly done, only a couple of small areas near the bottom corner that need more rust treatment. I didn't bother with the bottom edge since I will be cutting this out and replacing it.
 Only a small amount of rust remains in each bottom corner. 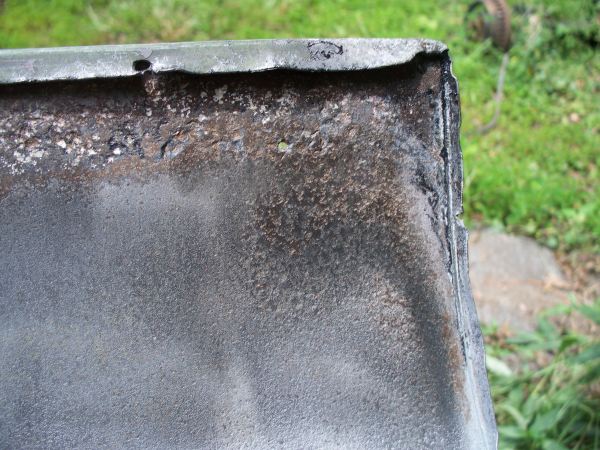  Now on to working on the trunk lid frame.
__________________
68 Lemans - GTO appearance LS3 68 Eldorado - waiting for restoration 96 Roadmaster Wagon 2014 Infiniti Q50S Hybrid Marietta GA |
|
#238
08-14-2011, 10:20 PM
|
|||
|
|||
|
This is the result of one Naval Jelly treatment, DA sanding and wire brushing. Some of the rust has come off but there is a lot more to be removed. Because of the sloped surfaces it may take a few more treatments to get the rust from the sloped area. I will be lucky if I can get all the rust out by Thursday.
__________________
68 Lemans - GTO appearance LS3 68 Eldorado - waiting for restoration 96 Roadmaster Wagon 2014 Infiniti Q50S Hybrid Marietta GA |
|
#239
08-16-2011, 11:58 PM
|
|||
|
|||
|
I don't know if this is getting too boring with the rust removal pictures, I'll keep them coming if anyone is interested.
I did complete the de-rusting of the skin today  The lower corners were the problem areas. The lower corners were the problem areas.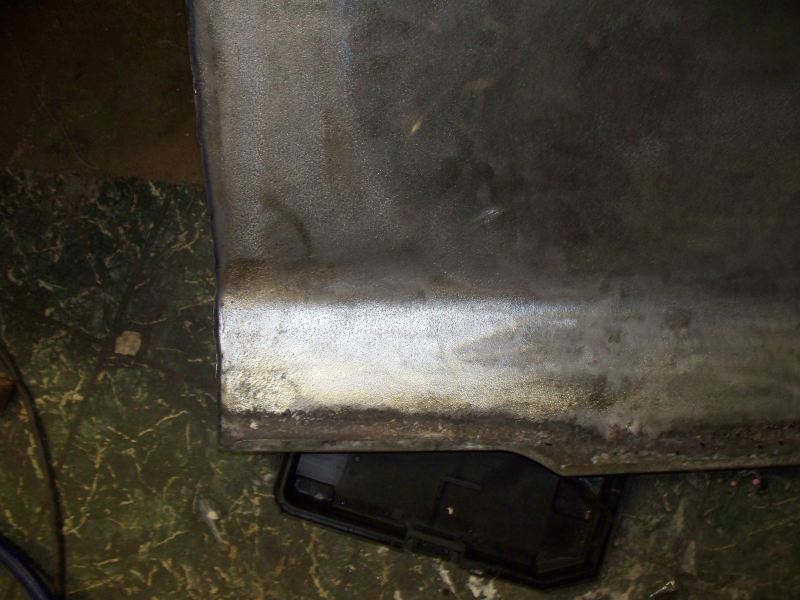 Overall shot of the skin, the yellow was caused by the flash, the stool in the background has white letters but they also appear yellow. 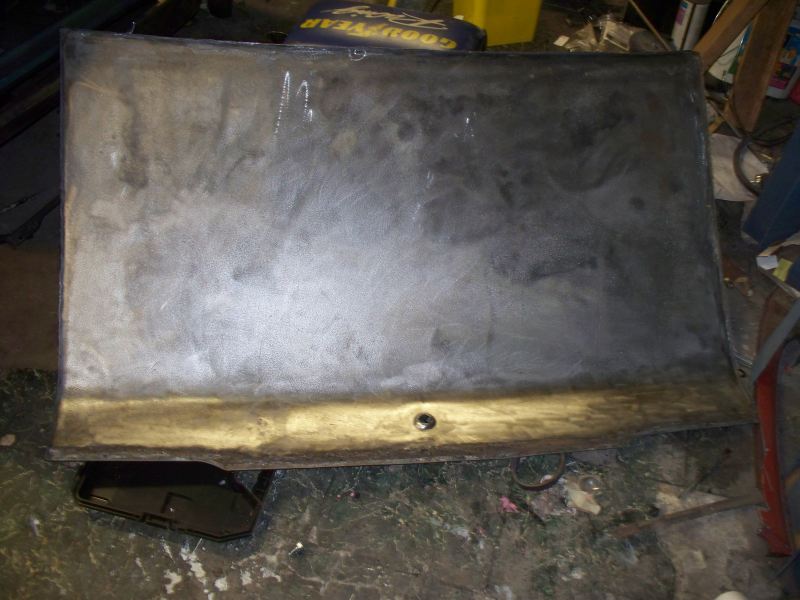 As I expected the frame is slow going. I'm making progress but it sure is slow. Most of the rust is out but there is still a lot to come out. Some of the pits are deep. 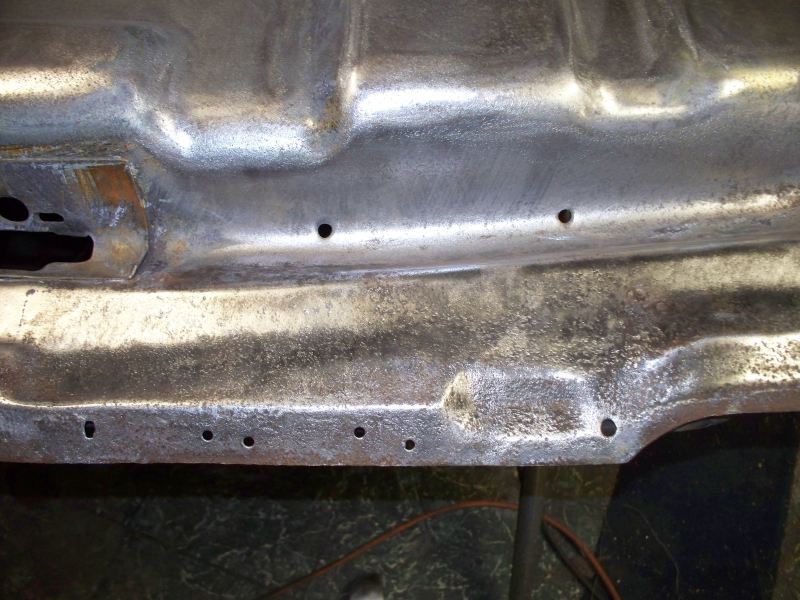 This is a overall view, I called it a night before DA'ing and wire wheeling the entire surface. Every treatment of Naval Jelly dissolves some of the rust and weakens the bond of the rust in the pits. It then requires a session of DA'ing and wire wheeling to get the loosened rust out of the pits to prepare for the next treatment of Naval Jelly. 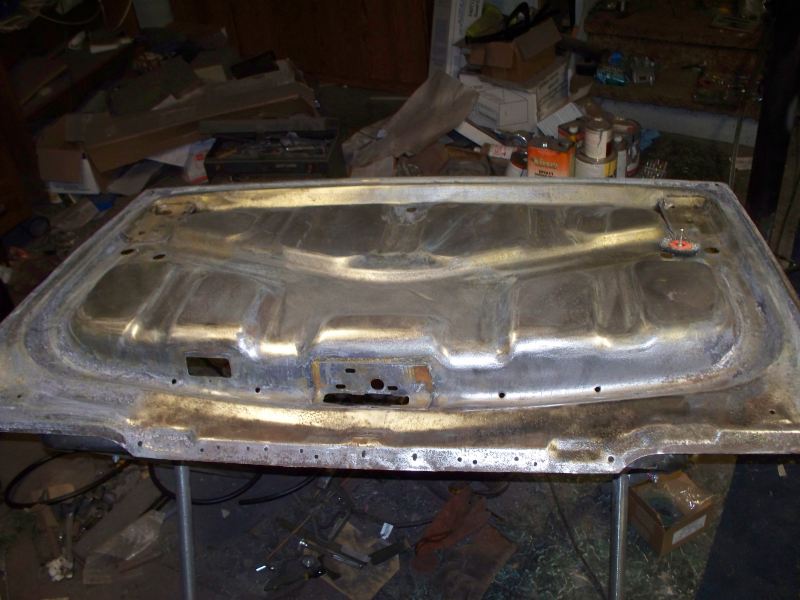 In cleaning the parts of my vent frames I decided that the vent window chrome was not good enough. It's not that it's all that bad, it's just not great. So I ordered re-chromed frames today. From 6 feet away you probably couldn't see the defects, but after all the time and money I have in the project I don't want any flaws. If you look closely you can see some pitting where the frame over hangs the desk. 
__________________
68 Lemans - GTO appearance LS3 68 Eldorado - waiting for restoration 96 Roadmaster Wagon 2014 Infiniti Q50S Hybrid Marietta GA |
|
#240
08-17-2011, 10:24 AM
|
||||
|
||||
|
hey fbrown, I think you should of bought stock in Naval Jelly before you started this project lol. but cant speak for everyone but I'm enjoying this thread keep posting pics so i have references when i start mine

|
| Reply |
|
|
The PY Online Forums is the largest online gathering of Pontiac enthusiasts anywhere in the world. Founded in 1991, it was also the first online forum for people to gather and talk about their Pontiacs. Since then, it has become the mecca of Pontiac technical data and knowledge that no other place can surpass.


 Linear Mode

