| FAQ |
| Members List |
| Social Groups |
| Calendar |
| Search |
| Today's Posts |
|
#1061
|
||||
|
||||
|
It's going to be the nicest F-body Pontiac in existence
|
|
#1062
|
||||
|
||||
|
Quote:
He'll drive it, do a big burnout for us too - right Bob? (Right after judging at MCACN)
__________________
Some guys they just give up living And start dying little by little, piece by piece, Some guys come home from work and wash up, And go racin' in the street. Bruce Springsteen - Racing In The Street - 1978 |
|
#1063
|
||||
|
||||
|
Dave does the burn outs while I man the camera and provide commentary. I promise a burn out, but it will be after TA Nats and MCACN....I can't wait.
A lot has gotten done the past few days by me and MPD. It's almost time to swing the engine off the stand, hook up the tranny and swing it into the subframe. I'm excited to get this part finished and move onto the next subgroup on the list. The front suspension and steering parts are all finished and now installed. I elected to not paint most components and used Rust Prevention Magic ("RPM") on the bare steel instead. It doesn't' took as perfect as painting everything, but I think it looks more correct and is certainly more durable. I did a test strip of metal with RPM 14 months ago and it has been outside the Hot Rod Garage since then weathering. A picture is below. The parts I have done since then have been prepped and coated even better. Lastly, the wheels are now done and ready for rubber. Hopefully next weekend the wheels will get mounted and the engine/Trans assembly installed. Here's a few pictures. 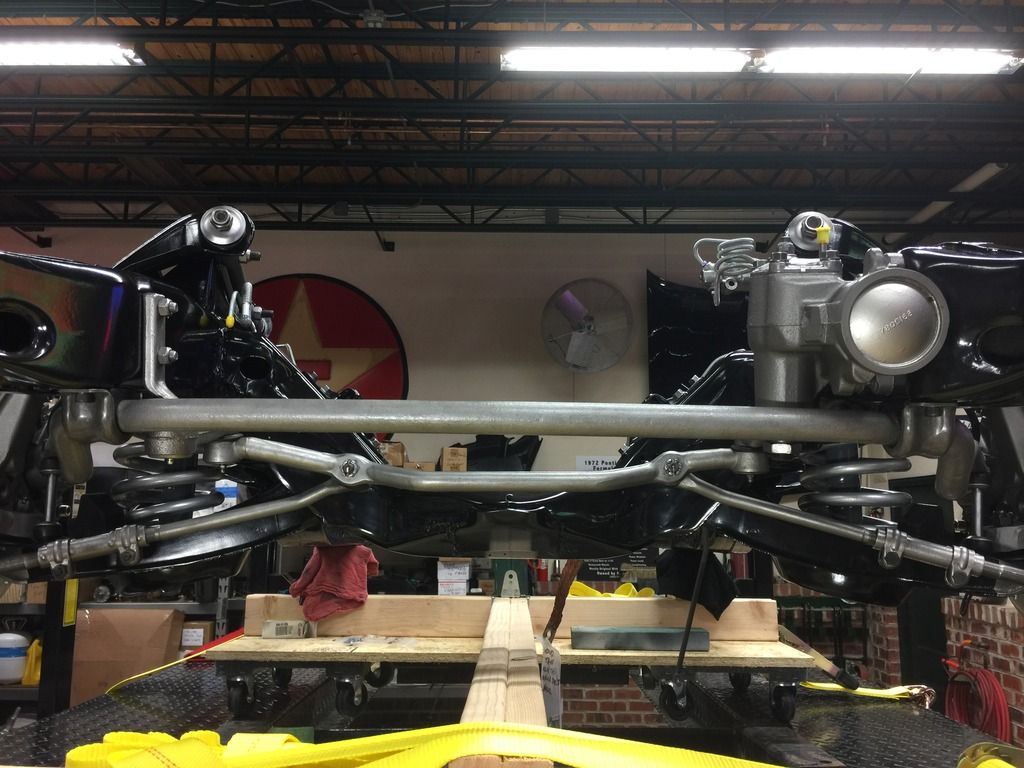 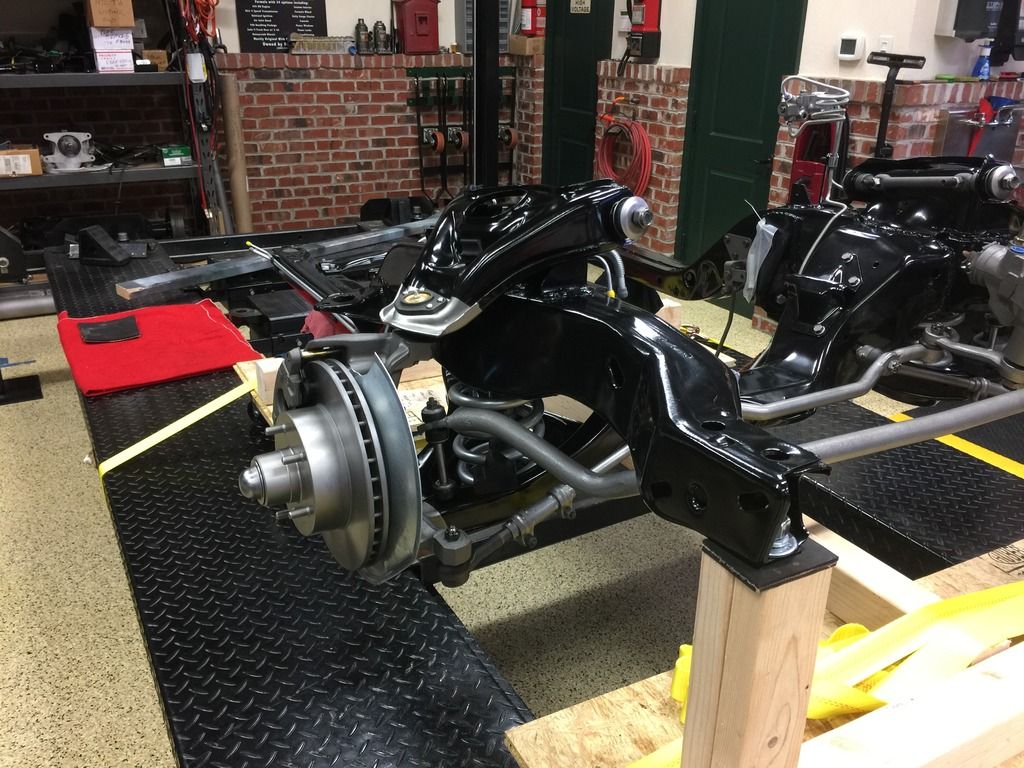 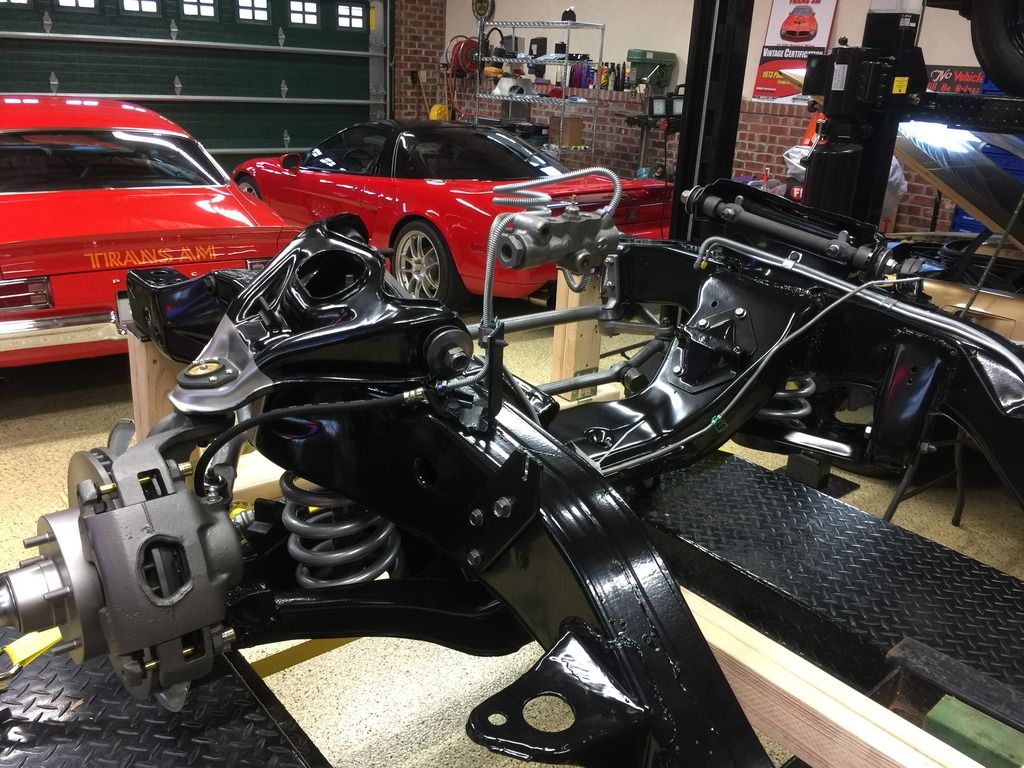 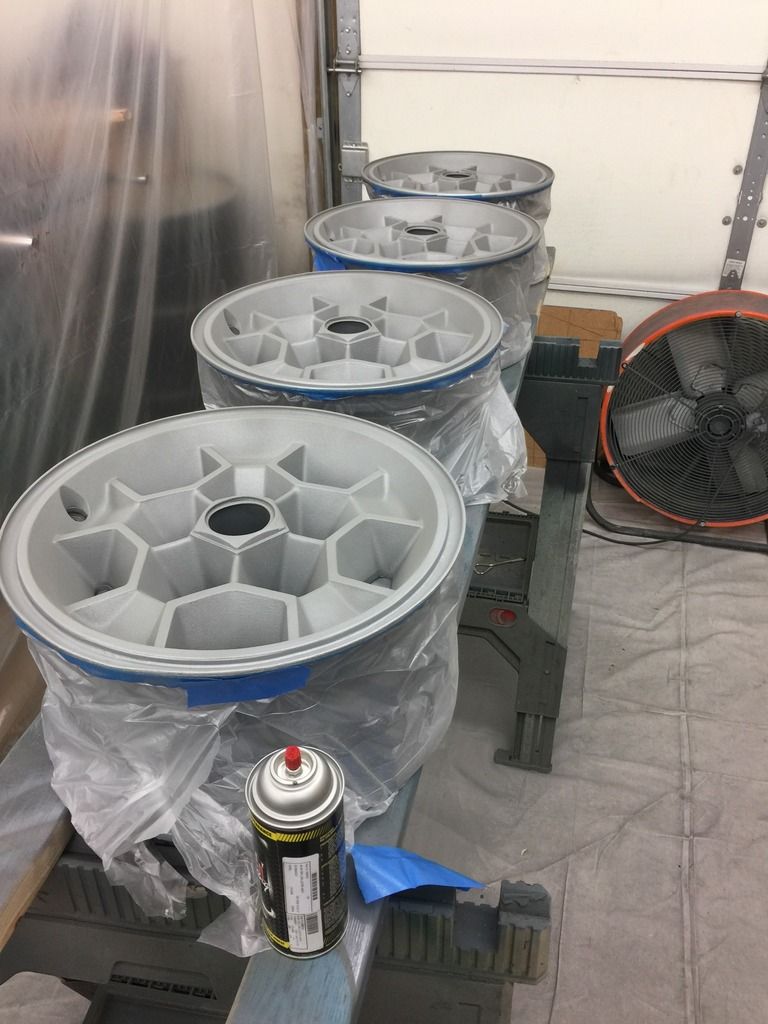 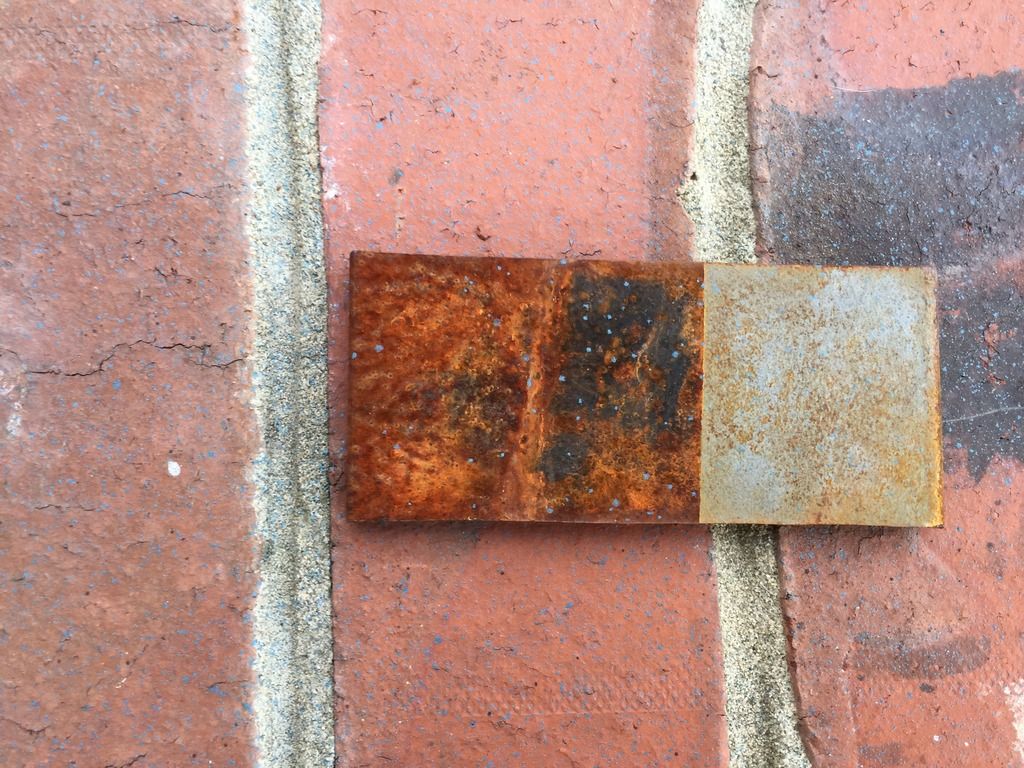
|
|
#1064
|
||||
|
||||
|
Looking good Bob, cant wait to see the finished car.
|
|
#1065
|
||||
|
||||
|
Bob, looks good. You and Dave really out do yourselves. Can't wait to see more progress pics and the final assembled car.
__________________
1973 Formula 400 4 spd 04C build date Norwood assembly plant. |
|
#1066
|
||||
|
||||
|
Simply Outstanding
|
|
#1067
|
||||
|
||||
|
Real nice Bob

|
|
#1068
|
||||
|
||||
|
Porn!
__________________
Some guys they just give up living And start dying little by little, piece by piece, Some guys come home from work and wash up, And go racin' in the street. Bruce Springsteen - Racing In The Street - 1978 |
|
#1069
|
||||
|
||||
|
Well, a little got done today. I sorted a bunch of parts and started making lists, but on the more productive side the engine harness has been installed and distributor and wires are in place. Also, the starter got fit so we could check all the wire connections and lengths. Everything worked out well, but it was pretty tedious getting everything routed in the proper way.
One issue is the old harness from the Black Car had a piece which clipped into the AC compressor plug which mounts on the upper AC bracket. The new harness did not have this piece included and we probably spent an hour getting it extracted from the old harness. We actually had to destroy the female harness piece to get the male plug removed. Their were double trips and none were accessible. Does anyone know what this piece does? It is pictured below. 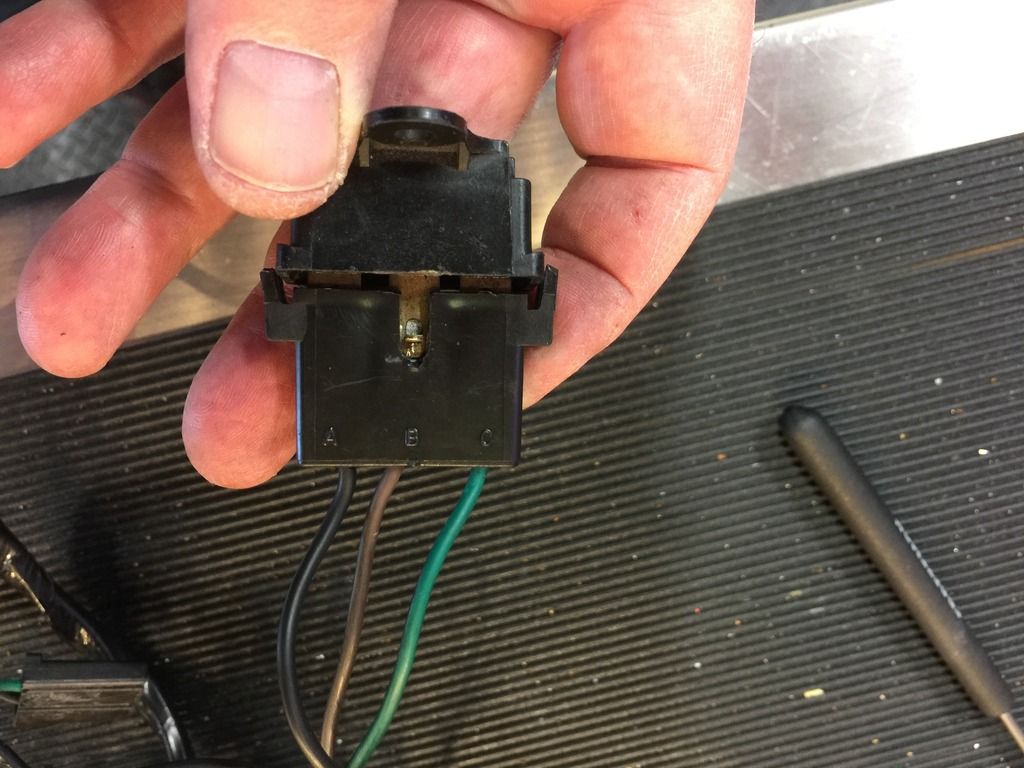 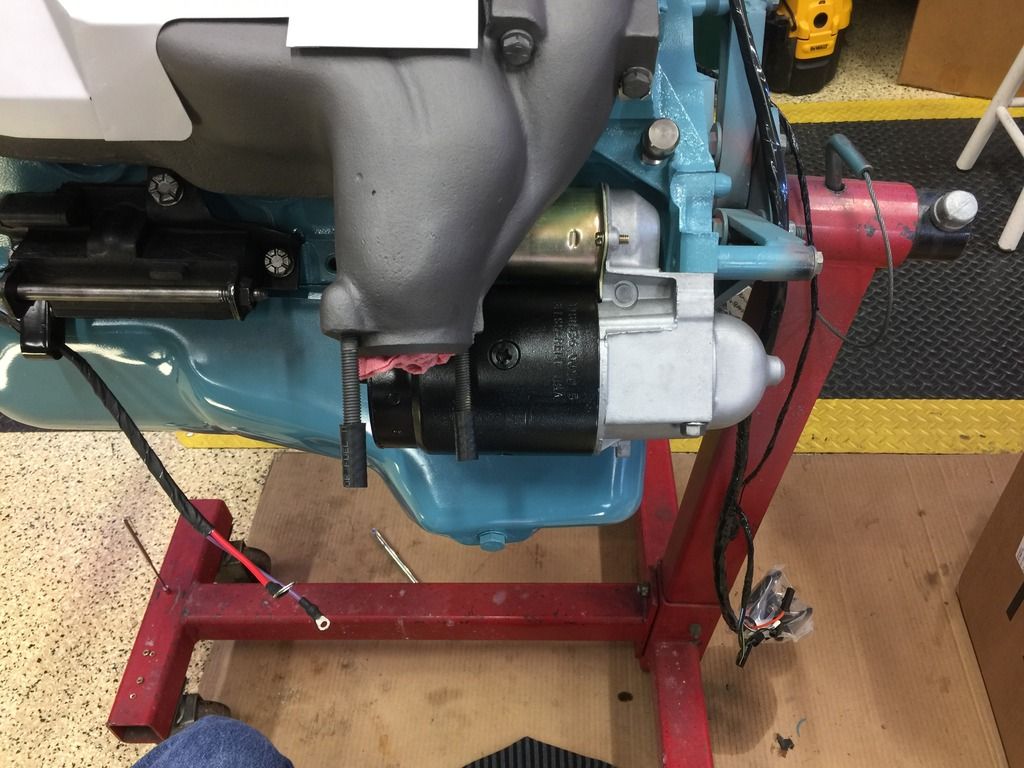 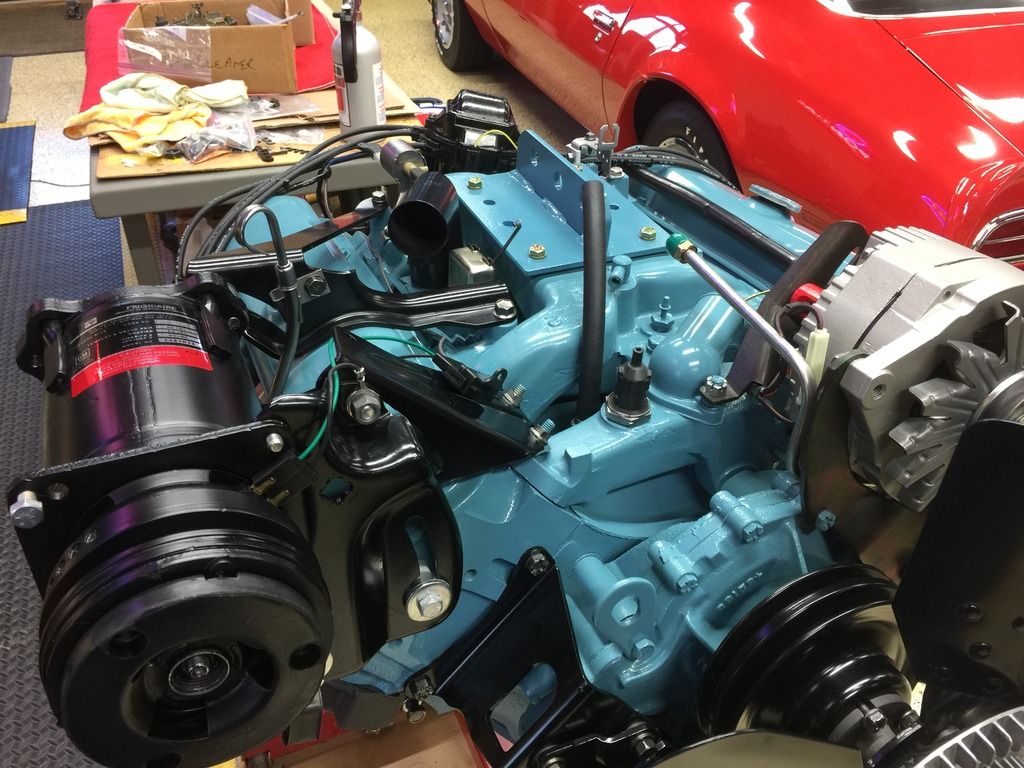 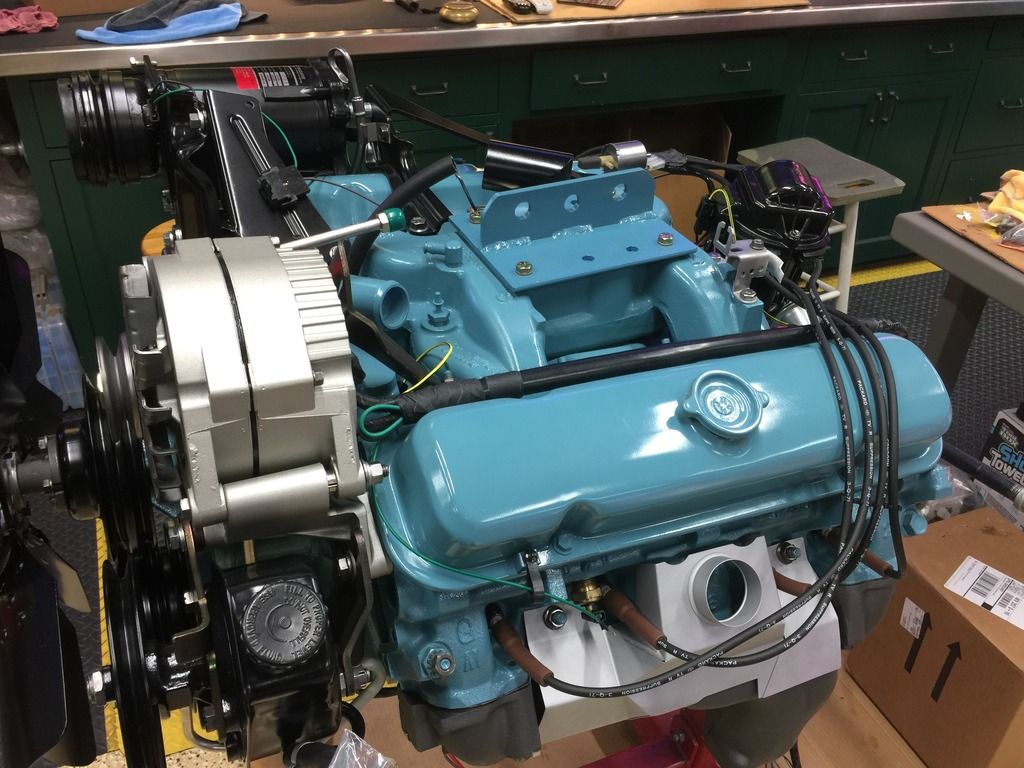 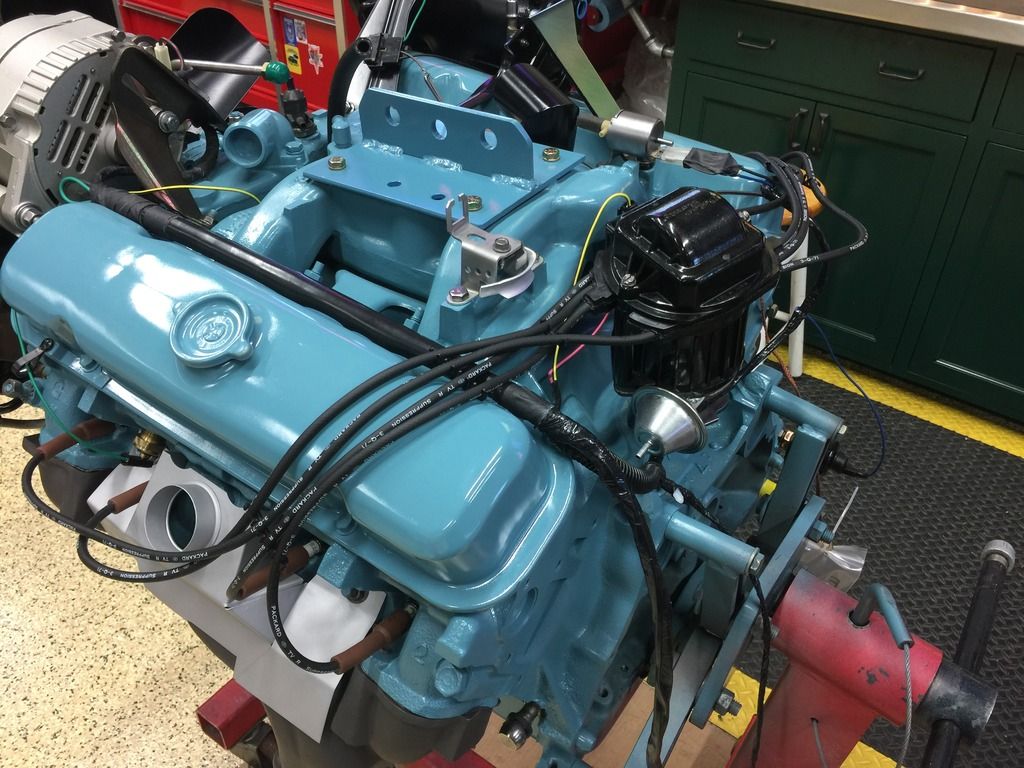 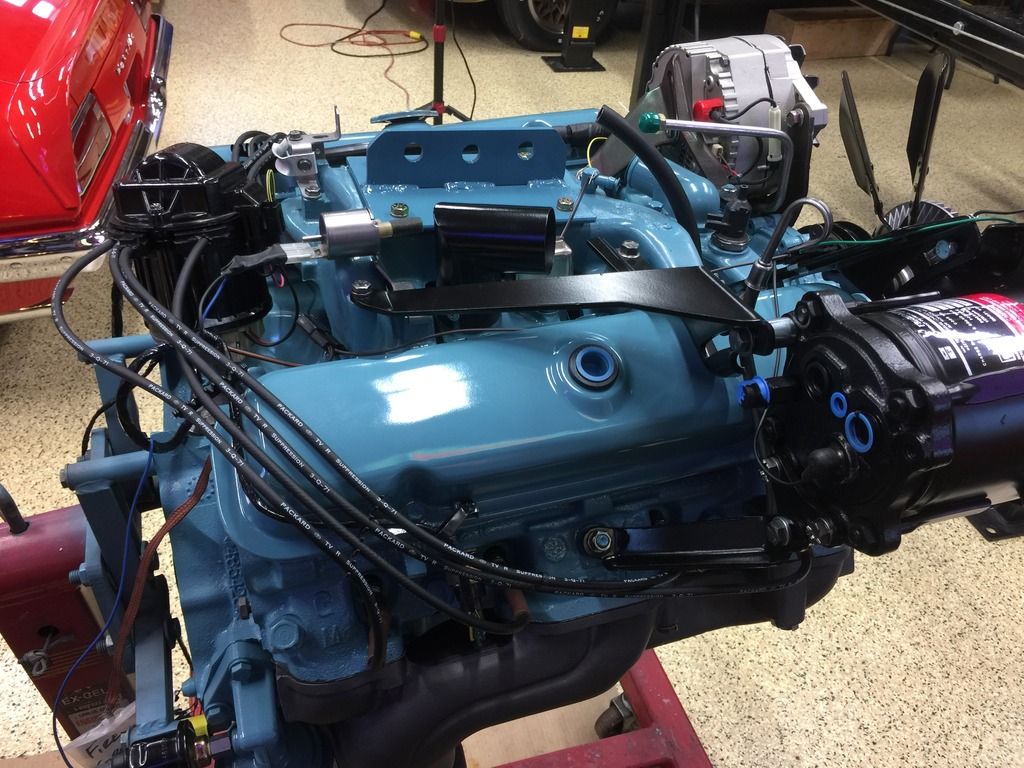
|
|
#1070
|
||||
|
||||
|
It's a thermal limiter switch for the A/C compressor Bob
|
|
#1071
|
||||
|
||||
|
Did not know AC could look that good?
__________________
Mike/Illinois |
|
#1072
|
||||
|
||||
|
Everything looks so good
|
|
#1073
|
||||
|
||||
|
X2, and yes that engine looks really good.
__________________
1973 Formula 400 4 spd 04C build date Norwood assembly plant. |
|
#1074
|
||||
|
||||
|
Bob, that was a new harness I installed on the car. Are you saying the new, newer harness you bought didn't have the thermal limited connector, or just the thermal limited fuse itself? The system won't run without that fuse. They are designed to "pop" if the pressure or heat gets too high. If there is a bulge or melted indent in the body of the fuse, that means it is blown.
|
|
#1075
|
||||
|
||||
|
The new harness did not have it. It does now, but it was destructive getting it out of the old harness. There must be a trick, but we have picks and release tools and none would do it.
|
|
#1076
|
||||
|
||||
|
Those A/C thermal limiter fuses can get pretty warm and tend to heat the prongs enough to melt them into place.
Is the new harness built for a unitized ignition with a direct 12 volt feed to the coil and no resistor wire?. I figured I'd ask since I ran into one that was manufactured wrong for my 1972 T/A a few years back. Took me a year to figure out that they left out the resistor wire and it fried points on a weekly basis. You don't want the opposite where you get too little voltage and it ruins that NOS coil. |
|
#1077
|
||||
|
||||
|
It wasn't fused together, it was purely a mechanical connection and due to the design of the fuse there is no real way to get a trip tool into the assembly to release it.
It is the correct harness for a unit distributor. 
|
|
#1078
|
||||
|
||||
|
Very nice. That is a work of art!
One question Bob, how do you get the coil springs in without gouging them up? |
|
#1079
|
||||
|
||||
|
Quote:
A few keys: 1) These springs were powder coated which of course is more durable than paint. 2) Even more important than that is "prick punching" or stippling the the inside of the compressor fingers with a hardened punch. As new, these arms are very slick and tend to want to slide around the coils which destroys the finish. By prick punching the inner surface of the fingers you create a surface covered with sharp bumps that bite into the finish and spring metal, and eliminate almost all tendency to slip. 3) In addition to the ratchet strap we also used a rubber coated heavy steel choker for safety. 4) Grease the threads on the compressor liberally. 5) The ratchet end of the strap should be located in the direction you need to pull the spring bottom. Hope this helps. A lot of this is widely known, but I've seen very few folks abrade the arm surfaces to eliminate slippage. http://www.ebay.com/itm/New-Coil-Spr...754920&vxp=mtr |
|
#1080
|
||||
|
||||
|
Thanks Bob! That is great detailed information. My last 2 sets I installed I compressed from the bottom, and had a hell of a time and scratched up the powder coated springs. I will give this method a try.
|
| Reply |
|
|