I used one of the 1/8th inch Pontiac to Chevy pattern plates/adaptors that have been out for many years. I then used the mid plate from Indian Adventures (IA) that is also 1/8th inch to make up the full 1/4 inch difference in the early pattern block to the later block depth. I had to drill the two out for the early pattern. Including the locating dowels. Once I had it all drilled and the dowels all located I bolted the two plates to the early block, installed a manual flywheel (because I intended to run a manual first) and mocked up a factory HD Pontiac starter to line up to the flywheel. This placed only the inside bolt on the block flange because the early block flange is narrower than later blocks. Leaving the outside bolt hole out in the air. I used a piece of 1 inch angle iron and placed it up against the flange, located starter up against the flange and in appropriate location for the flywheel, and marked, drilled and tapped the angle iron and up into the block flange. If you're with me so far, the angle iron was mounted with the inside against the flange and the angle up into the bell housing cavity, not pointing down, because it would interfere with the starter mounting base/nose. The angle iron now is sticking out beyond the end of the block flange enough to located, drill, and tap a hole for the outside starter bolt. I also tacked in a top 9/16 nut for the bolt giving it more strength than the angle iron flange thickness.
While doing all of this with the angle iron the one 1/8th inch Pontiac to Chevy adaptor was bolted to the block, the angle iron was again overlaps the one adaptor and is welded in place to that adaptor. This locates the angle iron with the adaptor so it lines up with the starter location every time. Next I had to cut out a small piece of the 1/8th inch IA mid plate around the angle so it would lay flat against the other plate.
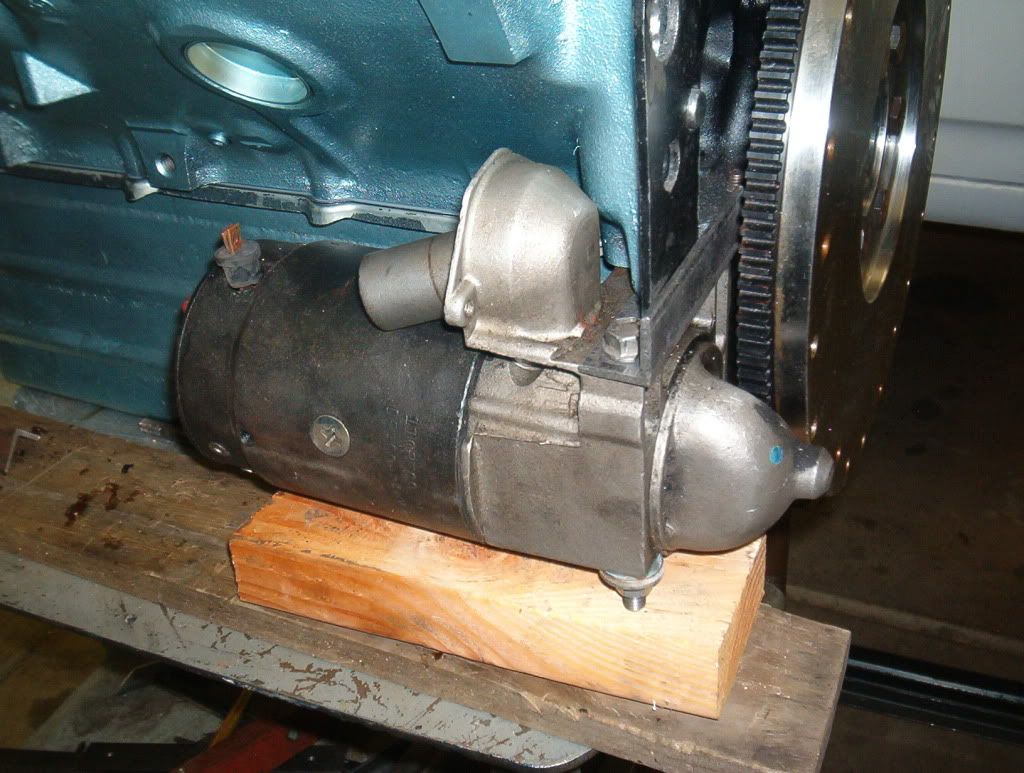
This is the adaptor plate bolted to the block, the starter mocked in place and the angle iron located but not yet welded to the plate.

This is just another angle.
This is the IA mid plate installed and cut out for the starter but not cut out for the angle yet.
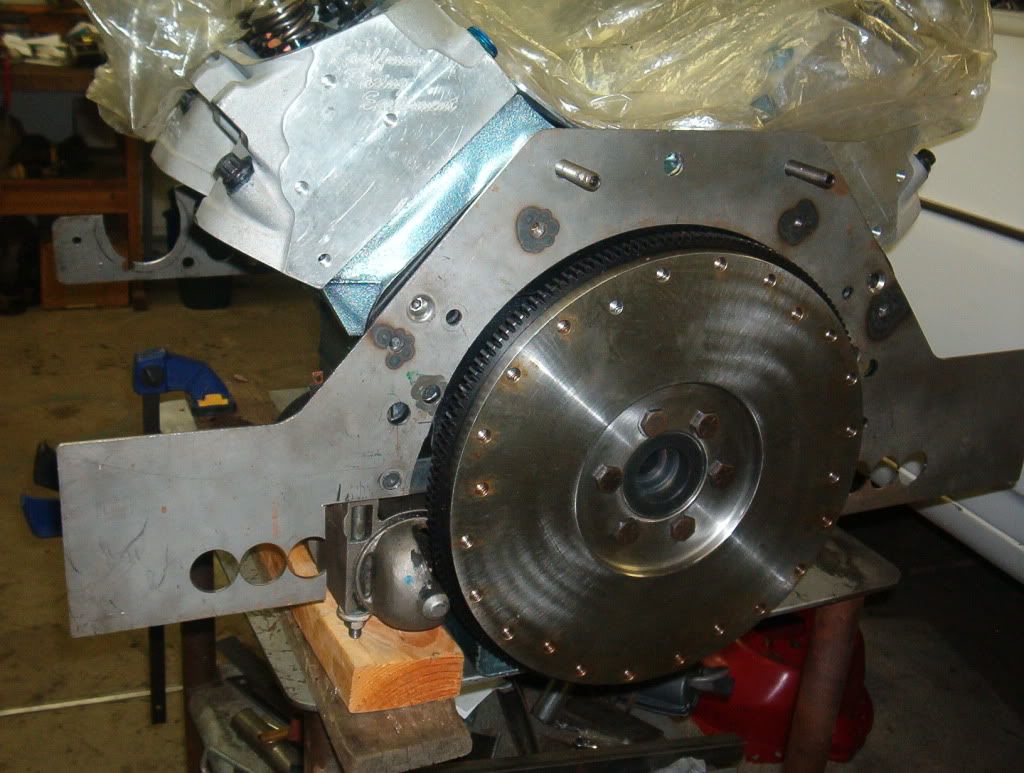
Another angle of that picture. The IA mid plate still not cut out yet.
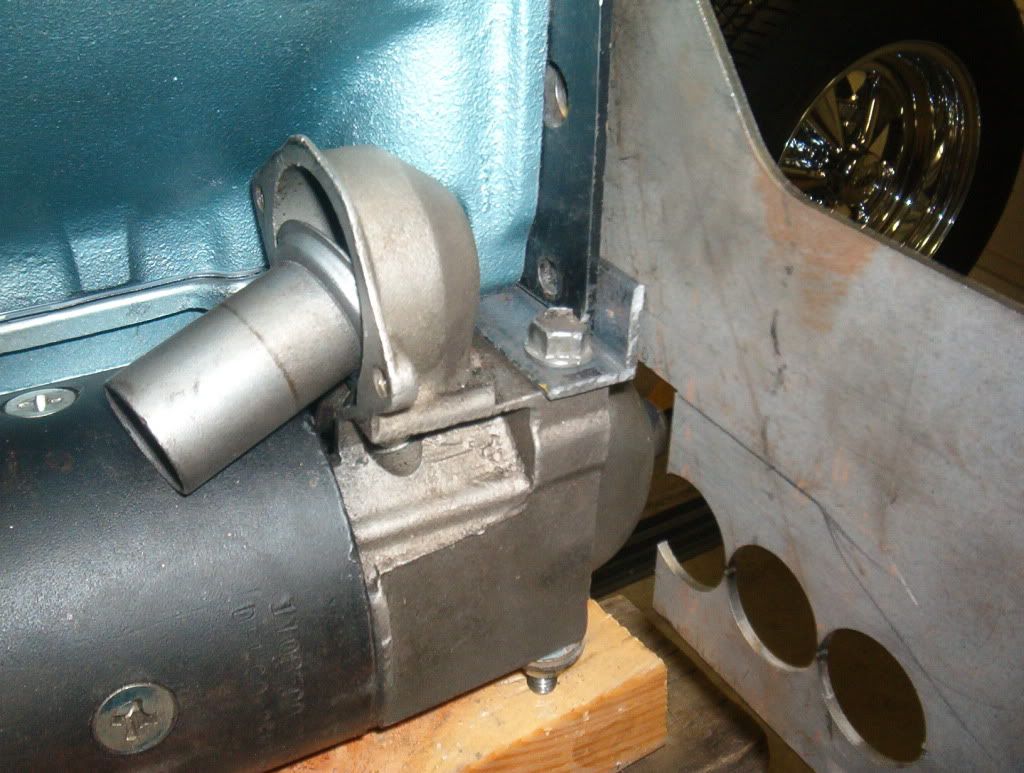
The angle iron was shortened appropriately and welded to the black adaptor plate.
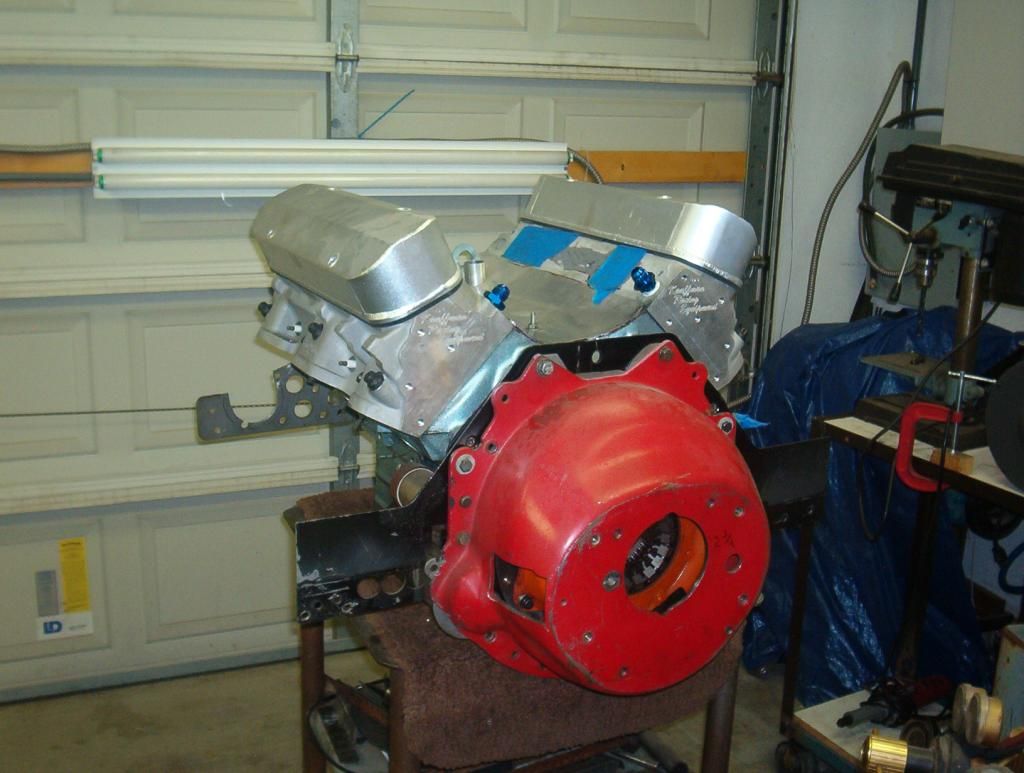
So far it has turned the motor over several different times while I was wiring the car. But I have not tried a sustained turn over since I'm not ready to start he motor yet.


 Linear Mode


