


| FAQ |
| Members List |
| Social Groups |
| Calendar |
| Search |
| Today's Posts |
|
#21
 06-22-2009, 11:40 PM
|
||||
|
||||
|
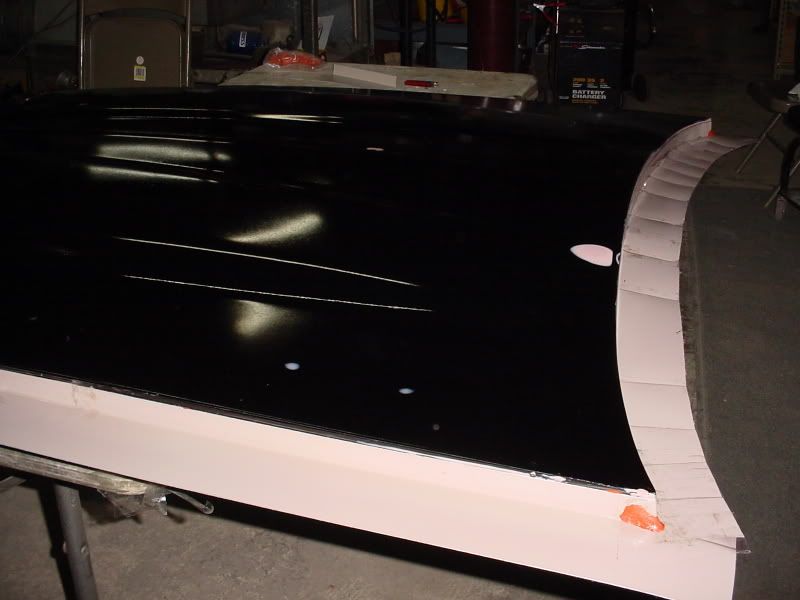
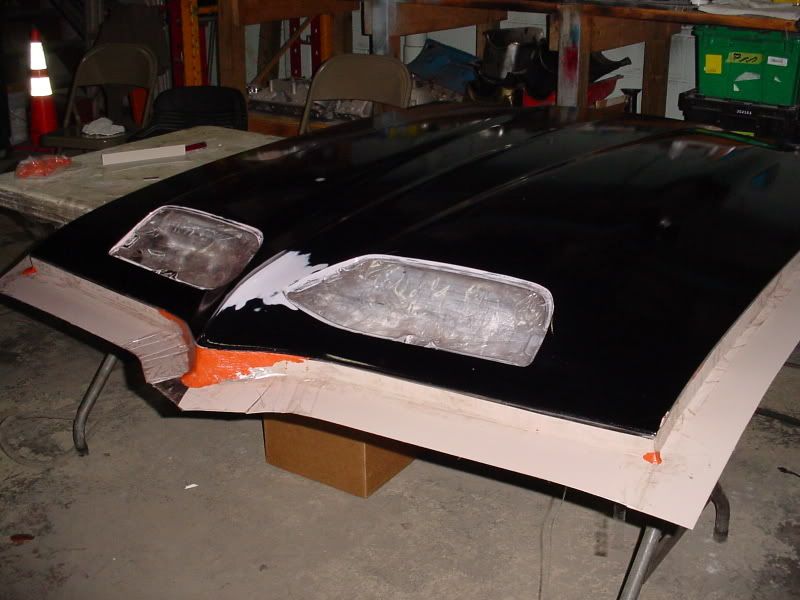
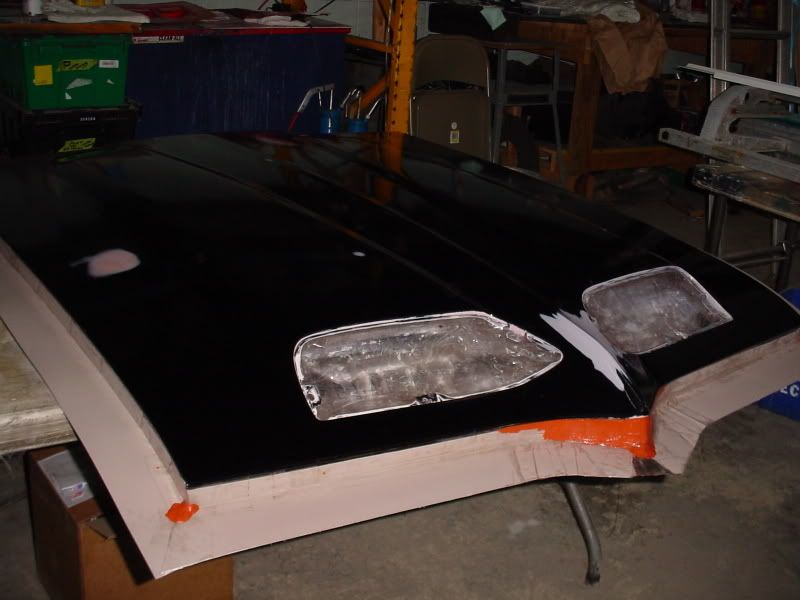
I have been working on perfecting my hood to make a mold from it. I had an after market drivers side scoop insert that I didn't want to make a mold from. I was able to borrow what was thought to be an original N.O.S piece from a member.
When got it I put it in the hood and it did not fit right, it had a big gap on top and the gap all the way around was too big. I looked closer at the soop insert and could tell it was not a NEW part. In fact it had been broken pretty bad and someone kind of fixed it and painted it white. I told the guy I got it from what I found and he said to go ahead and fix it if I wanted to, so I have been working on it. Here is what I found when I got under the paint and primer. 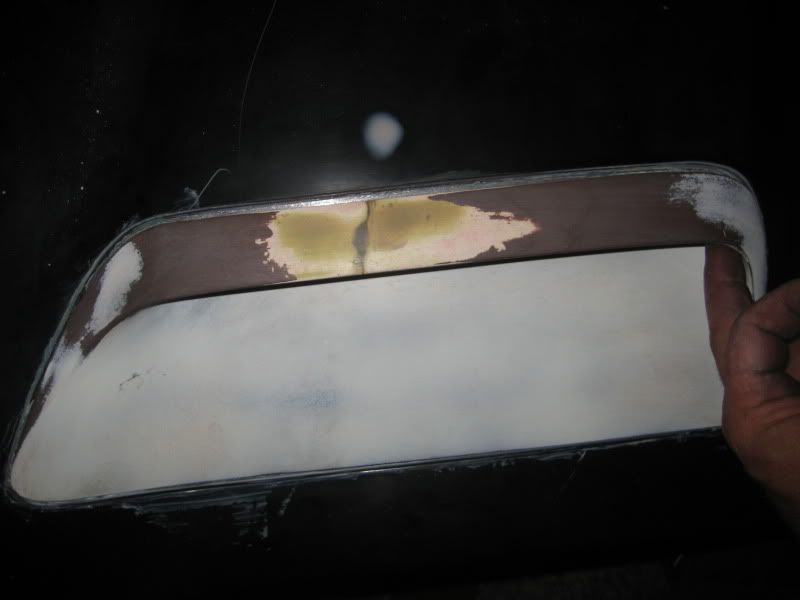 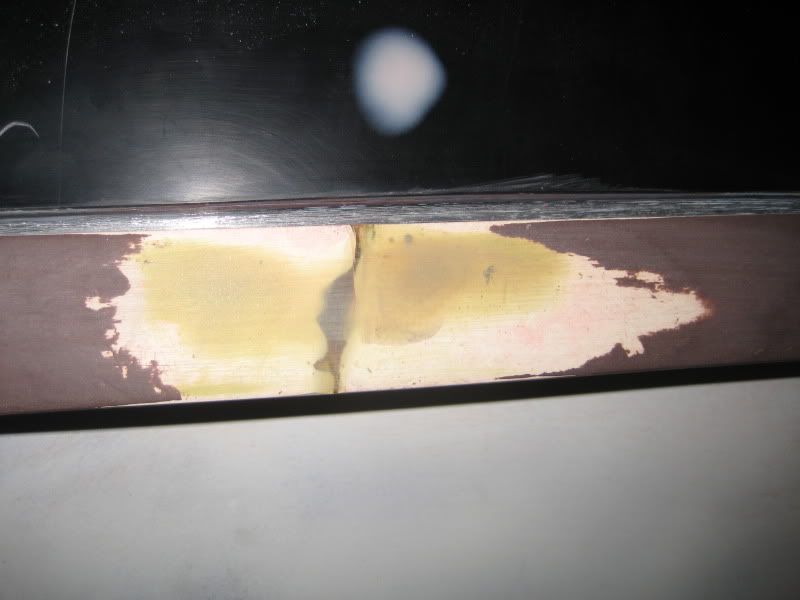 The rear of the scoop opening was cut back about 1/4" or more. 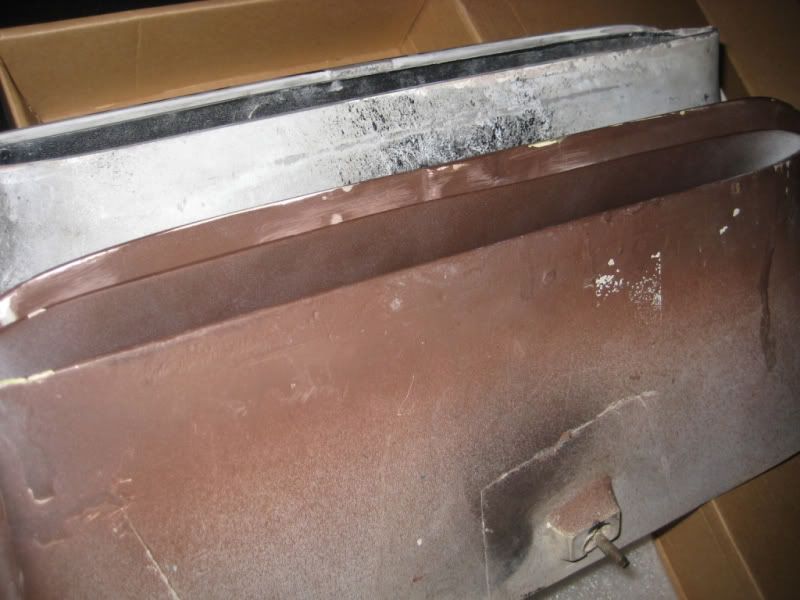 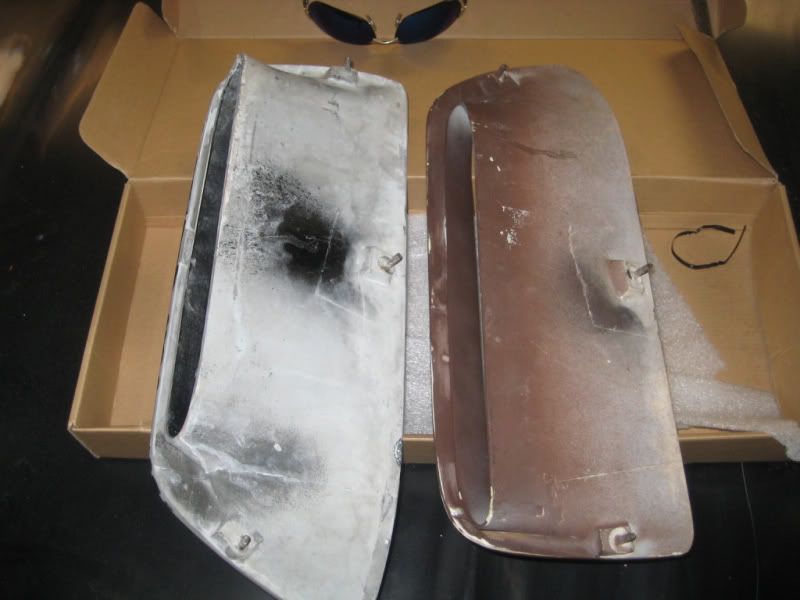 I built it all back to where it was supposed to be and them some. 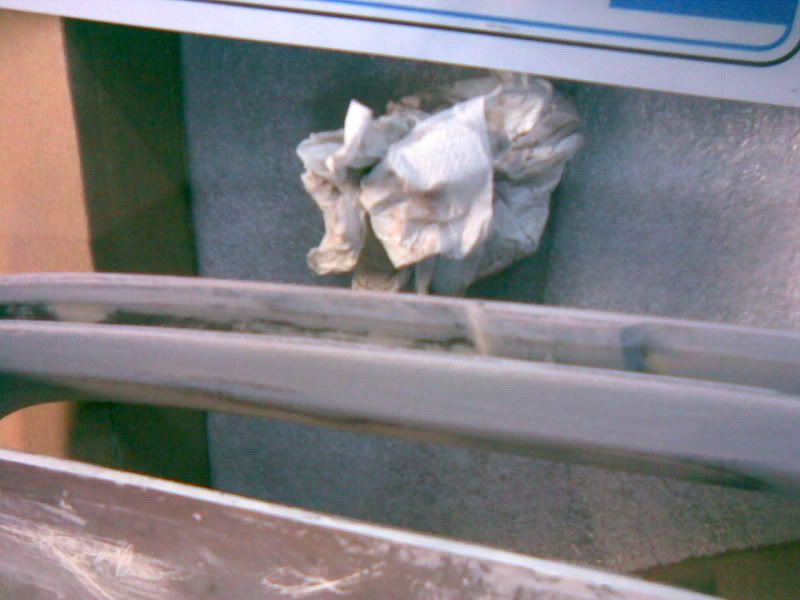 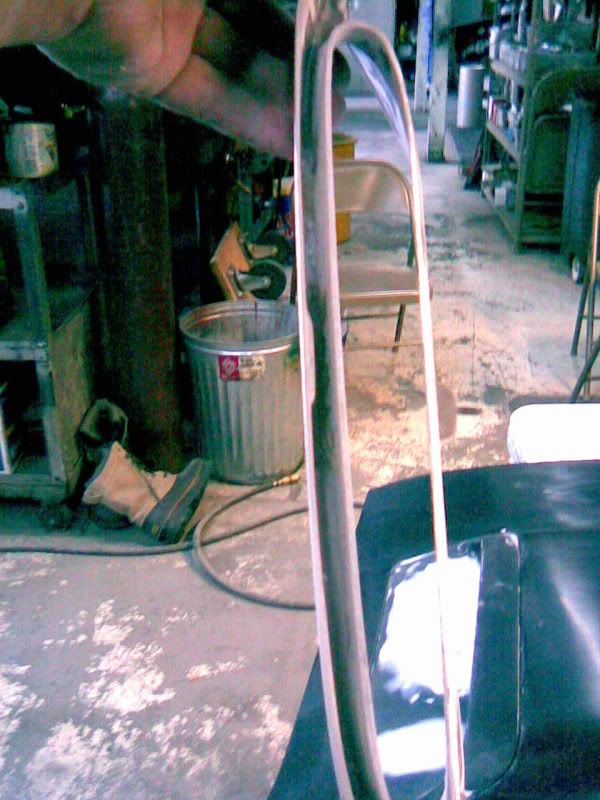 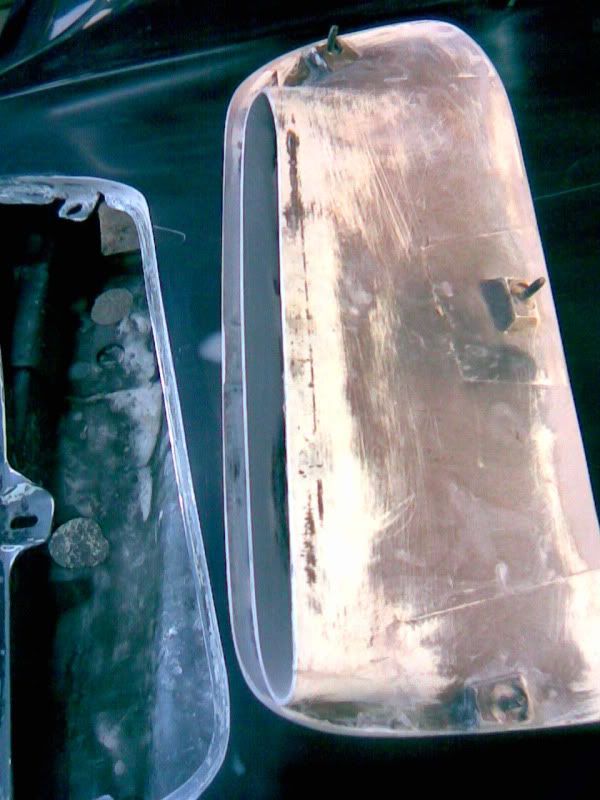 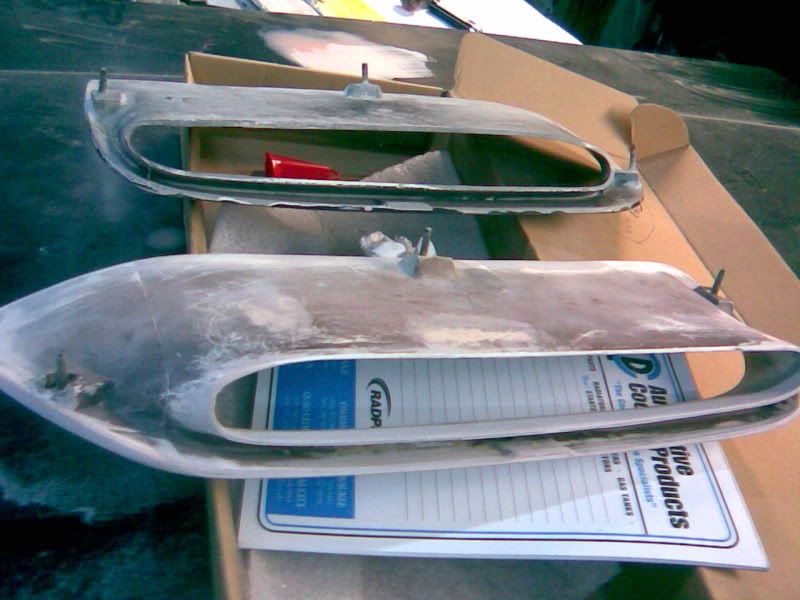 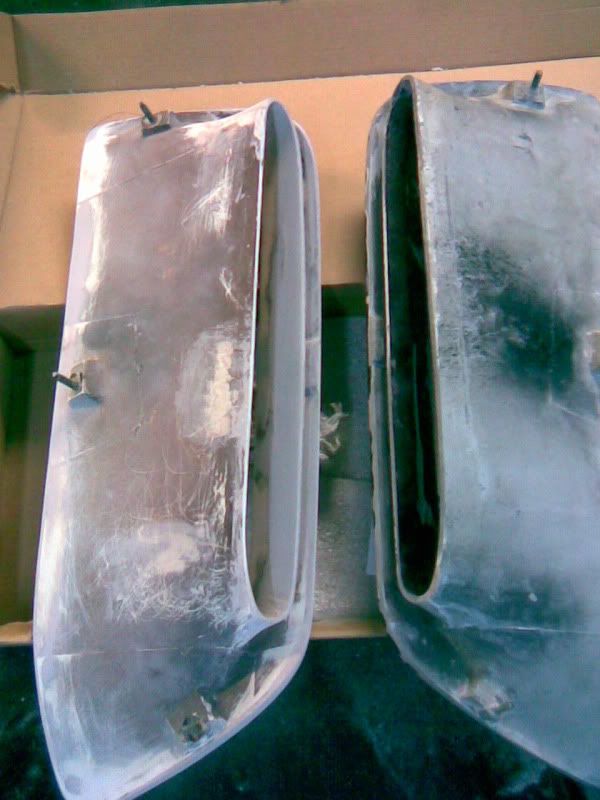 A little more work and fittting on top and it fit better than my original, so I had to make mine better too! 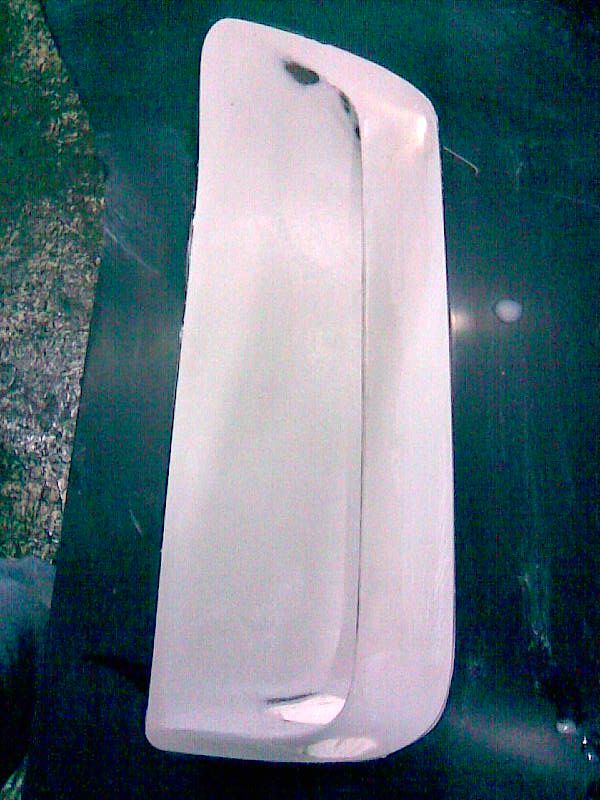 It was real hard to get the tips right.  Lots more work on both of them and I have some real nice pieces to make some molds from, to make them in carbon fiber. I made them fit real tight, .010 all the way around and a flush, level fit with the hood all the way around on the top. 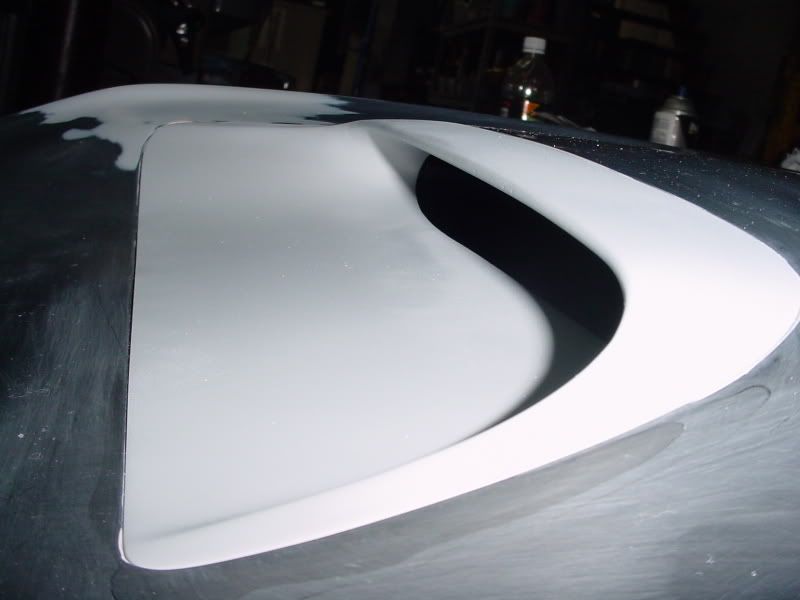 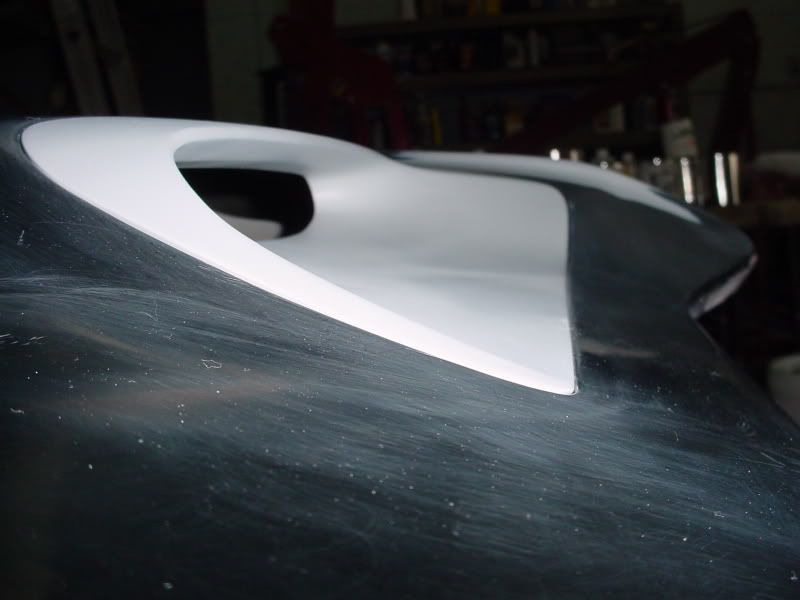 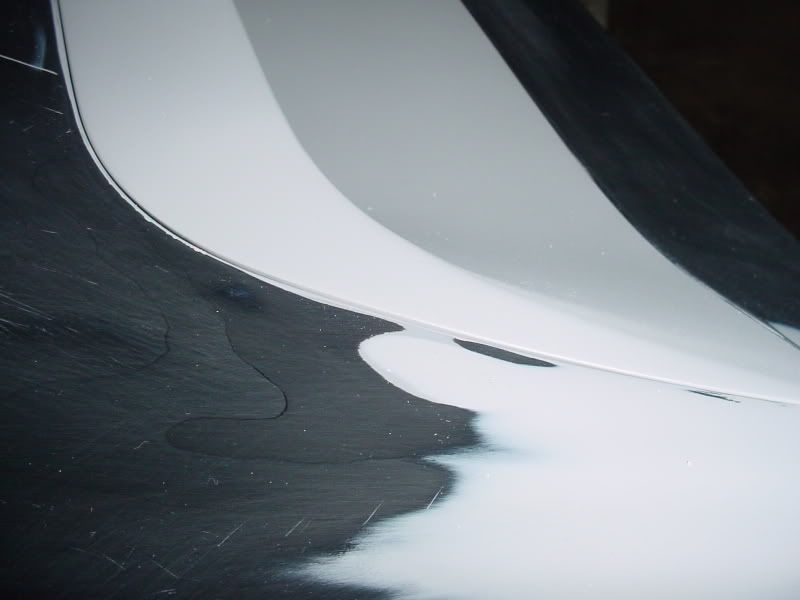 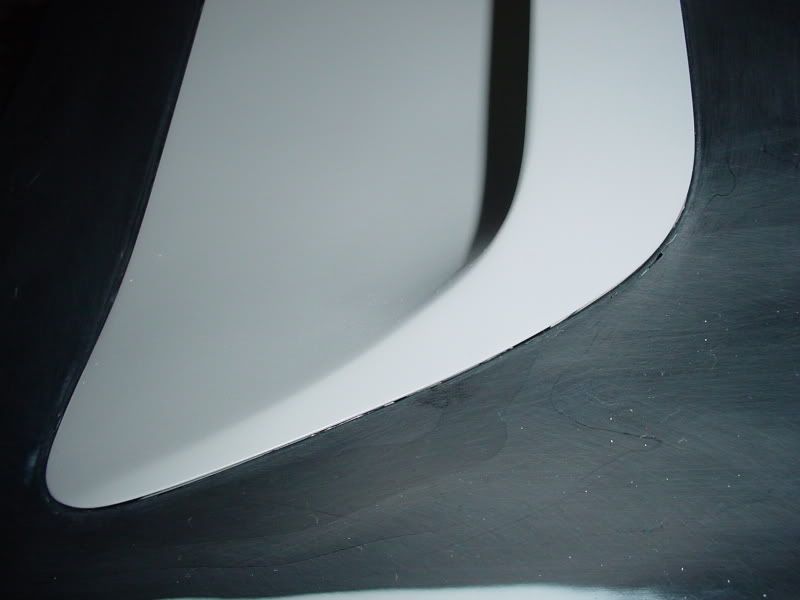 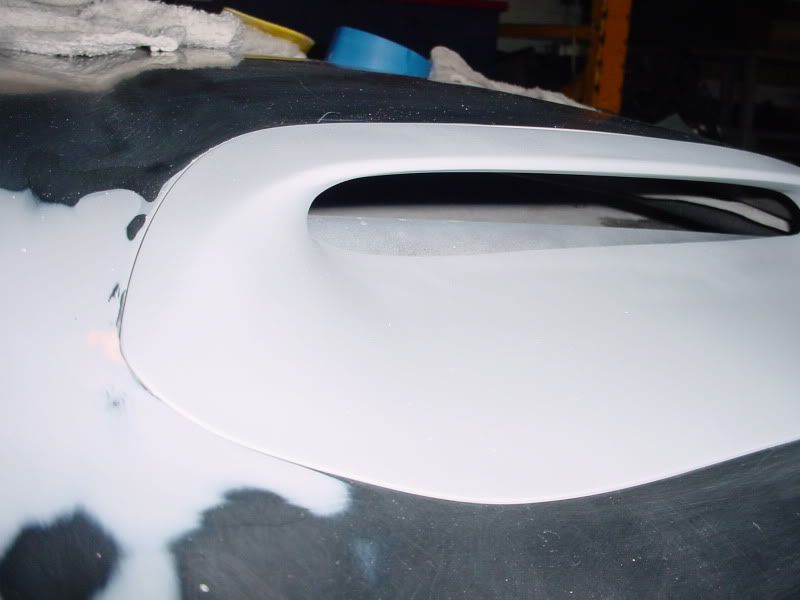 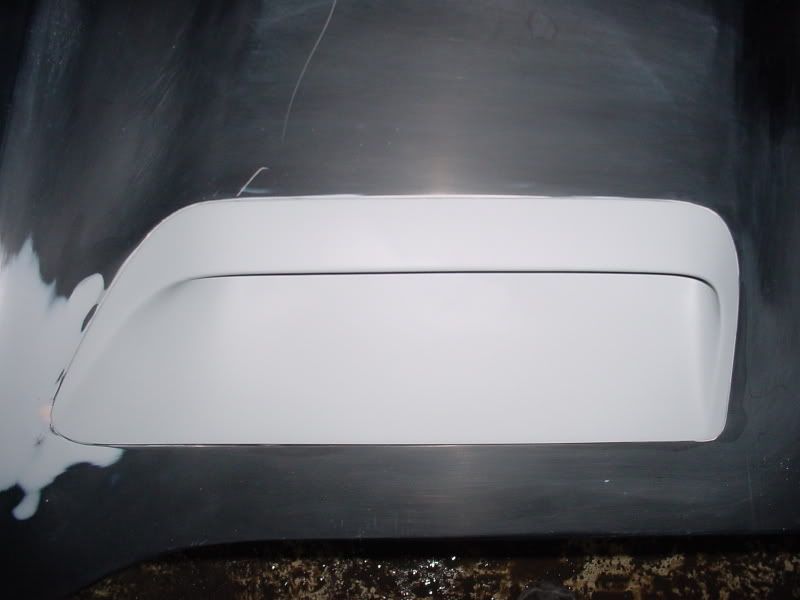 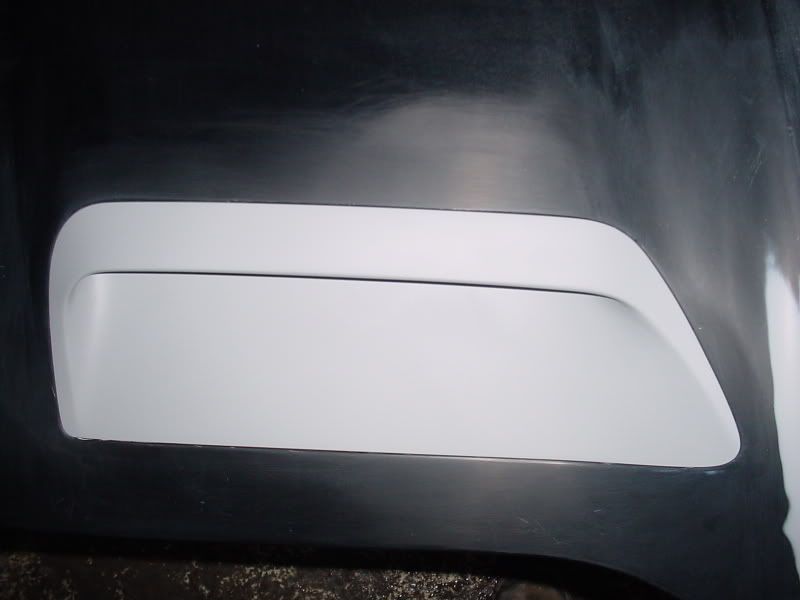 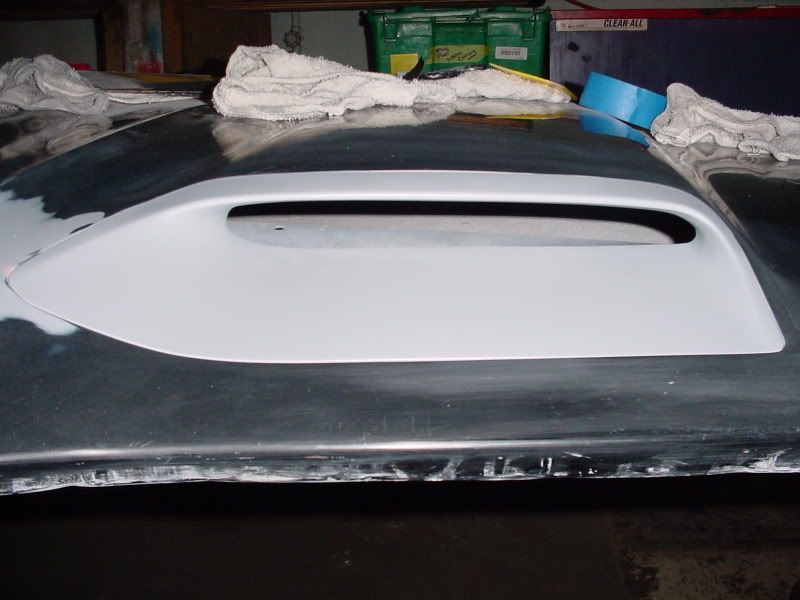 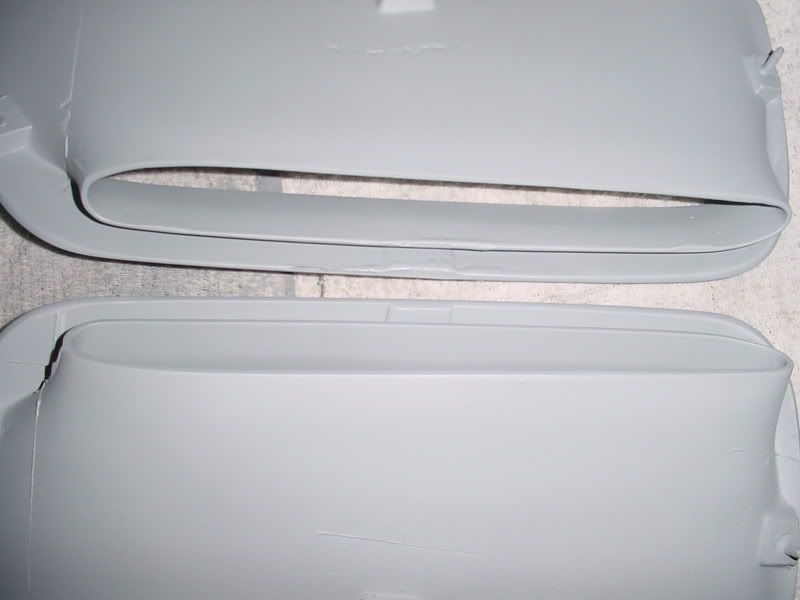 I messed up the primer on the back of the one on the right a little, but I will fix that. 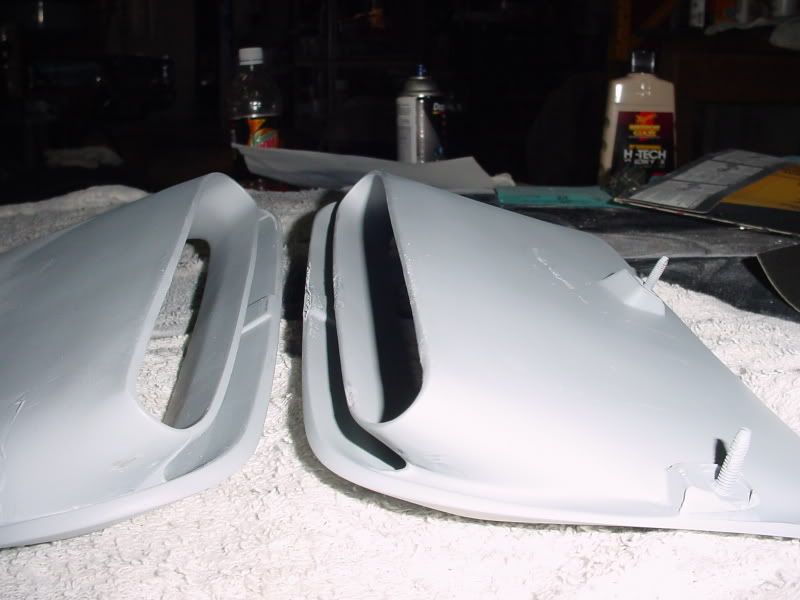 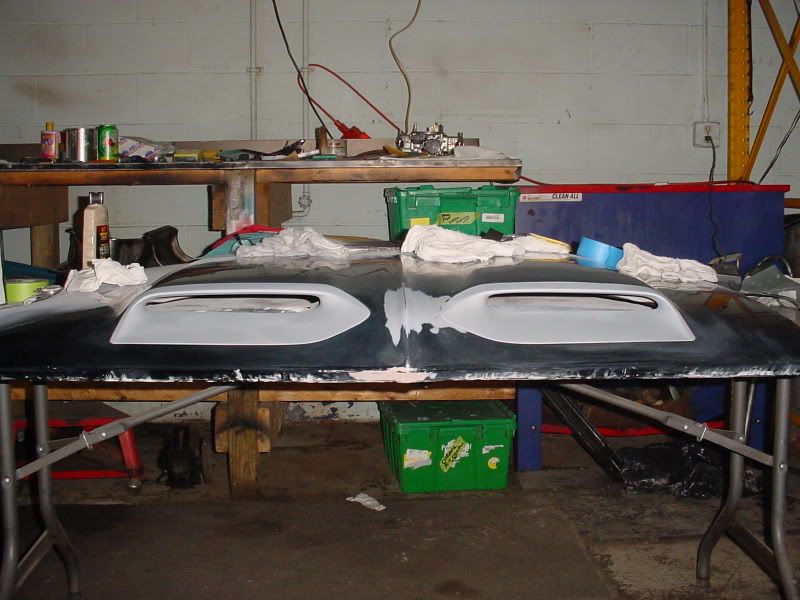
|
|
#22
06-23-2009, 11:26 AM
|
|||
|
|||
|
nice work!
|
|
#23
07-11-2009, 07:05 PM
|
||||
|
||||
|
I have a finished mold for one of the fender air extractors. I spent alot of time making the original part as perfect as I could. It turned out very nice.
This is the inside of the mold right after removing the original part. 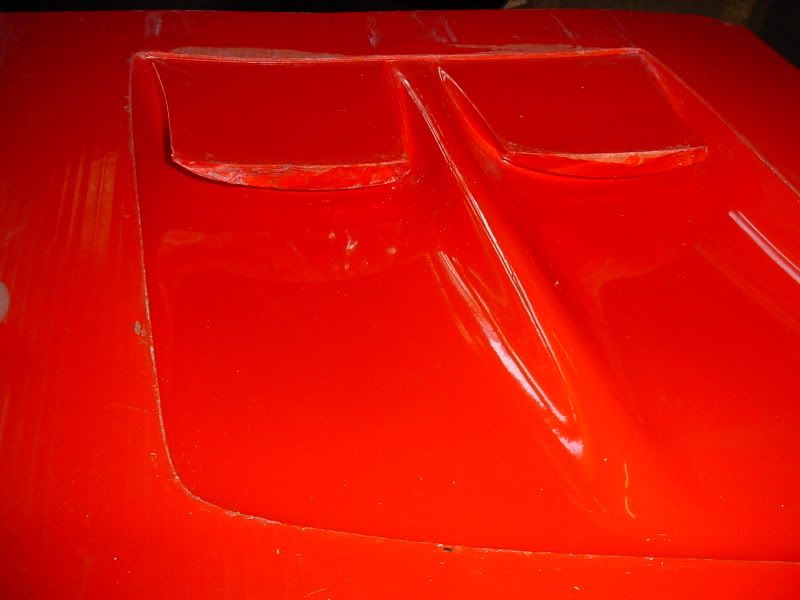 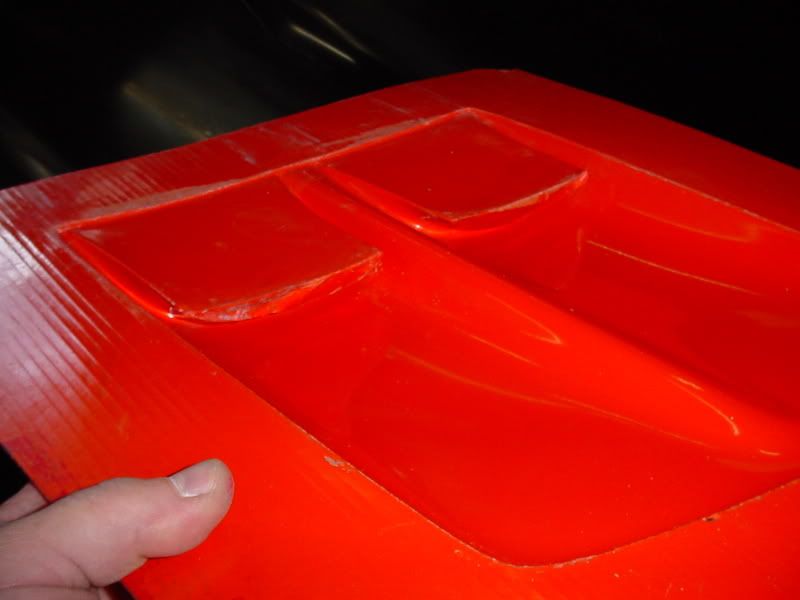 The outside of the mold. 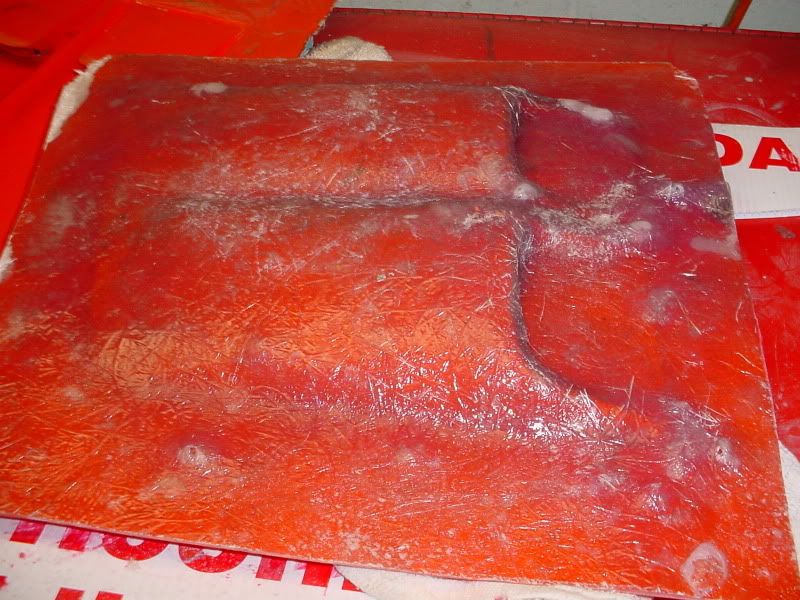 I will have a hood mold by next week, now that I know what I am doing. |
|
#24
07-12-2009, 01:42 PM
|
|||
|
|||
|
John-
That's BEAUTIFUL work!! You made the hood fit better than PMD did!! Keep up the great work!
__________________
John IG: @crawdaddycustoms YouTube: https://www.youtube.com/channel/UCK9...Nc_lk1Q/videos |
|
#25
07-13-2009, 10:10 PM
|
||||
|
||||
|
John Haley: Good for the hobby.
__________________
69 Firebird/TA clone |
|
#26
07-13-2009, 11:15 PM
|
||||
|
||||
|
I just got done making a flange around my hood. I waxed and sprayed release agent on. I will spray gelcoat on in the morning and probably have some fiberglass on later tomorrow.
|
|
#27
07-14-2009, 04:57 PM
|
||||
|
||||
|
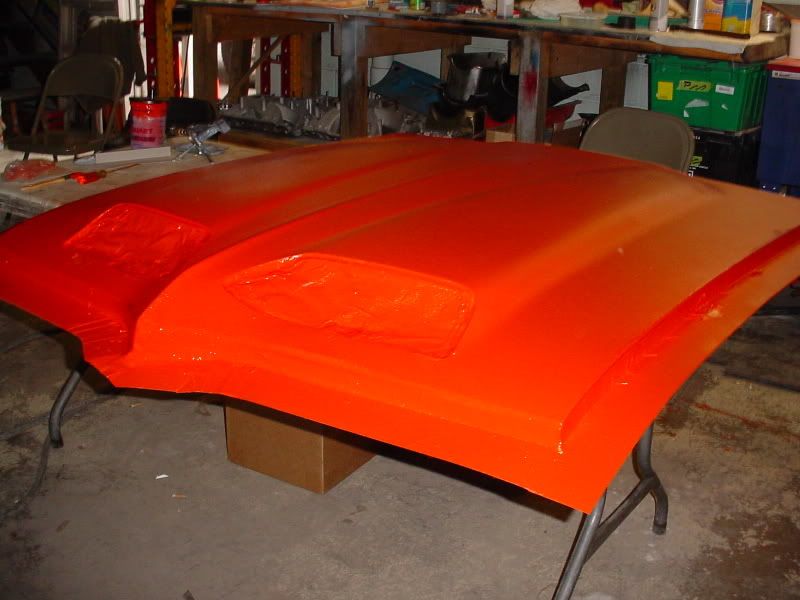
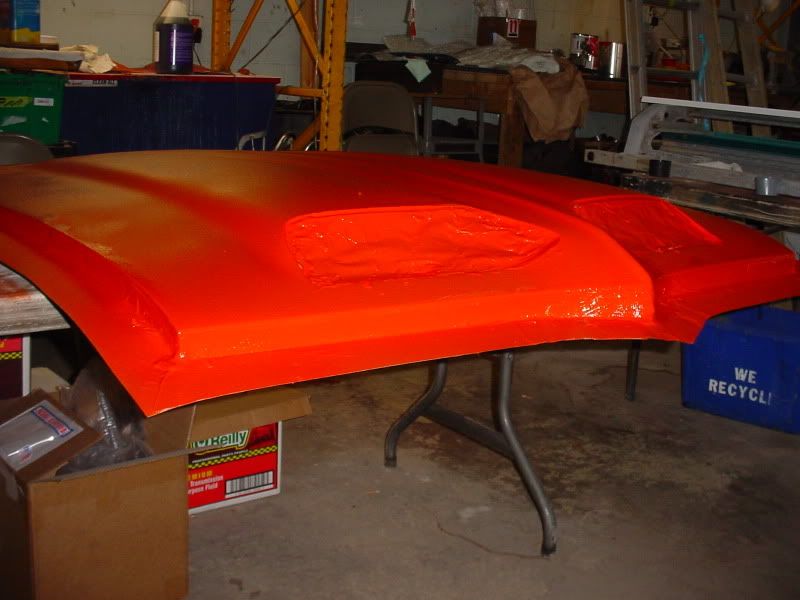
The hood covered in orange tooling gelcoat.
|
|
#28
07-15-2009, 01:25 PM
|
||||
|
||||
|
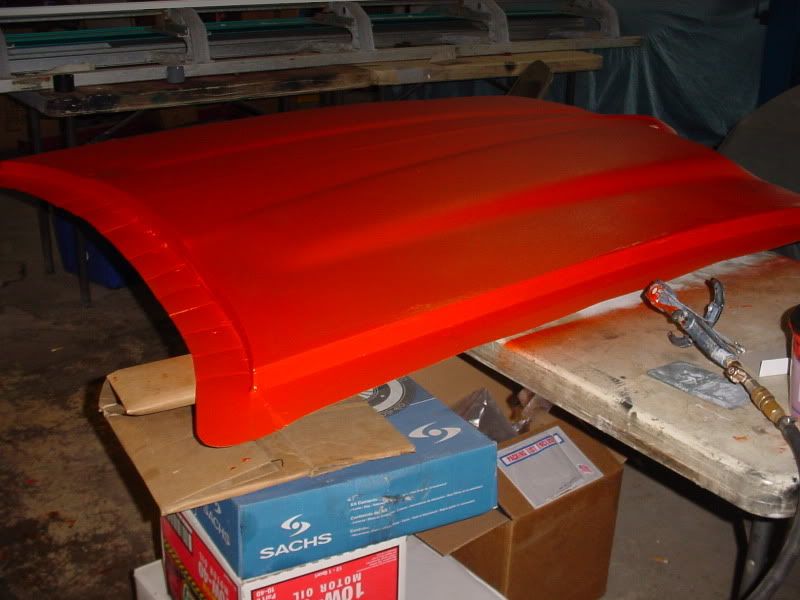
Starting to look like a mold!
Fiberglass matt and resin. 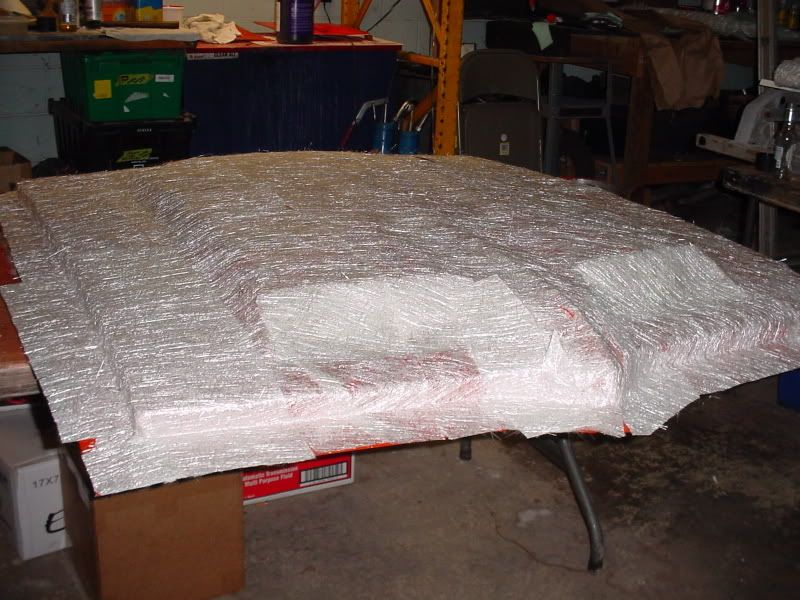 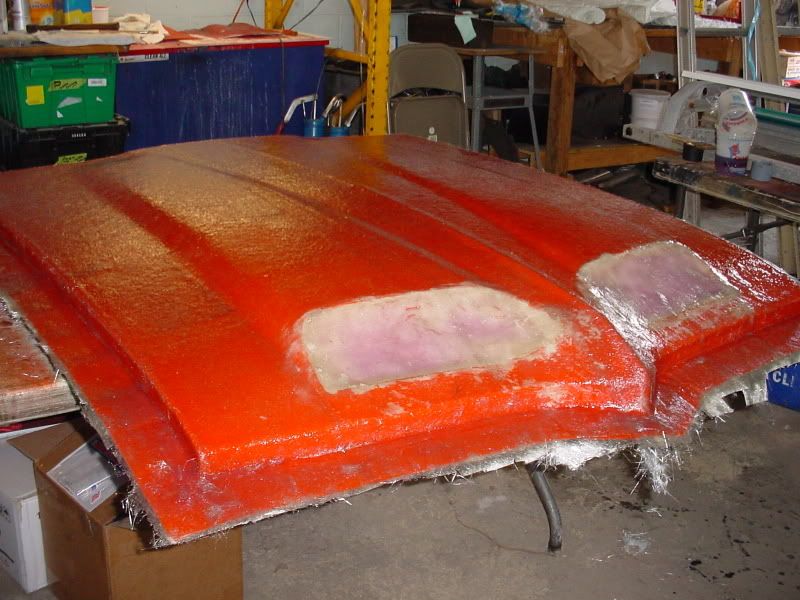 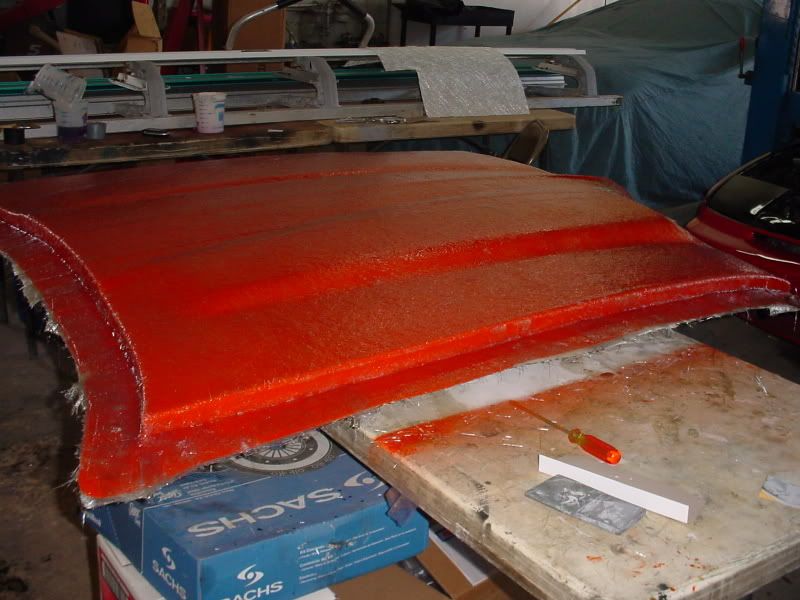
|
|
#29
07-15-2009, 07:09 PM
|
||||
|
||||
|
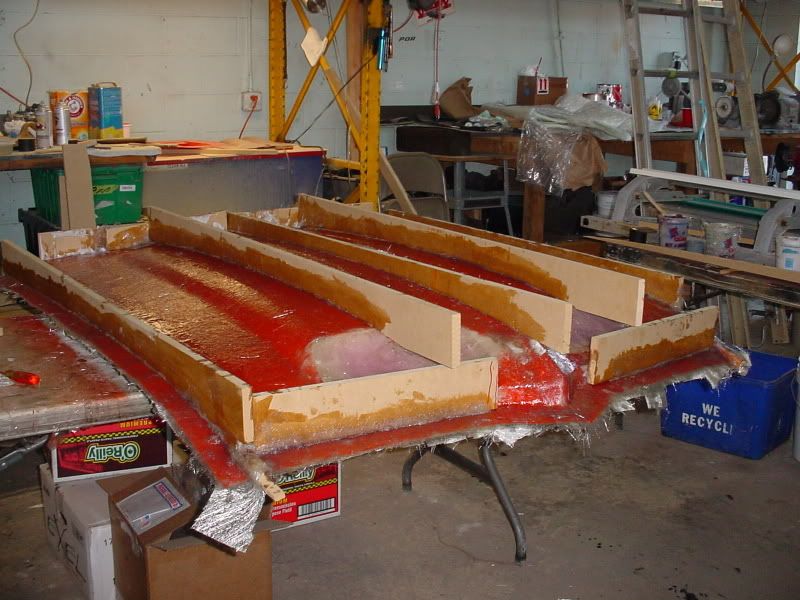
I am adding some beams to keep my mold from twisting and warping over time.
|
|
#30
07-16-2009, 11:36 PM
|
||||
|
||||
|
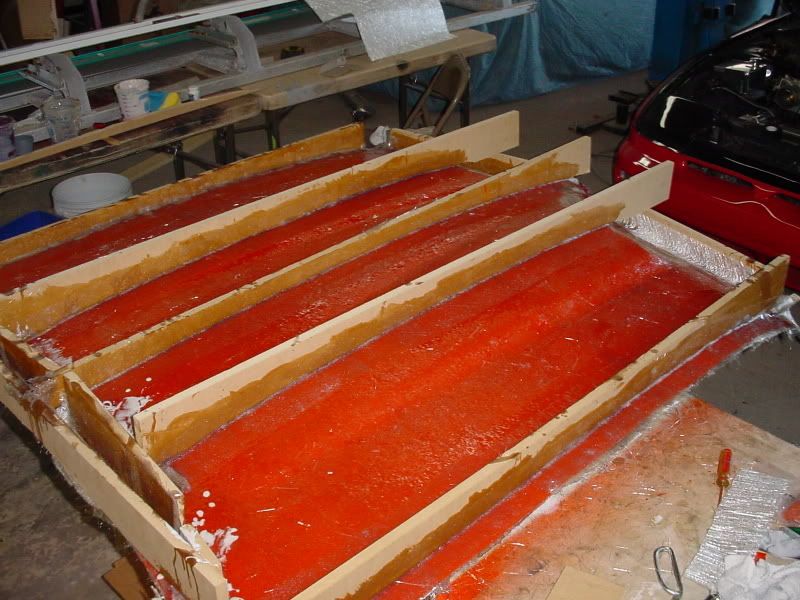
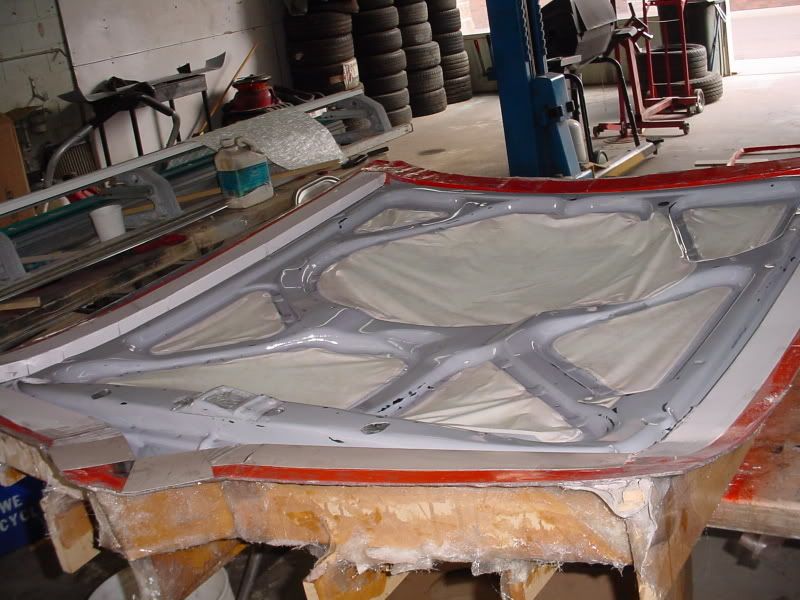
Some more structure and some more fiberglass and I am done with the top.
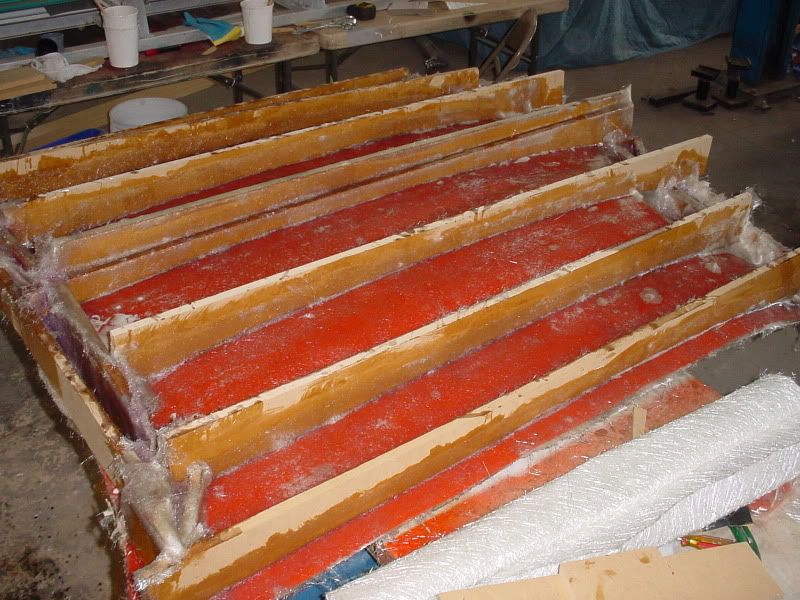 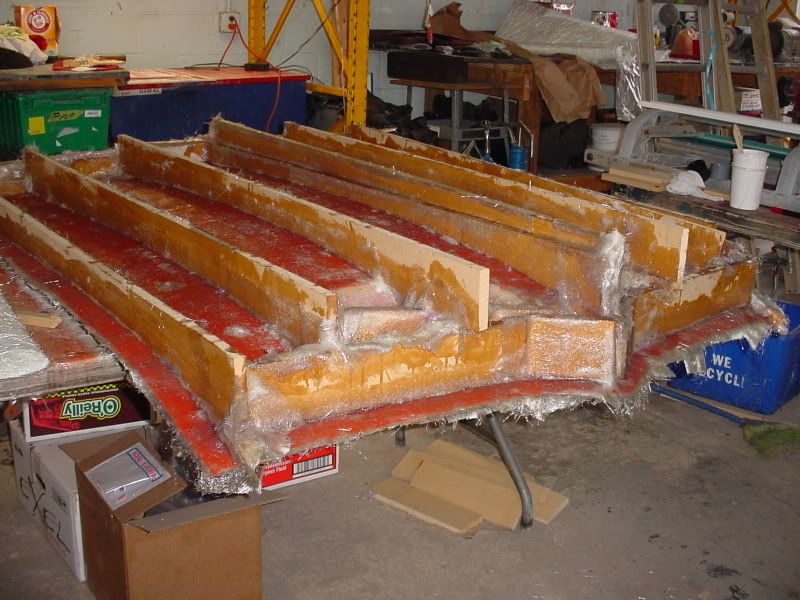 Before I remove the hood from the mold. I am going to pull a mold of the frame structure also. I am also going to pull some molds of the beveled edges on the sides and the front of the hood. I want to try and get the beveled sides and front correct too. 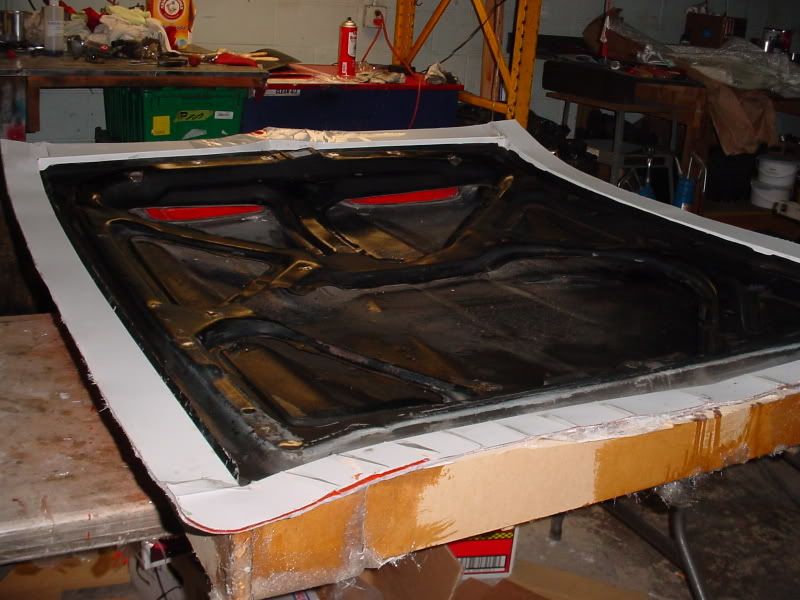
|
|
#31
07-17-2009, 09:18 PM
|
||||
|
||||
|
All I can say is WOW! Can't wait to see the finished product.
|
|
#32
07-19-2009, 10:50 AM
|
|||
|
|||
|
just tremendous...must be a kick to do
|
|
#33
07-30-2009, 03:50 PM
|
||||
|
||||
|
I had to strip all the old flaking and chipping paint from the frame. I used filler primer and wet sanded twice to make the frame as nice as i could. It been alot of work.
Body work and primer. 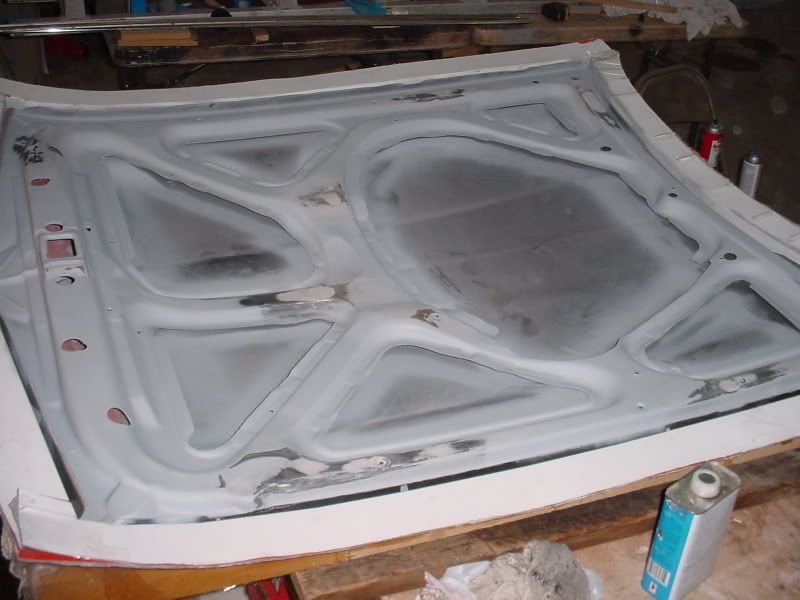 More primer and a guide coat. 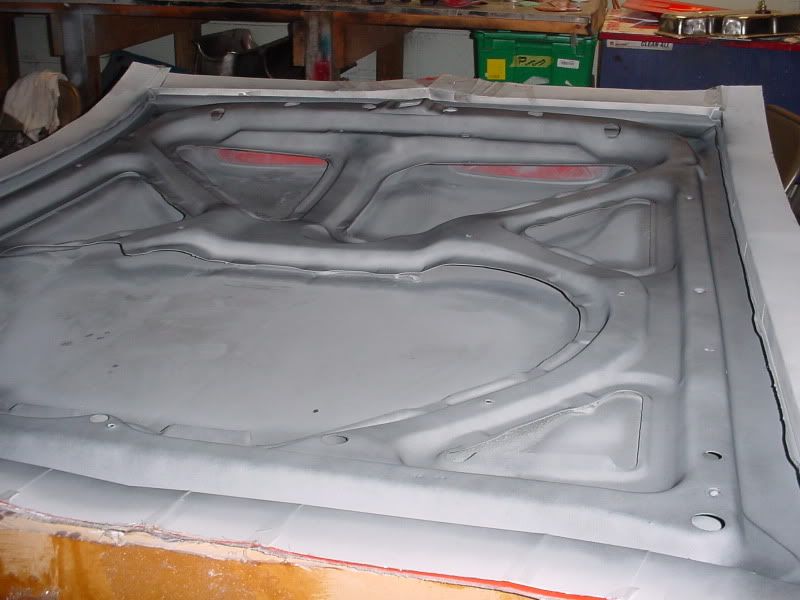 I want to get the front and side bevels of the hood, so I pulled a secondary mold plug to insert into the mold before I lay up carbon fiber. I will have beveled edges on my hood instead of the standard straight side edges on other fiberglass hoods.  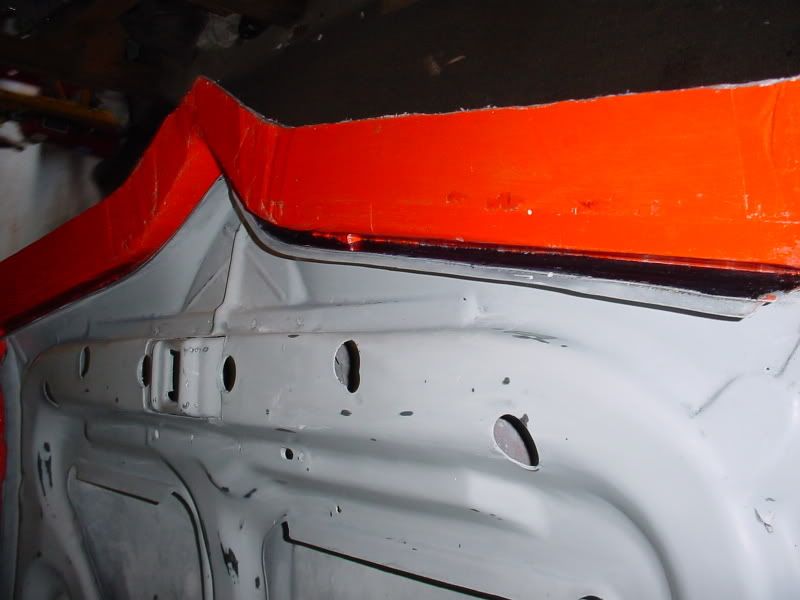 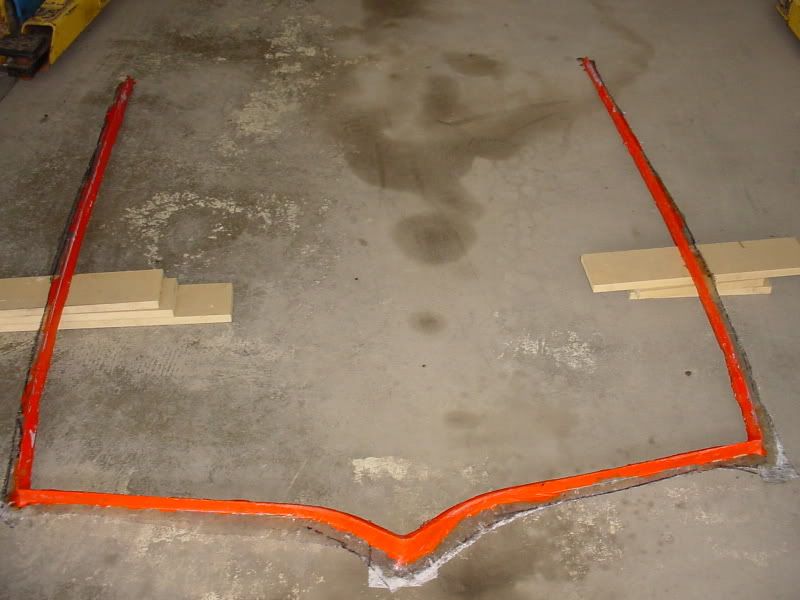 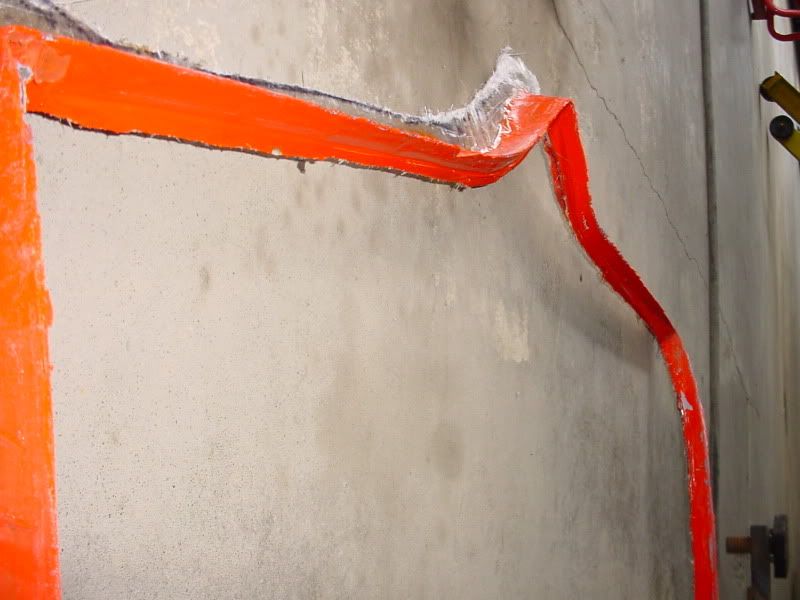 I should be laying up the frame mold later today. |
|
#34
07-31-2009, 05:49 PM
|
|||
|
|||
|
Very nice work!
__________________
www.v8tvshow.com |
|
#35
07-31-2009, 06:50 PM
|
|||
|
|||
|
I would be interested... just need to know a price range. You can PM me if you want.
-Brent |
|
#36
07-31-2009, 06:52 PM
|
||||
|
||||
|
The frame masked off, waxed and coated with release agent.
 Frame sprayed with orange tolling gelcoat. 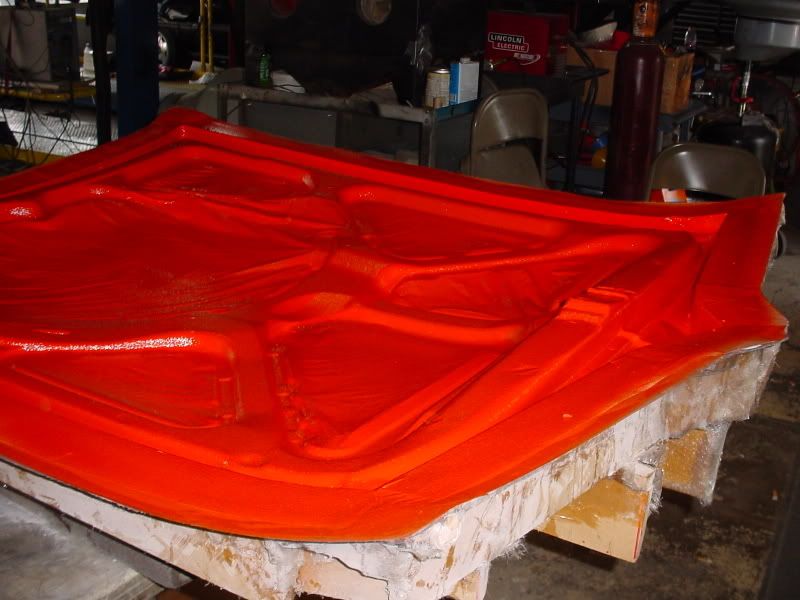 Some numbers stamped in the rear drivers side frame of the hood. Anybody know what they mean? 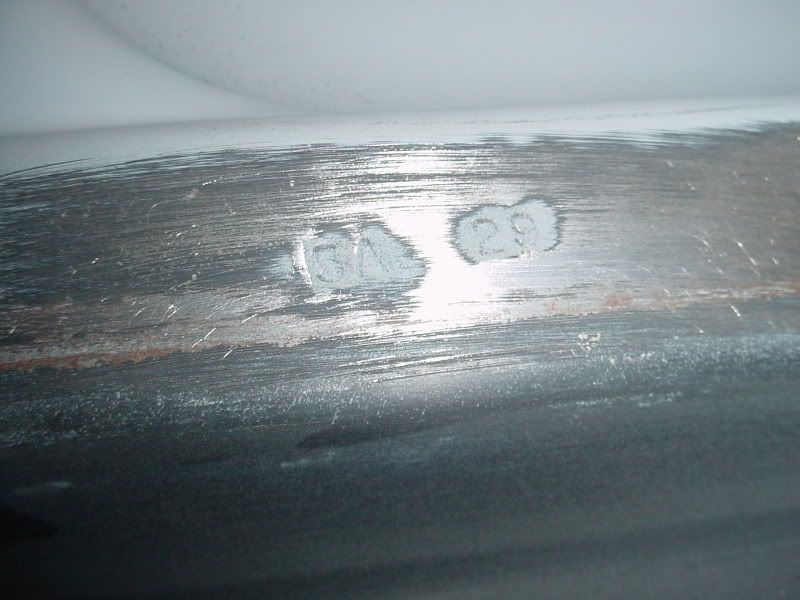
|
|
#37
07-31-2009, 07:04 PM
|
||||
|
||||
|
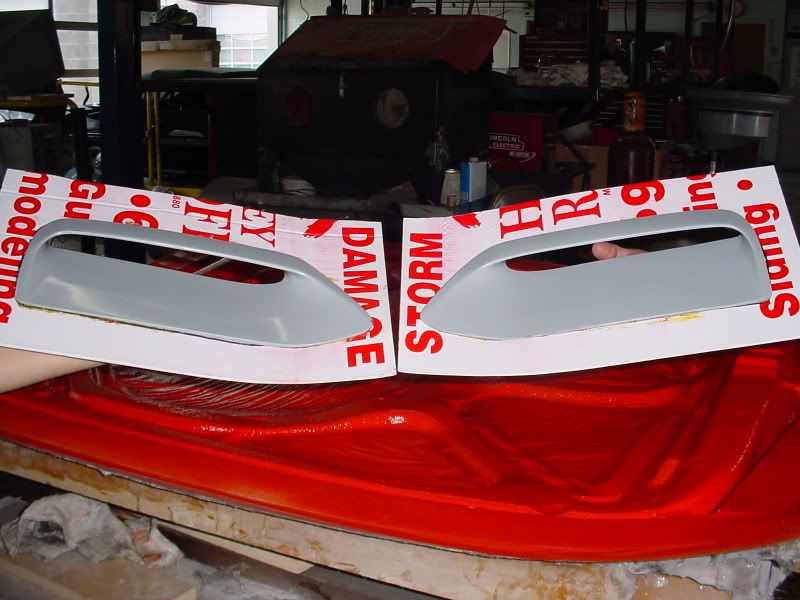
Hood scoops on some hard board for a border and flange. I lay these molds up over the weekend.
|
|
#38
07-31-2009, 08:18 PM
|
||||
|
||||
|
John, the numbers are the date code, May 29.
|
|
#39
07-31-2009, 08:48 PM
|
||||
|
||||
|
I do not have a need for a t/a hood but this is some impressive work!! Great attention to detail.
Did you source the materials locally? |
|
#40
07-31-2009, 09:17 PM
|
||||
|
||||
|
Quote:
Yes, I am getting everything from a local molding supply house. The guy that is schooling me through this, not only makes carbon fiber body parts for the road race team he works on, he also works at the molding supply house. |
| Reply |
|
|
The PY Online Forums is the largest online gathering of Pontiac enthusiasts anywhere in the world. Founded in 1991, it was also the first online forum for people to gather and talk about their Pontiacs. Since then, it has become the mecca of Pontiac technical data and knowledge that no other place can surpass.


 Linear Mode

