


| FAQ |
| Members List |
| Social Groups |
| Calendar |
| Search |
| Today's Posts |
|
#141
 11-10-2013, 10:23 AM
|
||||
|
||||
|
I know what the MADE IN USA and the 15x7 mean. :-)
But as for the other codes, I will defer to an expert for those. (BTW, Aren't you going to remove the stick on weights?) |
| The Following User Says Thank You to njsteve For This Useful Post: | ||
|
#142
11-10-2013, 10:33 AM
|
||||
|
||||
|
The outer rim stamping is when the wheel was assembled, M13 (manufacturing plant 1, in USA, 1973) 5 (May) 14 (14th) and M16 (manufacturing plant 1, in USA, 1976) 3 (March) 12 (12th). The inner stamping is when the hoop sub-assembly was made.
|
| The Following 2 Users Say Thank You to Held for Ransom For This Useful Post: | ||
|
#143
11-10-2013, 10:54 AM
|
||||
|
||||
|
Quote:
HFR - thanks. Sounds like a bunch of orphans. |
|
#144
11-10-2013, 11:04 AM
|
||||
|
||||
|
The stick ons were used because they allowed for a more accurate balance. Because of the heaviness and uneven loading of that urethane face, these wheels are very hard to balance to our pickiness level. And I also wanted to keep the weights off the face side of the wheel for aesthetic reasons.
I checked the outer codes on the honeycombs that came with the 72 when I bought it and they are an orphan later set, as well. As I recall i went through a dozen wheels before I found a nice balance-able set that I used for the radials that are on your car now. The next best set were used for the bias ply set that went with the T/A and the really wobbly ones were used for trunk mounted spare tires. Last edited by njsteve; 11-10-2013 at 11:10 AM. |
| The Following User Says Thank You to njsteve For This Useful Post: | ||
|
#145
11-10-2013, 11:21 AM
|
||||
|
||||
|
Bob, I agree totally with HFR.....he knows his $H**.....I'm impressed that someone would make a little spray booth in order to spray bomb the back side of a set of wheels. I still live in the 70's and would have done it in the backyard....
 There is a definitely sickness going around here at PY There is a definitely sickness going around here at PY
|
| The Following User Says Thank You to Norwood For This Useful Post: | ||
|
#146
11-10-2013, 12:34 PM
|
||||
|
||||
|
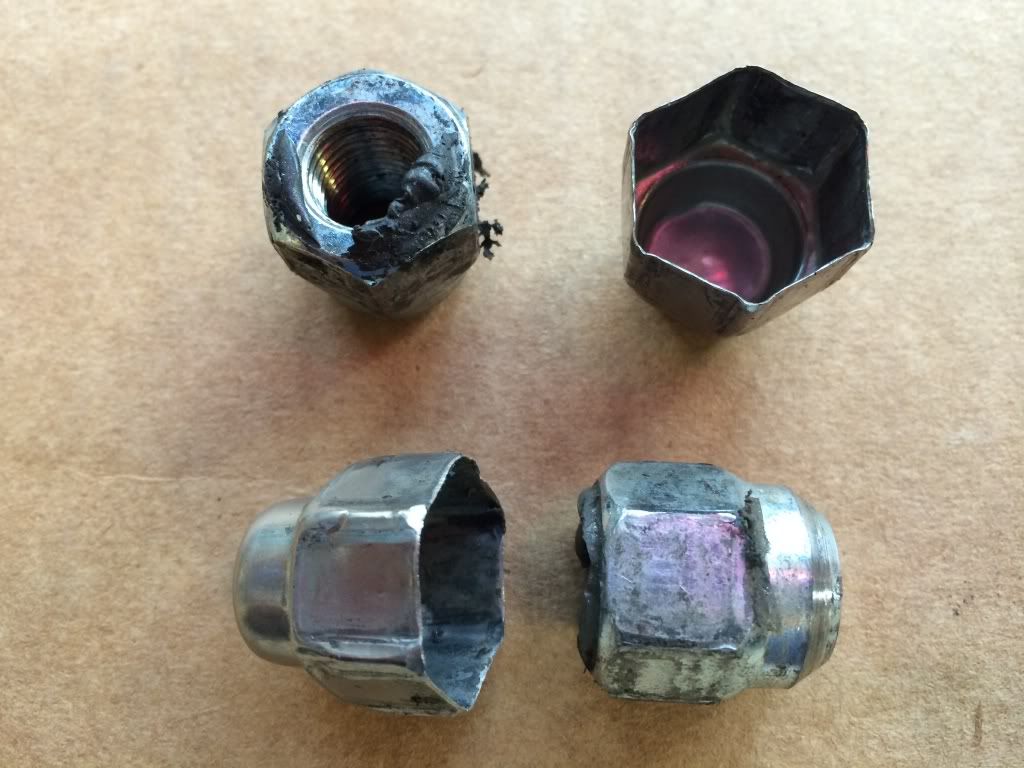
Steve - thanks for straightening me out. I need a lot of help. This will take a few days to fix since I'll have to let the paint cure well before attempting a fix. While you're in mentoring mode, what can you tell me about these two piece lug nuts? They are either original or the cheapest replacements I have seen.
 Norwood - HFR is tough. The spray booth in my wood shop went in initially for engine painting. At this point I don't think I could do without it. There is a window in the shop which I crack and then open the roll up door a few feet and turn on the fan. Works real well. On nice warm summer days though nothing beats spraying outside. 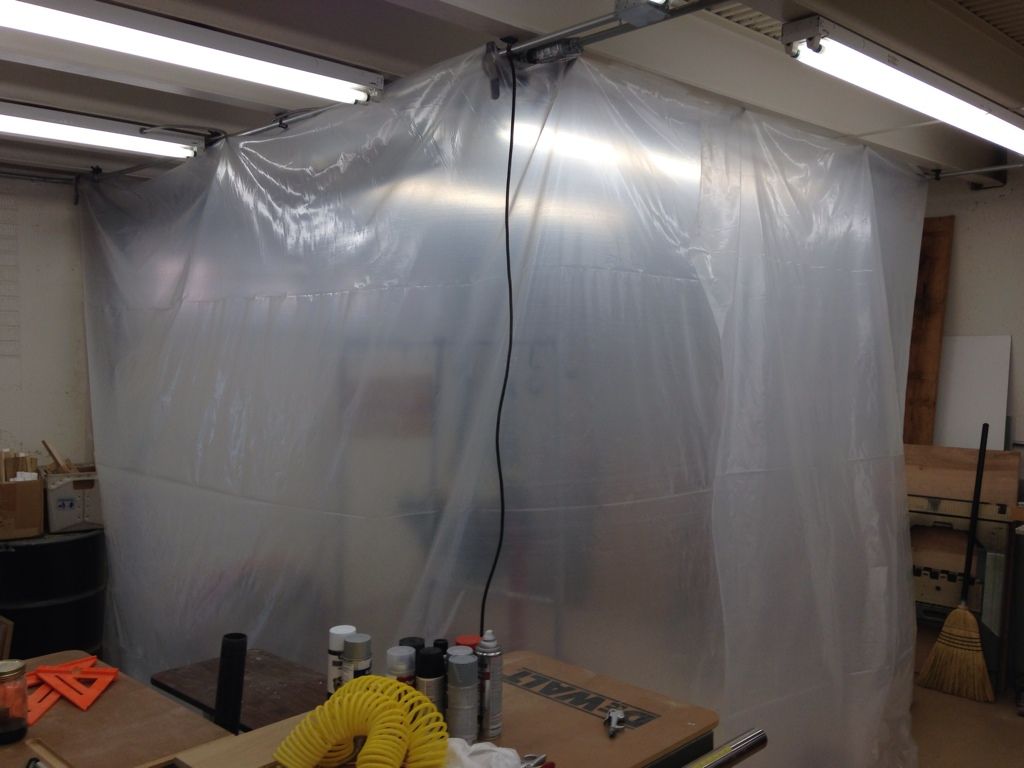 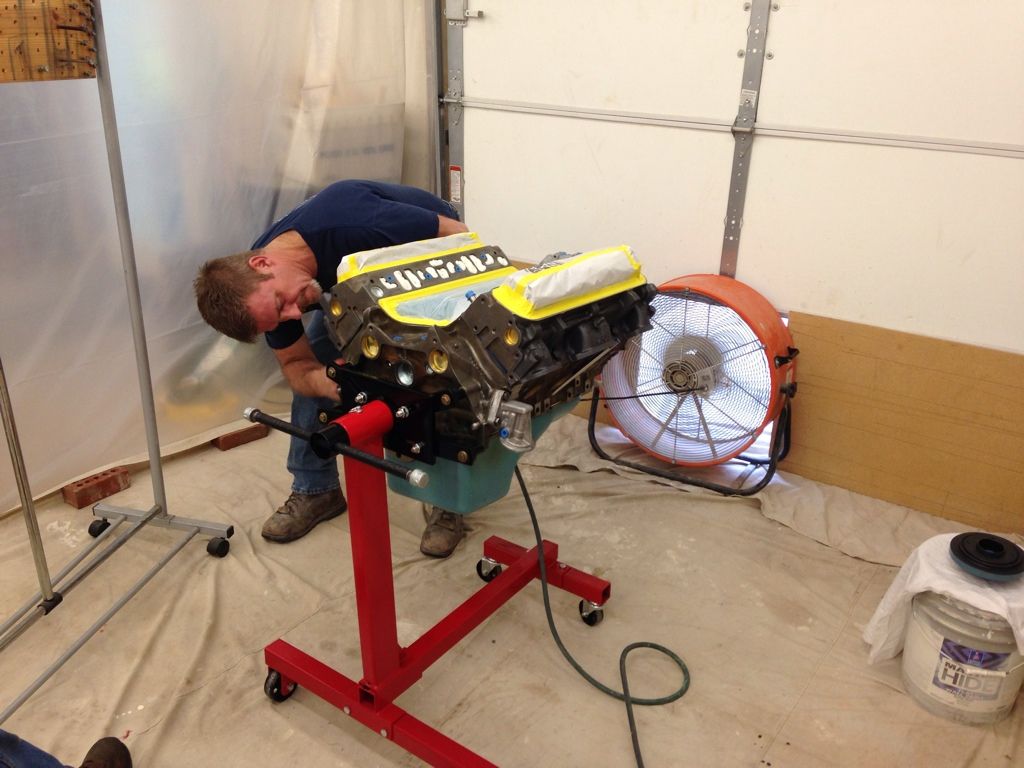
|
| The Following User Says Thank You to Bentwheelbob For This Useful Post: | ||
|
#147
11-10-2013, 12:54 PM
|
||||
|
||||
|
Those nuts look like 73 - up nuts?
__________________
John Wallace - johnta1 Pontiac Power RULES !!! www.wallaceracing.com Winner of Top Class at Pontiac Nationals, 2004 Cordova Winner of Quick 16 At Ames 2004 Pontiac Tripower Nats KRE's MR-1 - 1st 5 second Pontiac block ever! "Every man has a right to his own opinion, but no man has a right to be wrong in his facts." "People demand freedom of speech to make up for the freedom of thought which they avoid." Socrates |
|
#148
11-10-2013, 01:15 PM
|
||||
|
||||
|
Those lug nuts look original. I replace them with a Gorilla nut ( one piece) with an extra wide contact lip. While NOT 100% corrrect, they do look similar, and are much safer.
__________________
"The Future Belongs to those who are STILL Willing to get their Hands Dirty" .. my Grandfather |
|
#149
11-10-2013, 01:49 PM
|
||||
|
||||
|
Quote:
|
|
#150
11-10-2013, 01:56 PM
|
||||
|
||||
|
Quote:
__________________
"The Future Belongs to those who are STILL Willing to get their Hands Dirty" .. my Grandfather |
|
#151
11-10-2013, 02:20 PM
|
||||
|
||||
|
GORILLA #41178 is what I have been using..on "Honeys". There are others that make these "Buldge" type with a 60 degree seat. ( they do have a small makers mark on one of the flat sides)
here they are at amazon http://www.amazon.com/Gorilla-Automo.../dp/B000CMH48M On ebay, similar http://www.ebay.com/itm/20-Chrome-7-...-/140996292327
__________________
"The Future Belongs to those who are STILL Willing to get their Hands Dirty" .. my Grandfather Last edited by Formulabruce; 11-10-2013 at 02:41 PM. |
| The Following User Says Thank You to Formulabruce For This Useful Post: | ||
|
#152
11-10-2013, 03:00 PM
|
||||
|
||||
|
Those repro capped nuts are the only ones I could find. I hate them with a passion! The first time you loosen them, it distorts the cap and the damn cap comes off and sticks in the socket. GRRRRR. I have yet to find a decent replacement that doesn't do that. The only way I found to keep them on the nut was to use a dab of silicone under the edges of the cap. I don't like the Gorilla nuts as their chrome tends to crack very easily and then they rust. Why can't someone make a nice reproduction???? Every manufacturer just seems to go about 75% of the way and then thinks we won't seem to notice or care.
|
| The Following 2 Users Say Thank You to njsteve For This Useful Post: | ||
|
#153
11-10-2013, 03:12 PM
|
||||
|
||||
|
I have used the Gorilla nuts for many years, wax them before installing. I dont swap my wheels like people with multiple sets do though. The Gorilla "style" nuts are the safest way to go, and have a close original look, and no cover to come off. We stocked a bin of aftermarket long thin , no buldge type of lug nuts at the delership just for the same reason Steve mentioned about the stainless cap comming off. They didnt look good on Honeys but its what worked on many type of wheels, and solid nut.
The Gorilla "Acorn Buldge" style Lug nut ARE available in "Stainless" steel now, gotta search a bit but they can be found. they are 2-3X the cost of the triple chrome plated Gorilla Steel nuts. here is link to some, http://www.ebay.com/itm/20-GORILLA-S...5fffa3&vxp=mtr
__________________
"The Future Belongs to those who are STILL Willing to get their Hands Dirty" .. my Grandfather Last edited by Formulabruce; 11-10-2013 at 03:18 PM. |
|
#154
11-10-2013, 03:15 PM
|
||||
|
||||
|
The original GM capped nuts on my white 73 are crimped at the base so that they can't come off. That seems to be the one step that repro manufacturers neglected to do.
|
| The Following 2 Users Say Thank You to njsteve For This Useful Post: | ||
|
#155
11-10-2013, 03:23 PM
|
||||
|
||||
|
Quote:
Techs not using the correct fitting socket on their air gun can easily ruin originals, yes Im guilty. I do prefer a buldge seat on a old, worn wheel. Doubt we will see any prefect repops
__________________
"The Future Belongs to those who are STILL Willing to get their Hands Dirty" .. my Grandfather |
|
#156
11-10-2013, 03:32 PM
|
||||
|
||||
|
I have switched over to using an old, hand operated, four-way lug wrench that has a forged, tight fitting socket, and have not had any problems since. You're right about the modern air gun and socket problem. Most places have those damn, one-size-fits-most, metric sockets that do the damage.
|
| The Following 2 Users Say Thank You to njsteve For This Useful Post: | ||
|
#157
11-10-2013, 03:40 PM
|
|||
|
|||
|
Jumping back a bit... sometimes it's just too cold to paint outside -- or it's windy, or buggy or leaves are falling. Fall is usually the best time -- temp. and humidity-wise.
|
|
#158
11-10-2013, 04:53 PM
|
||||
|
||||
|
Especially out on the western frontier....
The nice thing about the "paint booth" is that it is never too hot, cold, windy, rainy....I am blessed to have the space I have to indulge my obsessions. |
|
#159
11-10-2013, 09:58 PM
|
||||
|
||||
|
All right, the paint has been flying and the wheel are looking pretty nice. I ended up going ahead and sanding them down with medium grit 3M sanding pads. This helped even out the existing finish and knock down any dust knibs and pre-existing flaws. I didn't get them all by any means, but I got a lot of them. There were a couple of cracks and a few holes that I filled in with flexible/sandable 3M filler first. Once all this was done I applied several coats of adhesion promoter. After letting this dry for about 10 minutes I starte applying the OER magnesium wheel paint. I used this on the honeycombs on the Red Car and thought it was fantastic. I've never used the OEM, but can't imagine it is any better than the OER. Especially when you can get the OER FOR $16.99 per can and there is no 3 can minimum like with OEM. You need to spray the last several coats from about 2 feet away to just dust the wheels. This helps give them better texture and a more even finish. Here are a few pictures.
Wheels prepped and ready  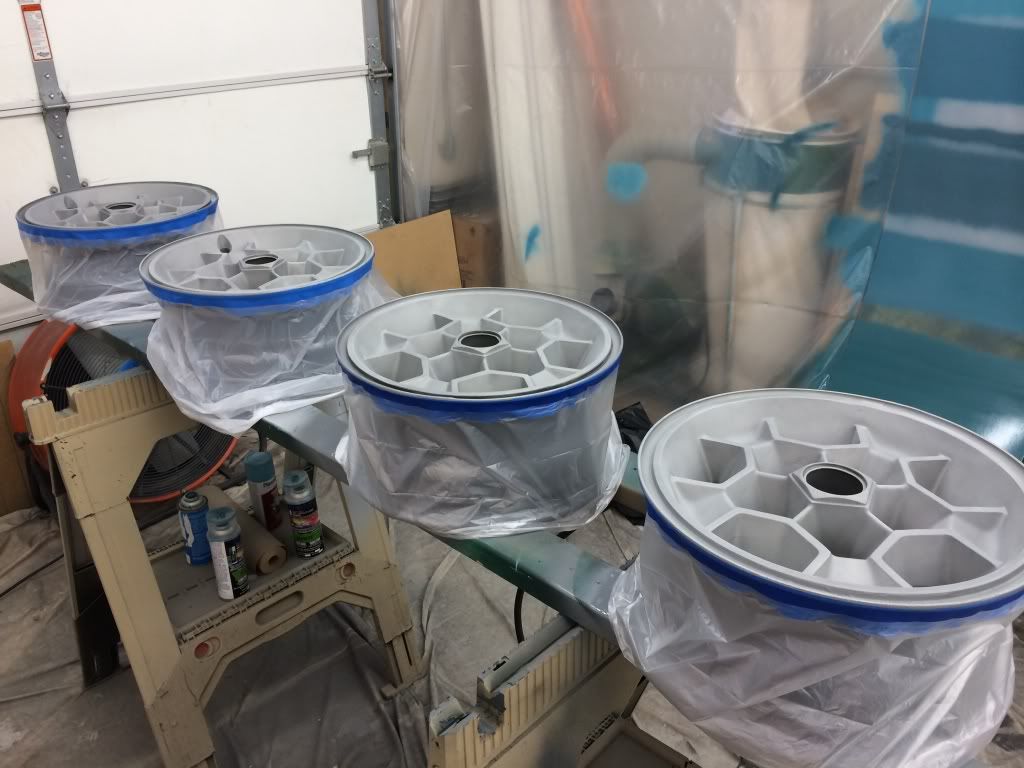 Wheels with finished paint 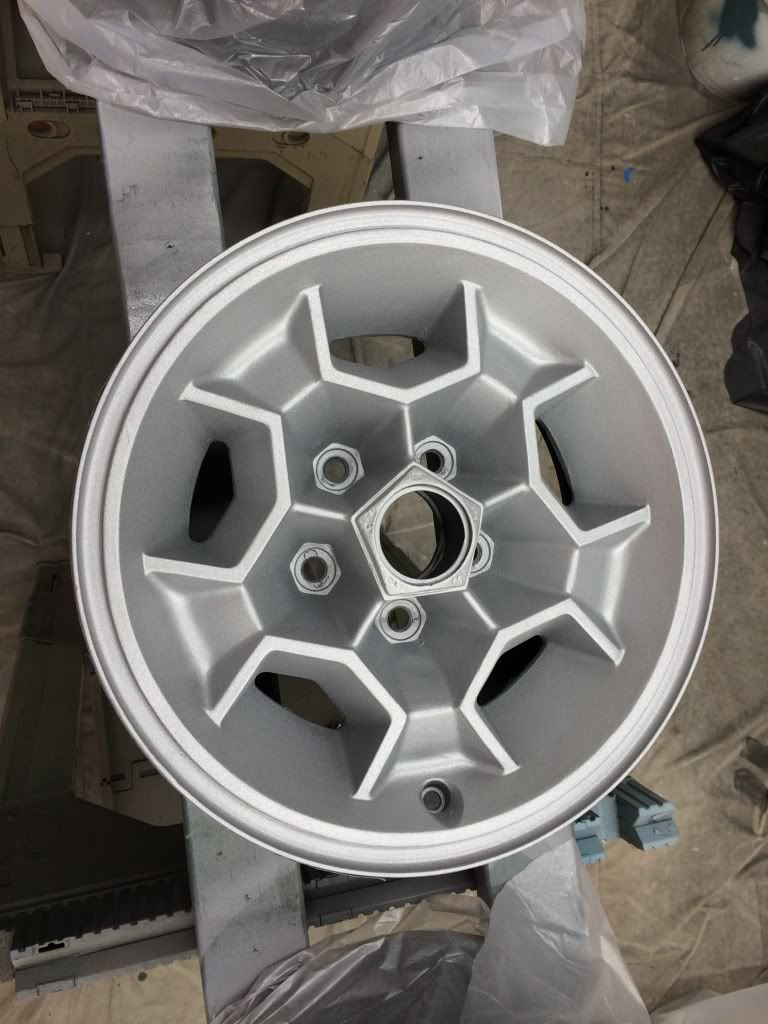 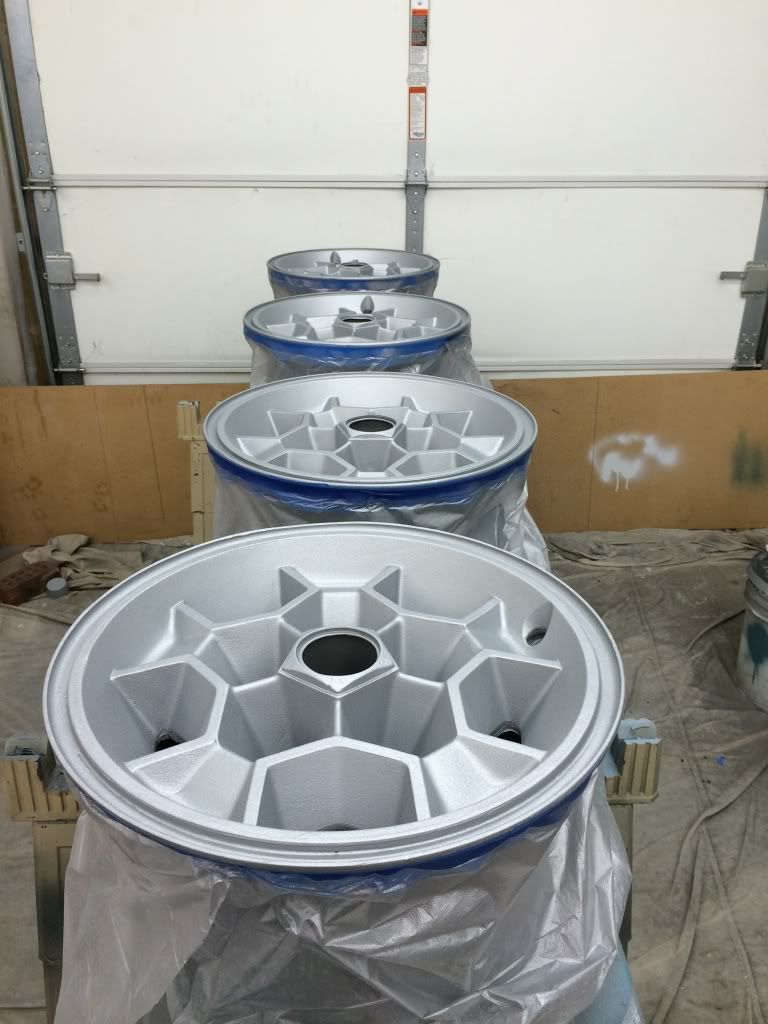 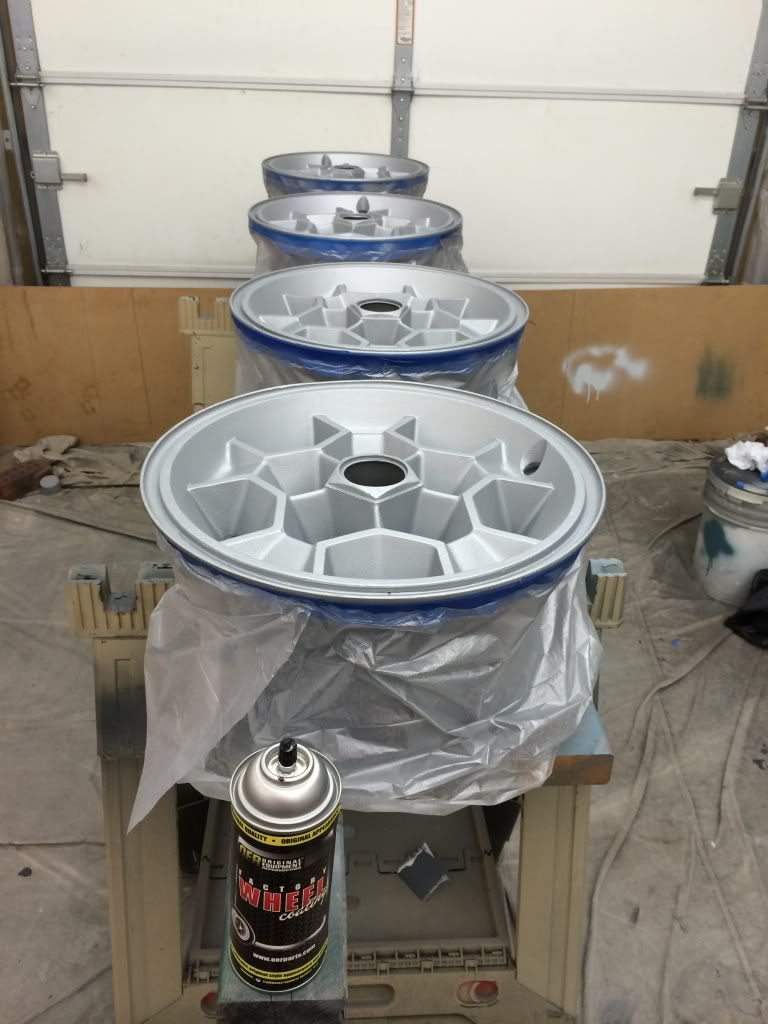 Tires cleaned and ready 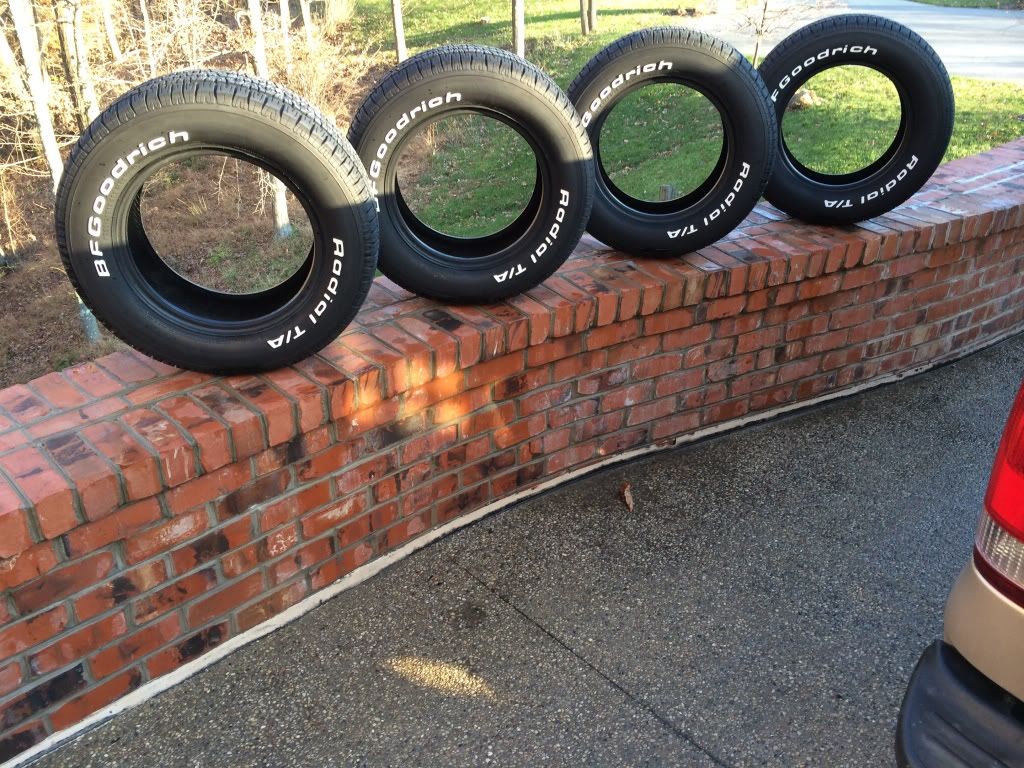
|
|
#160
11-11-2013, 01:45 AM
|
||||
|
||||
|
sweet!! the original look is all there on the wheels.
__________________
"The Future Belongs to those who are STILL Willing to get their Hands Dirty" .. my Grandfather |
| Reply |
|
|
The PY Online Forums is the largest online gathering of Pontiac enthusiasts anywhere in the world. Founded in 1991, it was also the first online forum for people to gather and talk about their Pontiacs. Since then, it has become the mecca of Pontiac technical data and knowledge that no other place can surpass.


 Linear Mode

