


| FAQ |
| Members List |
| Social Groups |
| Calendar |
| Search |
| Today's Posts |
|
#21
 11-17-2018, 11:21 AM
|
|||
|
|||
|
Quote:
Quote:
I'm so confused now. They are not what I thought the stock covers look like, but they are what my new covers look like. In a couple of my pics above you can see just a bit of what was left of what I thought was a factory hinge cover. It looked like a vinyl sock that went over the hinge. So if that is a plastic step washer that must be the same as the window crank washer. Any clue where to source that pin that holds the cover on? So the hinge pin doesn't stick through the cover? I was about to drill a hole through it. Glad I didn't. I will have to do some fitting and figure it all out. |
|
#22
11-17-2018, 01:40 PM
|
|||
|
|||
|
Well, I started taking the cover off the drivers side seat back, and the inboard side if the frame fell right out. Thats both sides that need rewelding. In holding the cover, it fells thick and heavy. I hope the new ones are somewhere near the same quality. The stitching, the piping, the material, all substantial.
It looks like the springs are not good. They got twisted out of shape after years of use with the broken frame. I saw a Chevelle site that sells a repro bench seatback assembled spring. Might have to check that out. I was looking for a vendor for those pins. No luck yet. I found a product ID inside the cover. The last digit (6) is mostly missing. 23507T216. Pontiac Tempest Custom (07 Sport Coupe, but fits all 2 doors) Tempest Metallic Red. |
|
#23
11-17-2018, 04:04 PM
|
|||
|
|||
|
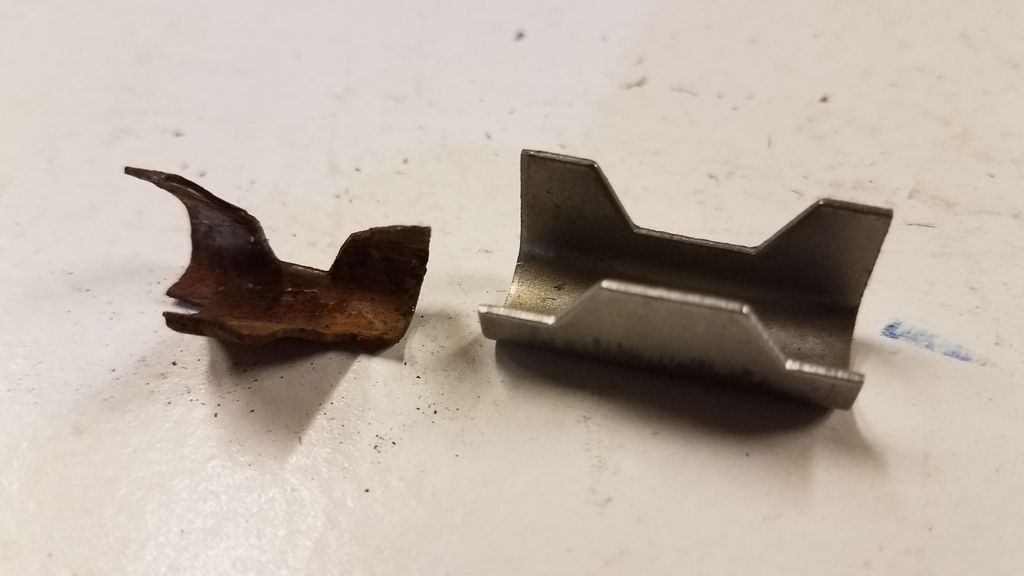
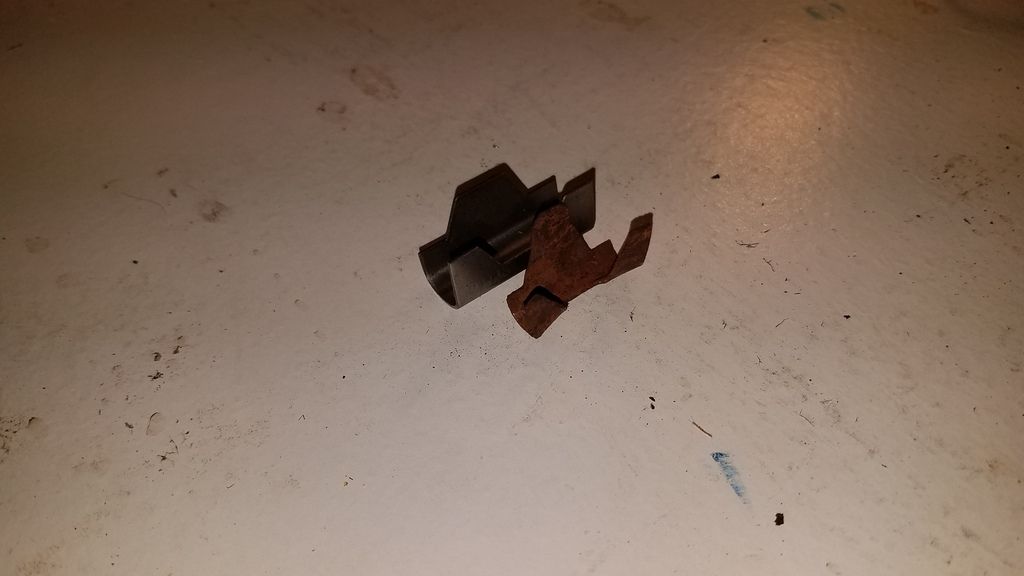
Heres a few pics of the stripped down seat. I believe that the metal strip protects the upholstery from behind and helps to define the corner.
Ive gots dozens of pictures, so if you want some then send me your email Id be happy to send them over. There must have been 60 or more hog rings in the garbage bag when I was done stripping the upholstery. They hog ringed the burlap panel, then the mesh backed cotton batting pad, a felt strip at the top of the spring assembly, and finally the cover. |
|
#24
11-17-2018, 06:09 PM
|
|||
|
|||
|
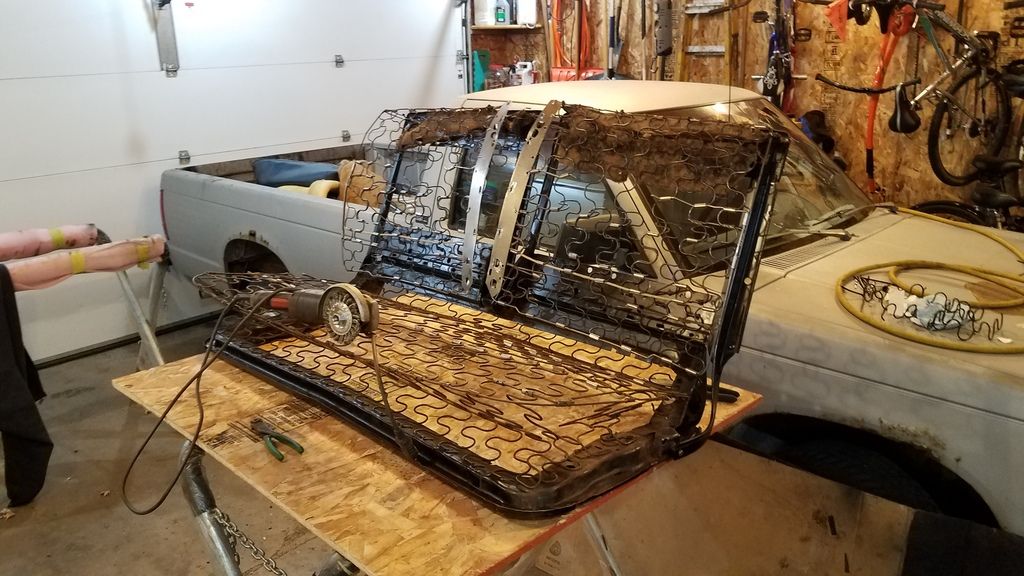
Pics of the frame stripped and literally broken down as requested. I can actually stand up the spring set like a picture frame with the broken springs out back. Let me know if you need anything else rohrt. Thanks so much for inspiring me to finally get to this. Thats it for me for now. Im looking forward to seeing your progress.
|
|
#25
11-18-2018, 04:56 PM
|
|||
|
|||
|
Wow nice work pulling them all apart like that.
Could I have you measure the width of the seatbacks top and bottom from edge wire to edge wire. I'm either getting 22.5 or 23 its hard to tell with the edge wire complete rusted away. I would gladly swap seats with ya. You got it easy if all you need to do is weld the frame back together. So the back of my hinge covers look like yours. Where the push pin goes in I don't see any lip. How secure is that pin? I was thinking of maybe just using a plastic push bolt you can kind of see in the background. Does the seat fabric cover some the hing so it wont pop off??? 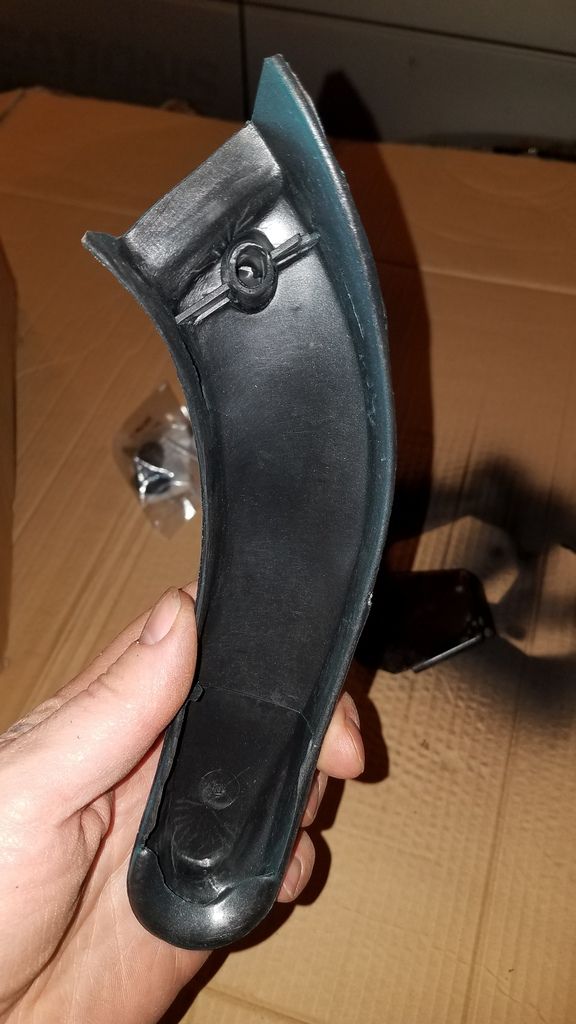 I spent a couple hours trying to recreate this thing. No idea how it really helps but there must be a reason. 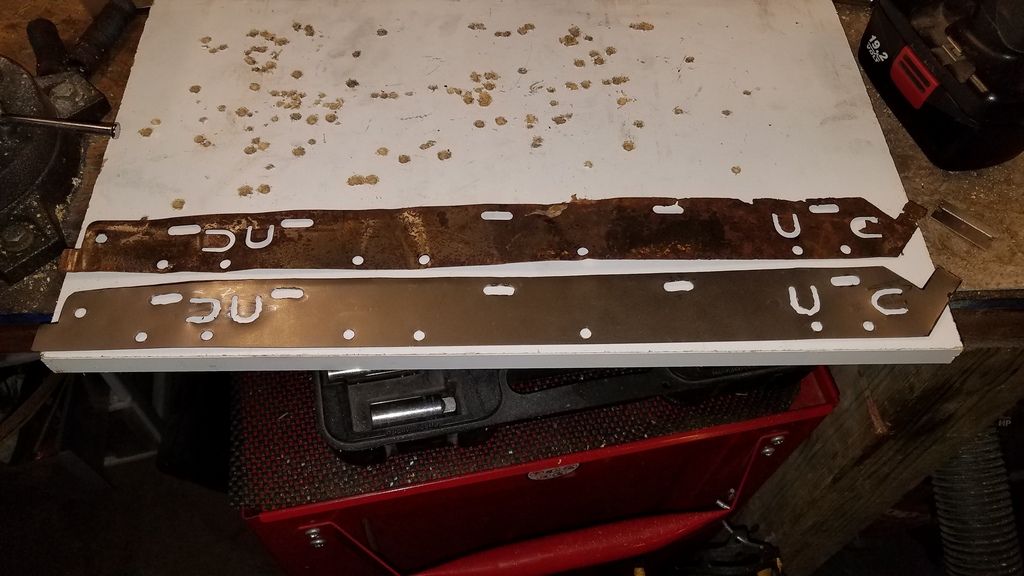 I bent out my lower edge wire. I sure hope i'm close enough on the measurements. Thus why I was asking about the measurements. 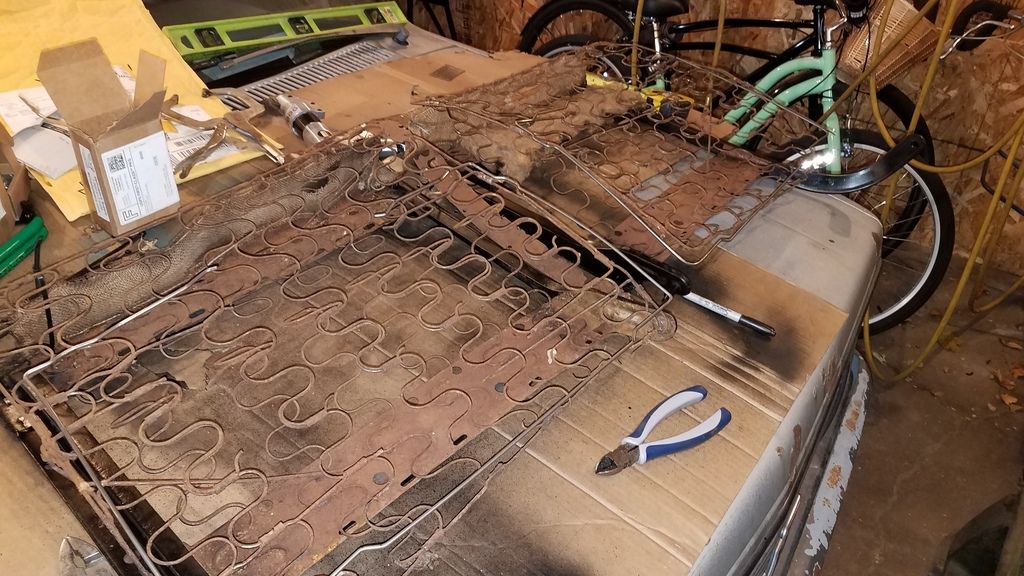 Here is the big question. Does your seat have the seat belt listings??? I'm thinking they have to come through like this but I don't see any screws for them to attach to.. 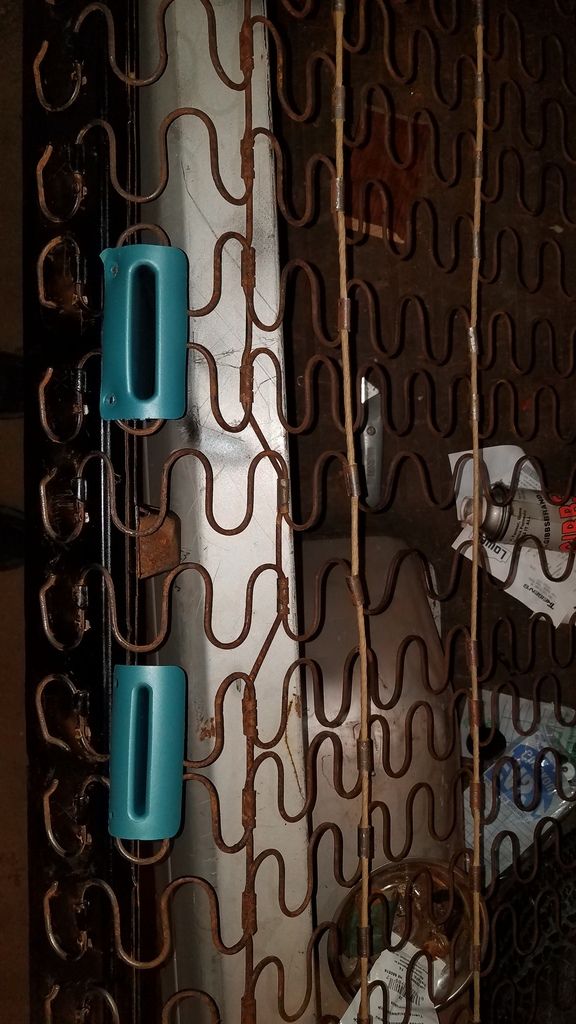 I made my own spring benders verses spending another $60 for them. 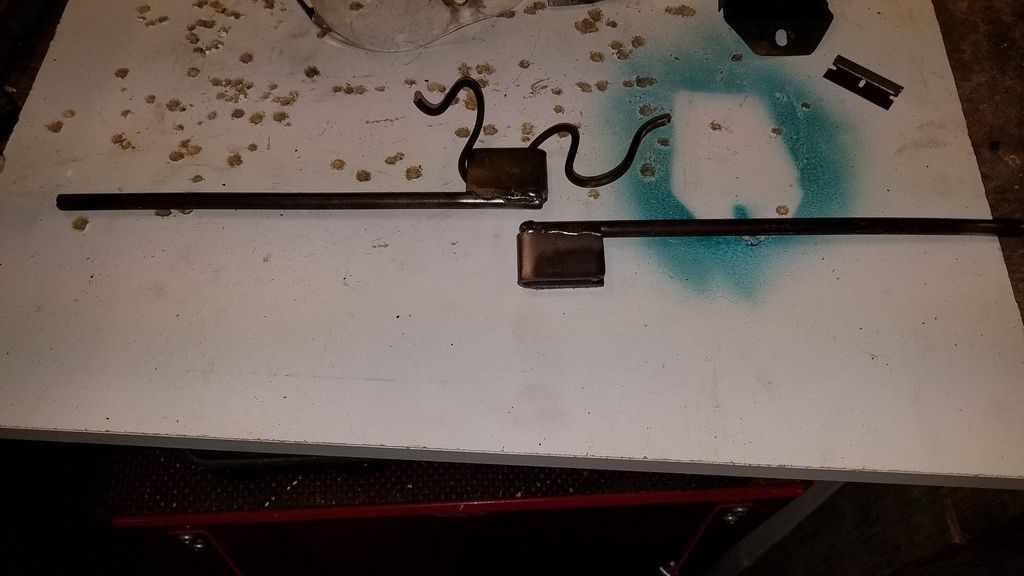
|
|
#26
11-18-2018, 06:32 PM
|
|||
|
|||
|
Just got done bending up the reinforcement kicker springs that Ben Rambo recommended. My home made spring benders work great and I can stick them in the vice as an extra bonus.
Just waiting on my 3 prong crimper and I should be able to make some progress. I'm know ben only recommended the kicker spring but I wonder about the springs along the front too. 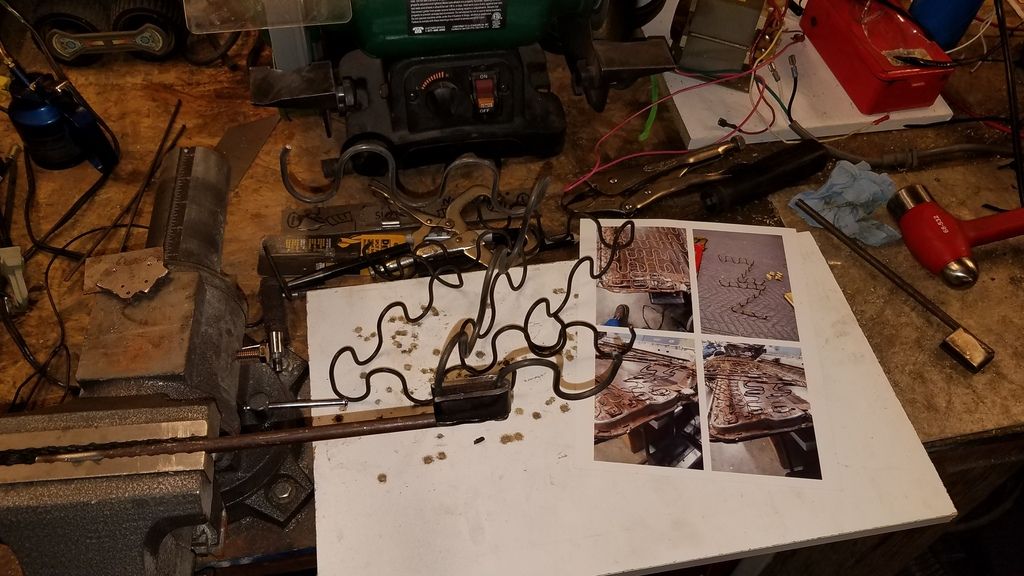
|
|
#27
11-19-2018, 03:05 AM
|
|||
|
|||
|
Oh that's great about those home made benders. Those things are 100.00 plus tax here. I'm wondering about a home made end former: I can see that the tweaked end of the spring is part of the way everything works together.
It looks like the hole for the push pin in the back of your cover is kind of stretched out. And is it a black cover that's been painted? If so, it's likely aftermarket. The good news is that you can get the same ones and paint them again. I found these ones but I don't know if there are others. They come with the pins. They just seem to stay there once on the hinge. The one end is like a foot in a slipper. https://www.ebay.ca/itm/1966-72-Chev...5:pf:0&vxp=mtr I have yet to strip the good seat back and the base to get you a proper dimension and the detail on that seatbelt passthrough. I can tell you that it wasn't east to pass the buckles through when I was putting the new seat in, and it was a real bugger trying to push them out when I was removing the old seat. You really need a lot of patience but they will go through. The factory must have had some kind of tool to do this. Also, probably easier to do it when the seat is out of the car and then just bolt the belt ends at the floor after. It looks like the replacement spring sets are discontinued. Bummer. Oh well, the springs from my local upholstery shop are 4 bucks each. https://www.ecklerschevelle.com/chev...1964-1967.html |
|
#28
11-19-2018, 11:40 AM
|
|||
|
|||
|
Yeah I have some roller skate bearing I was thinking of using to make the end former but the vice and a hammer work fine for me.
My hinge cover is what the aftermarket sell. Yes I dyed mine to match. Mine have never been used yet so you get what you get. Thanks for that link. I'm going to dig into that more. If they sell that pin with the covers they must sell that alone to. To bad OPG didn't sell them together. very interesting link. I had no idea that this seat back part was ever made separate. Funny thing is the part is upside down in the pic. But that assembly is what I need the width dimensions on too. It looks like it slightly narrows at the bottom. I found a canada supplier that may still have them in stock. I may just go that route if it works out. https://www.ecklerschevelle.com/chev...1964-1967.html As for the seatbelts. I removed mine so the upholstery guy can put them in. |
|
#29
11-19-2018, 08:38 PM
|
|||
|
|||
|
Here's the measurements that you asked for. I'm fairly close to what you have: 22 3/8" at the top, and 22 7/8" (+/-) at the bottom. I don't see any evidence of them being distorted or stretched out.
|
|
#30
11-20-2018, 01:25 AM
|
|||
|
|||
|
I got my frame cleaned up and ready for welding. I'm considering beefing up the areas that broke. The metal is surprisingly thin.
|
|
#31
11-20-2018, 12:49 PM
|
|||
|
|||
|
Thanks for the measurements. That does help.
Your frame look nice and clean. Did you have them blasted? I was able to track down the pins. The proper name is "seat hinge cap retainers / clips" Hope these are correct. I will order them soon. https://www.classicindustries.com/sh...rts/seat-trim/ Product # K114 1967-70 Camaro / Firebird Bucket Seat Cover Fasteners - Pair I made some calls on the seat back springs both to Eckler and a place in Canada showed having them. The supplier no longer has them. The Canadian supplier got them from the same vendor and wasn't aware they were not available. Would like to know who the supplier was. Ecler was looking for a new vendor but I'm not holding my breath on that. I would have much rather purchased those spring for that price then do the work I'm doing now to bring them back from the dead. |
|
#32
11-20-2018, 06:14 PM
|
|||
|
|||
|
I was hoping for those springs as well. I believe that the supplier was a company called Ted Williams Enterprises. I couldn't find anything on them. Looks like we'll have to do it the old fashioned way.
I just used a wire wheel to clean up he frame. I was surprised at how well it turned out. That looks like the correct hinge cover pins. |
|
#33
11-24-2018, 11:26 PM
|
|||
|
|||
|
These new 3 prong clips are worthless. I reused most of the old clips and used BW clips everywhere else. When I tried the new clips they were very loose and the expensive crimper is horrible
  Spent a whole saturday to complete one seatback today. I got pretty efficient at bending up the springs at the end of the day. 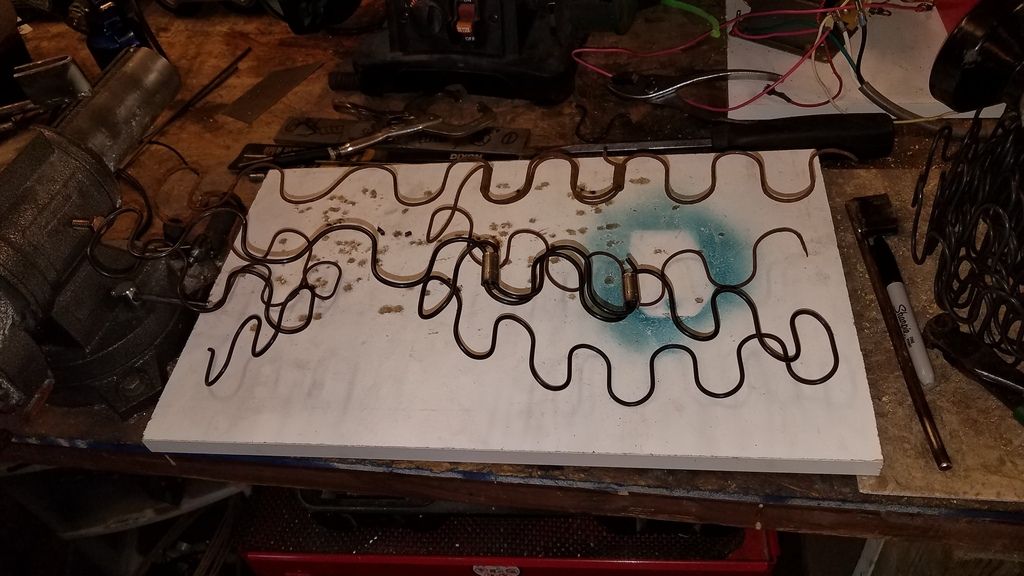 This is my finished product. Added the tie wire for a little more lumbar support. The new springs a just a little thicker. I'm pretty happy with how it feels, but anything would have been better then what I had. The left side looks a little low but it measures out right on the dot. 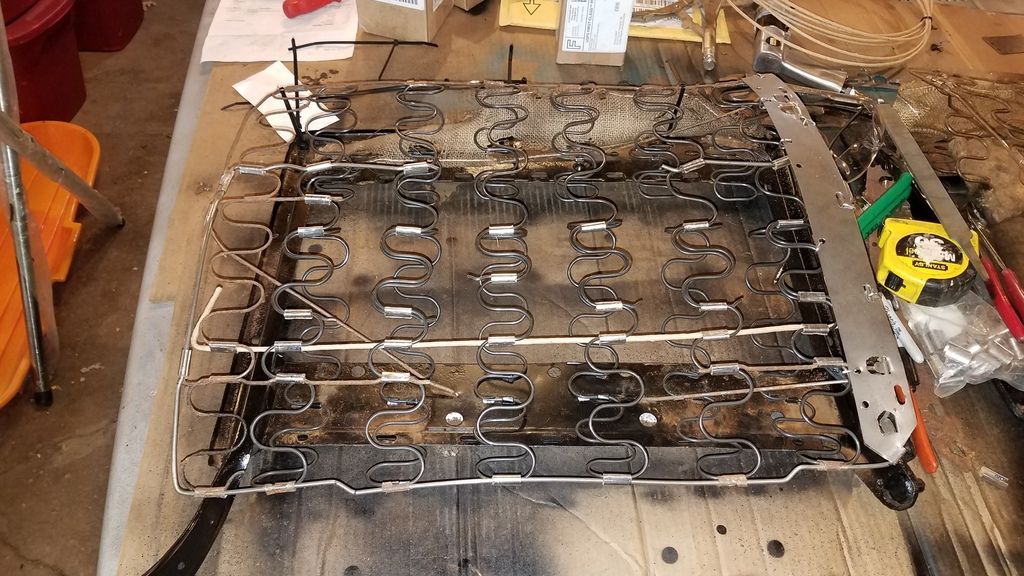 Before/After comparison. 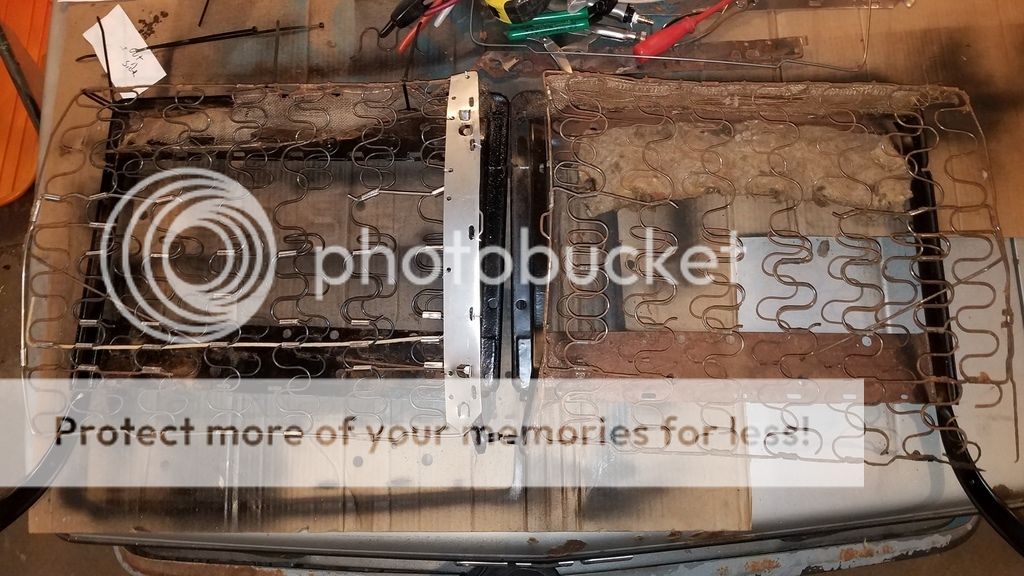
|
|
#34
11-25-2018, 10:12 AM
|
|||
|
|||
|
Looks great.
|
|
#35
11-26-2018, 07:44 PM
|
|||
|
|||
|
Nice work Ryan!
I like the homemade bending paddles! I've had the same experience with the 3 prong clips available. I like the BW clips better, but even with those I pinch one side a little bit first so they are nice and tight after closing them up.
__________________
Ben R. 2004 GTO - the daily 1966 Olds 442 - the toy 1953 Chevy 5-Window Truck - the heap |
|
#36
12-10-2018, 03:57 PM
|
|||
|
|||
|
I have both seat backs completed. Now I need to figure out what to do with the seat bottom.
|
|
#37
12-10-2018, 04:21 PM
|
|||
|
|||
|
Looking good.
Question: What do the backs of your covers look like for the seat backs? I tried to get a hold of PUI but they never responded. I'm curious to see if the backs have the same pattern as the originals. The back of the original covers in my '66 have horizontal lines embossed in them. Thx. |
|
#38
12-10-2018, 04:25 PM
|
|||
|
|||
|
Quote:
Typically though, the backs are also correct reproduction of the originals, so if there were lines, or special grain used, their repops have them too. at least in my experience with other model's bench covers- though I have not specifically seen GTO bench covers to be positive.
__________________
Ben R. 2004 GTO - the daily 1966 Olds 442 - the toy 1953 Chevy 5-Window Truck - the heap |
|
#39
12-10-2018, 06:51 PM
|
|||
|
|||
|
Quote:
Pic of the fronts at least. The only two I took. The two tone doesn't show up very well in the picture. 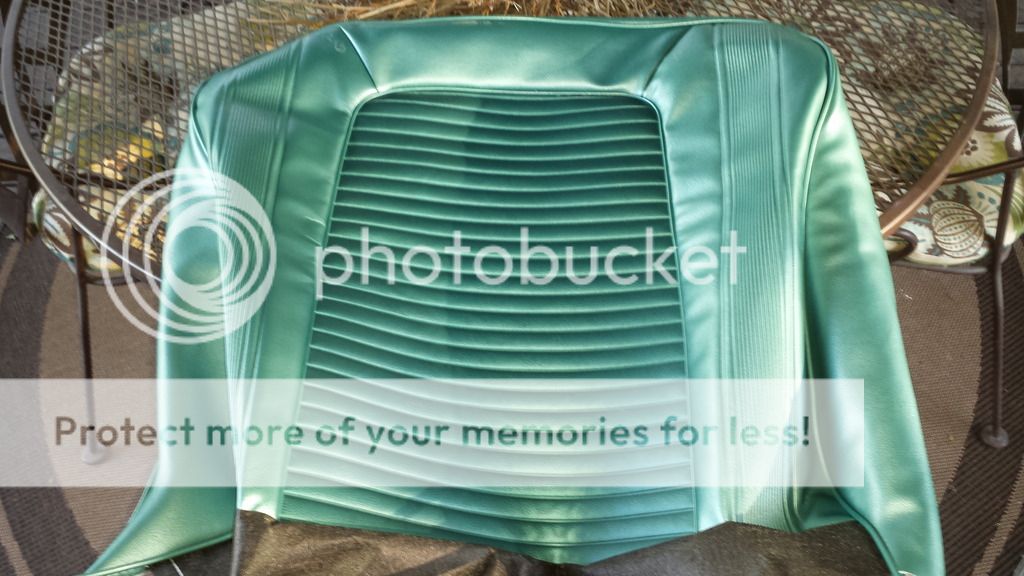 
|
|
#40
12-13-2018, 06:37 PM
|
|||
|
|||
|
Quote:
66 that grey plastic washer. Is that the same as the window crank washer? I see its stepped like one. I found that ecklers sells them. But if its the same as the window crank I can rob them off a junk car. https://www.ecklerschevelle.com/chev...1964-1977.html |
| Reply |
| Thread Tools | |
| Display Modes | |
|
|
The PY Online Forums is the largest online gathering of Pontiac enthusiasts anywhere in the world. Founded in 1991, it was also the first online forum for people to gather and talk about their Pontiacs. Since then, it has become the mecca of Pontiac technical data and knowledge that no other place can surpass.


 Linear Mode

