


| FAQ |
| Members List |
| Social Groups |
| Calendar |
| Search |
| Today's Posts |
|
#21
 02-23-2012, 09:07 PM
|
|||
|
|||
|
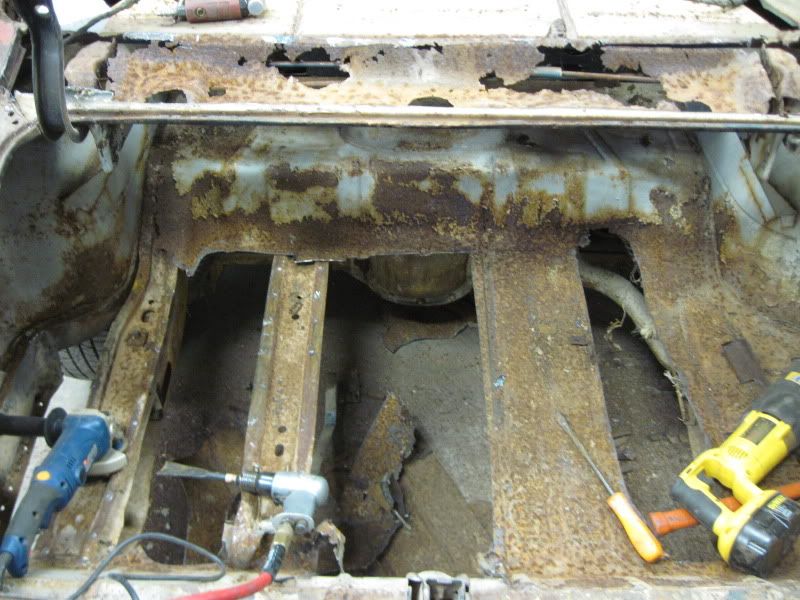
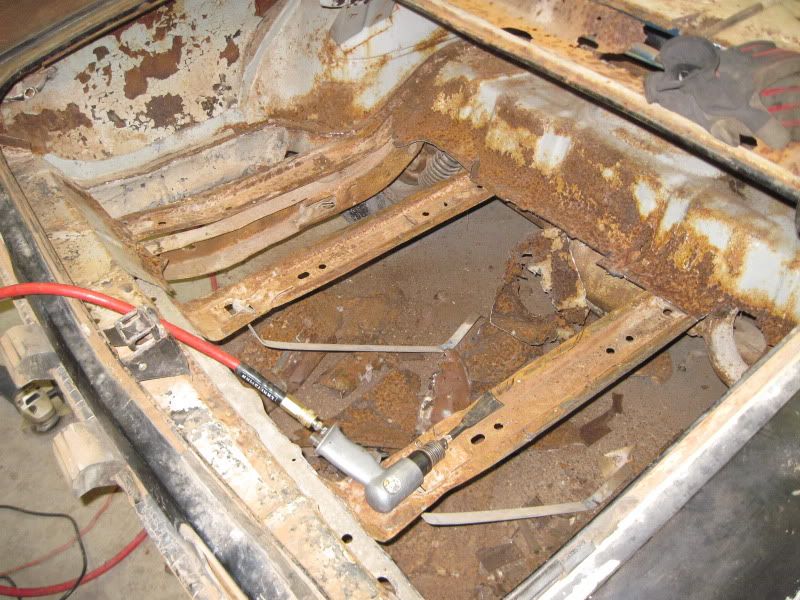
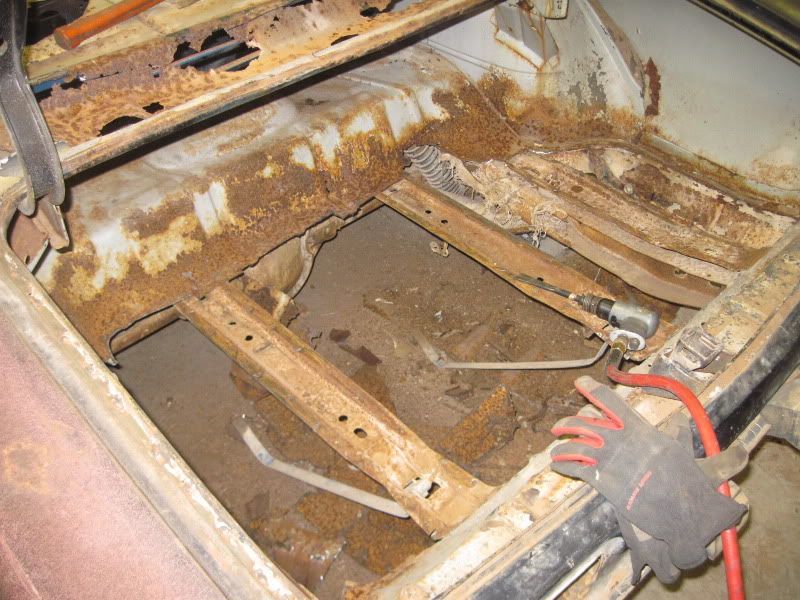
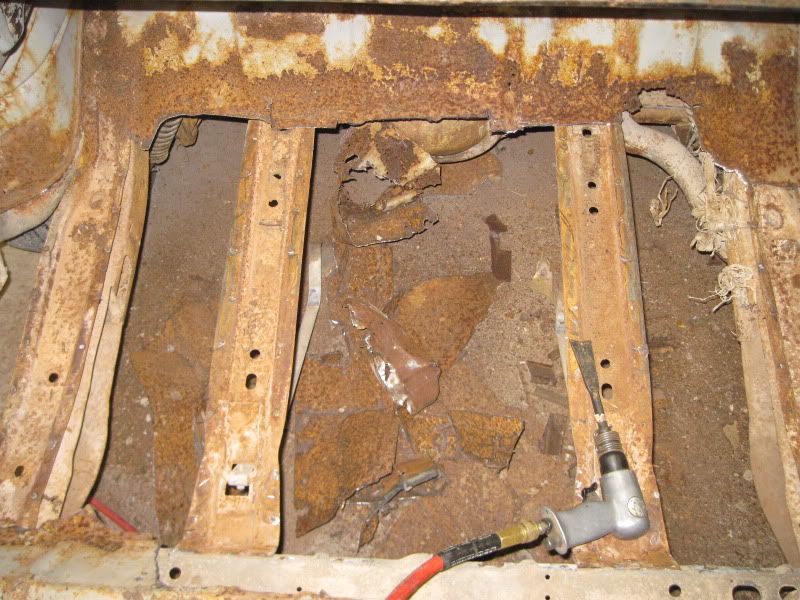
Got a little done during lunch and after work today. Pulled the gas tank and started cutting out the trunk pan. I was starting to get worried about how long it was taking until I got out my air chisel...it was like a big can opener!!!!! Still have lots of trimming to do, but I ran out of cut off wheels. I'll have to hit the hardware store tomorrow so I can get busy on it this weekend.
|
|
#22
02-24-2012, 09:28 PM
|
||||
|
||||
|
I'm having a flashback.

__________________
Greg Reid Palmetto, Georgia |
|
#23
02-25-2012, 10:44 AM
|
||||
|
||||
|
Welcome. Keep the pictures coming.

__________________
1971 Pontiac GT-37 Car is a junk yard dog and maybe one day will be restored. 
|
|
#24
02-26-2012, 02:59 AM
|
|||
|
|||
|
Still Curious as to which "One Piece Trunk" you bought... It it complete with the braces or that piece of **** big center pan that is 5 inches short on each side...
__________________
Paul FAST Automotive -The Pontiac restoration shop, not the fuel injection guys! I had the name first. My site... needs updated- www.fastrestorations.com 68 GTO's (RA II, RA I, HO, convert, Pro Street, Racecar, etc.), 2 69 GTO Judges, 70 GTO racecar -10.77 @ 124mph, 68 Tempest survivor, 3 03 Aztecs! |
|
#25
02-26-2012, 06:42 AM
|
||||
|
||||
|
Looks like he got the one without the center braces...Assuming, since he went through the trouble of preserving the braces.
__________________
Greg Reid Palmetto, Georgia |
|
#26
02-26-2012, 09:32 AM
|
|||
|
|||
|
Quote:
I started working on the rear window channel a little and found that fixing metal in the bends is a PITA. My biggest problem was trying to grind down the welds and metal perfect which was causing the metal to get thin. Then when I'd try to weld up some small pin-holes ...I'd blow right thru it. Grrr... I think I spent two hours on one spot before I got it decent enough to leave it alone. Working on building the upper trunk hinge support panel (area under the rear deck-to-windshield filler panel) today. Figured I'd get that fixed up while I could stand in the trunk area before installing the trunk pan. Pics to come this evening if I don't butcher this up too bad. |
|
#27
02-26-2012, 10:13 AM
|
||||
|
||||
|
Quote:
|
|
#28
02-26-2012, 09:41 PM
|
|||
|
|||
|
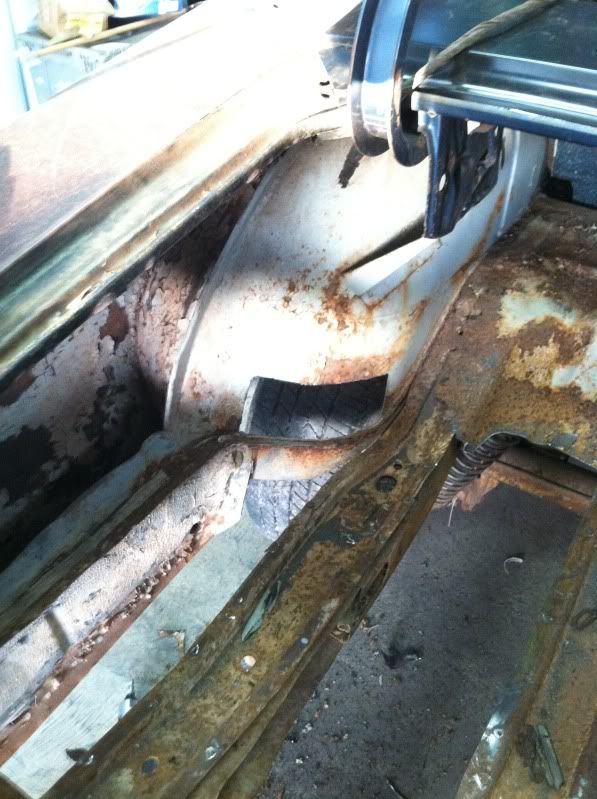
Well... I didn't get near as much done as I would have liked. Here's a few pics of re-doing the rear window channel...the stupid left side took me nearly two hours. The right side took less time and I think came out better. I'm sure there was an easier way to do it that what I did, but I took two peices of metal and used one for the side, and one for the bottom. I tacked them together, and then welded them on the back side where you can't see them. I decided even if there is a small pin hole in my welding, I'm planning on applying some POR-15 Patch to ensure there are no leaks. The RH side came out looking a little better.
I had started trying to fab the back part of the package tray and then got lucky and scored the part I needed off a junk car today!!!!! It's not perfect but much more workable than what I had before. Still have to wire wheel the window channel again and apply some sealer to keep the rust at bay. I know it doesn't look it in the pics, but there was good metal that the patches were welded to and they were cleaned before being welded. Lots of grinding... had rust-dust sitting on top of everything. 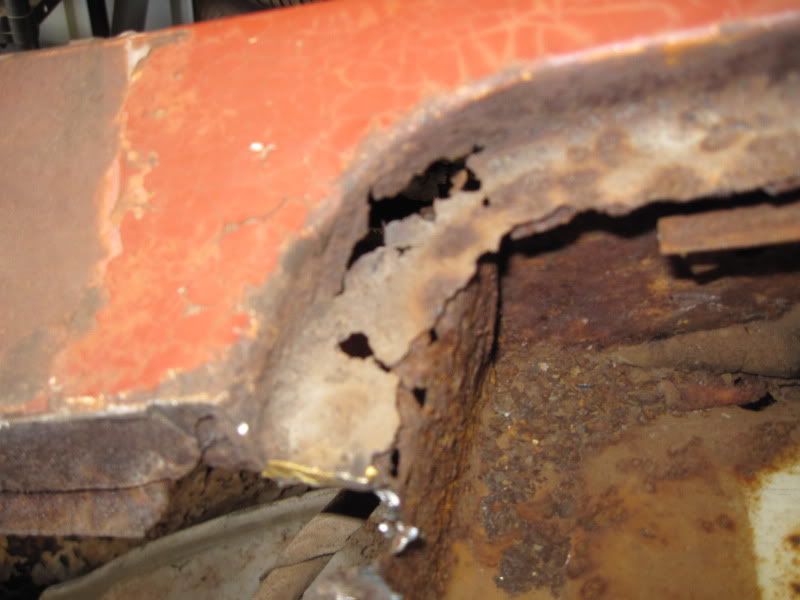 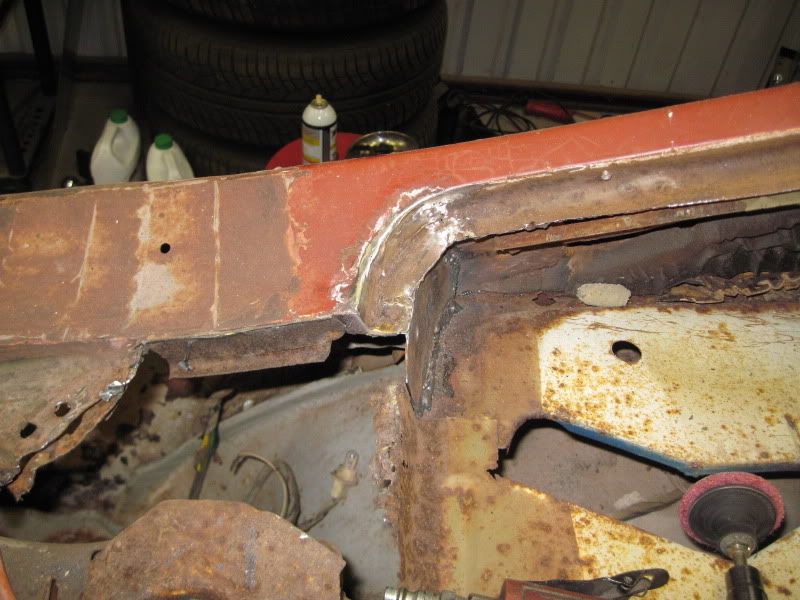  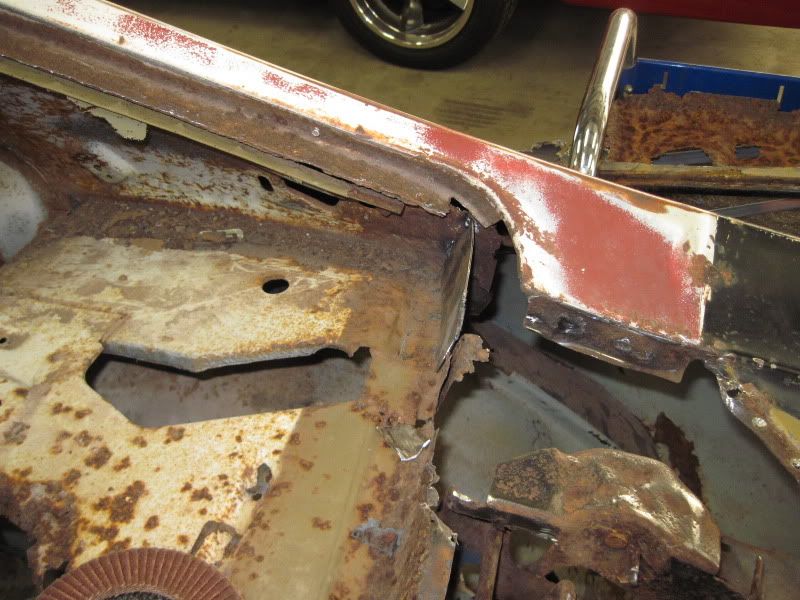 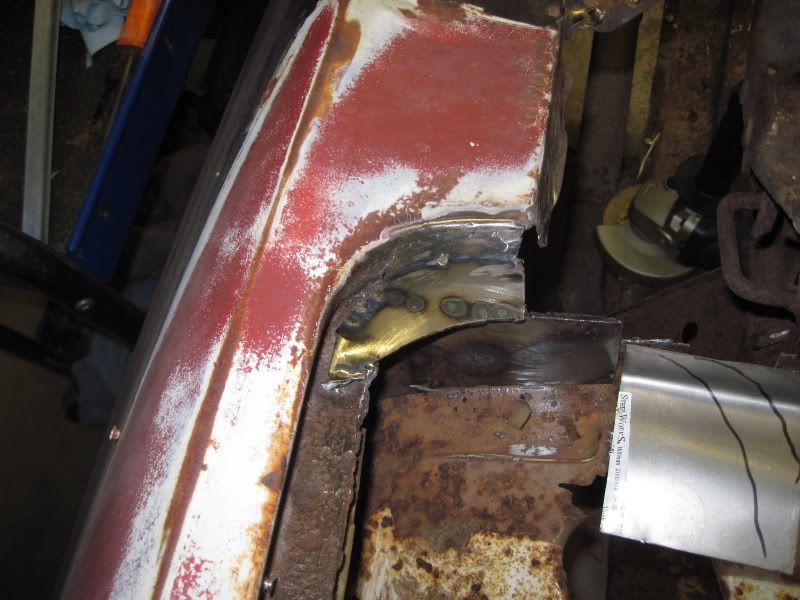 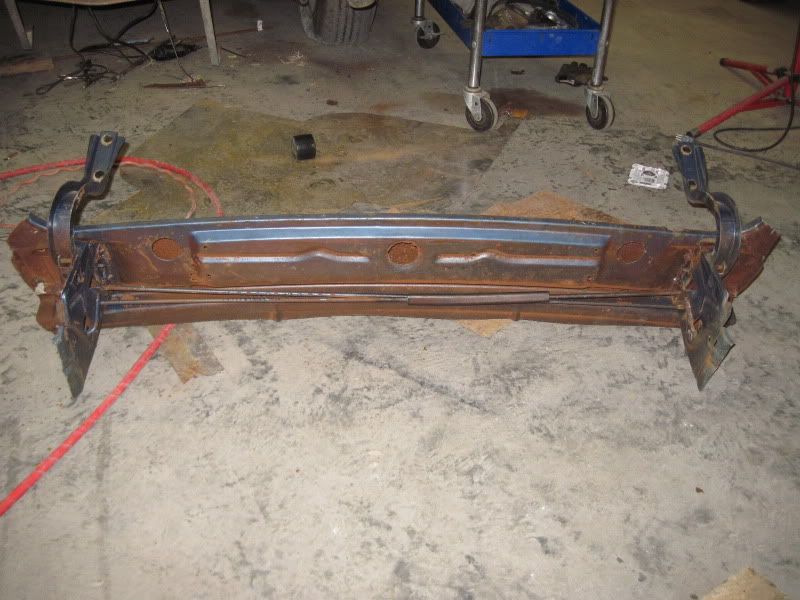
|
|
#29
02-27-2012, 01:41 AM
|
|||
|
|||
|
The Chevelle trunk side pieces are different anyway. You could buy the left and right sides of the 7 piece trunk kit if you wanted. Or fab something to work as you've stated.
At this point it is worth the trouble to fit your rear glass stainless trim if you haven't already... trust me! 
__________________
Paul FAST Automotive -The Pontiac restoration shop, not the fuel injection guys! I had the name first. My site... needs updated- www.fastrestorations.com 68 GTO's (RA II, RA I, HO, convert, Pro Street, Racecar, etc.), 2 69 GTO Judges, 70 GTO racecar -10.77 @ 124mph, 68 Tempest survivor, 3 03 Aztecs! |
|
#30
02-27-2012, 09:41 AM
|
|||
|
|||
|
Paul... I was thinking the same thing. I plan on setting the rear filler panel into position as well so I can use it as somewhat of a guide to make sure everything fits back into place.
|
|
#31
03-03-2012, 10:33 PM
|
|||
|
|||
|
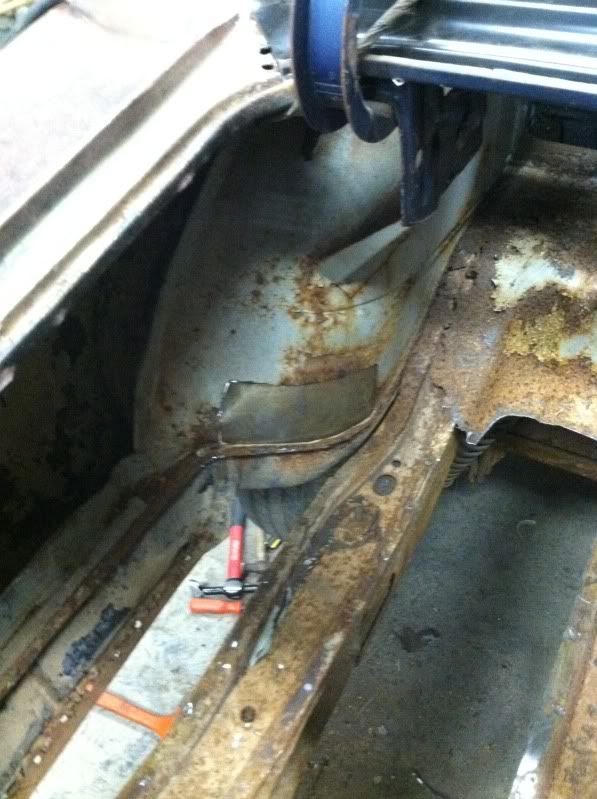
Okay...spent the majority of the day getting my new (used) trunk hinge support panel cleaned up and installed. Not perfect, but you won't see it anyhow. Still have to do a little work to the right side window channel before installing and plug welding the rear filler panel. Once I have it installed, I'll go ahead and do the trunk pan.
I wanted to go ahead and coat the trunk support panel with POR-15 after removing the heavy surface rust. Since I was going to open up the can and waste a brush, I figured I'd better go ahead and wire brush the floor pans and coat them as well. 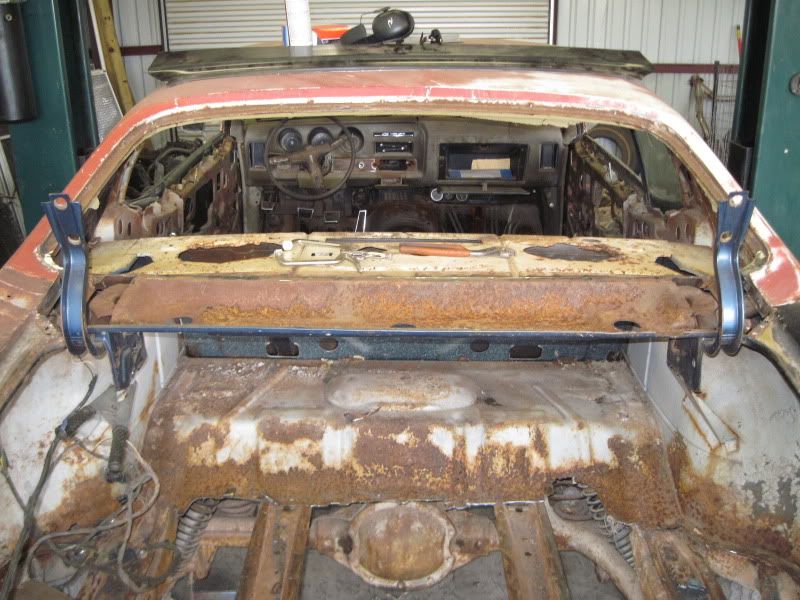  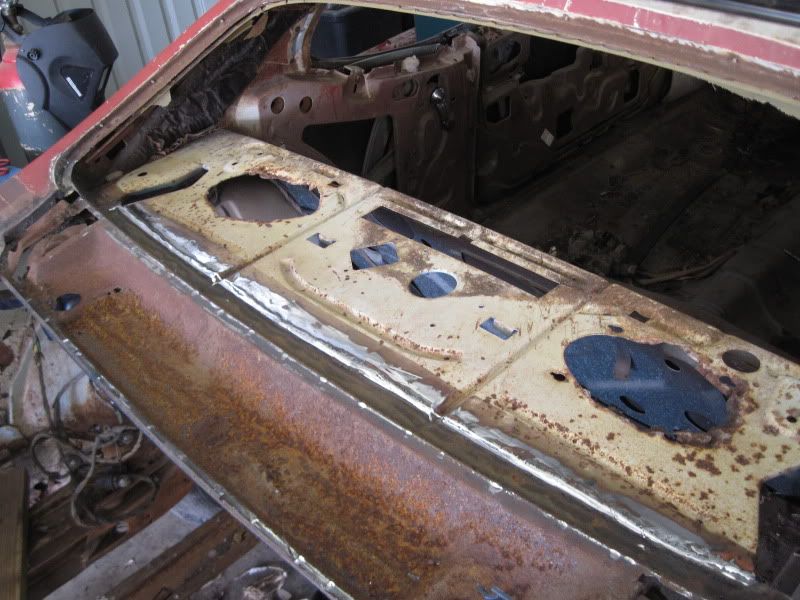 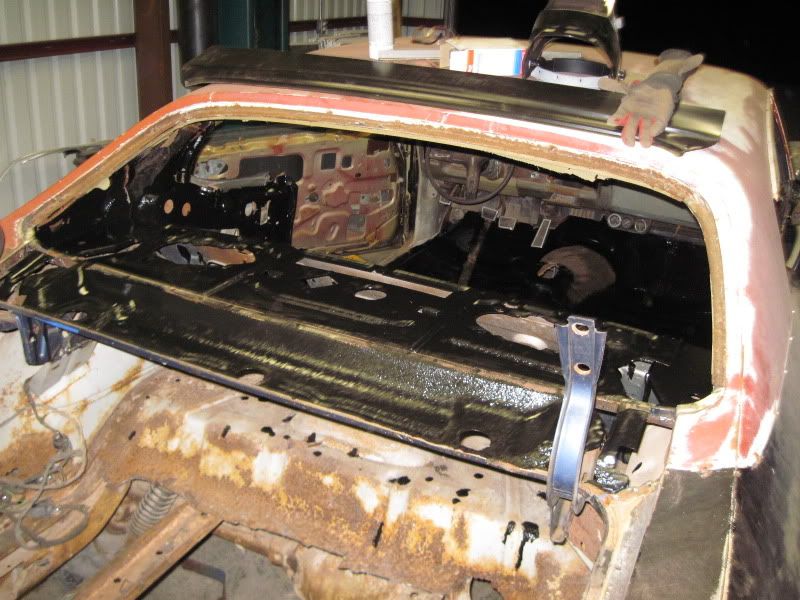 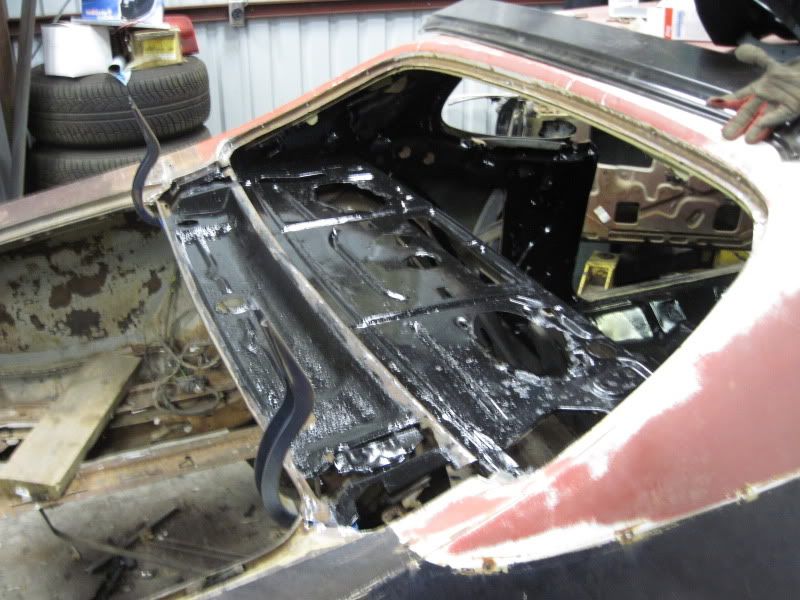 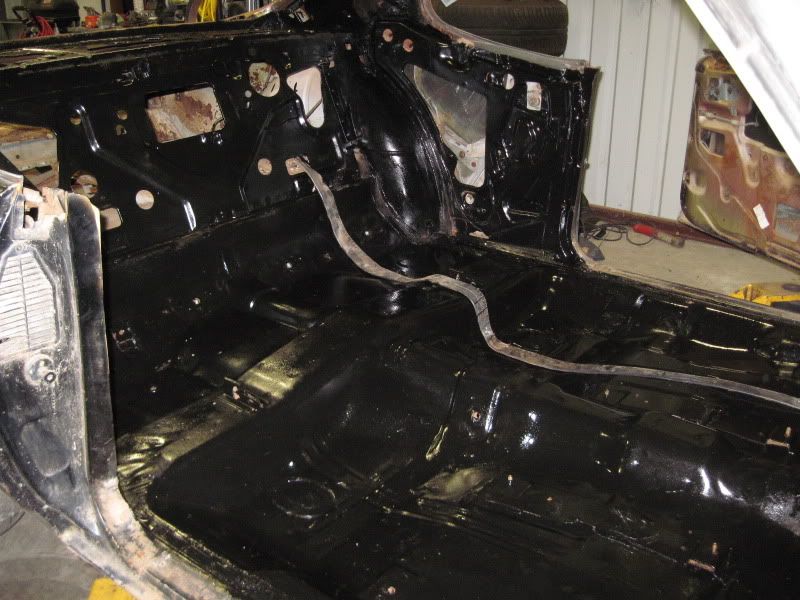 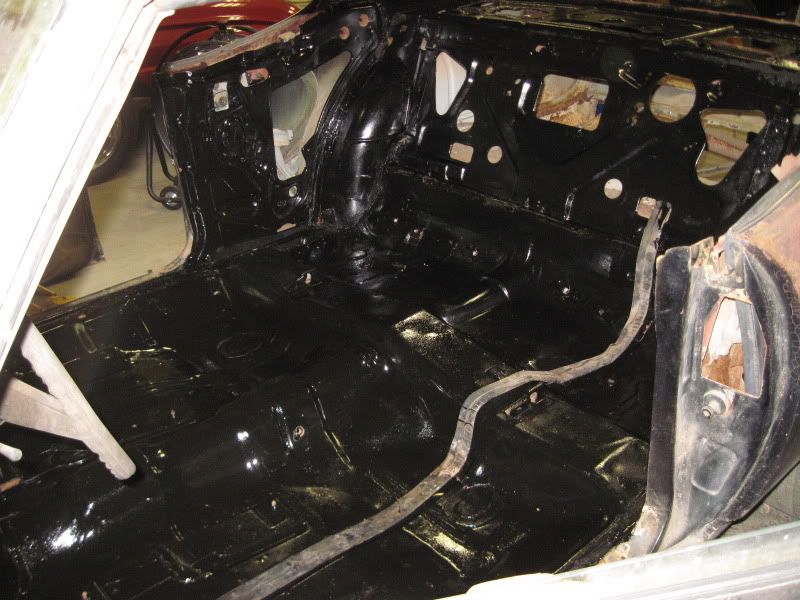
|
|
#32
03-04-2012, 08:27 AM
|
||||
|
||||
|
Looks great!
__________________
 be a simple...kinda man. be a simple...kinda man.
|
|
#33
03-11-2012, 11:30 PM
|
|||
|
|||
|
Got a little more done on the car over the last few days. Built a patch panel for the left rear inner wheel house due to some rust holes.
  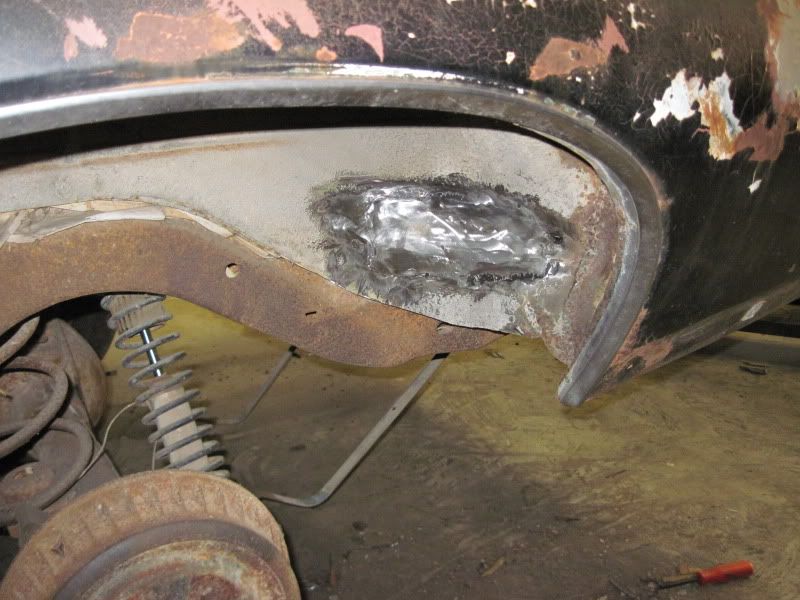 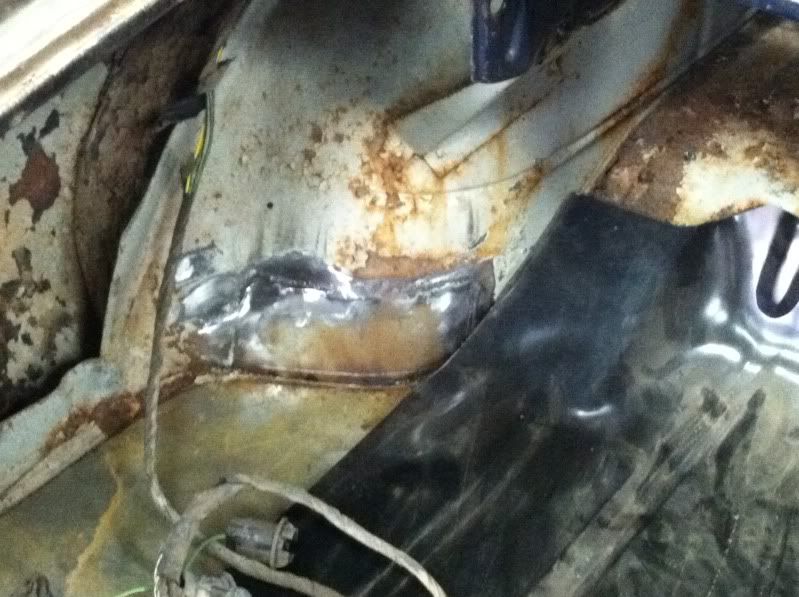 Then I spent a few minutes patching my right front door before getting ready to put the new skin on. Doesn't look too bad, but no one will ever see it once the door panel is installed. 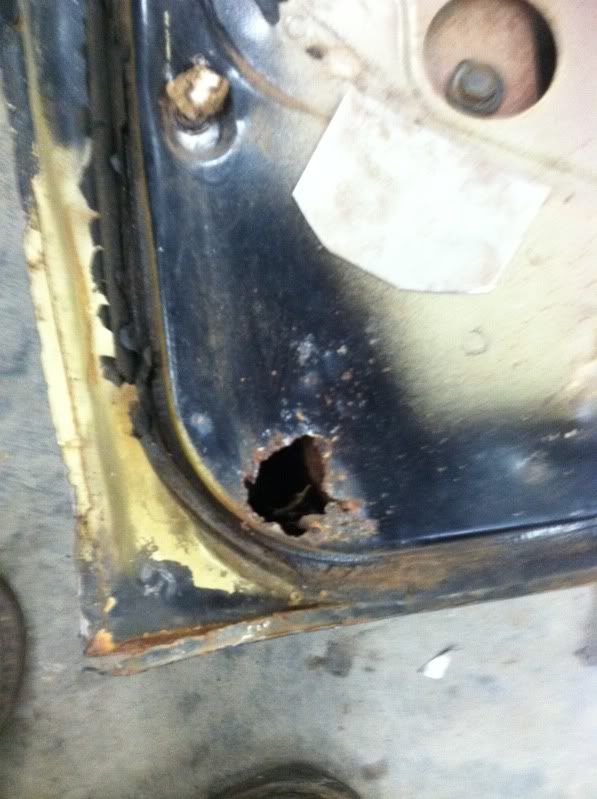 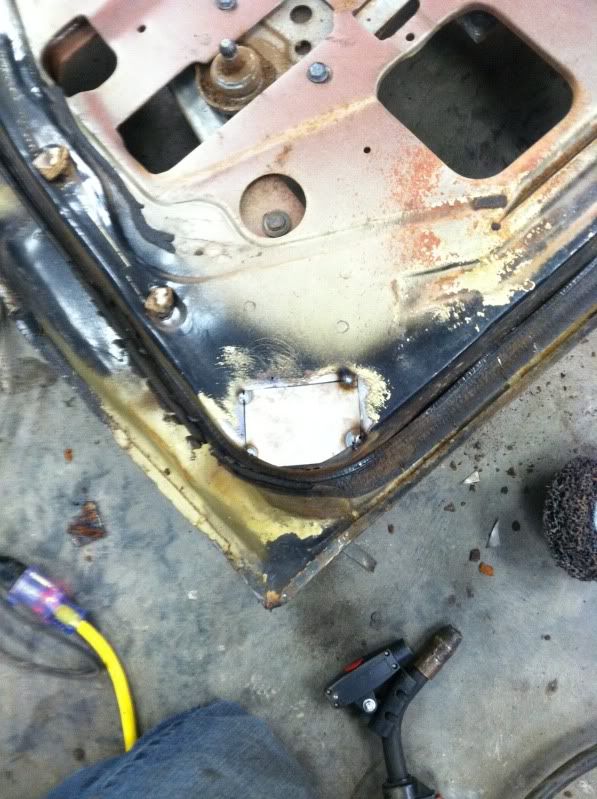 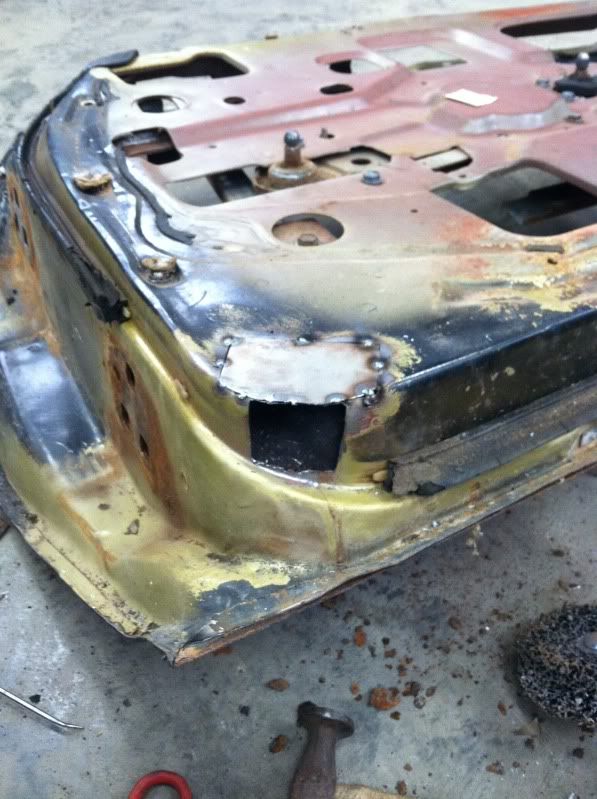 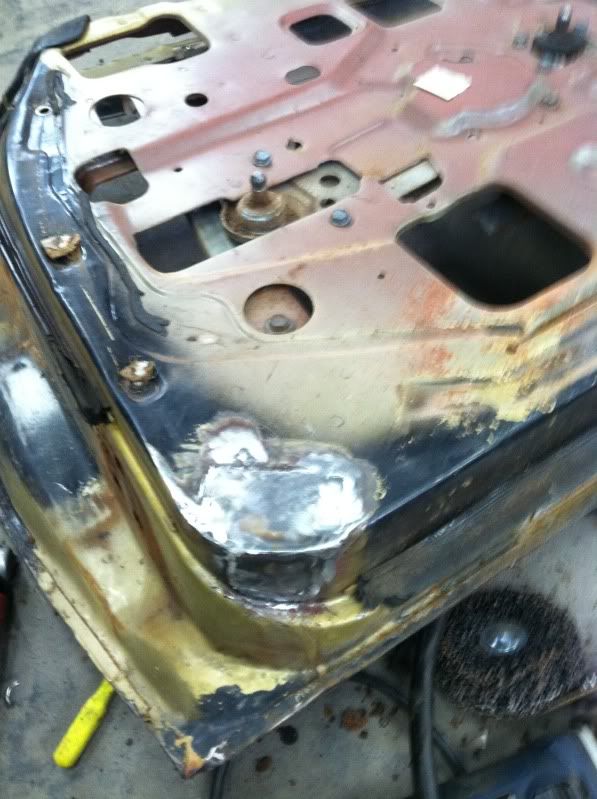 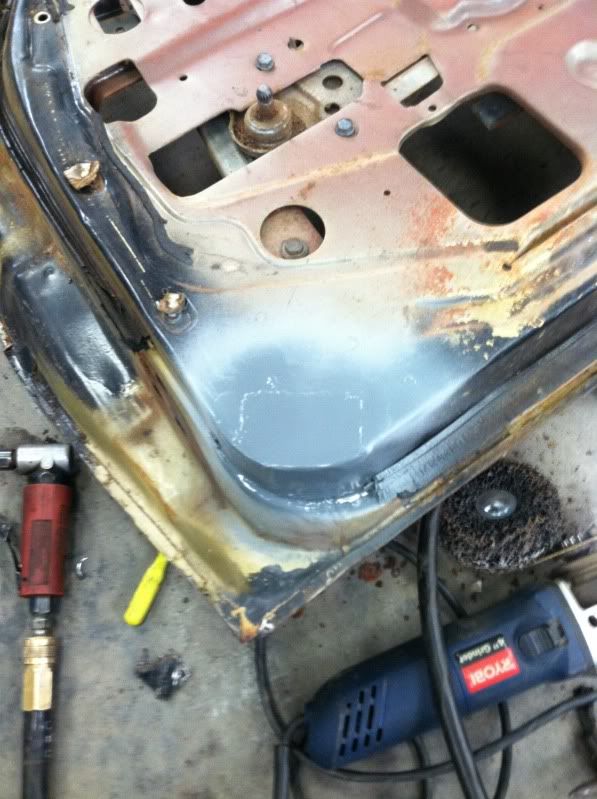 And Finally...my new door skin installed (before/during/after pics). A friend offered me the use of one of the air powered door skin reinstaller tools and I foolishly decided to do it by hand. I can barely move my arms now... 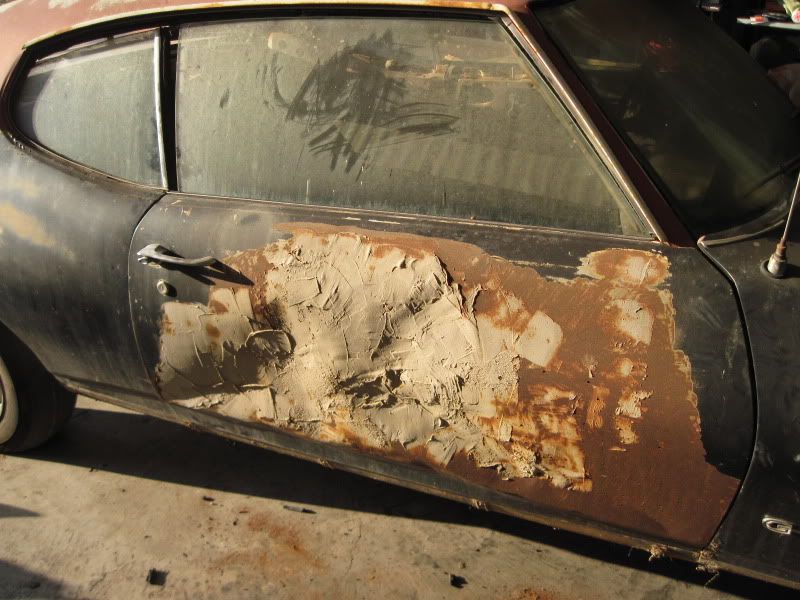 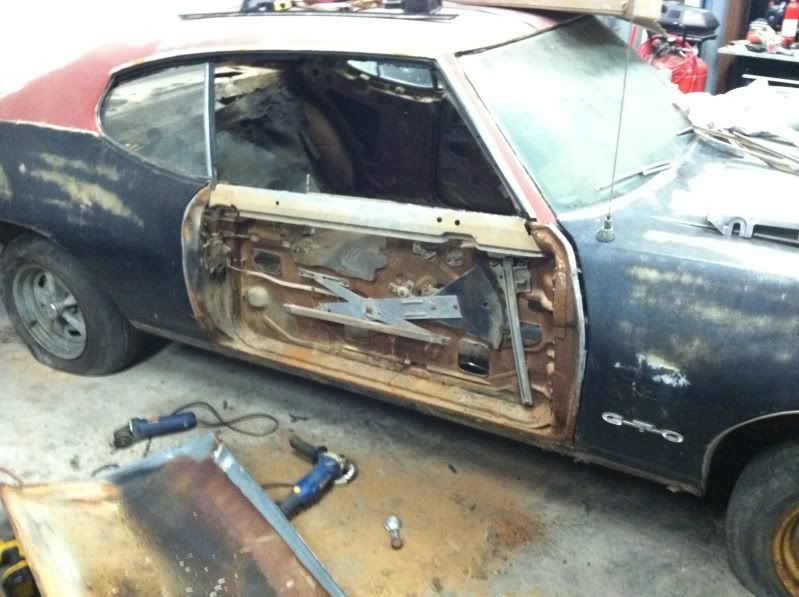 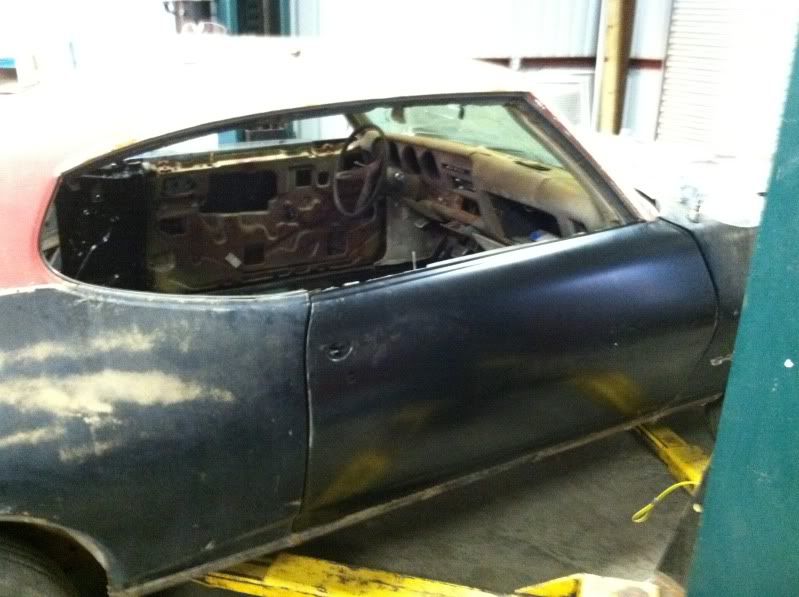 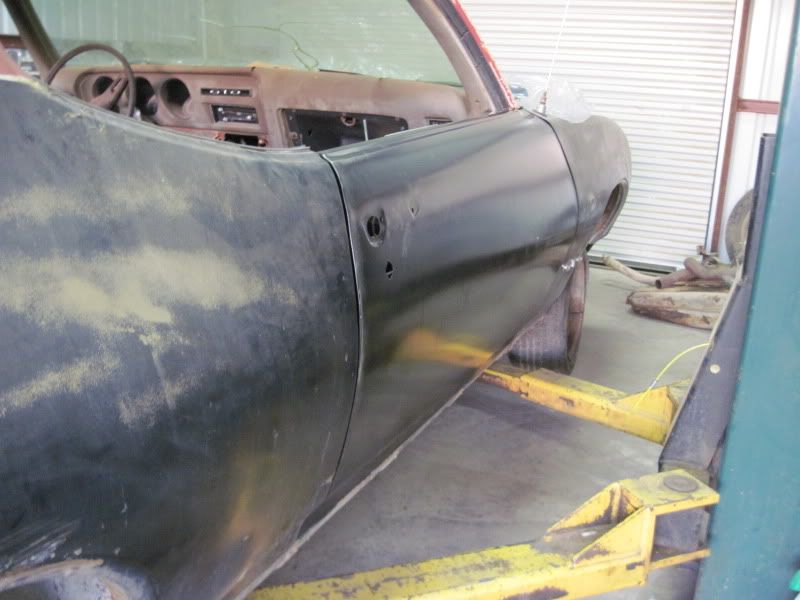 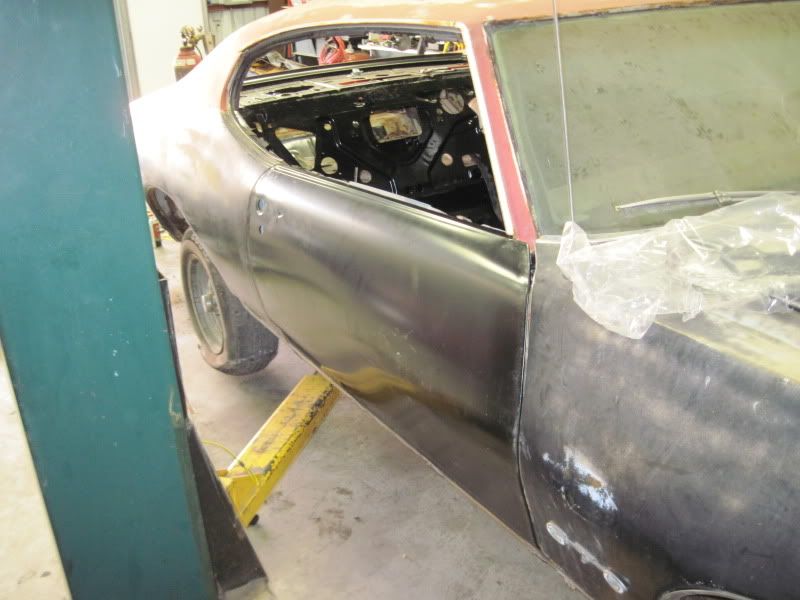
|
|
#34
03-12-2012, 07:28 AM
|
||||
|
||||
|
Lots of progress - great job!
__________________
Some guys they just give up living And start dying little by little, piece by piece, Some guys come home from work and wash up, And go racin' in the street. Bruce Springsteen - Racing In The Street - 1978 |
|
#35
03-12-2012, 11:00 AM
|
||||
|
||||
|
Yeah, work looks good! By the way...what color was that car originally? I think I've spotted at least 3 different colors in different areas.
__________________
Greg Reid Palmetto, Georgia |
|
#36
03-12-2012, 11:12 AM
|
|||
|
|||
|
Looks like it was originally Antique Gold. I haven't looked at the trim tag to confirm, but the door jams weren't painted over when they painted it black...or red... : )
|
|
#37
03-12-2012, 05:11 PM
|
|||
|
|||
|
Hi.....My name is Jim and I'm ashamed of myself! LoL My project sits undone with absolutely zero rust! I have no excuses to not finish! Your project is progressing nicely, thanks for the motivation!
|
|
#38
03-12-2012, 05:50 PM
|
|||
|
|||
|
Thanks Jim! I think I lied to myself a little about the overall condition of the car. I figured I'd just slap in a new trunk pan and door skin but I keep finding other things that need attention. Posting pics of the build and watching others work is the only thing keeping ME motivated. Hope to have some more pics up tonight or tomorrow.
|
|
#39
03-12-2012, 07:02 PM
|
||||
|
||||
|
Quote:
__________________
Greg Reid Palmetto, Georgia |
|
#40
03-12-2012, 07:13 PM
|
|||
|
|||
|
My hat is off to you.I only had to do a couple 1/4s and a core support with my Judge.Tom
|
| Reply |
|
|
The PY Online Forums is the largest online gathering of Pontiac enthusiasts anywhere in the world. Founded in 1991, it was also the first online forum for people to gather and talk about their Pontiacs. Since then, it has become the mecca of Pontiac technical data and knowledge that no other place can surpass.


 Linear Mode

