| FAQ |
| Members List |
| Social Groups |
| Calendar |
| Search |
| Today's Posts |
|
#1
|
|||
|
|||
|
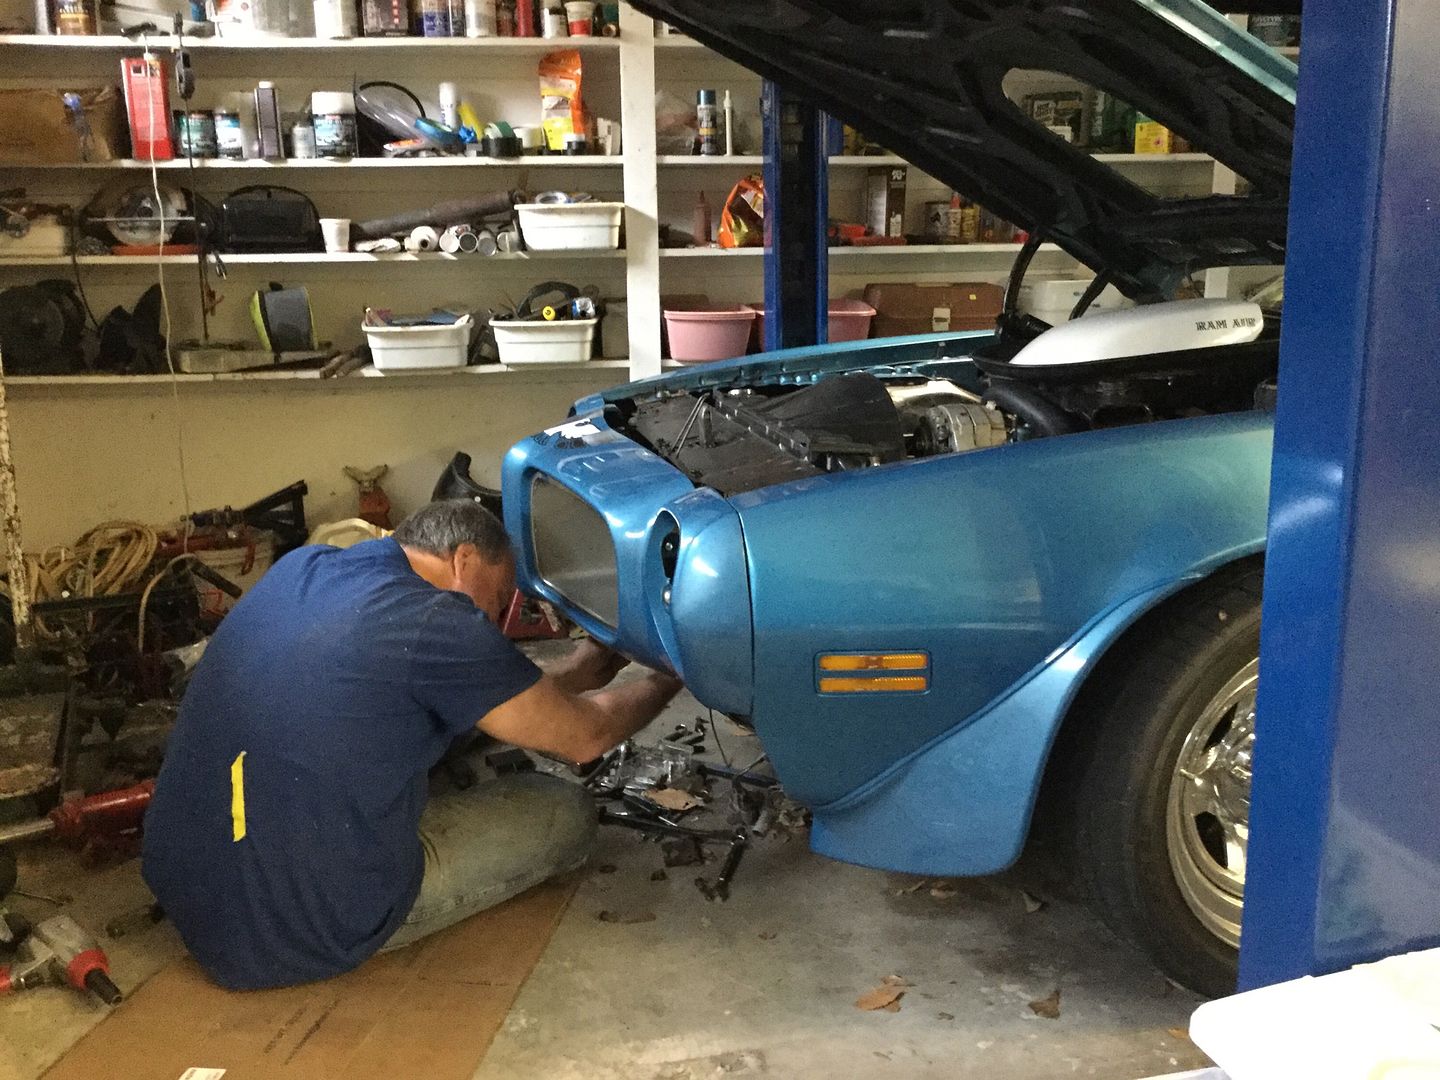
I modified a bumper I'd bought long ago for my 70 bird and recently sold my original (which was in nice condition) on Ebay. A long time friend and customer won the auction and wanted the bumper painted to match his car as close as possible, knowing it wouldn't match the faded 30 YO lacquer on the car exactly. He plans on a full repaint in a couple years and had been looking to replace his bumper due to core rust issues lifting the Endura rubber.
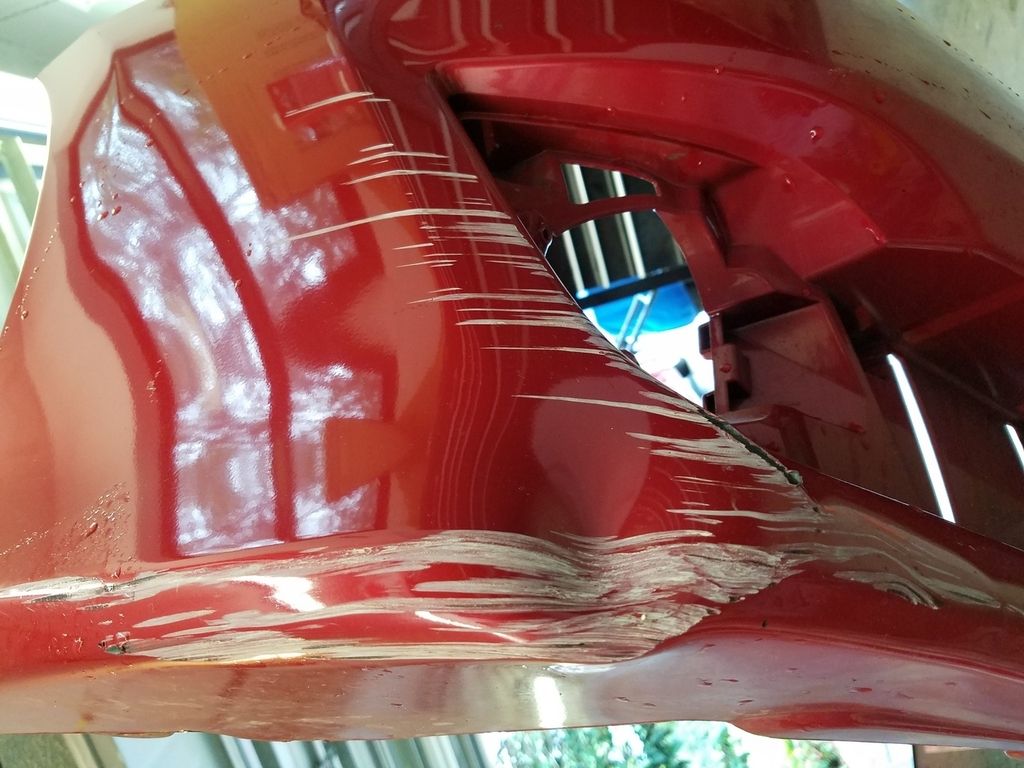
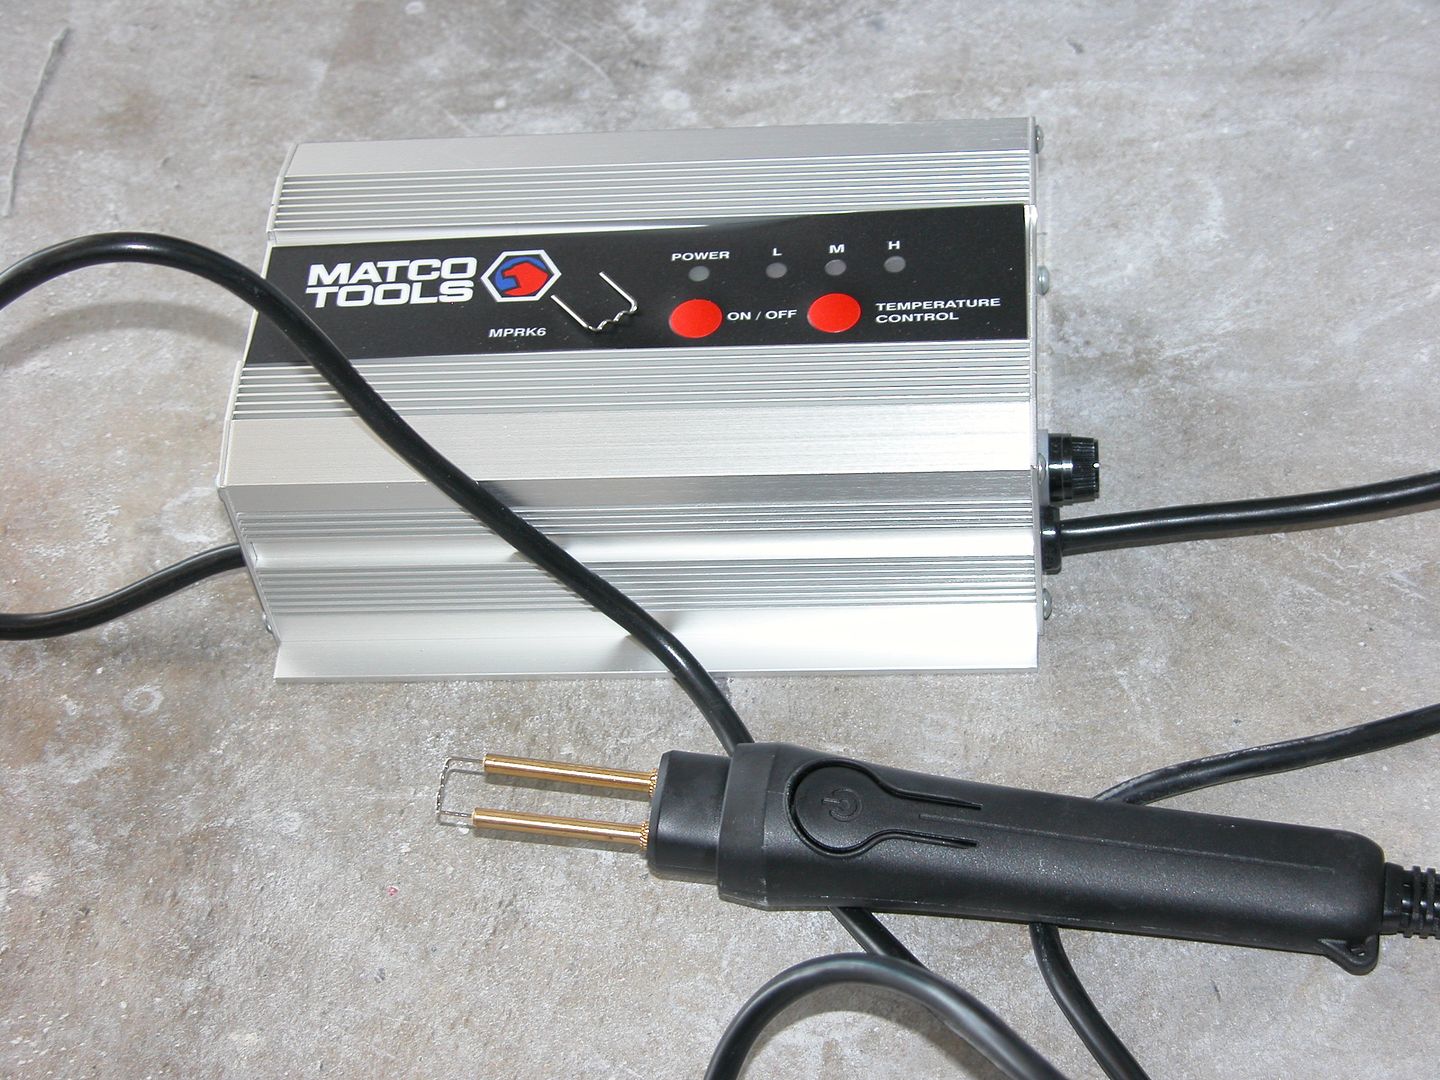
He figured as long as he was getting the bumper painted he'd also have me do the sandblasted (from driving) wheel flares and front spoiler. And as long as I was doing those I might as well fix a mirror that got caught on a cable while taking the car off the lift in his garage and trim down a spoiler end since his car had one early short style end cap and one later longer style end cap. He's in a different state so he pulled all the parts, boxed them up, and shipped them down to me in FL. Also makes a great excuse to come down to South FL mid winter to pick them up! Ya know, so nothing gets damaged in shipping! AHAHAHA All of the parts were stripped of all old paints and primers using a DA and hand sanding. I've used various blasting medias and strippers over the years and have settled on mechanical as my current preferred method. Anyway, figured you guys might find it interesting so here's the pics. Bumper I sold being stripped. It was in nice condition but had the typical shrinkage issues. 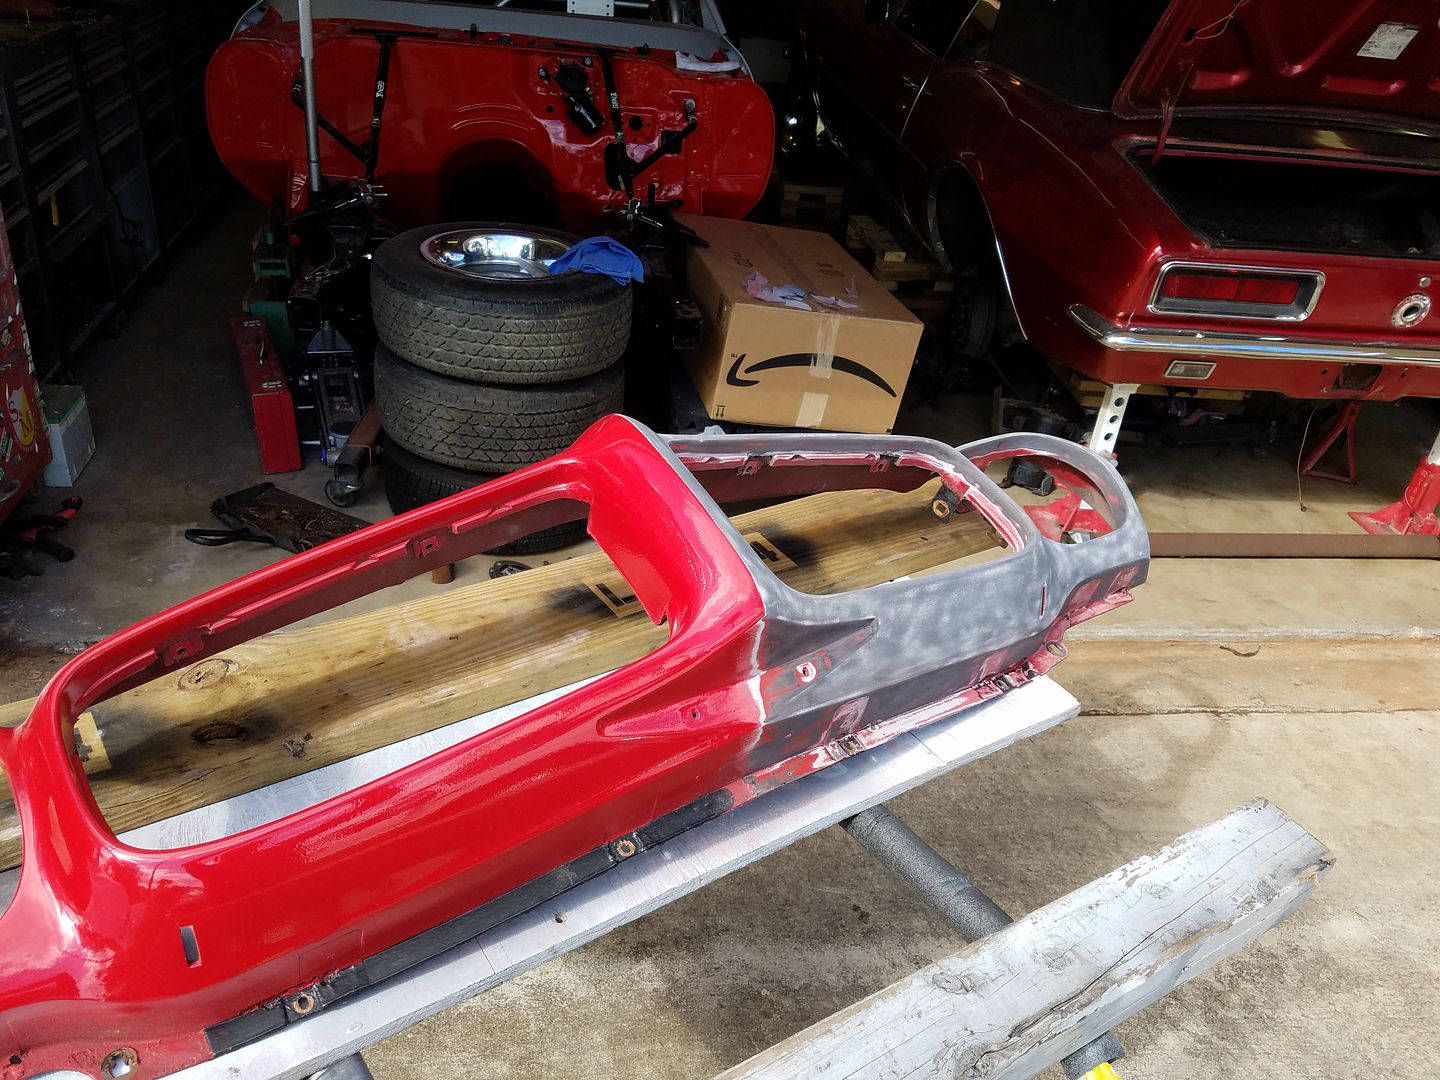 All of the flares had broken tips, cracked (or missing) mounting tabs, and other issues that needed attention so the plastic was repaired. Welting looked original and had been left in place during previous repaints so it had to go. 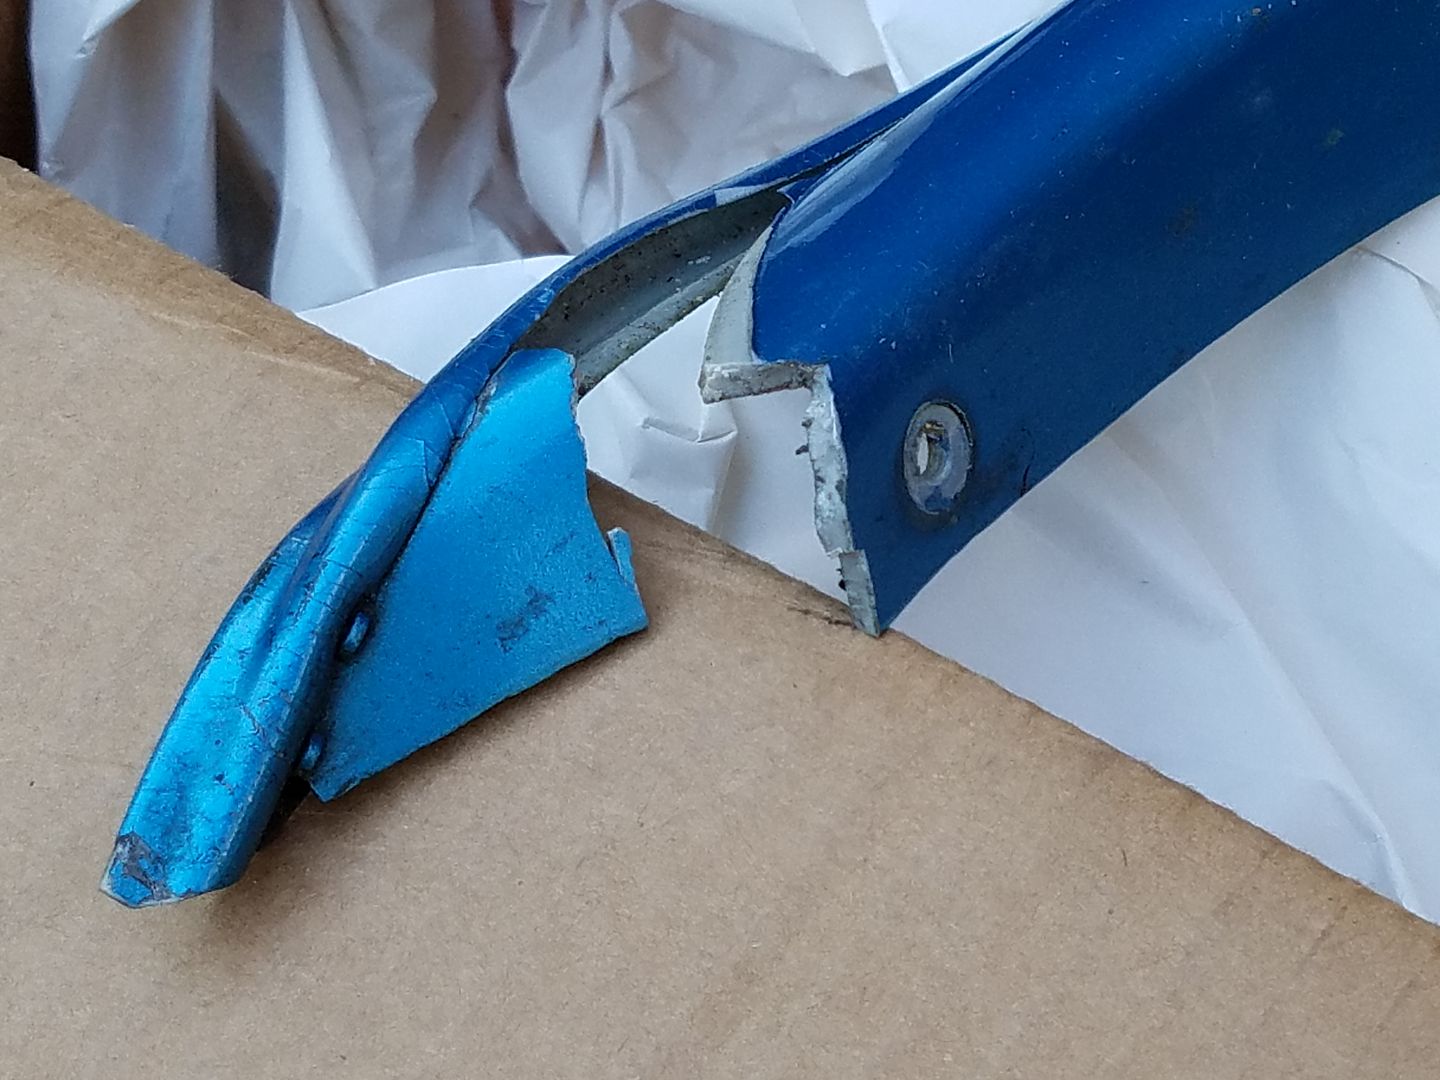 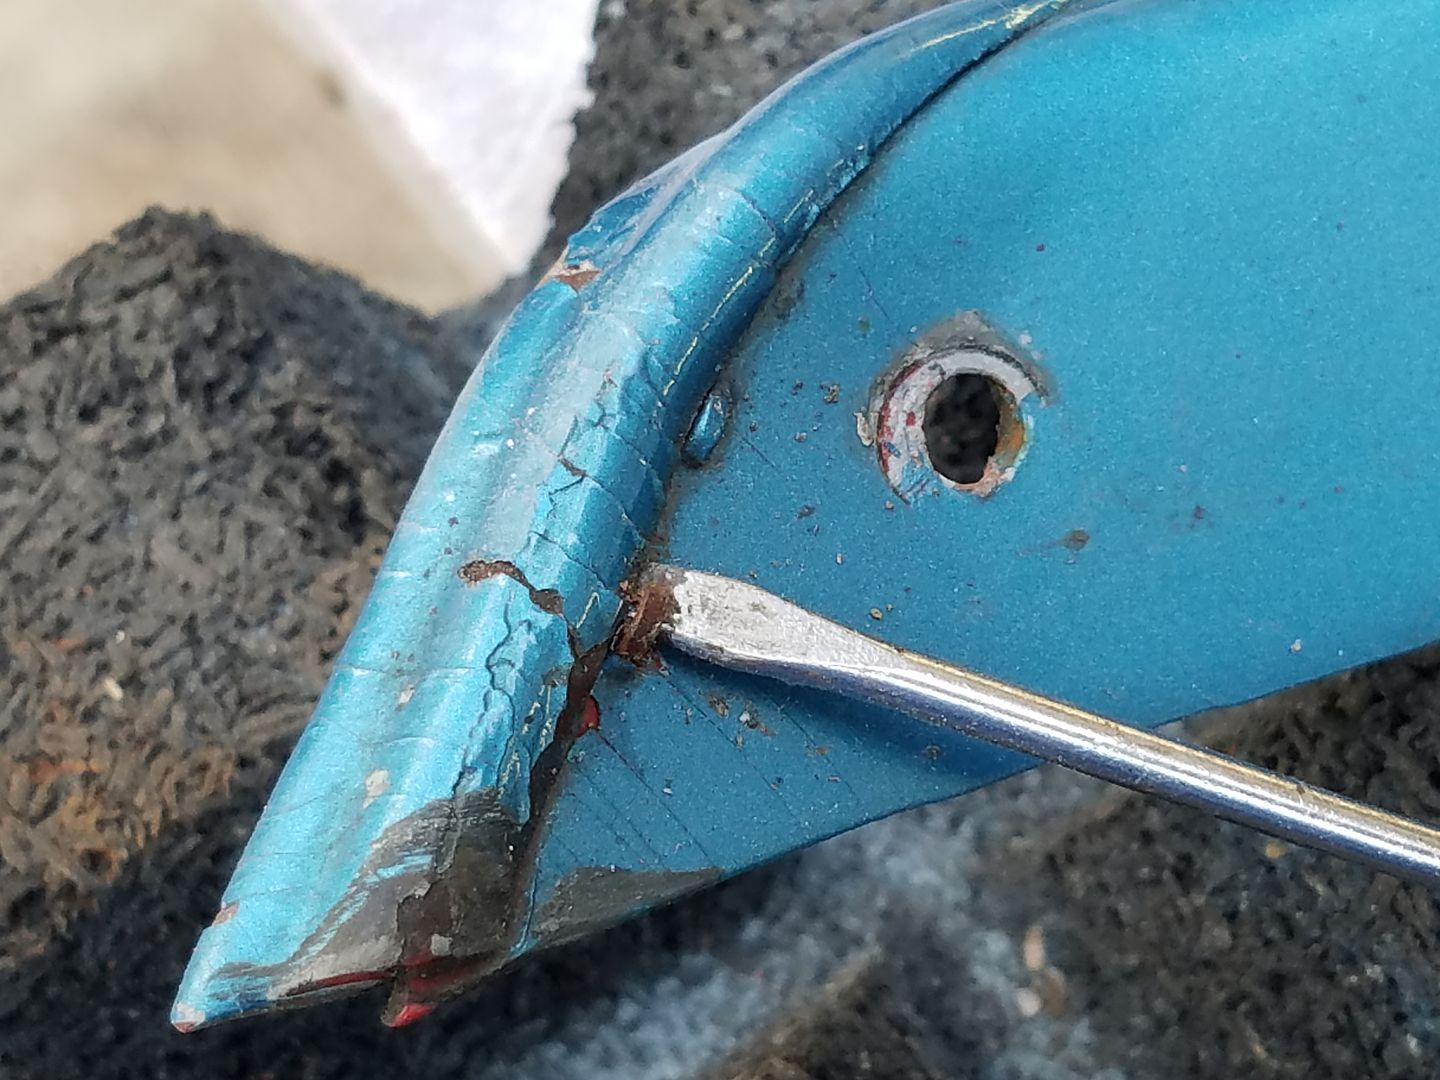 Internal flare structures were re glued where necessary. A hot stapler was used to strengthen cracks and broken/missing pieces along and then repaired/recreated with 3M soft and hard plastic repair materials. 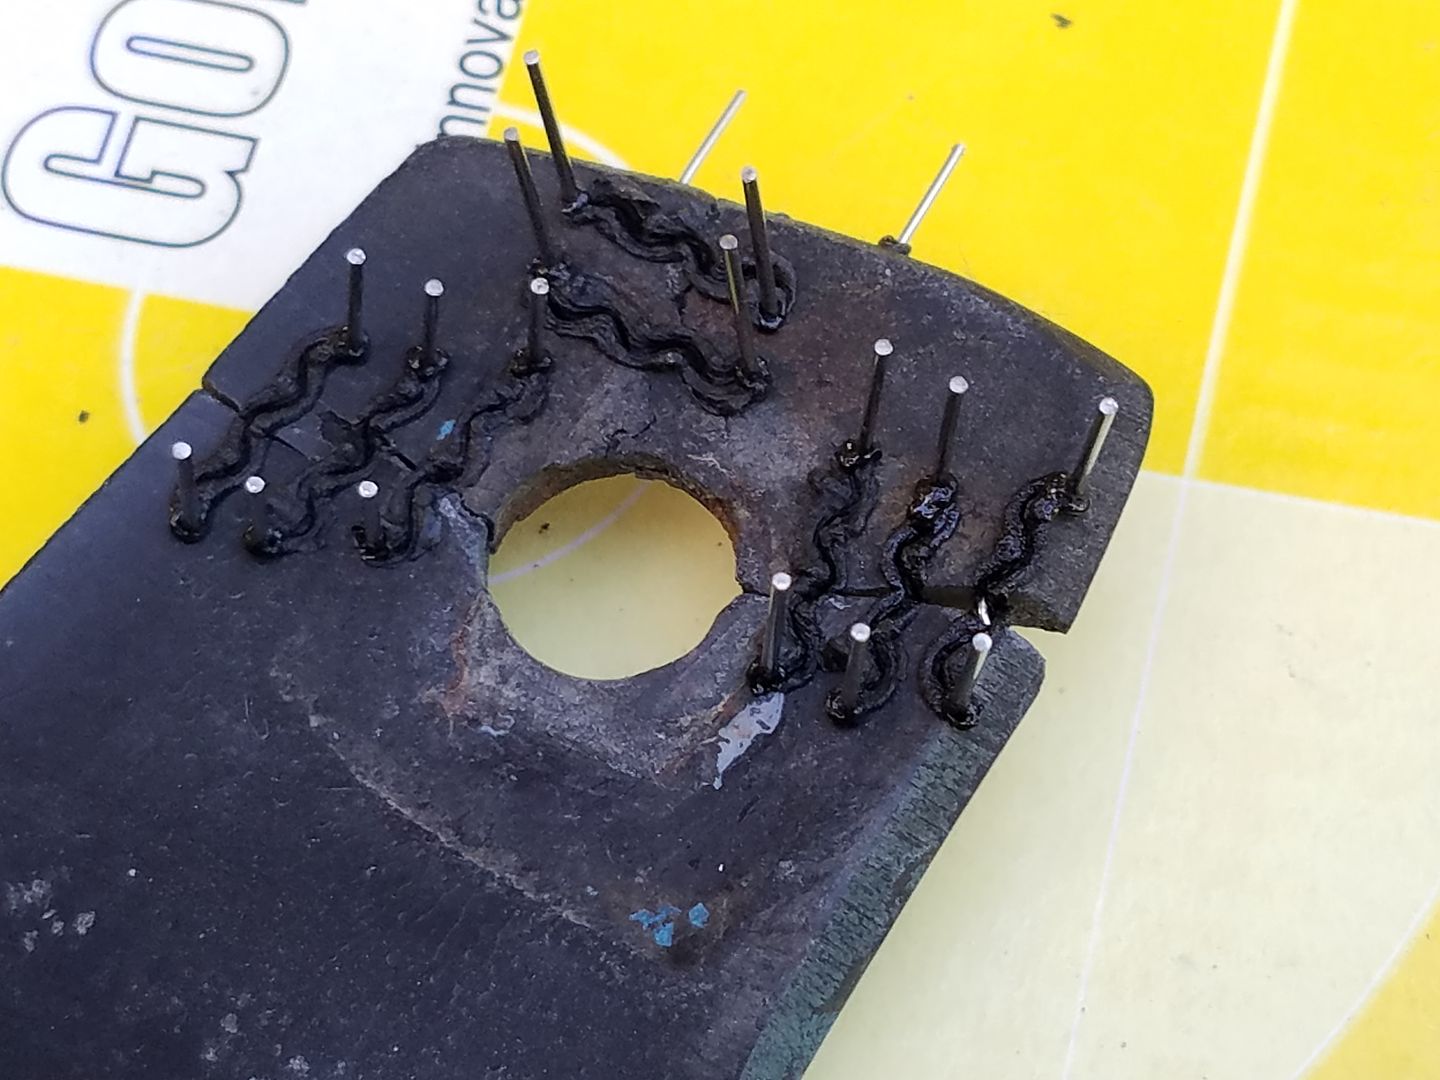 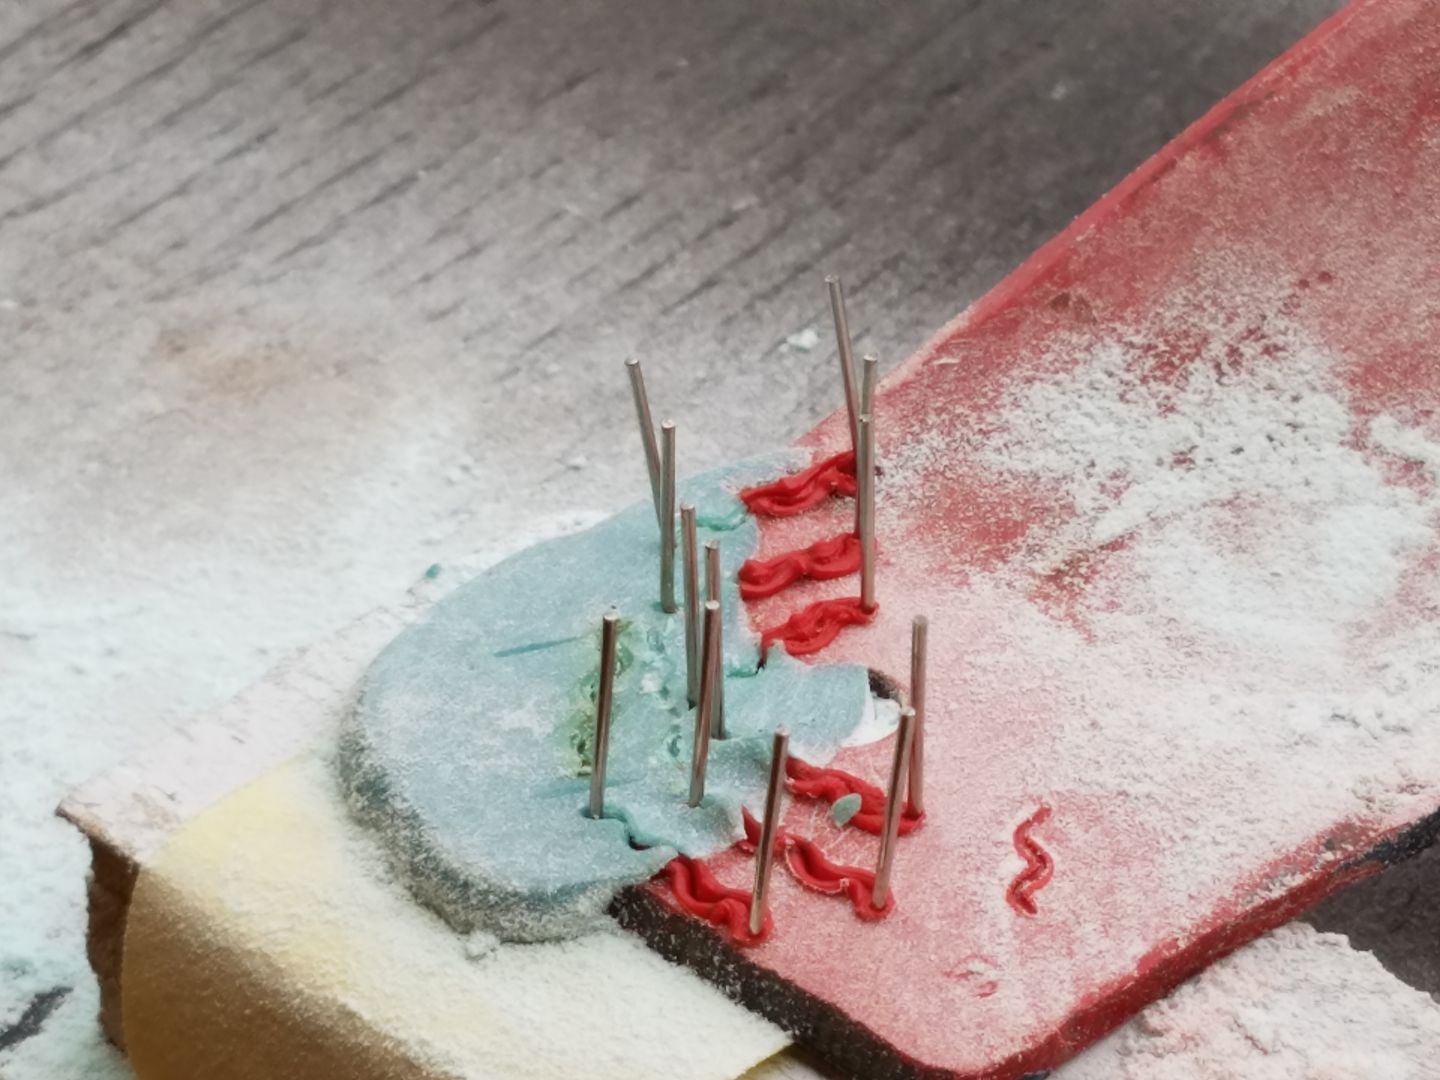 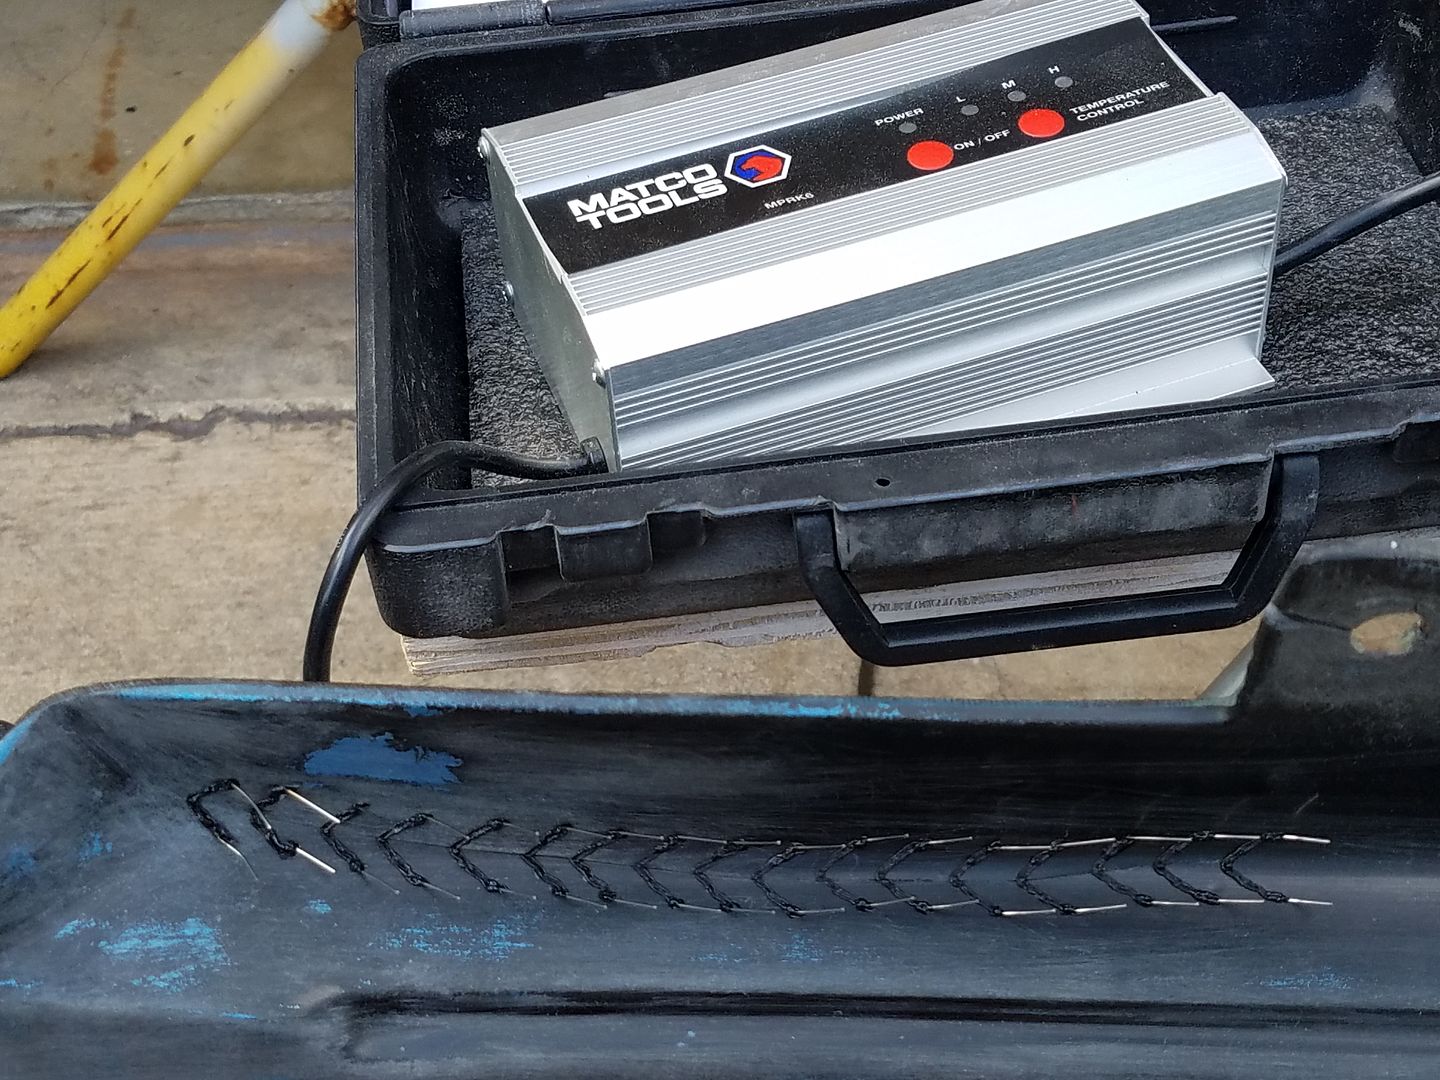 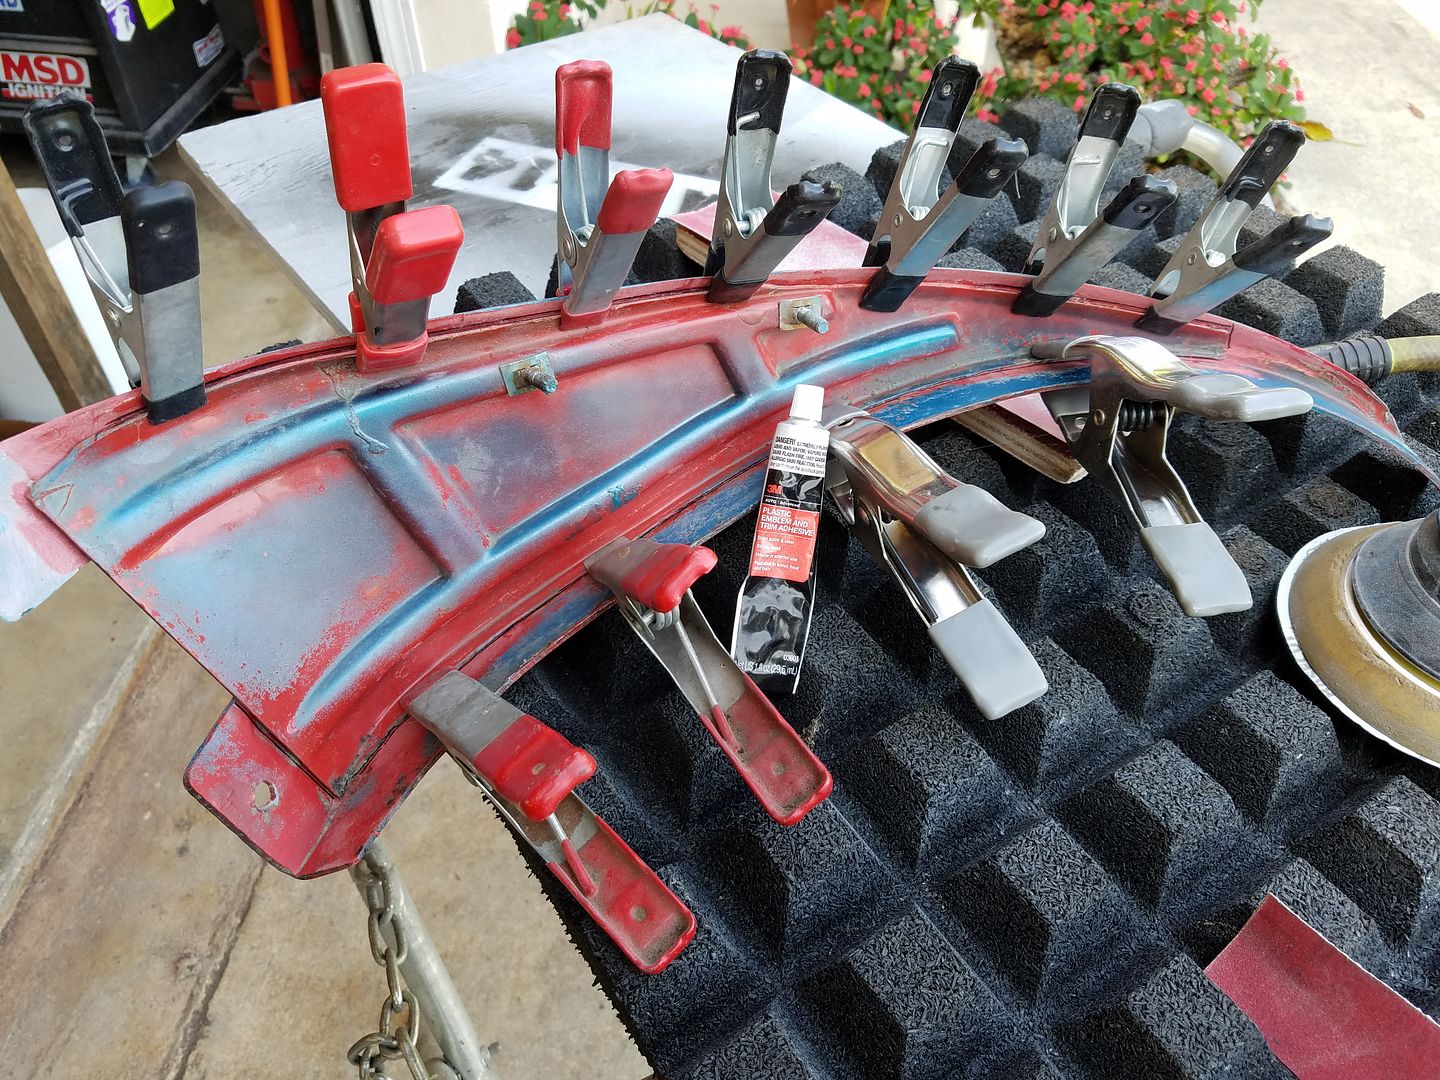 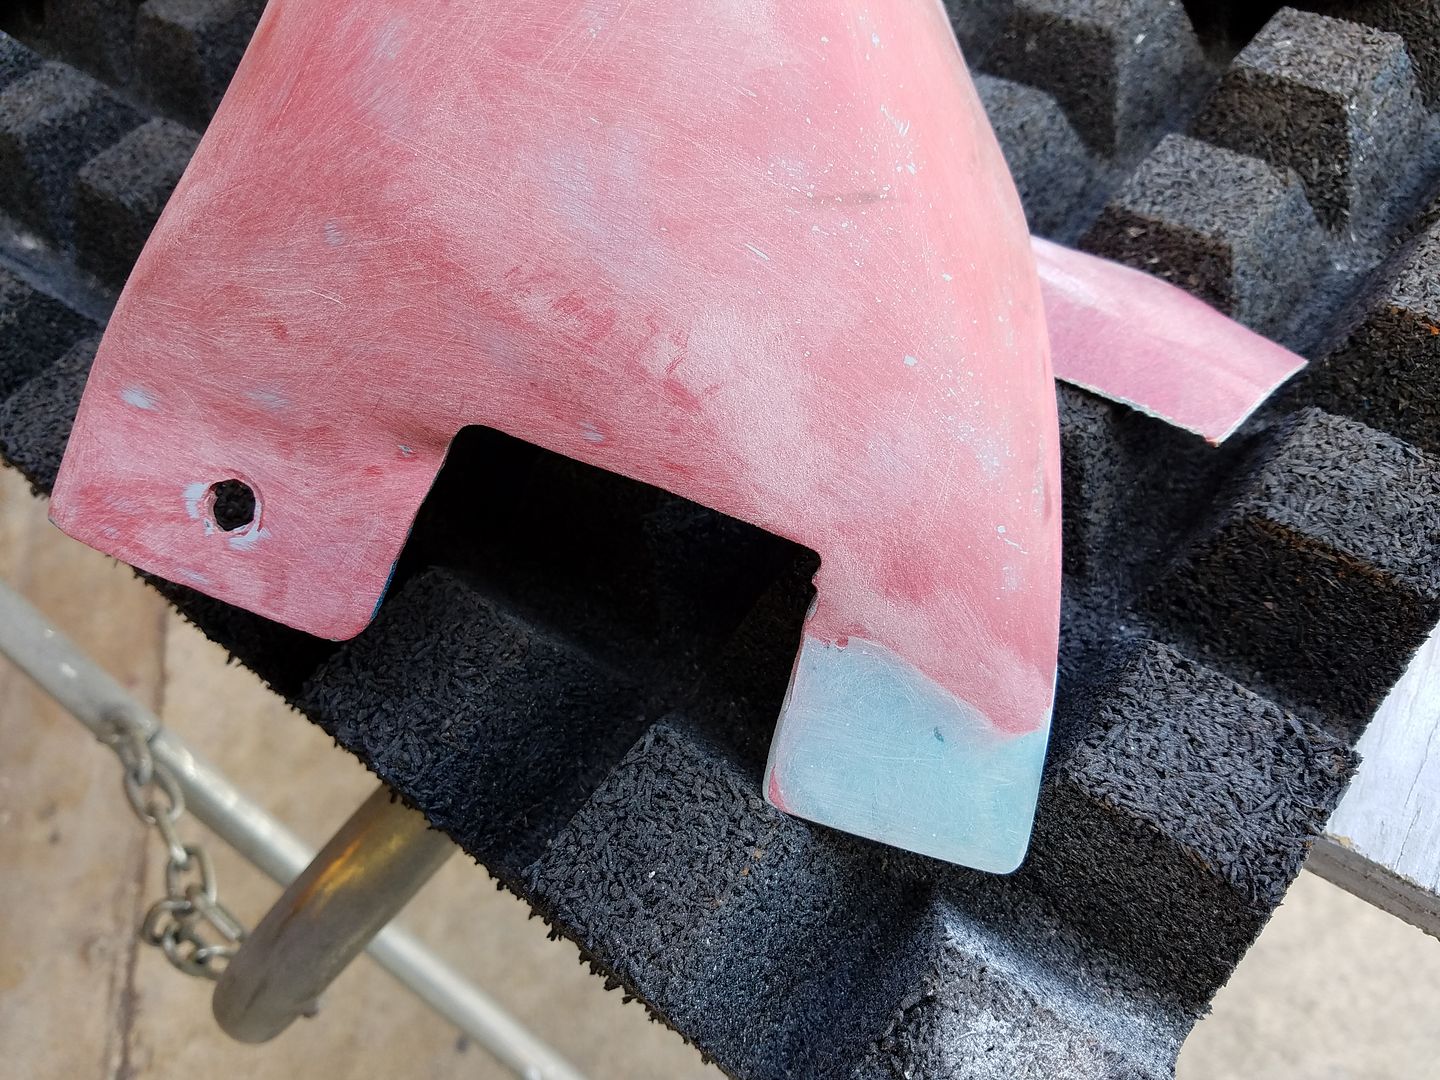 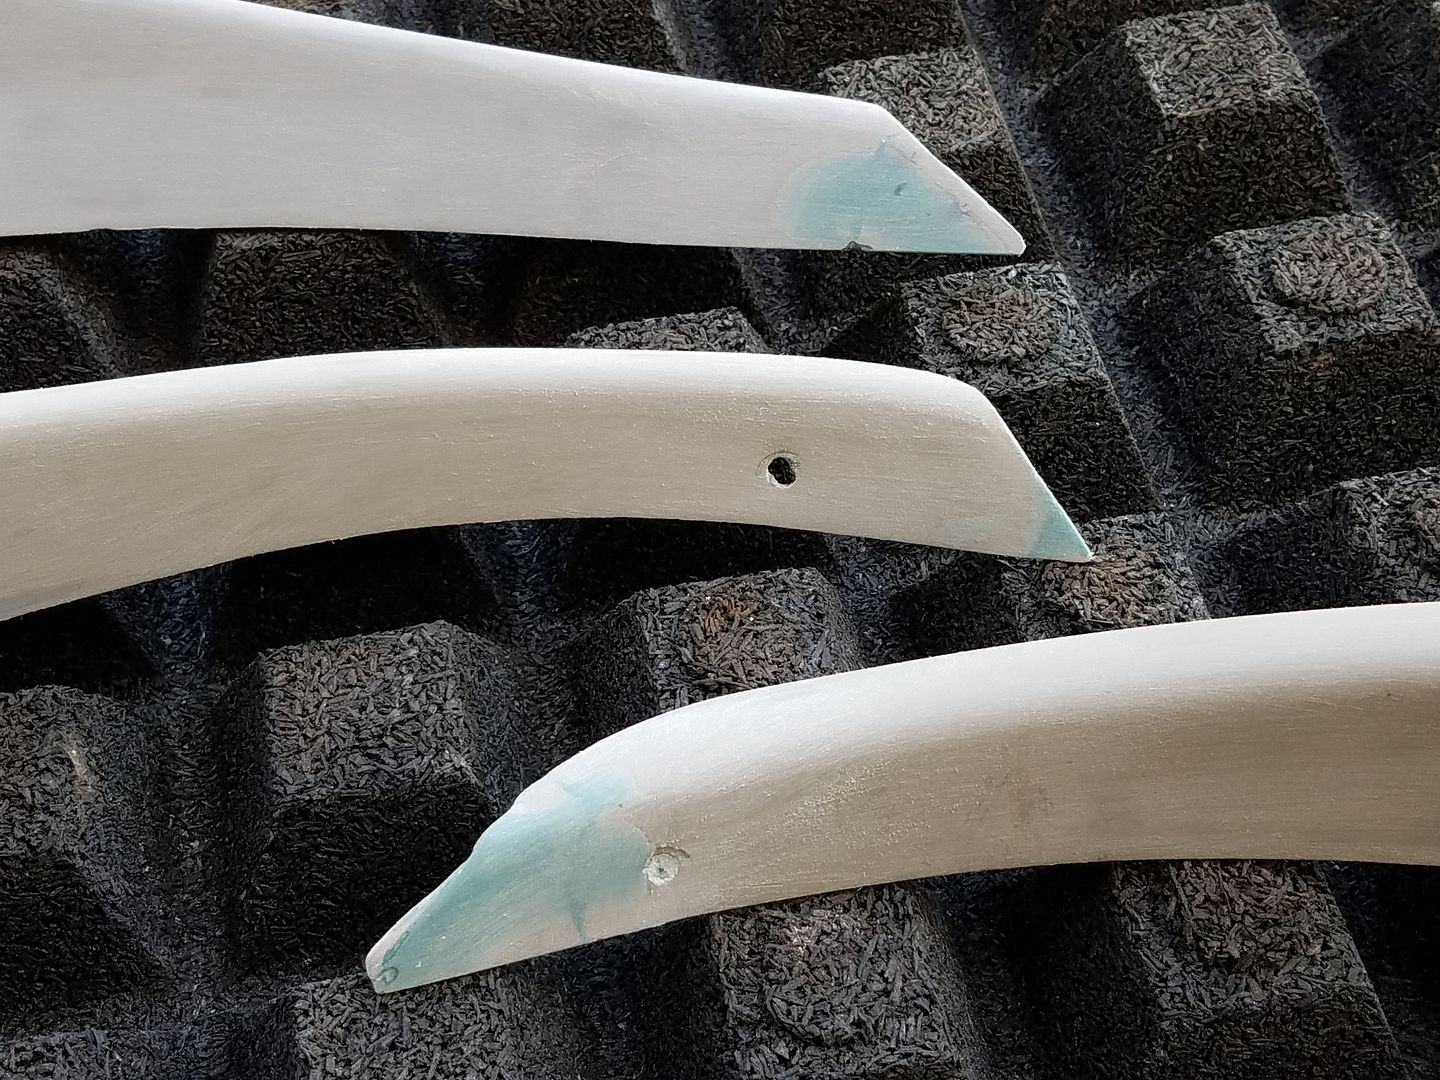 Since the bumper had the typical shrinkage issues it got some 3M flexible repair materials used in various places. The most of the upper surfaces got a coat and then were carved out block sanding. Once the rubber was ready it received a couple rounds of priming and blocking using PPG epoxy primer. Pic below shows rubber repair, you've all seen sanded primer so no point in pics of that. 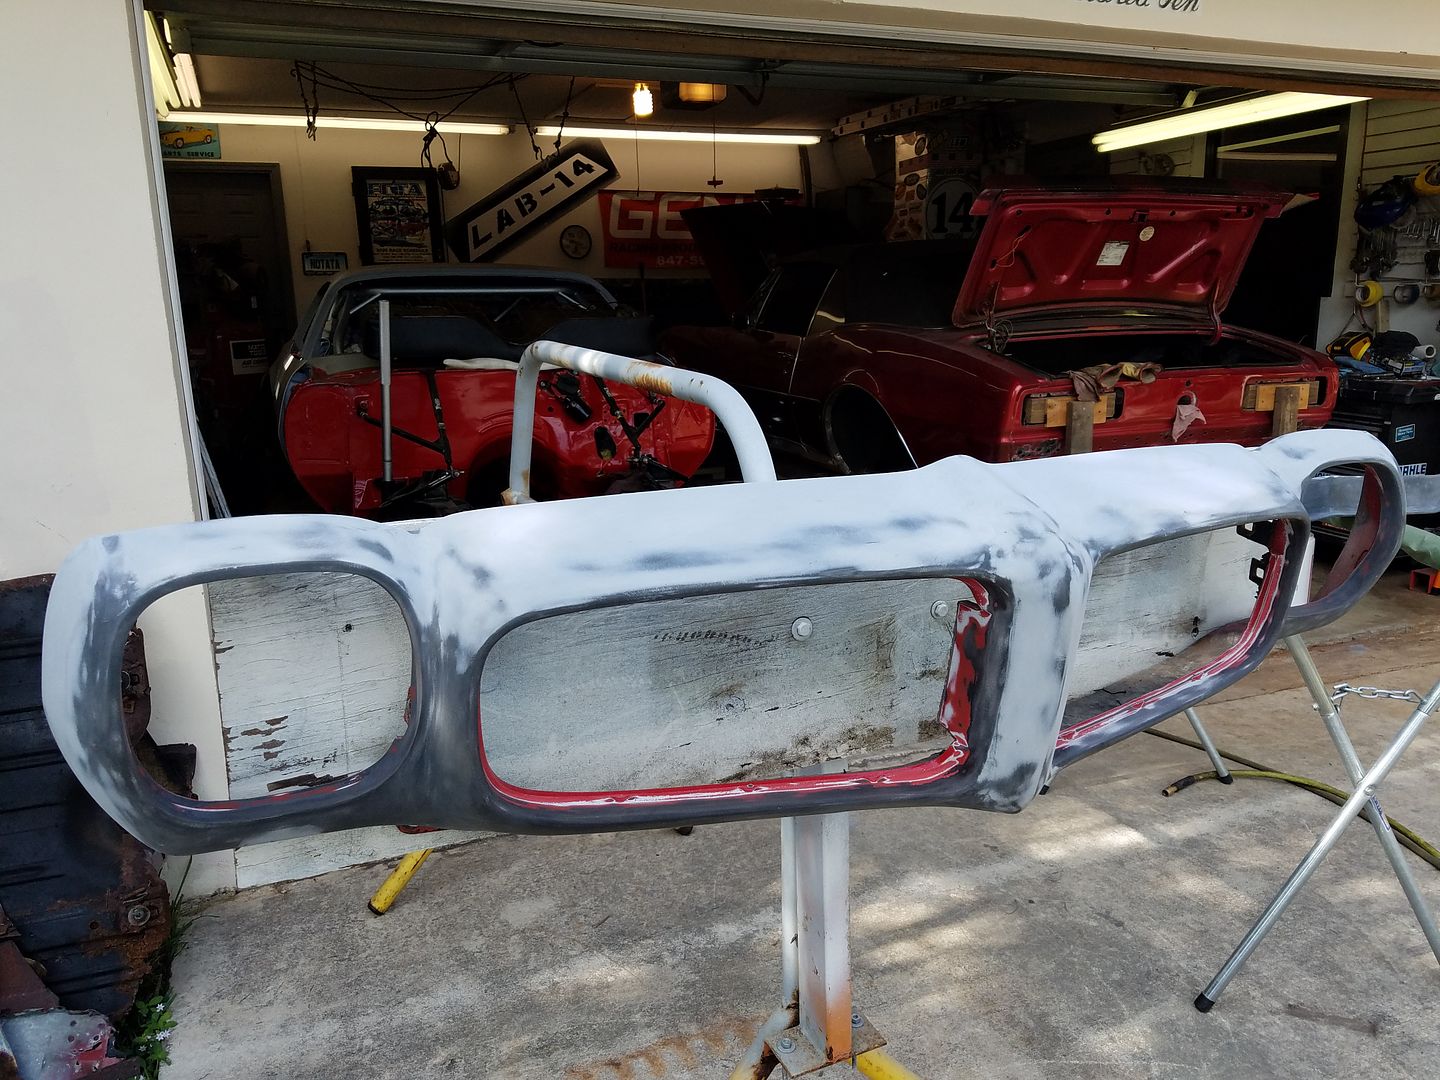 So on to paint! A color match camera at the local paint store was used to get a code before I started stripping paint. We used the top of the spoiler end cap to try for a paint that would be a middle of the road match. Since the car was painted about 30 years ago and lives in the south the hood, roof, and trunk are much more faded than say the lower doors, rockers, and splash pans. The top of the end cap is not vertical or horizontal so hopefully it's in between the extremes. PPG Omni single stage paint was used. I would have preferred a higher quality single stage but the color formulation wasn't available and I didn't want to use a BC/CC since the rest of the car is single stage and so it would look kinda "funny". Once paint was shot and allowed to dry a few days I color sanded it lightly with 2000 grit and buffed it by hand. While allowing time for the paint to harden I shot some of the gray replacement welting. It's not great as many of you know and the packaging damages it prior to purchase. I buy rolls and wind it up on coffee cans to allow it to slowly relax but even after as long as a year I have to watch for the wrinkled spots and try to cut them out as I'm cutting the lengths for the flares. Since this car isn't an original Lucy blue color due to fading I couldn't use the new welting one of the members here has been working on even if it was available now. Maybe when the car gets a full repaint in a couple years. I let the welting dry a couple days and then installed before the paint really hardened up. Modern Urethanes are much more flexible than the old enamels and lacquers which is a help. I used some wire to recreate the original staples but reversed them so the folded tabs are to the inside. Not correct I know but I'm sure the owner doesn't care and looks cleaner. Then I let the pieces all sit since the owner wasn't picking them up for a few weeks. This allowed time for paint to fully cure before I installed a nose bird sourced from S&S. 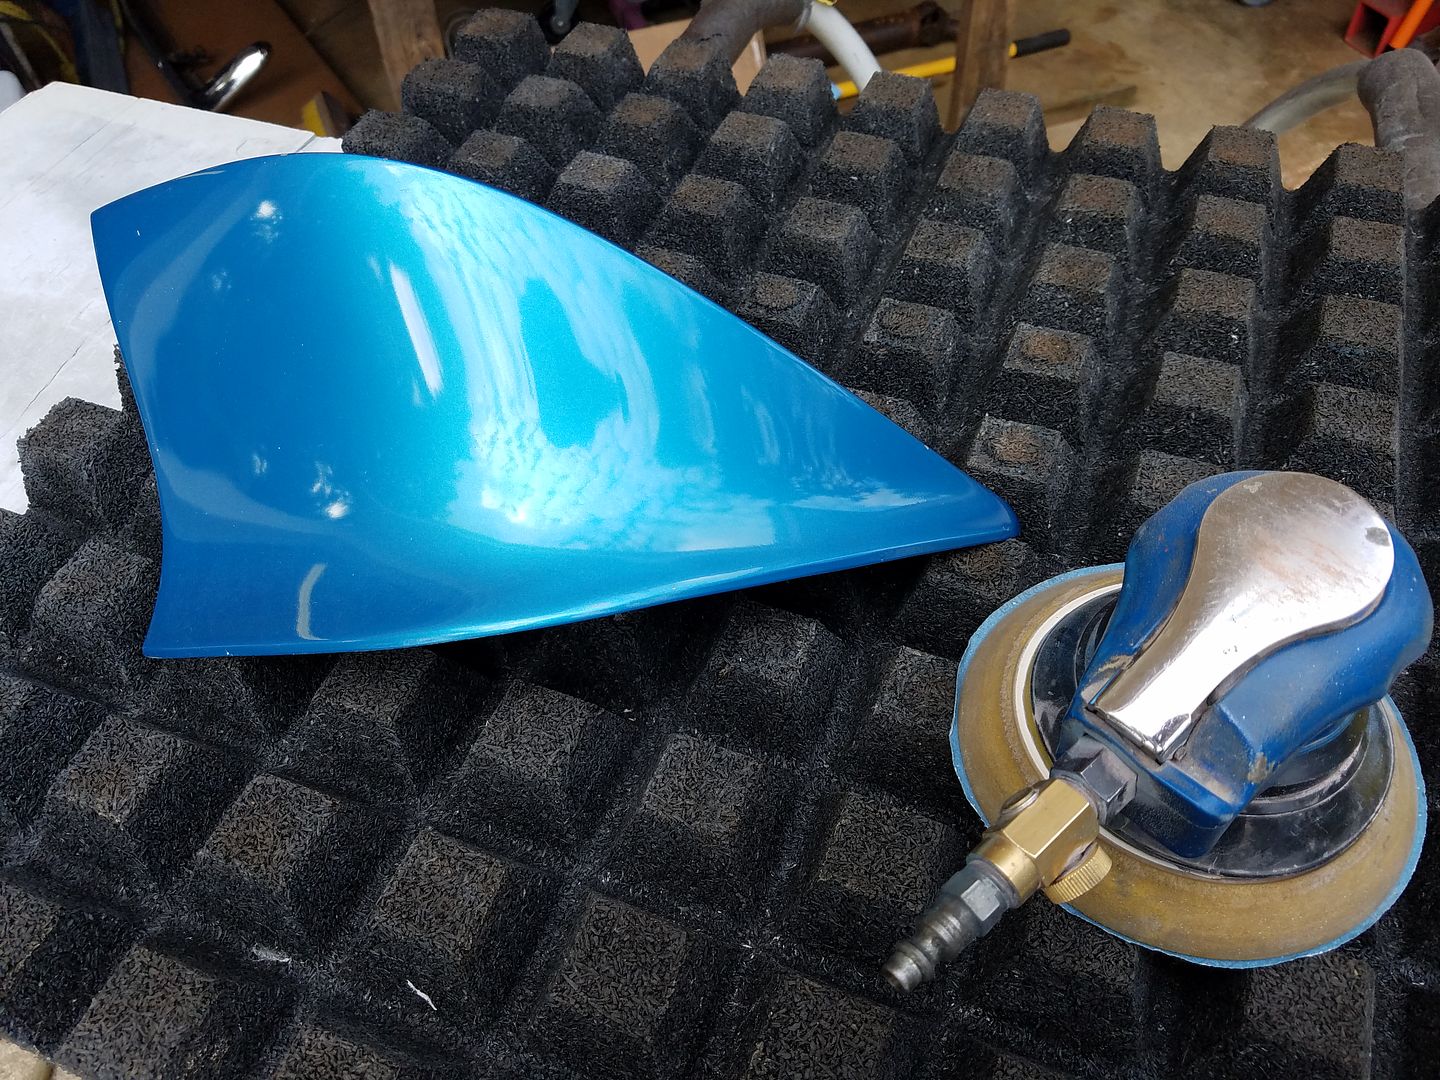 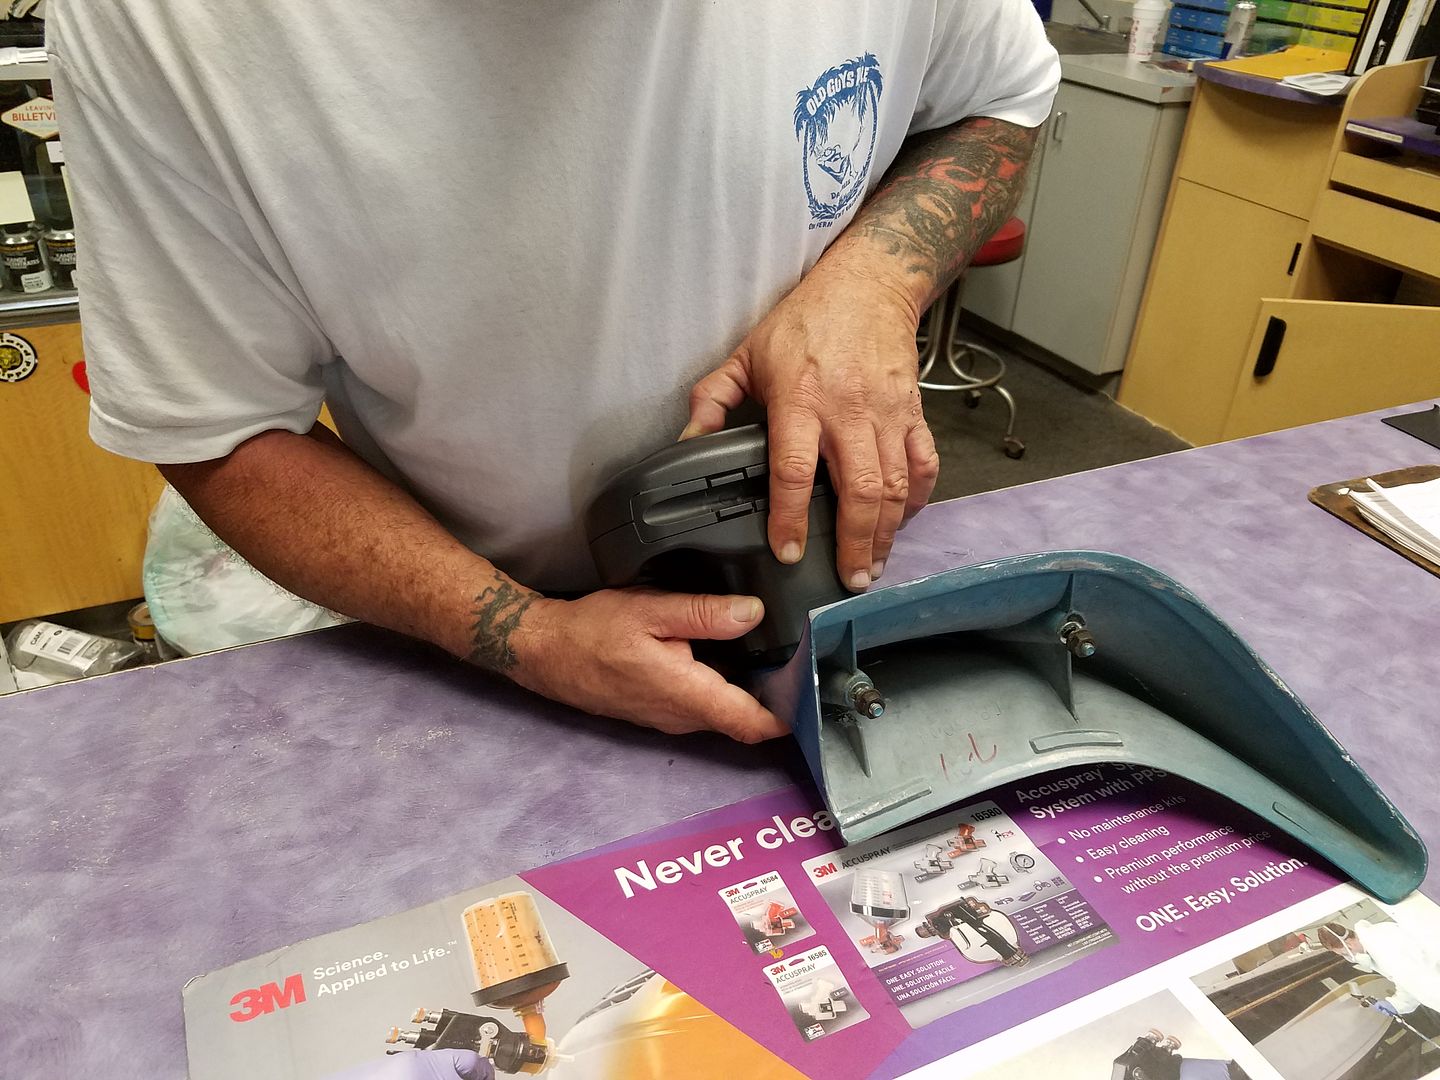 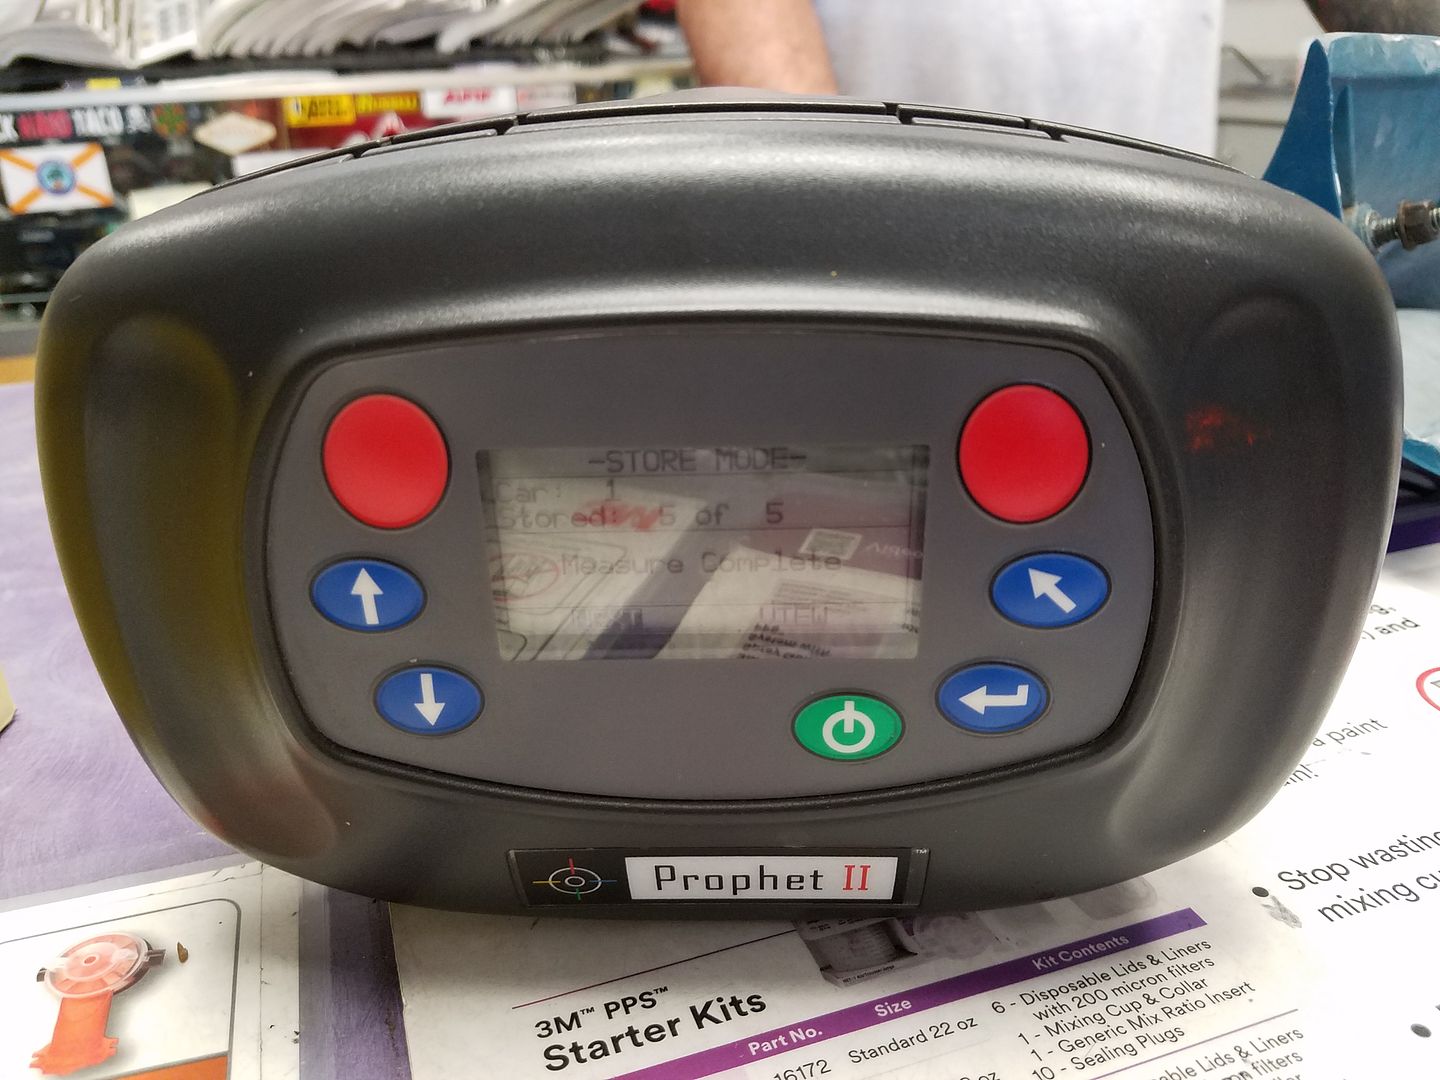 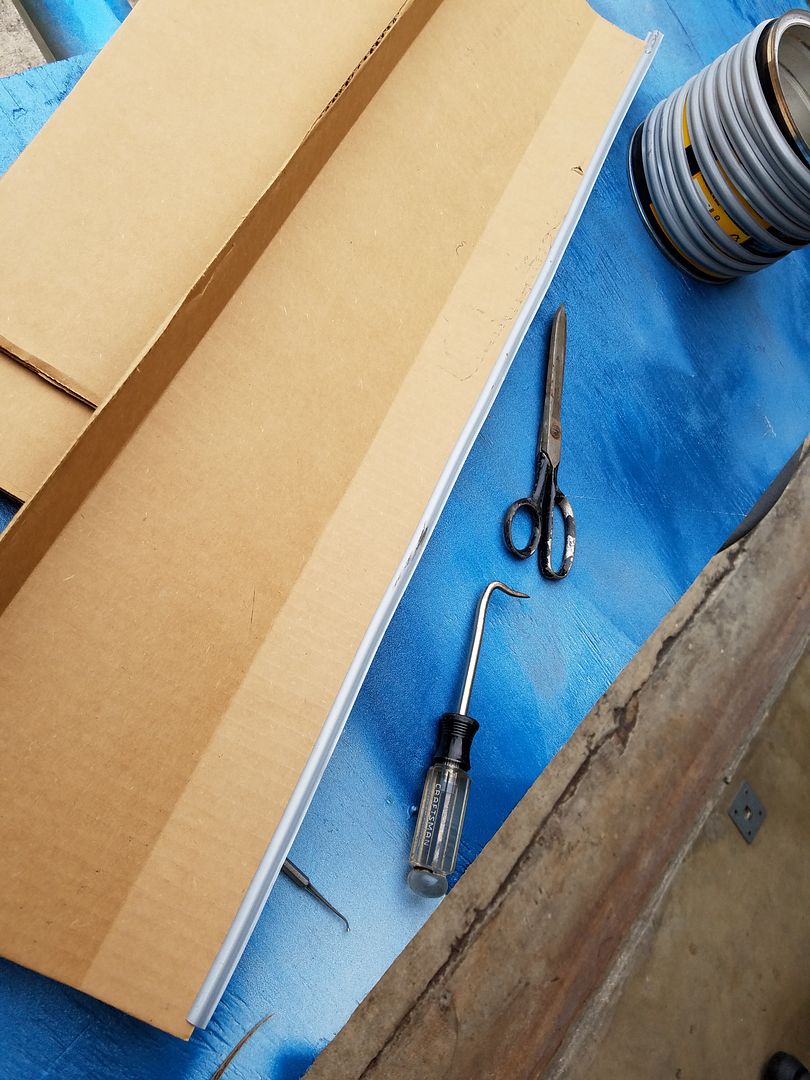 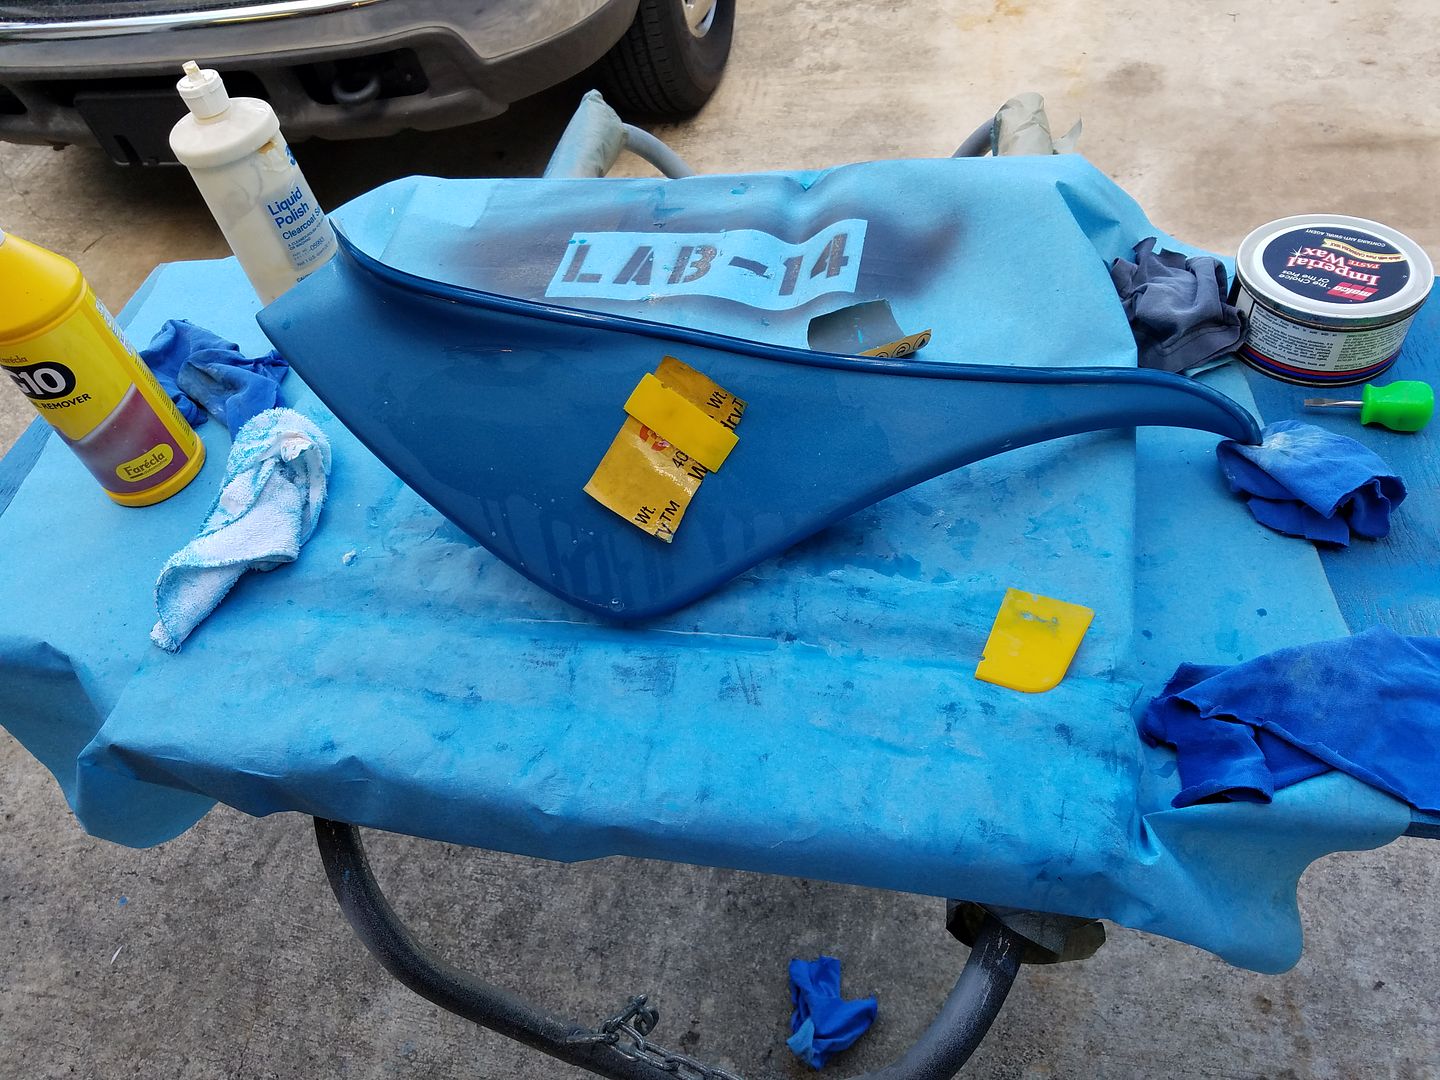 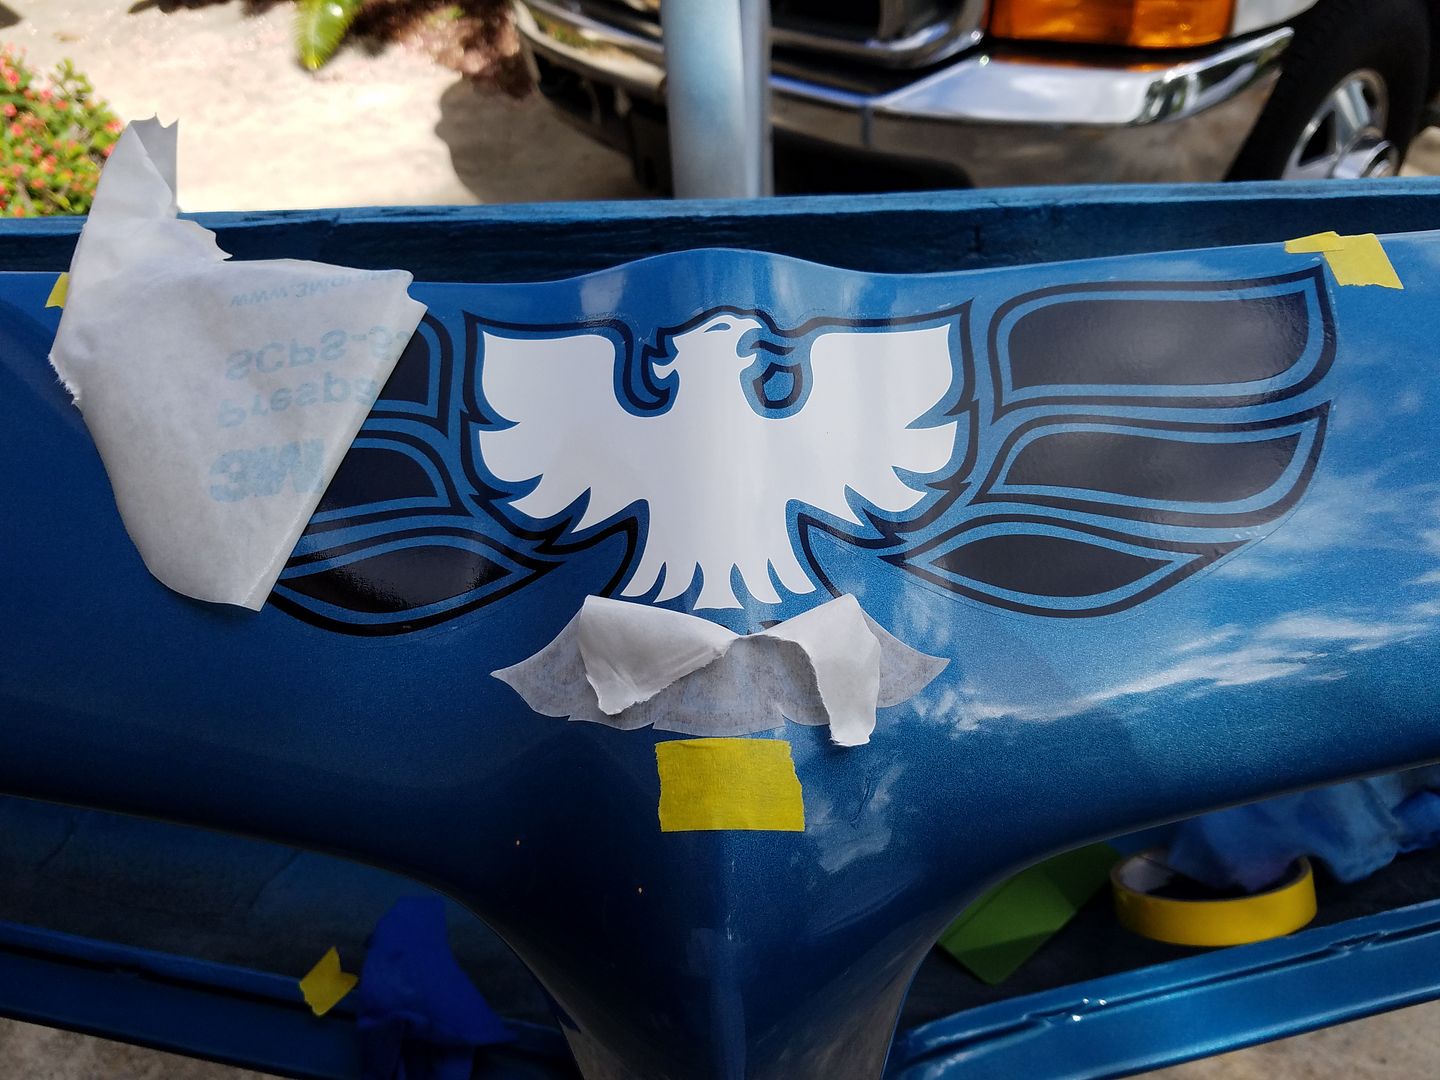 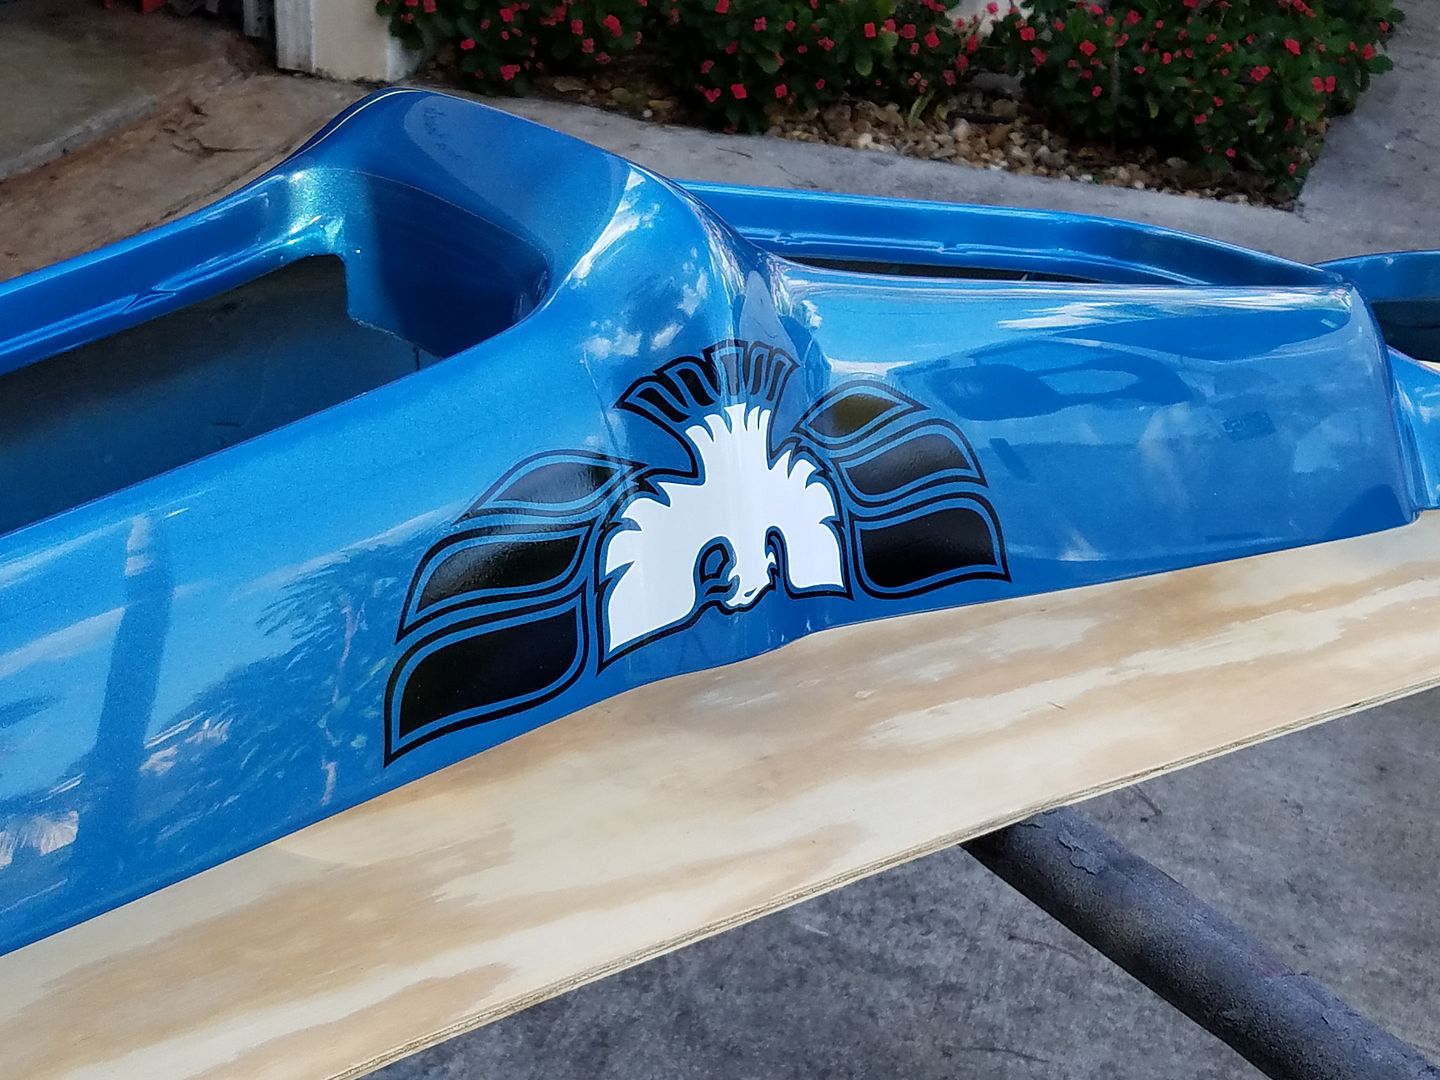 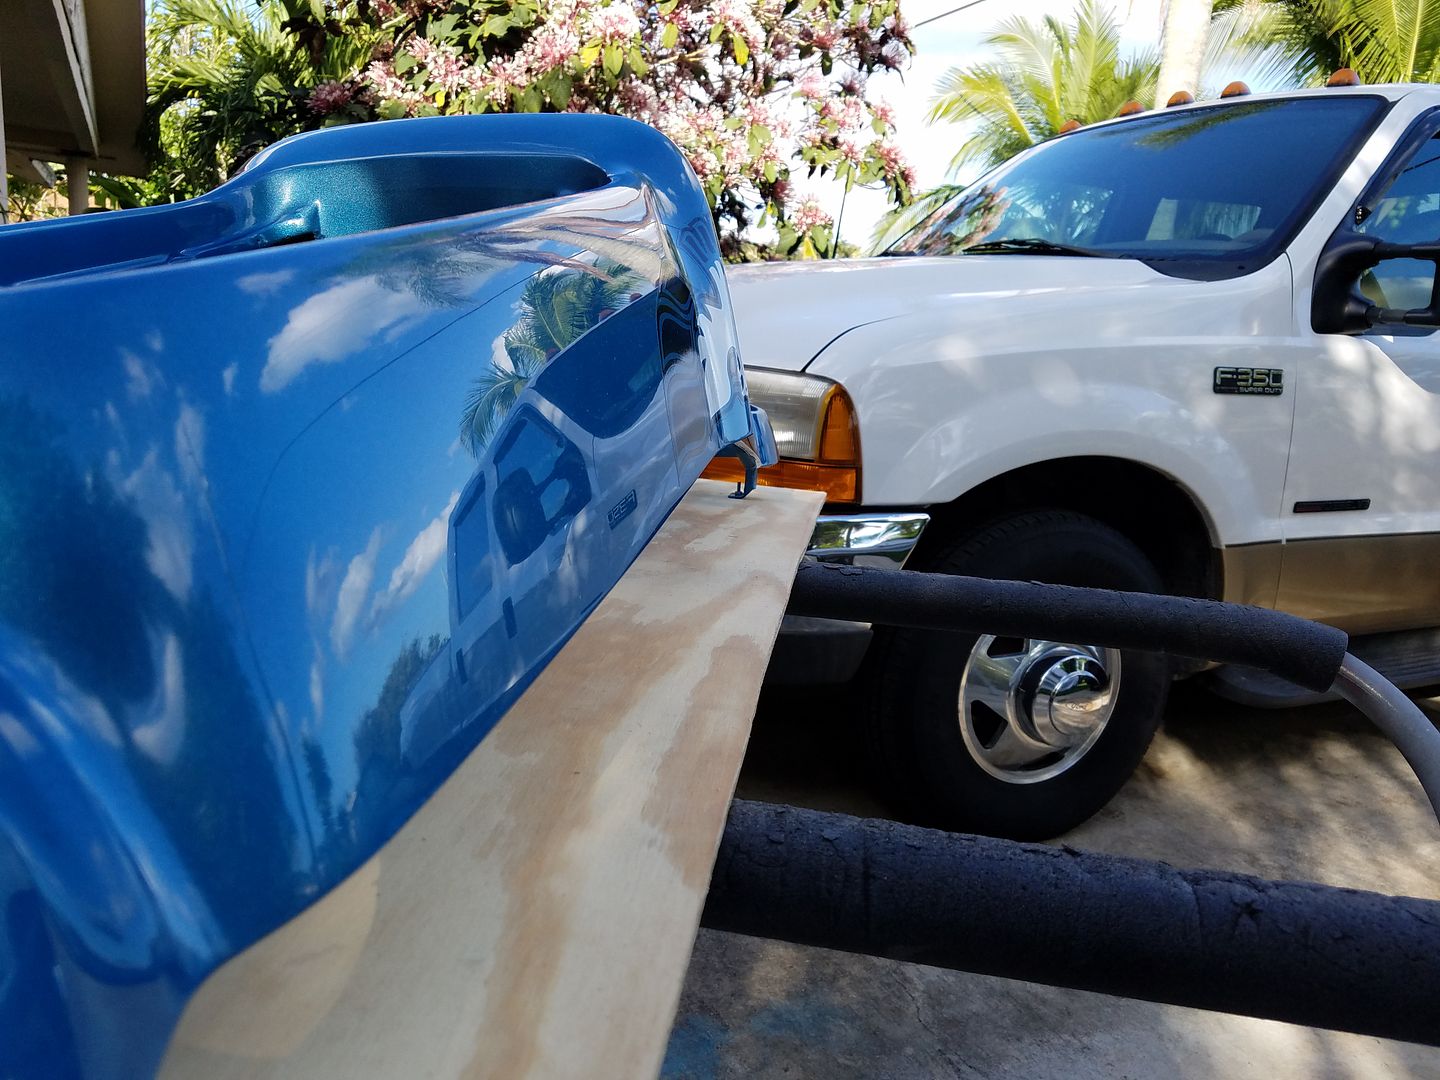 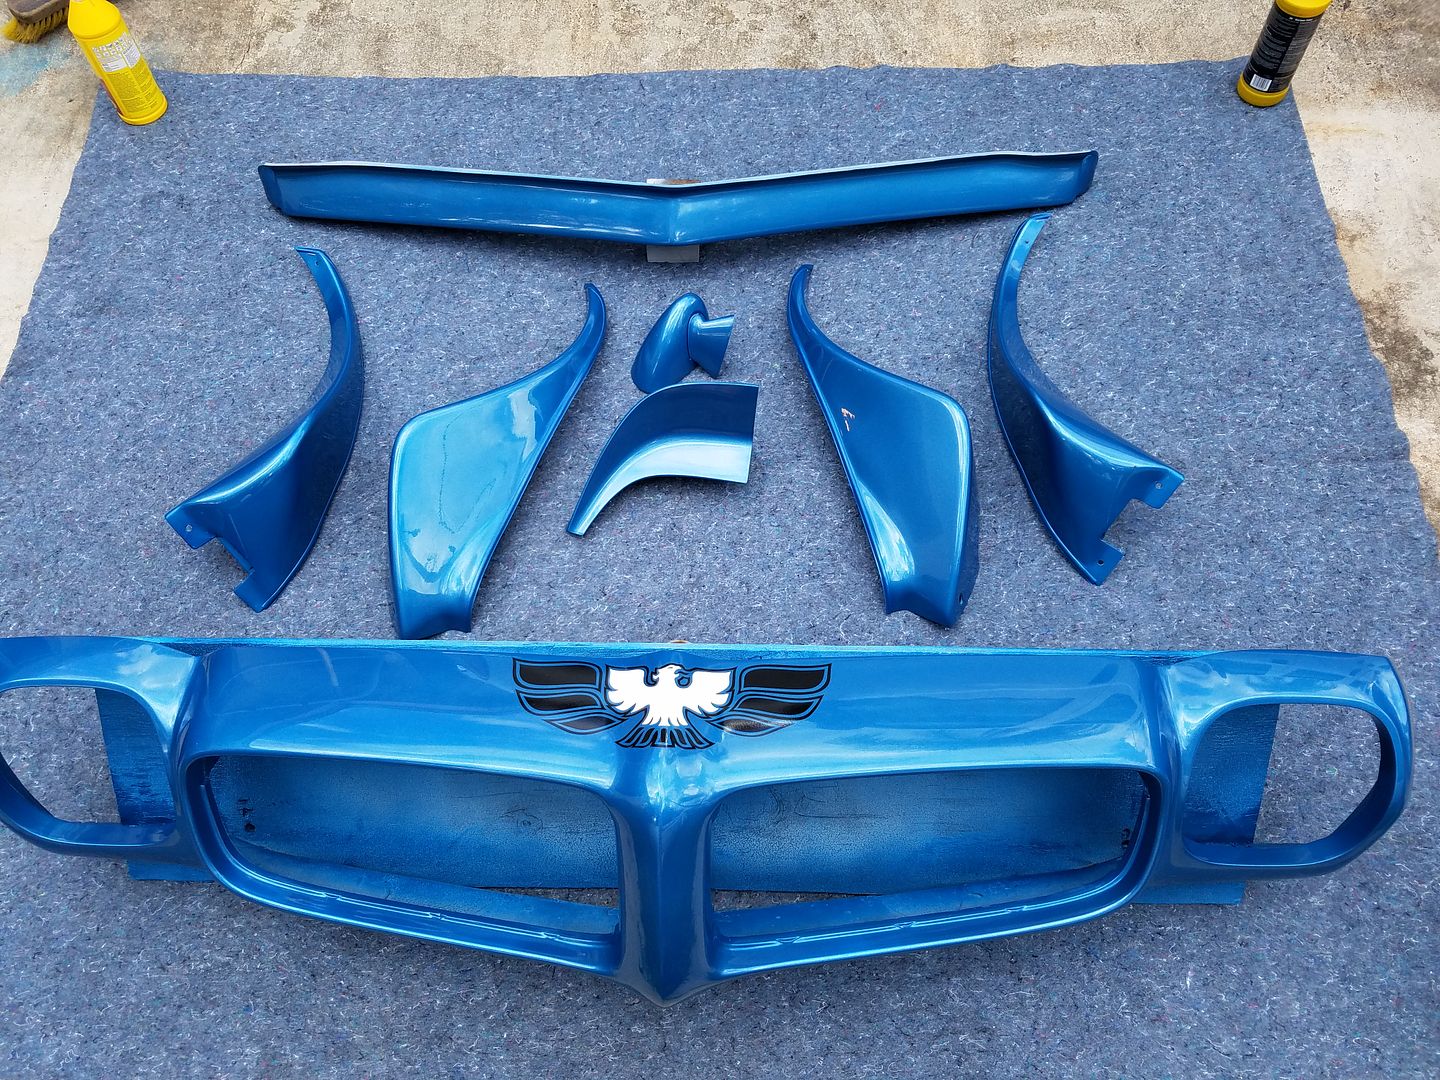
__________________
John Paige Lab-14.com Last edited by NOT A TA; 01-23-2017 at 03:51 PM. |
|
#2
|
||||
|
||||
|
John,
As usual, looks dang good buddy! Question though, no flex agent for the nose paint? I agree today's urethanes are much more flexible (for all these plastic cars I guess LoL) than the old stuff but you think it will still be ok? Does it help bc it is single vs bc/cc? Would you add it if going bc/cc?
__________________
************************************************** ******************* 73 TA 4 spd #'s match red/white - "STOLEN" AT TERRY SPEAR's SHOP IN Columbia TN ~mid 2014 Last offical pic of the car can been seen here: http://clubs.hemmings.com/pontiactn/...%20-%20rev.pdf People have seen it posted FS on Craigs List back in late 2013 early 2014.... ^^^^^^^^^^^^^^^^^^^^^^^^^^^^^ IF YOU HAVE ANY INFO ABOUT IT PLEASE CONTACT ME!!! |
|
#3
|
||||
|
||||
|
Color and workmanship is awesome.
Hope the rest of car looks that good...
__________________
Mike/Illinois |
|
#4
|
||||
|
||||
|
Nice work!
I think the plastic stitching is interesting. Have/had lots of broken/cracked spoilers and pieces. 
__________________
John Wallace - johnta1 Pontiac Power RULES !!! www.wallaceracing.com Winner of Top Class at Pontiac Nationals, 2004 Cordova Winner of Quick 16 At Ames 2004 Pontiac Tripower Nats KRE's MR-1 - 1st 5 second Pontiac block ever! "Every man has a right to his own opinion, but no man has a right to be wrong in his facts." "People demand freedom of speech to make up for the freedom of thought which they avoid." – Socrates |
|
#5
|
|||
|
|||
|
Quote:
We used to use the flex agent to keep the paint on flexible pieces from hardening as quickly to allow some time before reassembly of flexible pieces with the lacquers and enamels but it's not necessary any more with the good quality single stage or BC/CC urethane paints. All the flex agent really did was slow the curing process, the paint still got hard. I still have some PPG DX 369 flex agent but only use it in enamel on rare occasions. The modern urethane doesn't get "brittle" like the older paints and flexes for a long time without cracking (years). It's been a couple weeks since these pieces were painted and I can twist and bend the welting cutoffs as seen in pic below (taken while writing this) without any cracking or lifting when the piece is returned to it's natural state. Proper very careful prep before paint is essential. Piece in pic was bent this much and returned to straight several times before this pic was taken. 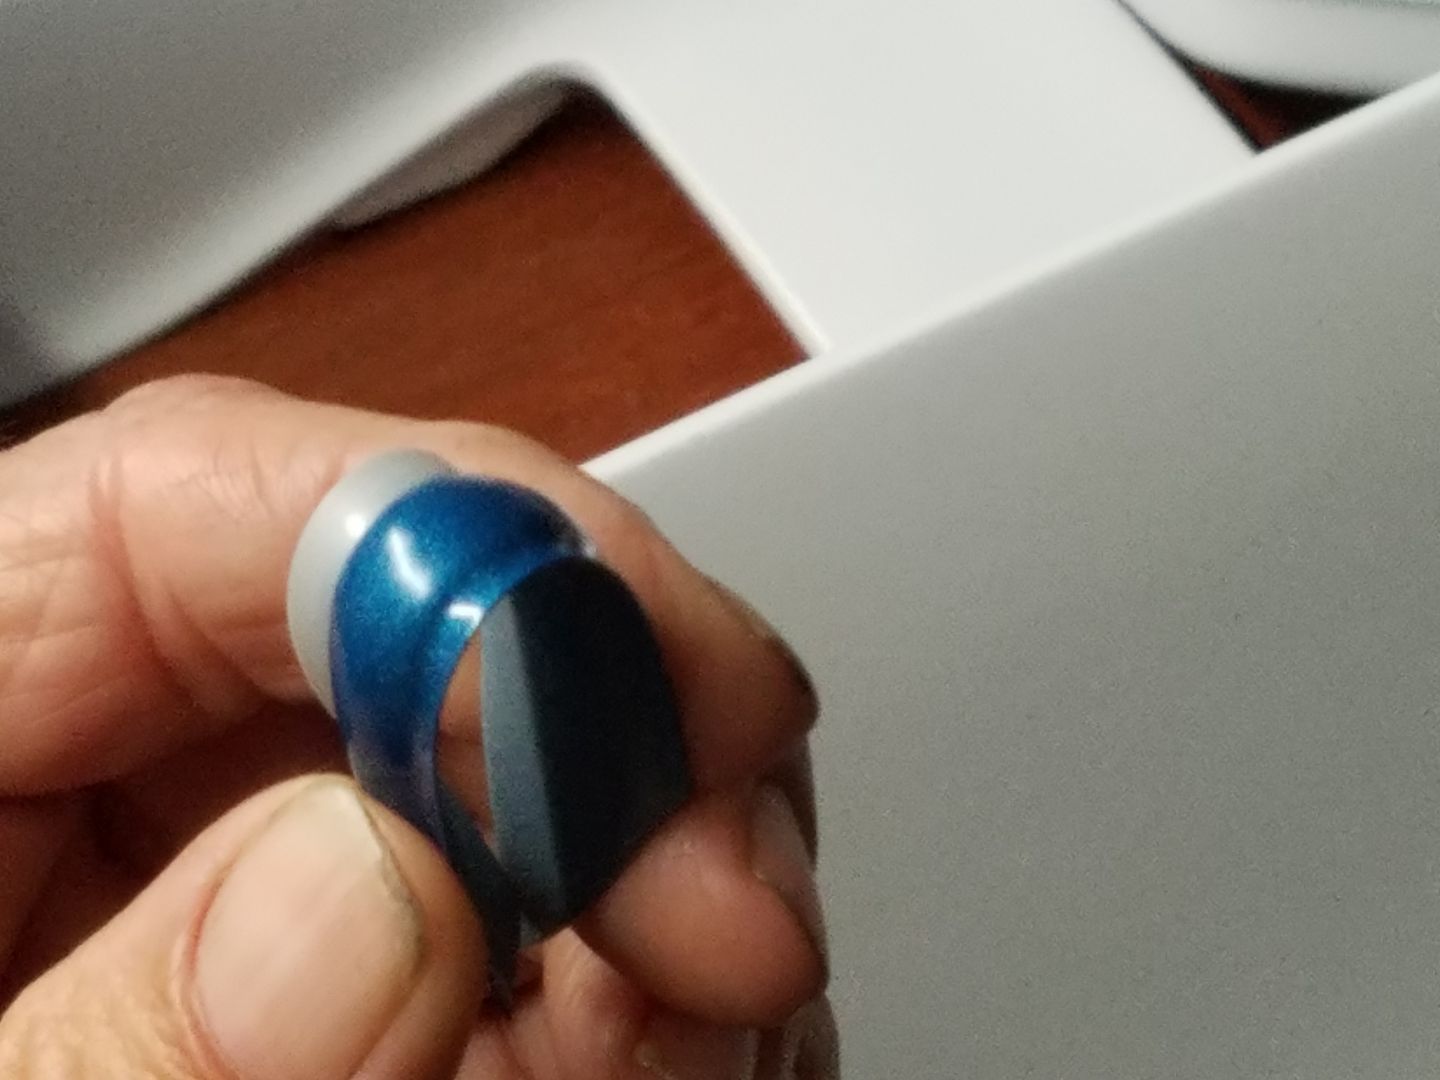
__________________
John Paige Lab-14.com |
|
#6
|
|||
|
|||
|
Thank You! In person the color looks lighter than in the pics taken with phone camera. The rest of the car is faded/checked old Lucy blue lacquer so no unfortunately it doesn't look as good. Whole car will be redone in a couple years. This was done to fix the most unattractive parts of the car in the meantime.
__________________
John Paige Lab-14.com |
|
#7
|
|||
|
|||
|
Quote:
Here's an example. 71 Impala door panels that had been cracked and epoxy repair attempted, sheet rock screwed in place at some point, painted with some kind of peeling spray can garbage, and gouged etc. for 40+ years. Panels were media blasted, repaired, textured like original, and painted. Bottom pic is custom speaker panels I made for same car. Not my personal style but I'll do anything customer wants to best of my ability. Yes, I even made the Impala logo. 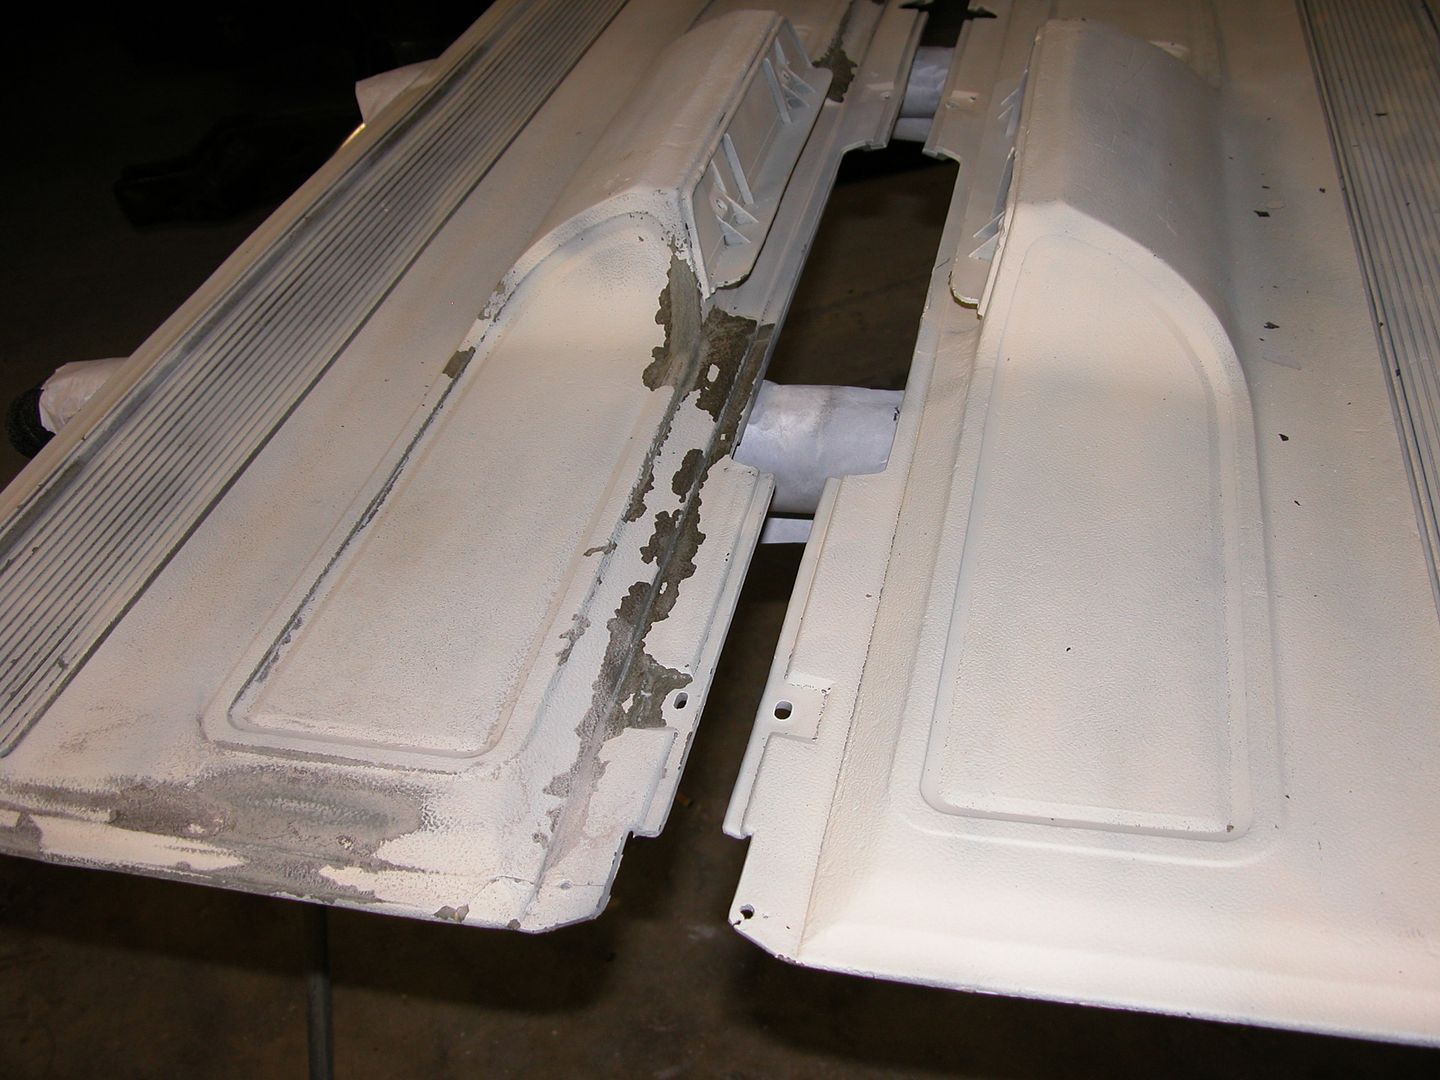 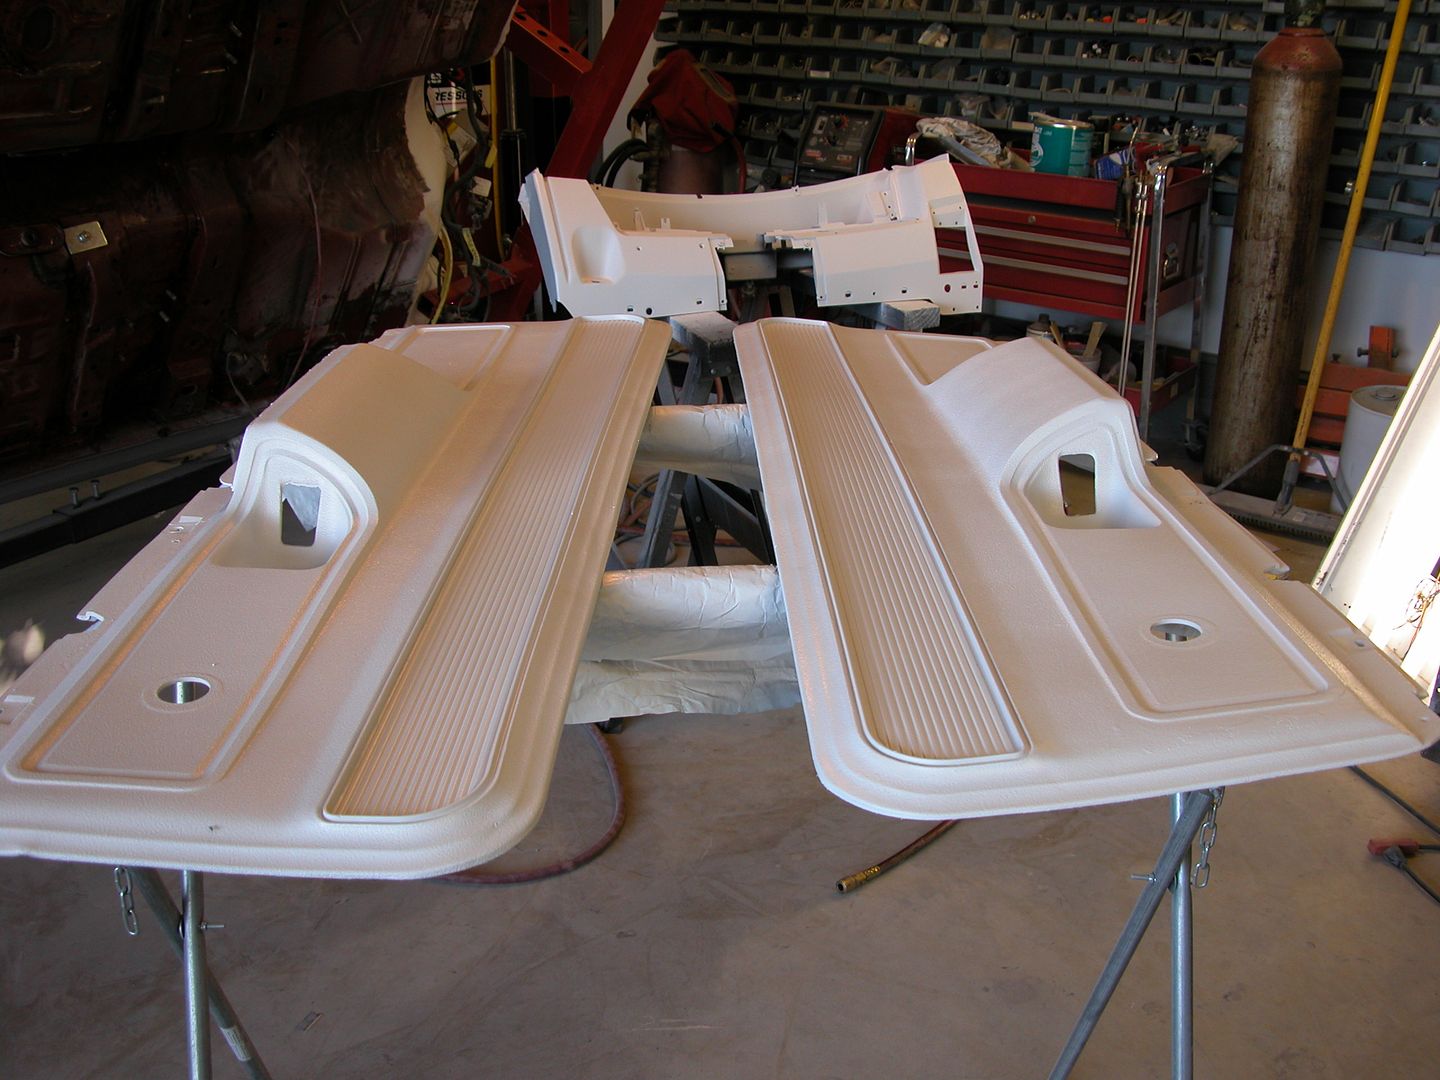 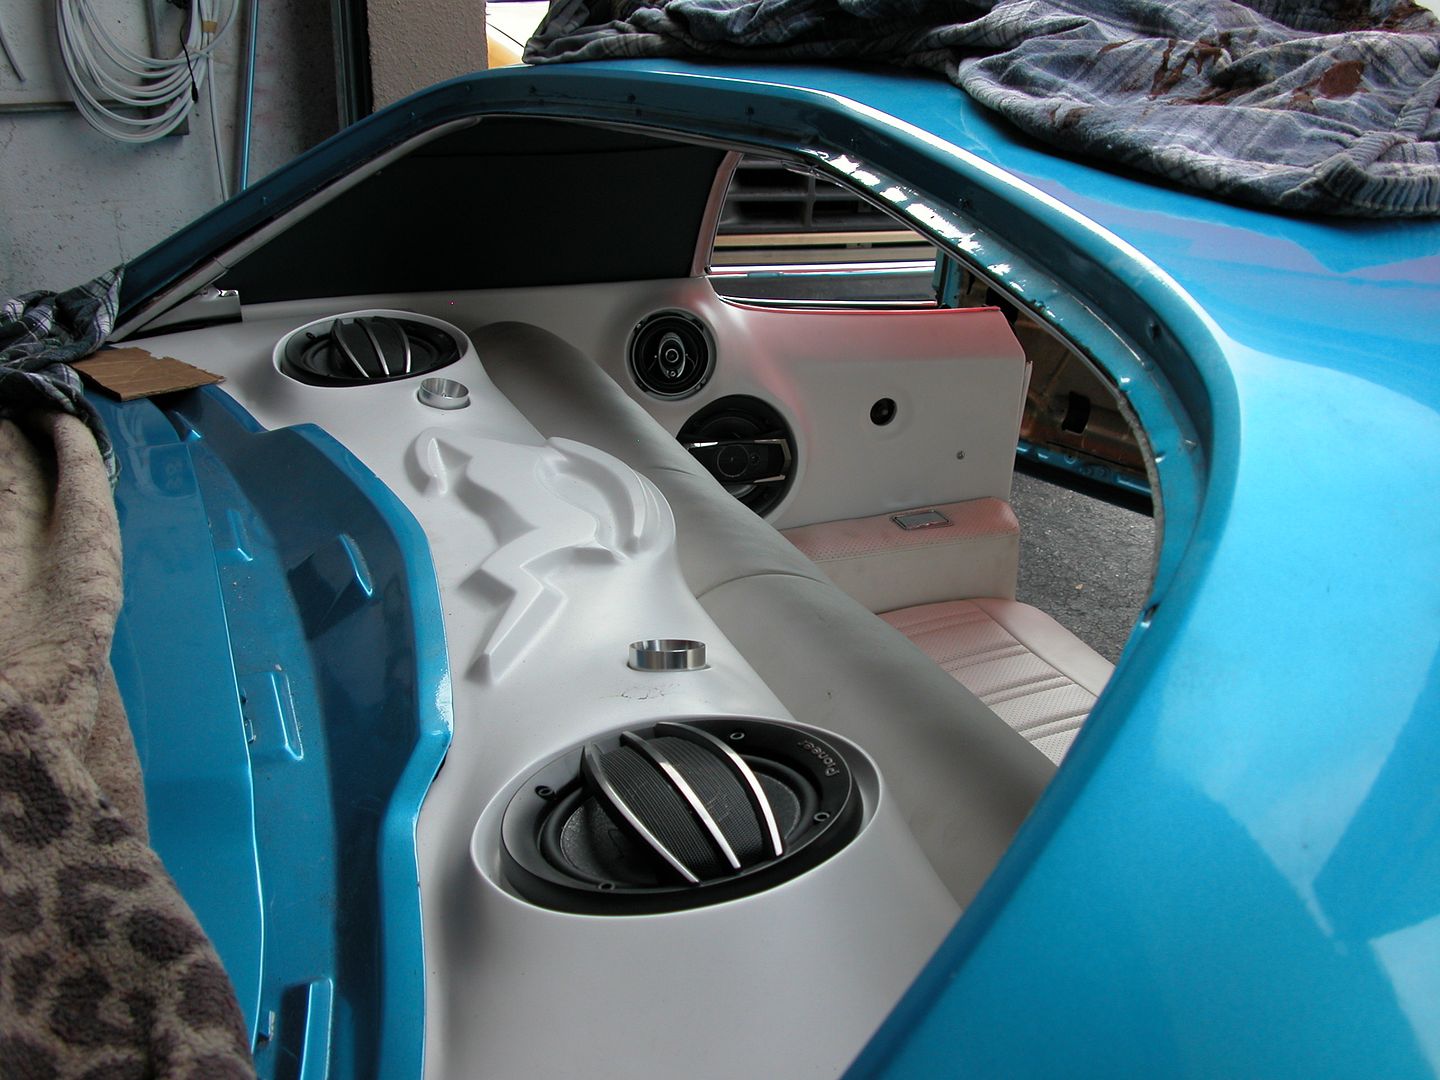
__________________
John Paige Lab-14.com |
|
#8
|
||||
|
||||
|
Excellent work!

__________________
John Wallace - johnta1 Pontiac Power RULES !!! www.wallaceracing.com Winner of Top Class at Pontiac Nationals, 2004 Cordova Winner of Quick 16 At Ames 2004 Pontiac Tripower Nats KRE's MR-1 - 1st 5 second Pontiac block ever! "Every man has a right to his own opinion, but no man has a right to be wrong in his facts." "People demand freedom of speech to make up for the freedom of thought which they avoid." – Socrates |
|
#9
|
||||
|
||||
|
Very impressive work!!
__________________
1973 Formula 400 4 spd 04C build date Norwood assembly plant. |
|
#10
|
||||
|
||||
|
Haha, I was just down there last week too & was like " I should call John & see what he is currently up to"...... LoL, goes both ways right
 I'll be back down in a week or so & will stop by. I have some new news too. I'll be back down in a week or so & will stop by. I have some new news too.Thanks for the info on the paint as well.
__________________
************************************************** ******************* 73 TA 4 spd #'s match red/white - "STOLEN" AT TERRY SPEAR's SHOP IN Columbia TN ~mid 2014 Last offical pic of the car can been seen here: http://clubs.hemmings.com/pontiactn/...%20-%20rev.pdf People have seen it posted FS on Craigs List back in late 2013 early 2014.... ^^^^^^^^^^^^^^^^^^^^^^^^^^^^^ IF YOU HAVE ANY INFO ABOUT IT PLEASE CONTACT ME!!! |
|
#11
|
|||
|
|||
|
Quote:
Unfortunately you won't get to see the parts since a very happy guy picked them up today. Paul's wanted to get a new bumper and the other pieces painted for at least 20 years! Over the past several decades some of you guys may have seen his car in CT, GA, or at a couple of the S.T.A.R.S. shows in FL. 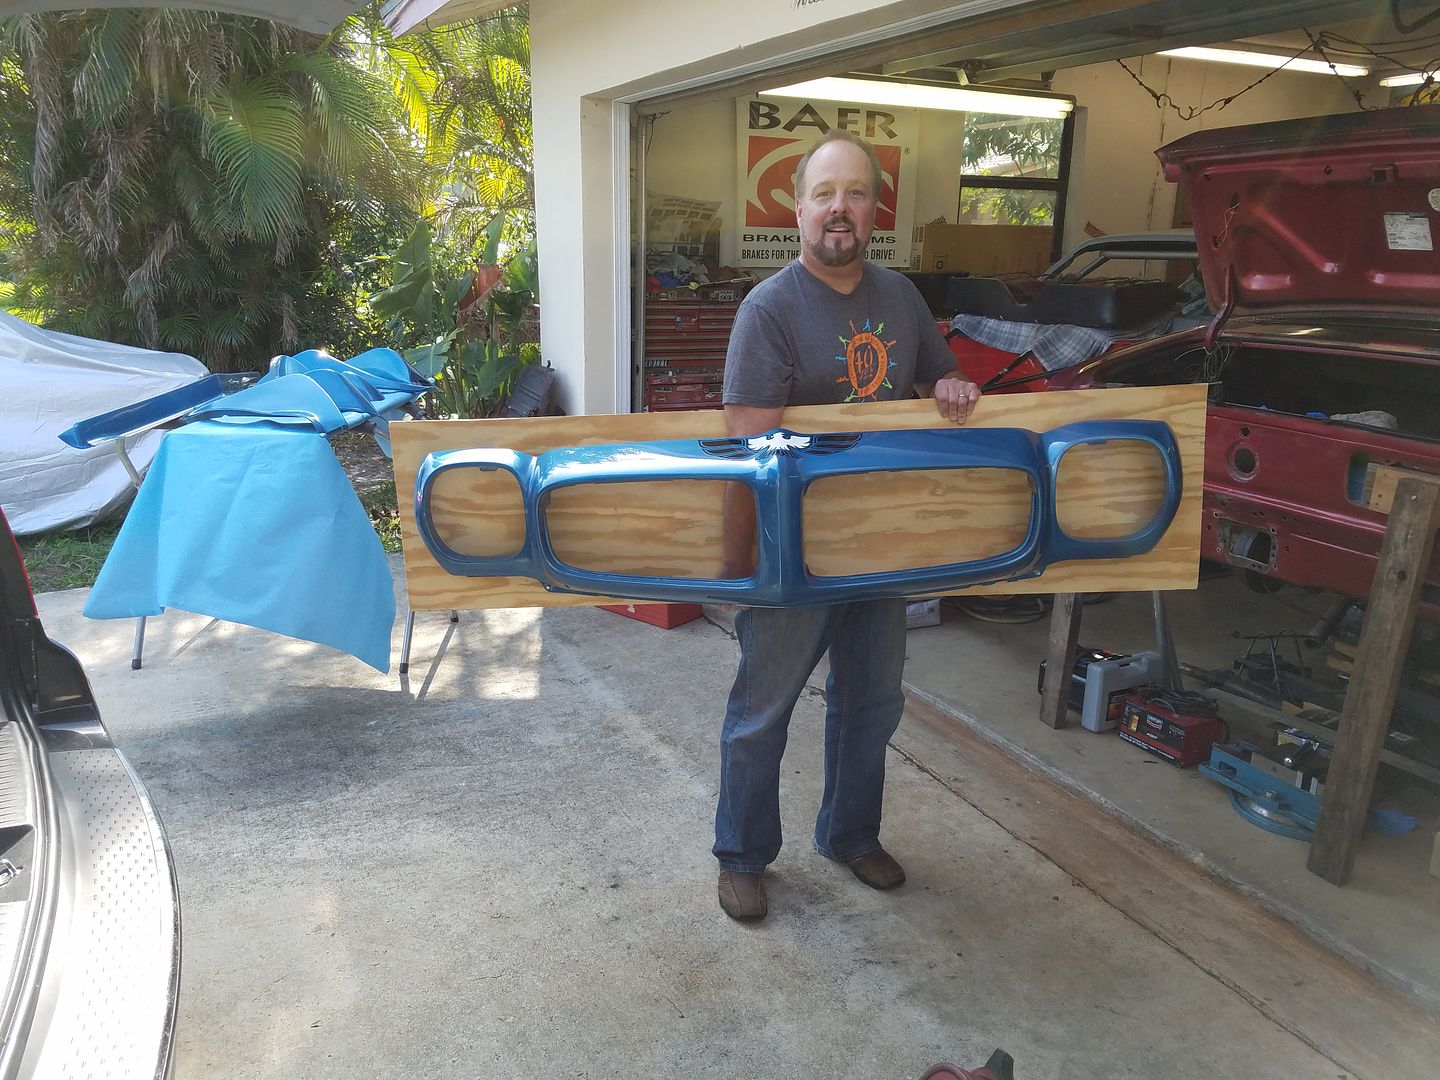
__________________
John Paige Lab-14.com |
|
#12
|
|||
|
|||
|
Owners wife sent me a pic she took when he finally had time to install the parts. Color match looks pretty good in the pic considering I used modern Urethane to match 30 YO faded Lacquer and couldn't blend since I didn't have the car.
__________________
John Paige Lab-14.com |
|
#13
|
||||
|
||||
|
cool!
I had no idea that you can (often?) get away without adding flex agent these days!
__________________
1970 Formula 400 Carousel Red paint on Black standard interior A no-engine, no-transmission, no-wheel option car. Quite likely one of few '70 Muncie three speed Formula 400's left. 1991 Grand Am: 14.4 @ 93.7mph (DA corrected) (retired DD, stock appearing) 2009 Cobalt SS: 13.9 @ 103mph (current DD; makes something north of 300hp & 350ft/lbs) |
|
#14
|
|||
|
|||
|
Quote:
__________________
John Paige Lab-14.com Last edited by NOT A TA; 02-21-2017 at 03:32 PM. |
|
#15
|
||||
|
||||
|
I'm really interested in the hot staple idea...Are you just heating the staples and pushing (backwards) them into the plastic...or what? What's causing the melt line to be zig-zagged?
Great work! I'm all about fixing original stuff when possible as opposed to buying offshore repops.
__________________
Greg Reid Palmetto, Georgia |
|
#16
|
||||
|
||||
|
Quote:
It does though appear to be a fantastic way of reviving life into parts which might otherwise (previously) be considered NFG.
__________________
1970 Formula 400 Carousel Red paint on Black standard interior A no-engine, no-transmission, no-wheel option car. Quite likely one of few '70 Muncie three speed Formula 400's left. 1991 Grand Am: 14.4 @ 93.7mph (DA corrected) (retired DD, stock appearing) 2009 Cobalt SS: 13.9 @ 103mph (current DD; makes something north of 300hp & 350ft/lbs) |
|
#17
|
|||
|
|||
|
Quote:
__________________
John Paige Lab-14.com |
|
#18
|
||||
|
||||
|
Thanks for the info!
__________________
Greg Reid Palmetto, Georgia |
|
#19
|
||||
|
||||
|
Quote:
My 71 was painted a few years ago, and the nose has a bunch of little cracks along the edges where it meets the fenders. I don't know what they used for paint, but I do know its single stage. After I paint the 81, I'll be tackling the 71.
__________________
"Those poor souls have made the fatal mistake of surrounding us. Now we can fire in any direction" 1970 Trans Am RAIII 4 speed 1971 Trans Am 5.3 LM7 1977 Trans Am W72 Y82 1987 Grand National |
| Reply |
|
|