.....and started to mock up the A/C setup into place. I need to have all of the A/C and heat/defrost items that go under the dash in their correct locations so I can find a way to fit the Speartech controller and part of the harness in there. I'll need to find a good location on the firewall for the harness to pass through to the engine compartment.
I need to figure out where everything will go, get it all mounted and then remove all of it. After all of that is done I can finally start installing some high-quality firewall and floor insulation. I'll be using a layer of Damplifier Pro first and then a layer of Luxury Liner Pro on top of that on the inside of the firewall, from Second Skin Audio.
The A/C unit is mounted in place against the firewall with both support brackets installed on the dash bottom edge.
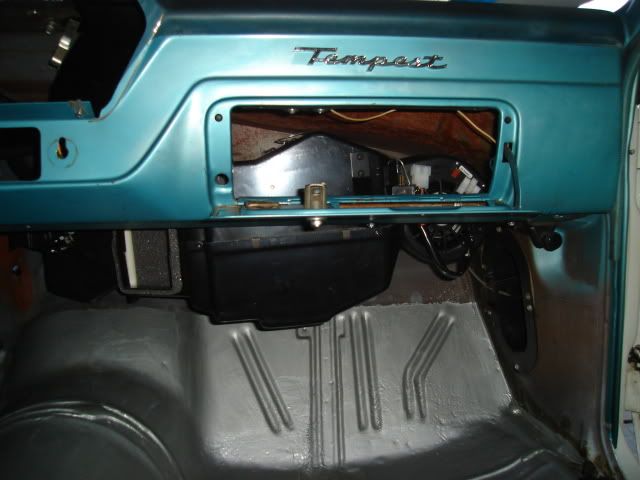
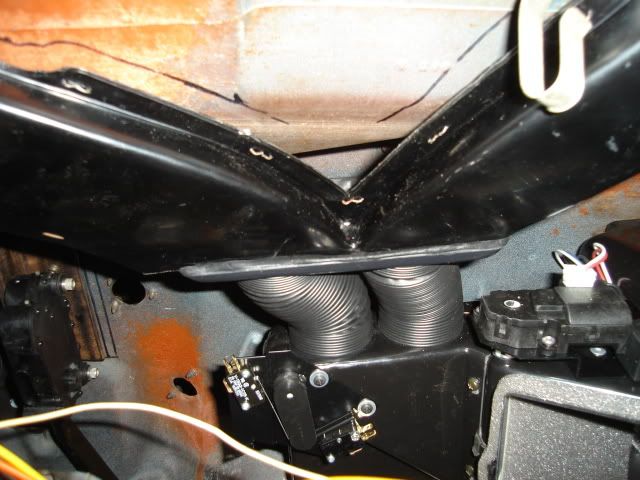
Heater and defrost ducting in place. The original defrost ducting was cut off on the bottom and a defrost hose adapter added from the kit.
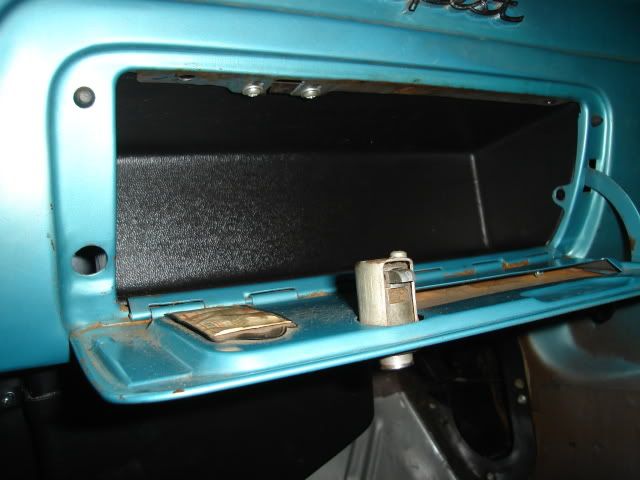
Here's the 'stubby' glovebox insert that's supplied in the kit.
After putting most of the A/C stuff in place I started on the controller and harness. First thing to do will be mounting the drive-by-wire accellerator pedal.
Here are some shots of the accellerator pedal mounted to a bracket I made up out of 2" X 3/16" angle iron that's 7-1/2" long, it's plenty stout and won't flex. I drilled tapped the bracket with 5/16-18 coarse thread for the two bolts that mount it to the firewall and 1/4-28 fine thread 2 places to mount the pedal assembly to the bracket.
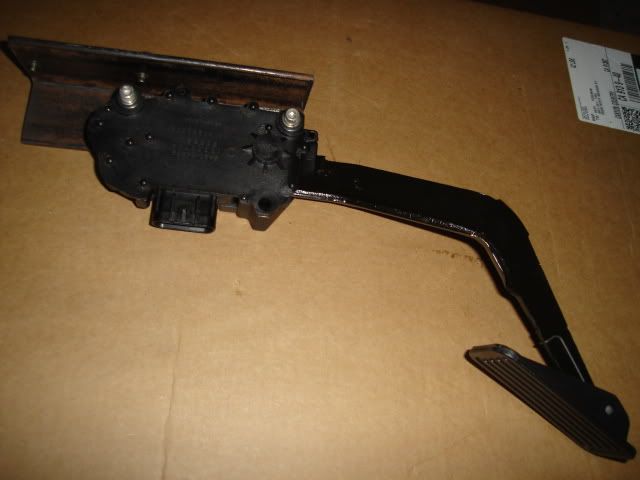
Later on the bracket will get cleaned up some by removing some unnecessary metal in a few places and rounding off the corners, a little black paint will finish it off.
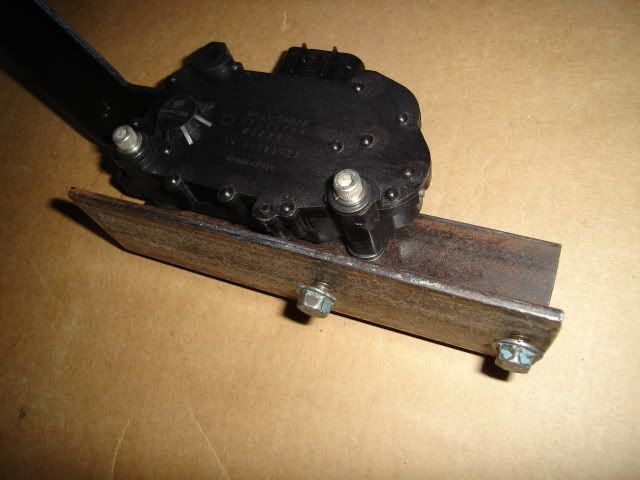
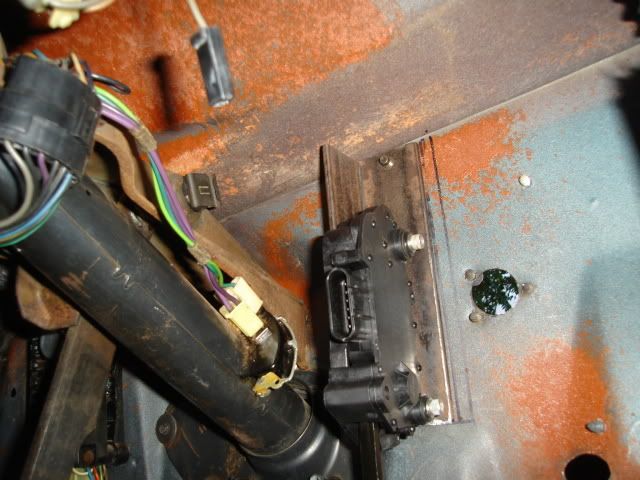
The pedal bracket mounts at the very top inside the firewall using two existing bolt holes (opened up to 5/16") that were originally used to mount the voltage regulator.
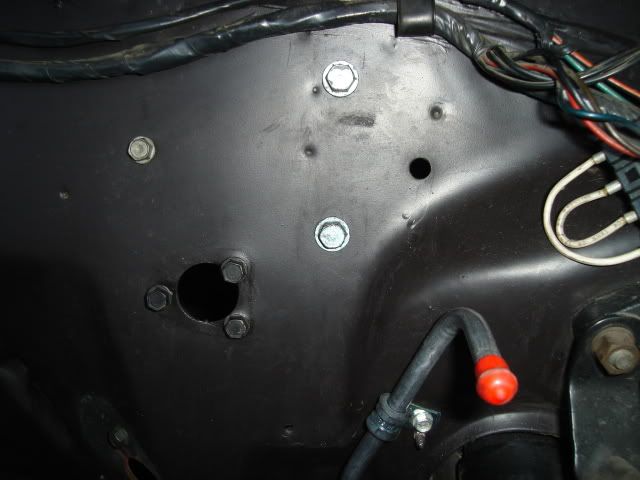
Firewall side showing the two bolts I used to attach the bracket. They're actually stock Pontiac V8 valve cover bolts with flanged heads. Keep Your GM Car All GM.

There is also a third smaller existing hole you can see at the bottom that was originally used for a small sheetmetal screw. For a little more rigidity I'll put a 10-32 thread hex head bolt there after drilling and tapping the bottom corner of the pedal bracket.
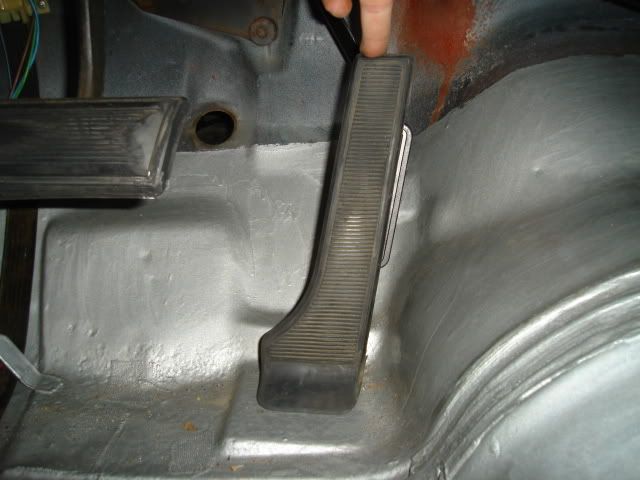
Pedal mounting position is very close to where the original one went.
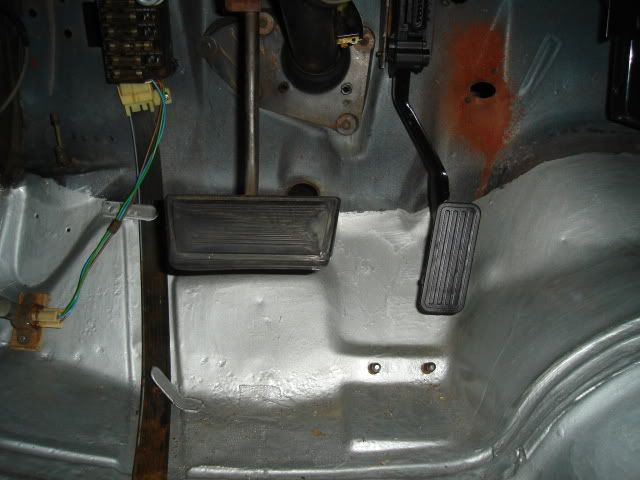
Here you can see how the original pedal sits directly over the new pedal, positioning is right on the money. Later on I may decide to use the original pedal to actuate the throttle, making that work won't be too difficult.