I did a little grinding on the driver's side upper control arm to provide clearance between the control arm pivot area and the top of the differential housing. Just goes to show that you need to pre-fit all of your new aftermarket components whenever possible.
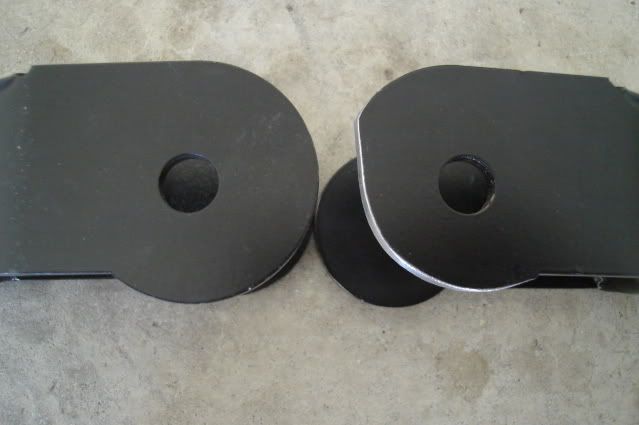
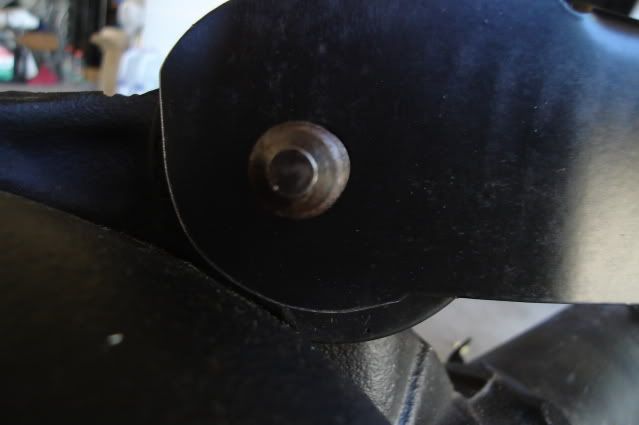
Here you can see the tight clearance between the arm and the housing after grinding. It's a bummer when you have to grind on a freshly powder coated brand-new component, some black enamel took care of the minor touch-up needed.
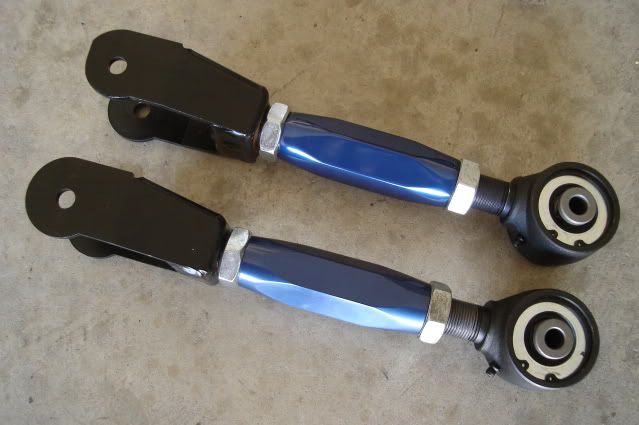
I took the threaded ends of the arms apart and added a little more moly grease to the threads, I was glad to see they came with a decent amount of proper lube on them. These parts almost look too pretty to hide up underneath the car.
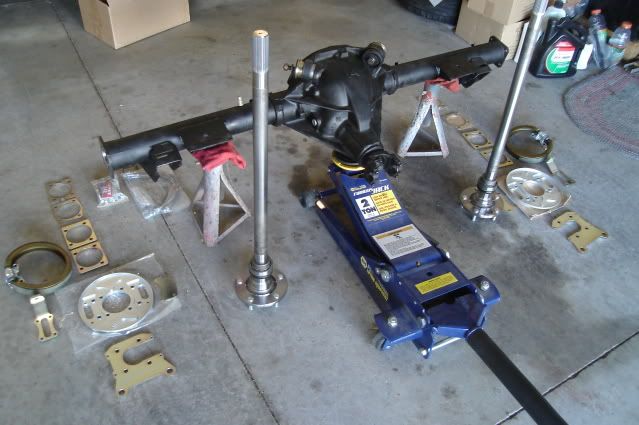
One of the drivetrain upgrades: A 3.42-geared Eaton posi-equipped '71 -'72 Buick A-body rear end with the Moser 30-spline axles. All of the KORE3 C6 Z06 rear brake adapter parts and internal parking brake components are laid out and ready.
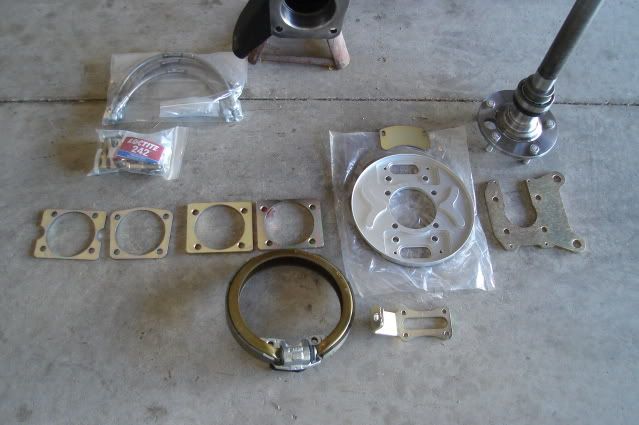
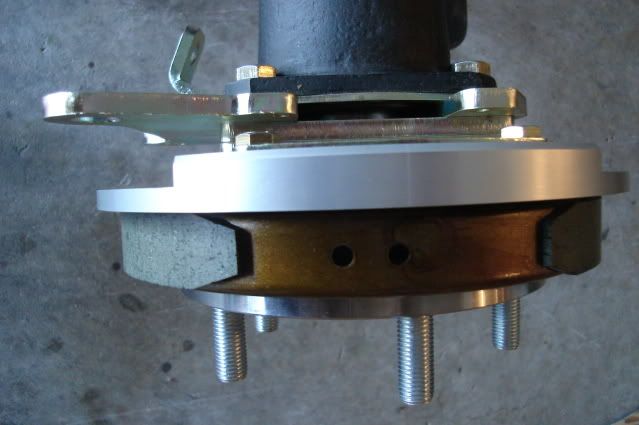
The KORE3 kit comes with all of the proper spacers and brackets necessary to make the Corvette brakes a true bolt-on installation. The fully-machined billet aluminum parking brake backing plates are a true work of art, this high-quality kit was worth every penny.
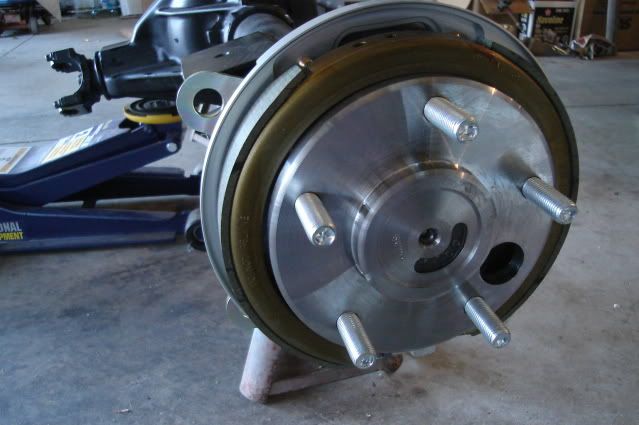
A look at the parking brake assembly before the rotor is installed.
From the back side, the caliper and bearing retainer bracket is one piece.
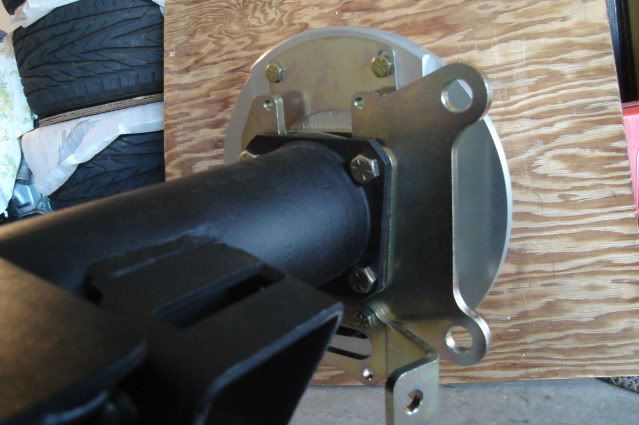
From the top you can see the series of spacers as they stack up to make everything fit. First a .105" thick spacer between the bearing retainer/caliper bracket and the housing end, next two .250" thick spacers between the retainer/caliper bracket and backing plate. Last there is a steel plate about .100" thick between the aluminum backing plate and the four 3/8-16 flanged self-locking nuts that hold everything in place.
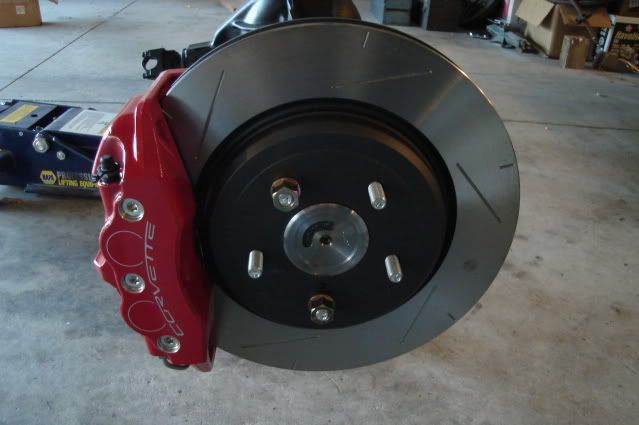
Both 13.4" rotors and 4-piston calipers are now installed to check for fit. These things are monsters!

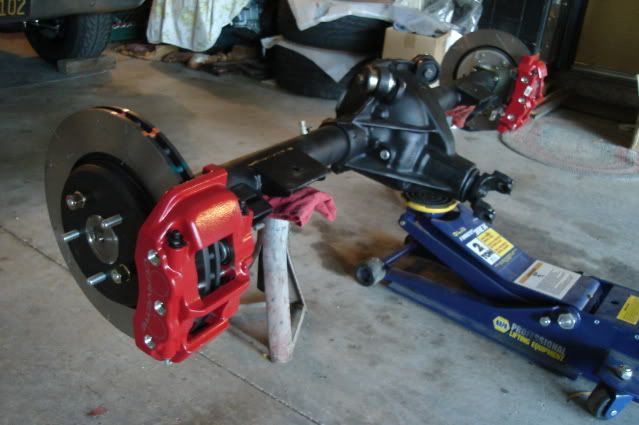
These should help haul this soon to be very fast Tempest down quickly. Good brakes = a safer car.

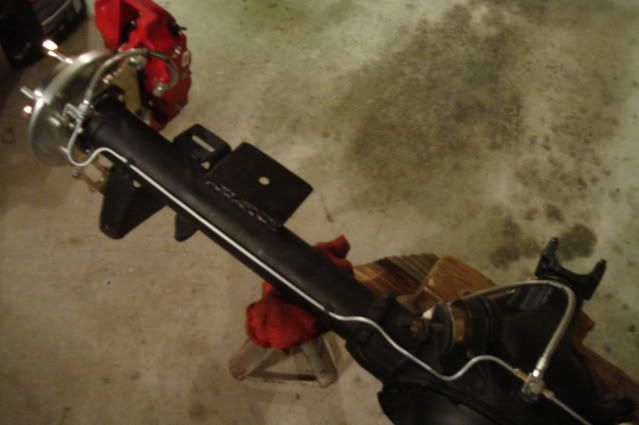
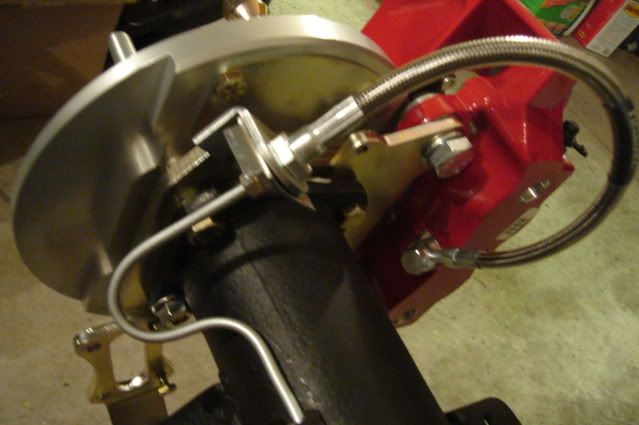
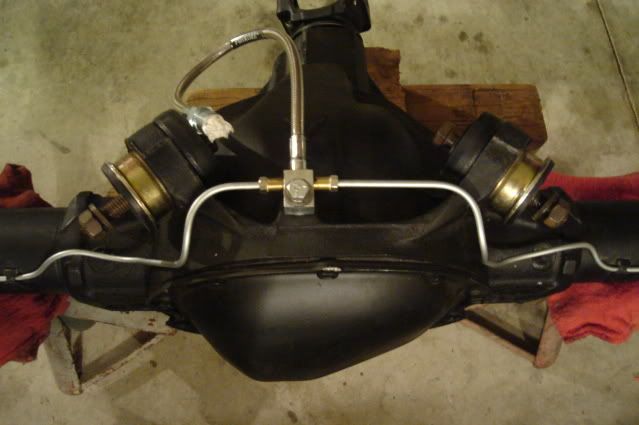
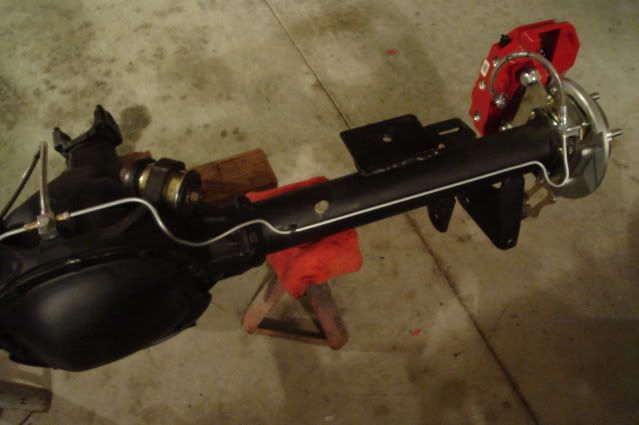
I stopped by the local Pep Boys and picked up a couple of 40" lengths of 3/16" brake line.
I ended up using 33.5" of line on the driver's side and 36" on the passenger side, owning a decent flaring tool is a must when shortening pre-made hard lines or making up new ones. The difference in line length was due to the offset location of the brake line tee on the top of the differential housing. The 8.5 rear has a cast-in bolt boss on top that's tapped for 5/16-18 thread to mount the tee, unlike the 8.2 rear these cars came with that use a bracket attached to the top cover bolt to mount the tee.
I bought some FlexKORE (TM) brake lines from KORE3 for the entire brake system to replace all of the flexible rubber lines, top-quality parts that will last forever and give better braking performance. I had to make sure that the FlexKORE lines were mounted in such a way that would allow the caliper to be pulled off the rotor for pad changes without disconnecting the lines.
I filled the rear end with 2.5 quarts of Castrol 80W-90 gear oil (
no synthetic for limited-slip units) and a 4oz bottle of GM #1052358 Limited Slip Additive, after 1000 miles I'll dump the oil and refill with new. With the gear lube taken care of and the brake lines completed the rear end finally ready to install.
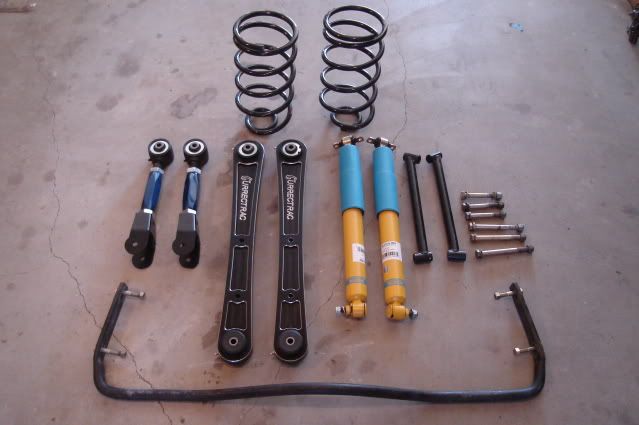
I pushed the Tempest out and laid out all of the rear suspension pieces: Currie Currectrac control arms, Global West S-60 springs, 1" rear sway bar, Bilstein shocks and some Hotckis mounting braces to reinforce the frame. I found that I was missing a couple of bolts that I needed for the Hotchkis mounting braces (used) so I headed to NAPA and picked up the Grade 8 bolts.
I laid the new adjustable upper control arms next to the stock ones and slipped some bolts through them both. I adjusted the length on the new ones so they would match the stock ones to have a good baseline to start out with. I pumped all of the Johnny Joints and urethane bushings full of grease while I had easy access.
Out with the old.
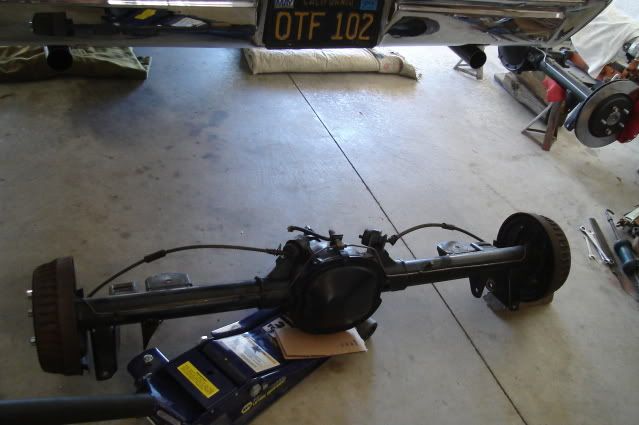
I had read about the tight fit of the Currie arms to the frame mounting points, and sure enough there was about .010" of interference.
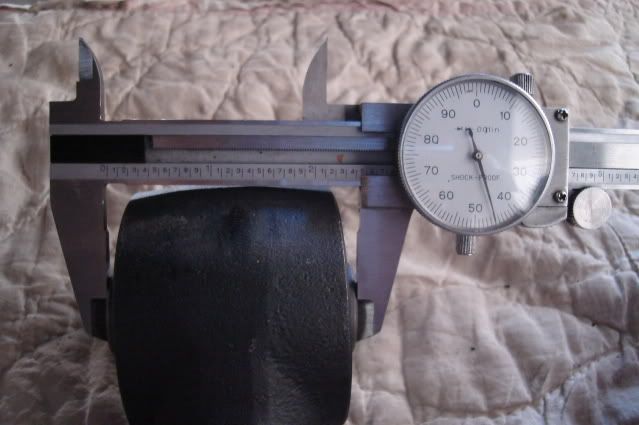
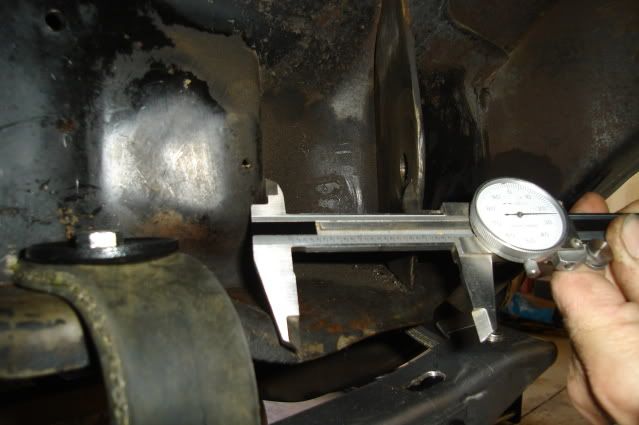
I used a slide hammer with a hook attachment and gave it about 3 hard knocks, this opened up the mounting bracket just enough for the clearance needed. The mounting points were crushed inward a little by previous tightening of the old suspension parts, it's not a big deal to open them back up again.
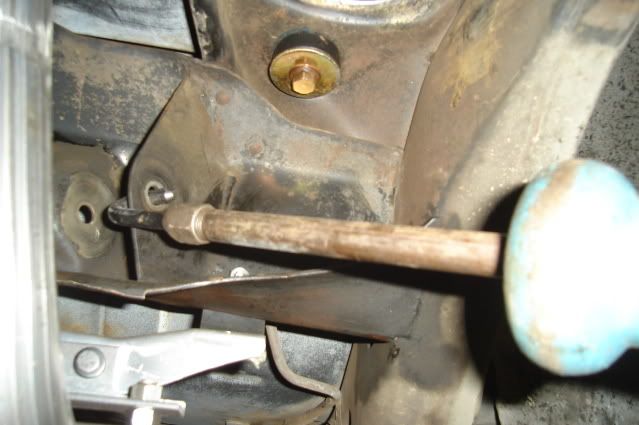
Control arms and mounting braces installed. On the lower arm on the pasenger side the very front end of the Currie arm interfered with the mounting bracket on the frame. I removed the arm and hammered the center of the mount in about 1/16" to get the clearance I needed.
As you can see in the picture below, this was as low as the arm would pivot downward before doing the clearancing. You must remove the front grease zerk before installing these and put it back in when you're all finished, otherwise you'll break it off as the arm pivots down while putting the rear end in.
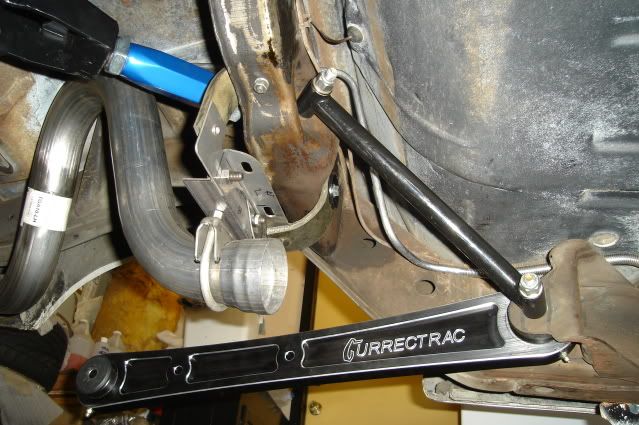
In with the new.

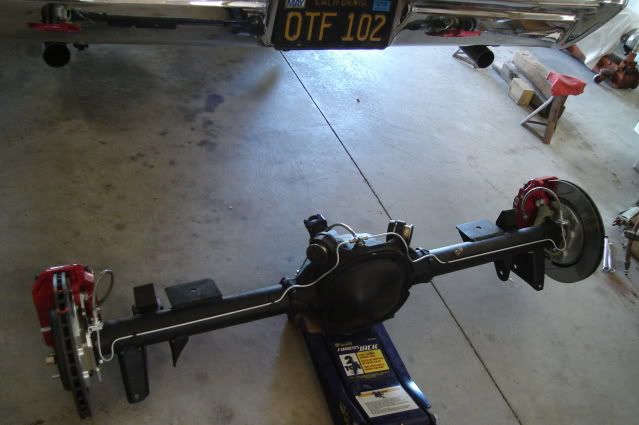
All buttoned-up. No sway bar installed yet nor any brake pads.
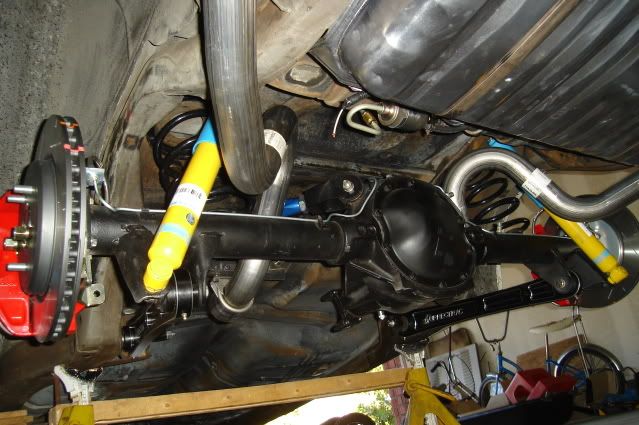
Suspension at full droop, shocks fully extended.
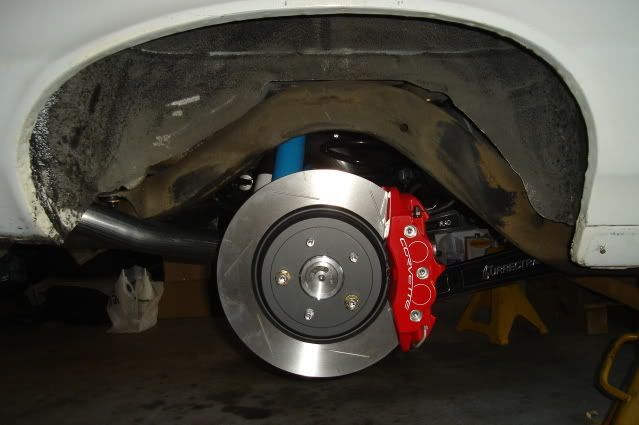
Rear end install complete, back down to earth.
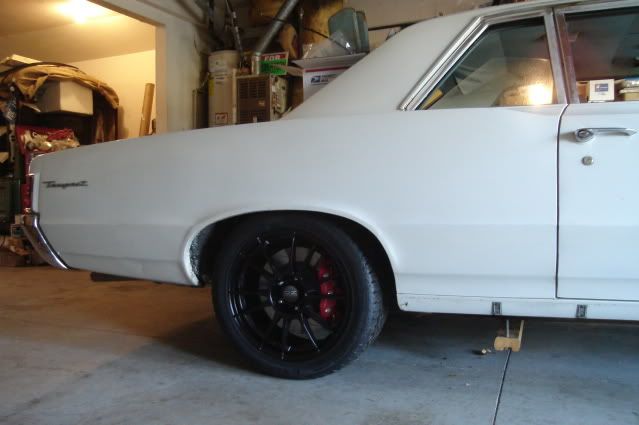
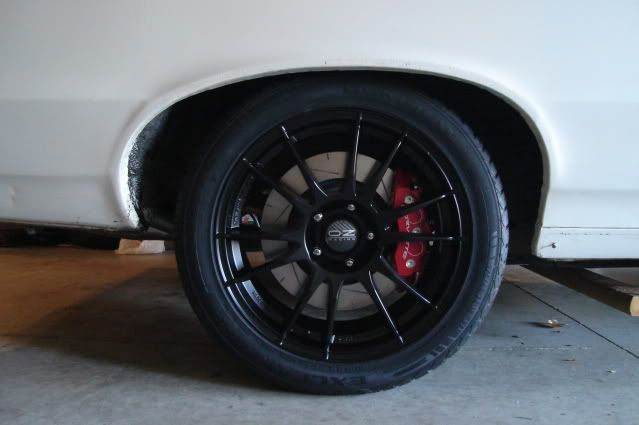
I'm really liking the contrast of the black wheels and the red Corvette Z06 calipers.
Wheels are 18X9" O.Z. Racing Ultraleggera weighing in at only 20.8 pounds each bare, tire sizes are 275/40-18 rear and 245/40-18 up front.