Door repair continued again from 2 days ago.
Patch is ready to tack in.
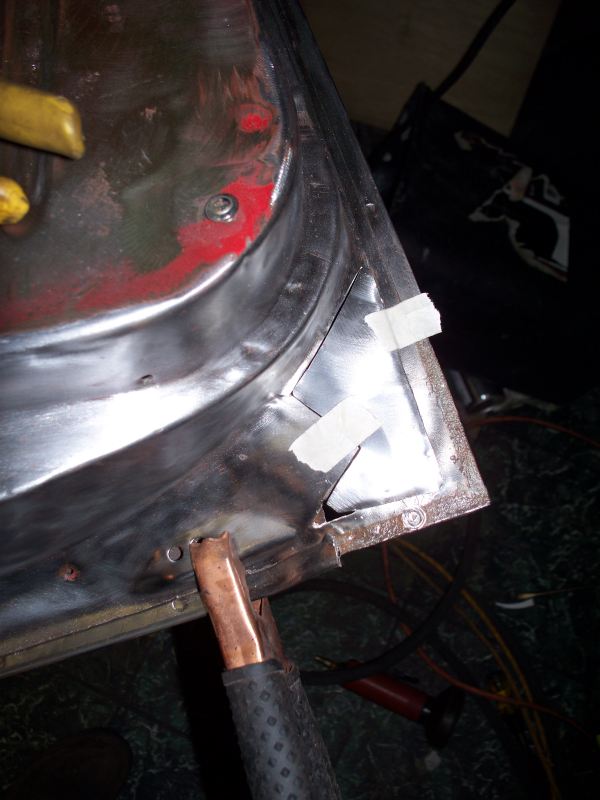
Patch is tacked in. This step took about 30 minutes. In order to get good results when butt welding, the metal needs to be even. The edges are adjusted for every tack weld which means, that it is tapped with a hammer to make the edges even, I used a vise grip on one edge to hold the edge of the patch down. It is very important that the metal be even at this step since when you grind the joint down you will end up with thin metal on one side it the edges are not even.
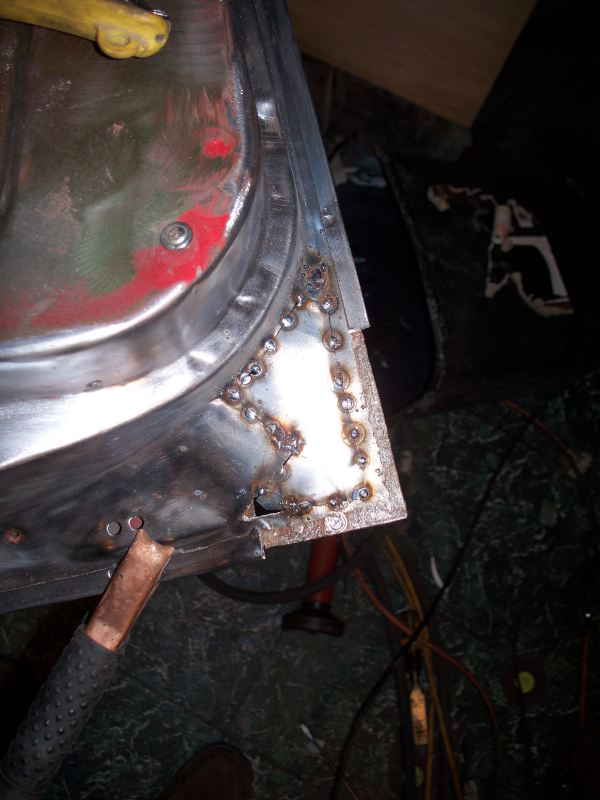
The hole at the bottom left of the patch resulted from my scrap that I used to form the patch being slightly too small.
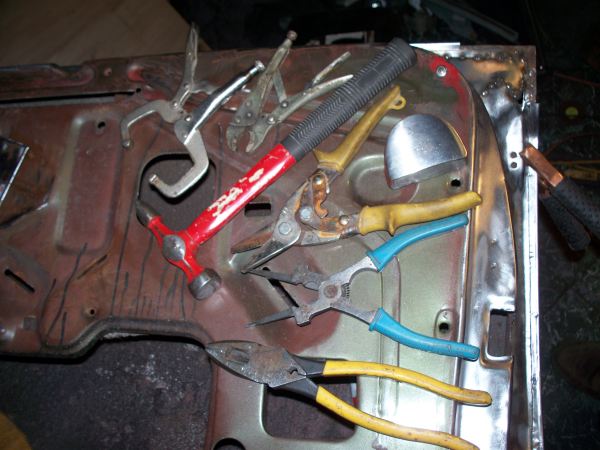
All of these tools were used during the tacking process to make sure the edges were even. Your patch should be very close to start with and should not require any major bending.
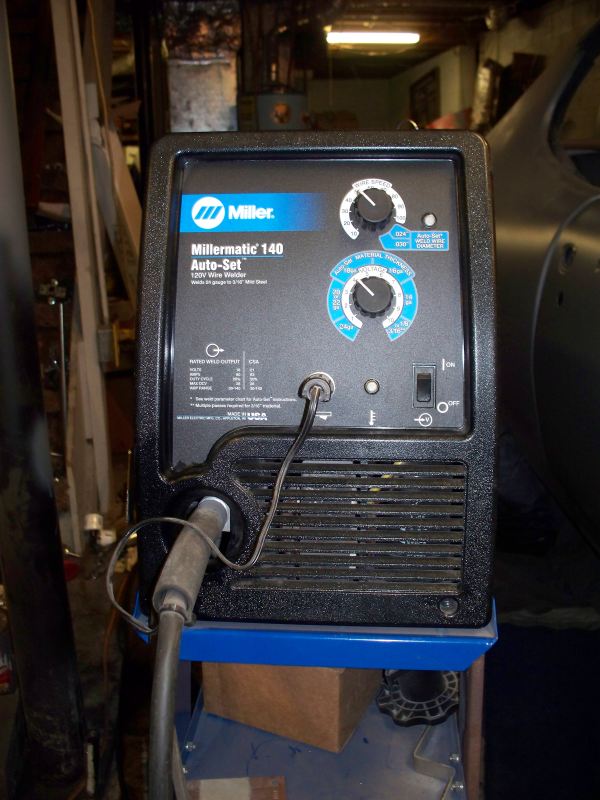
This is my MIG welder, it has variable amps and wire speed. When welding less than ideal metal these fine adjustments are necessary. The splatter that you see is the result of welding metal with slight surface rust. It is very easy to blow holes in the metal when welding under these conditions. Being able to turn the amps down slightly may make the difference between being able to join the panels without blowing a lot of holes in the joint.
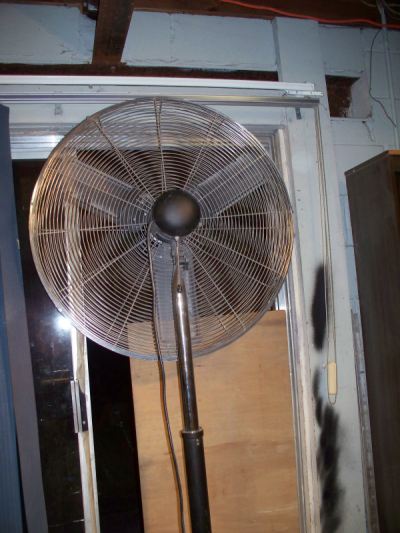
As to welding safety, welding can give off harmful/deadly fumes depending on what you are welding. Zinc fumes are very bad for you and should be avoided, if you can't blow the fumes away from you, wear a charcoal type mask when welding. I use this fan to suck the air away from me. This big fan moves 2700 CFM on the slow speed and nearly 4000 CFM on high. With a window open in the other end of the basement I get very good fume extraction.
Welded in patch. There is a fair amount of spatter, but can't be helped since the metal being joined is not perfectly clean.
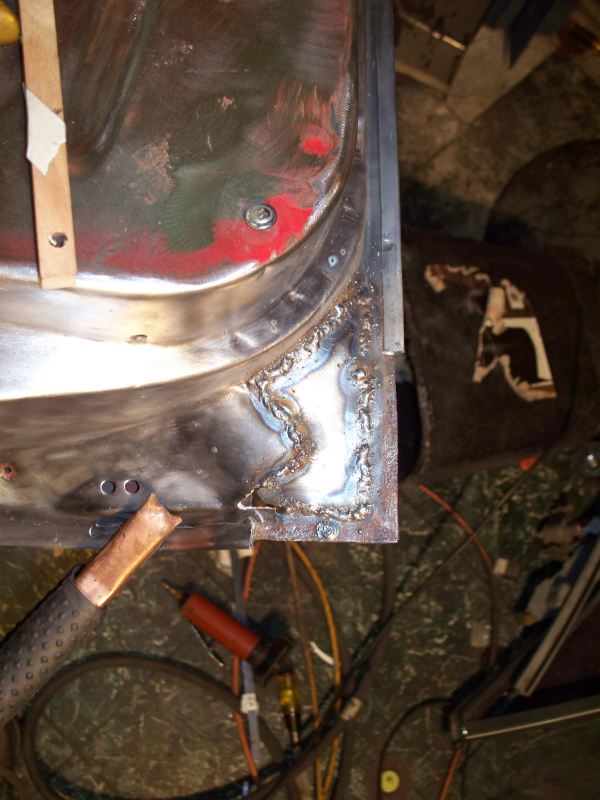
Now to fix the hole. Although you could probably fill this hole with nothing other than using short bursts with the MIG, this hole is really a little to big for this. I clamped a piece of copper to the back side to hold the the small patch in place. While you can buy expensive copper backing plates from companies like Eastwood the cheap way to get copper backing is to take a piece of copper pipe and hammer in flat. You can make many backing pieces very cheaply and bend them as needed to fit under what you need to back up. Also you may need copper backing pieces when welding to thin metal. 20 Gage sheet metal can become 22 Gage or thinner after removing surface rust.
You can see the edge of the copper backing plate held in place by the vise-grip. The patch is simply laying in the hole on top of the copper backing plate.

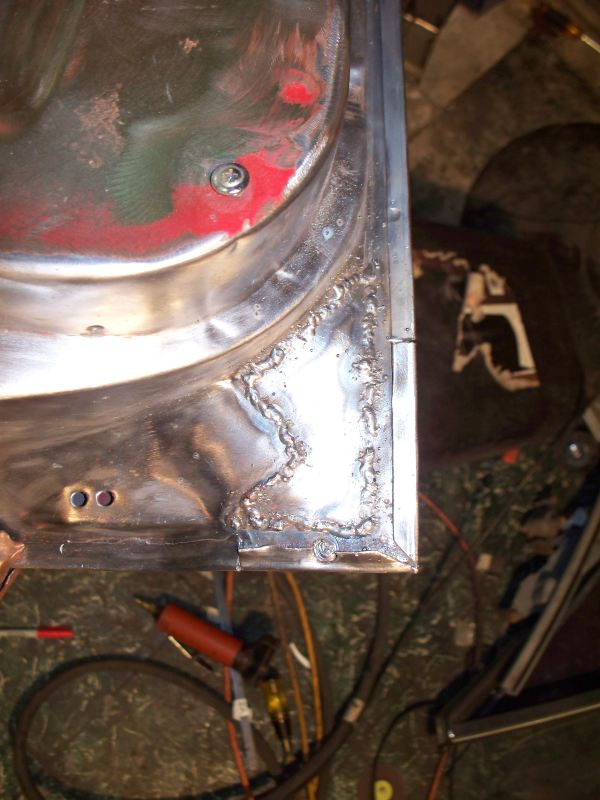
And the finished result. I also slid the piece of door skin I cut off back on to check that I had not distorted the door frame.
These are the tools I use to grind the weld bead down. I use the grinder with the wide wheel to do the initial bead removal. I prefer to use the grinder with the narrow wheel to do the finish grinding. I find the narrow grinding wheel is easier to control and takes less metal off when you are getting close to to having the bead ground flush. You should attempt to remove as much of the welding bead as possible with the grinder since a fresh disc on the angle grinder will only blend/cut well for 30-60 seconds of use. I start with a 24 grit disc and then switch to a 50 grit for final work.

The final result, 50 grit scratches were removed by using a medium condition pad in the angle grinder.
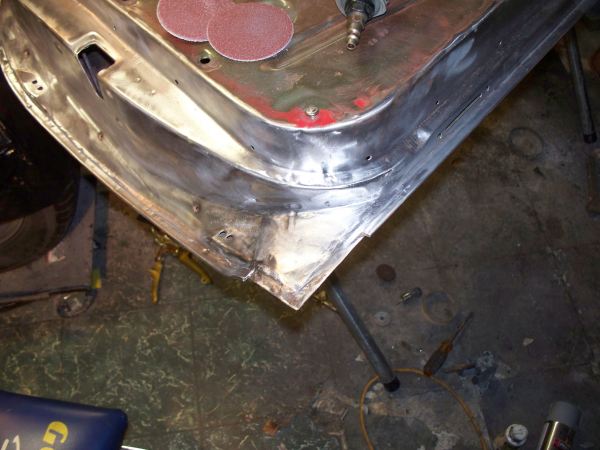
Hopefully tomorrow I will finish the remaining work. I need to make a patch for the corner of the outer door skin.