For those wondering what happened to me, I injured my back around new years day moving some trees that fell during one of the recent storms. I have been very sore, and could hardly move. I just now getting over my sore back.
I did manage to get a few things done although in some cases I failed to take photos, sorry about that but some of my work was more for therapy, I needed to move around a bit to keep from getting stiff.
I finished the trunk lid and quarter filler work and have a couple of coats of primer on it. I still need a couple of more because I can still faintly see the filler beneath the primer.
Trunk lid with guide coat before final sanding of filler.
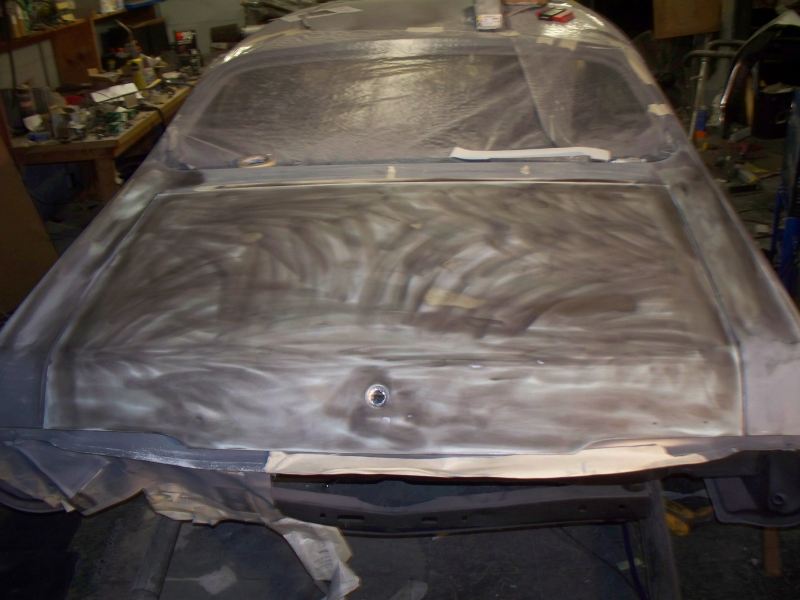
I failed to take a photo after the final sanding, but here is the trunk lid in primer, I still need a couple of coats to achieve complete hiding of the filler.
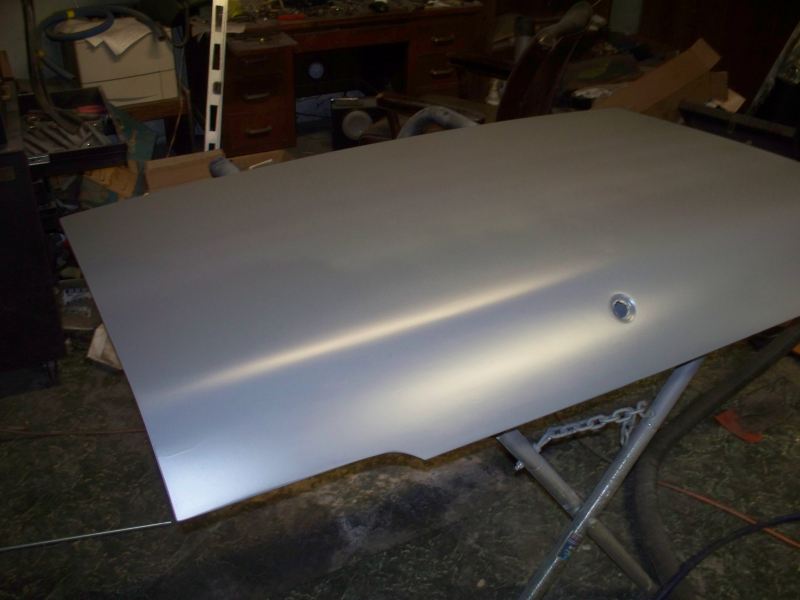
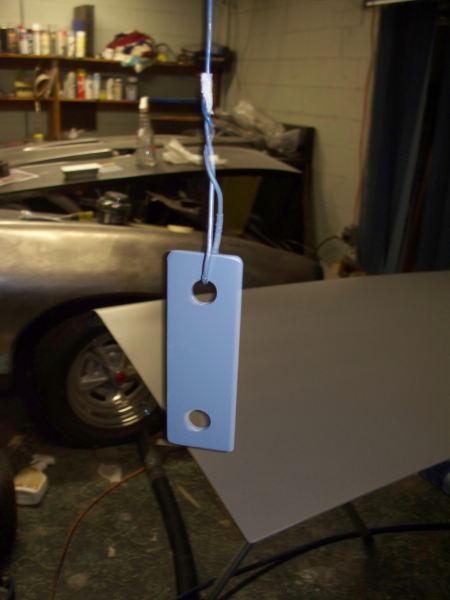
Rather than using 1/16" alignment clips that don't like to stay in place, I made a shim from 1/16" stock, I only needed a shim on one side. The other side of the trunk hinge had busted free and I located it so no shims were needed before welding it back.
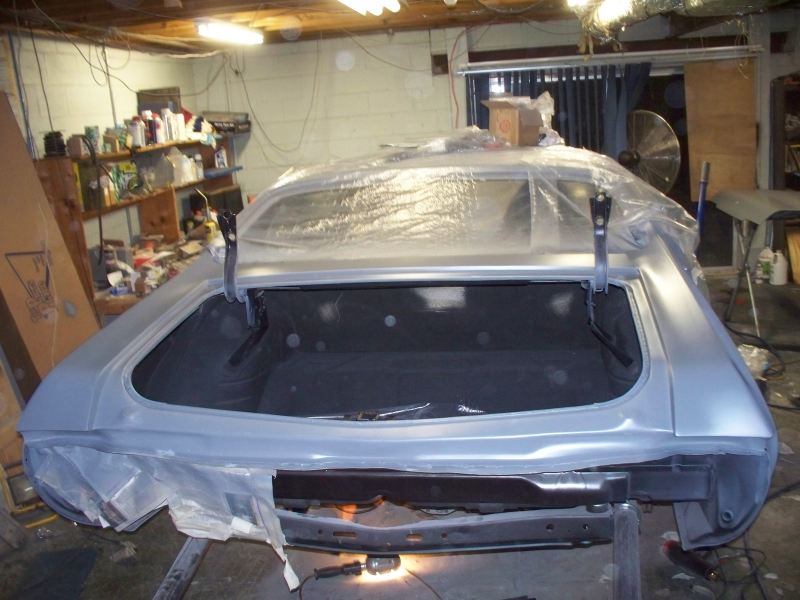
I still need a couple of more coats of primer on the top of the quarters.
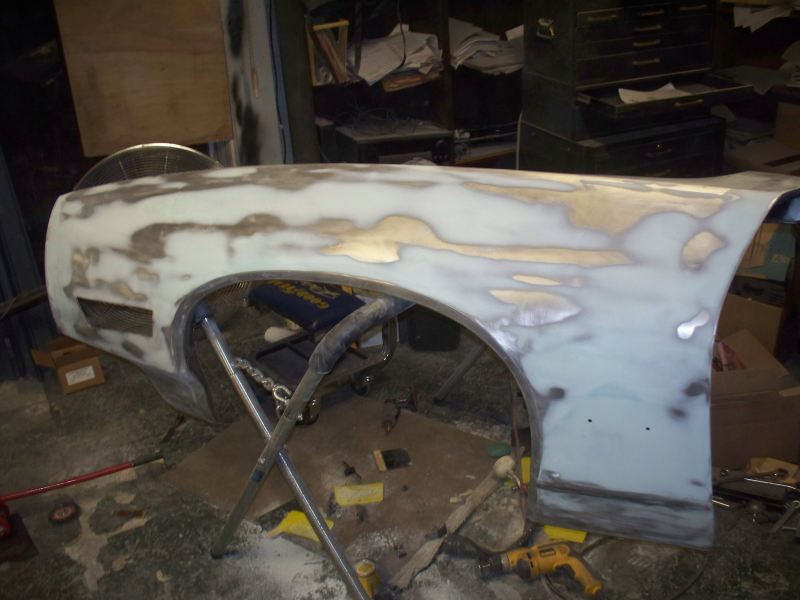
Removed driver fender for filler work, started this last year. You can see a low spot here that still needs more work, the black is the guide coat.
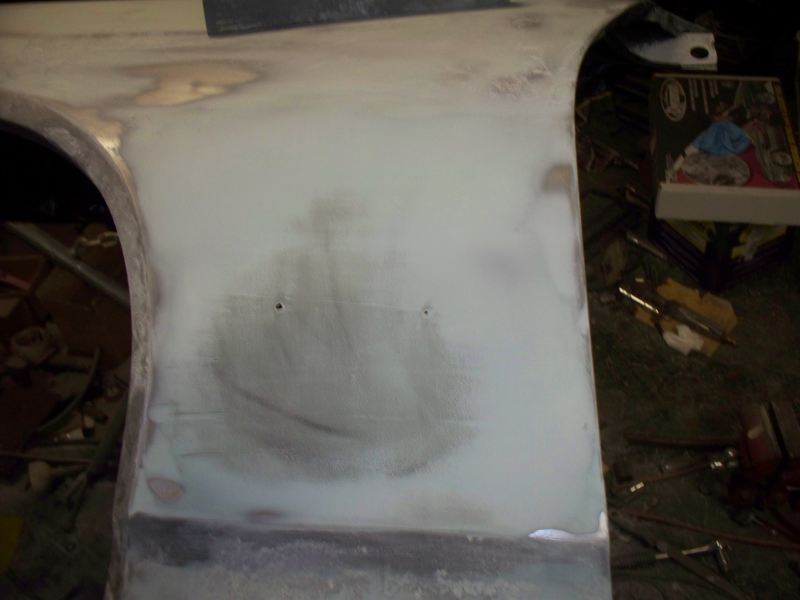
While I don't have a photo of the final filler work, this was taken slightly before I called it quits.
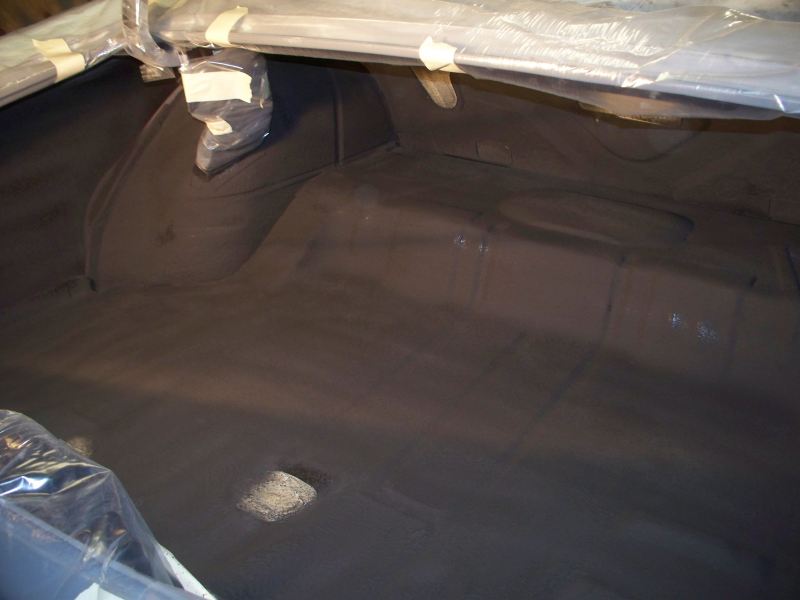
I painted the inside of the trunk with Lizard Skin Ceramic. I will cover this with Dynamat Extreme.
I started prepping to install the gas tank. Installed a connector for the fuel pump and sending unit. I want it easy to drop the tank if necessary. You can also see the rubber mat that was glued to the top of the tank.
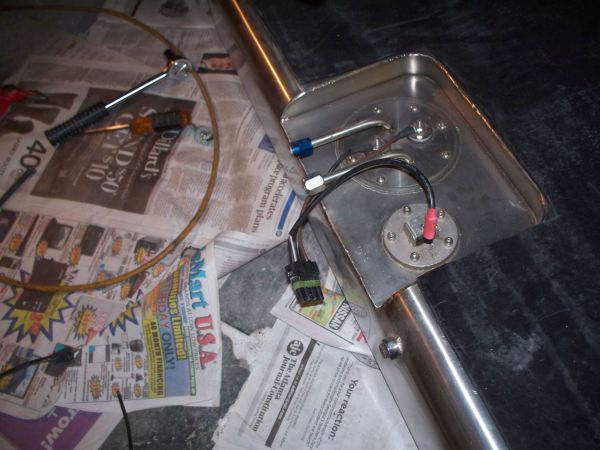
I also installed the pigtail for ground for the fuel pump and sending unit. When connecting wires to the frame be sure to remove paint where the connection is. You don't want a bad ground to the fuel pump.
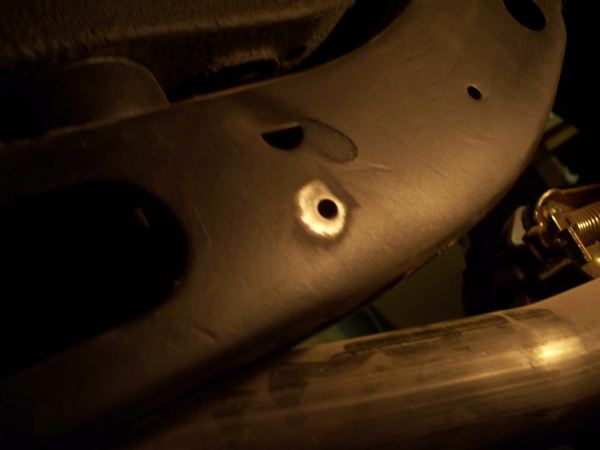
I used heat shrink to cover the bright yellow crimp connector. There are two grounds here, one for the fuel pump and one for the sender. I will paint over this spot on the frame the next time I mix up some black epoxy paint.
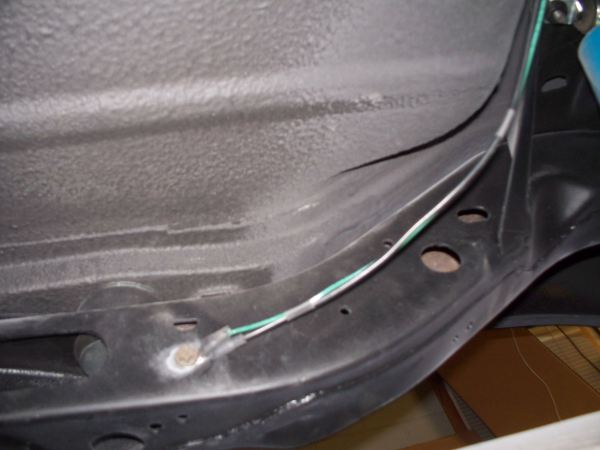
My next task will be to install the gas tank, I used a transmission lift to lift the tank into position, I called it quits for the night after finding my bolts for the gas tank straps are too short.