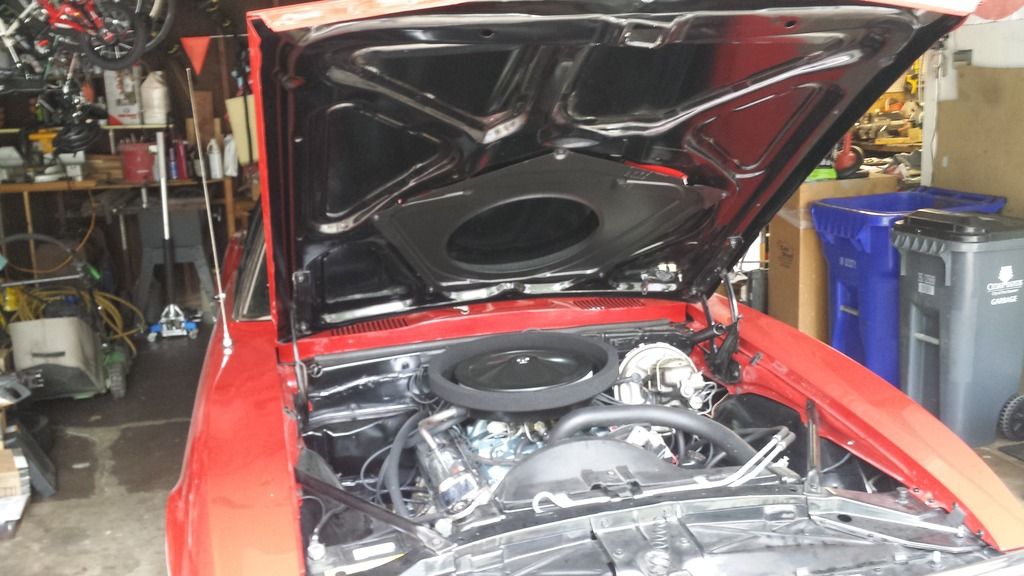
Of course I had to do this over the three hottest days of summer and rushed a bit more then I would have liked but I'm done. I did end up taking the hood off for this. Much easier IMO. I searched all over the interweb for good pics and printed what I could.
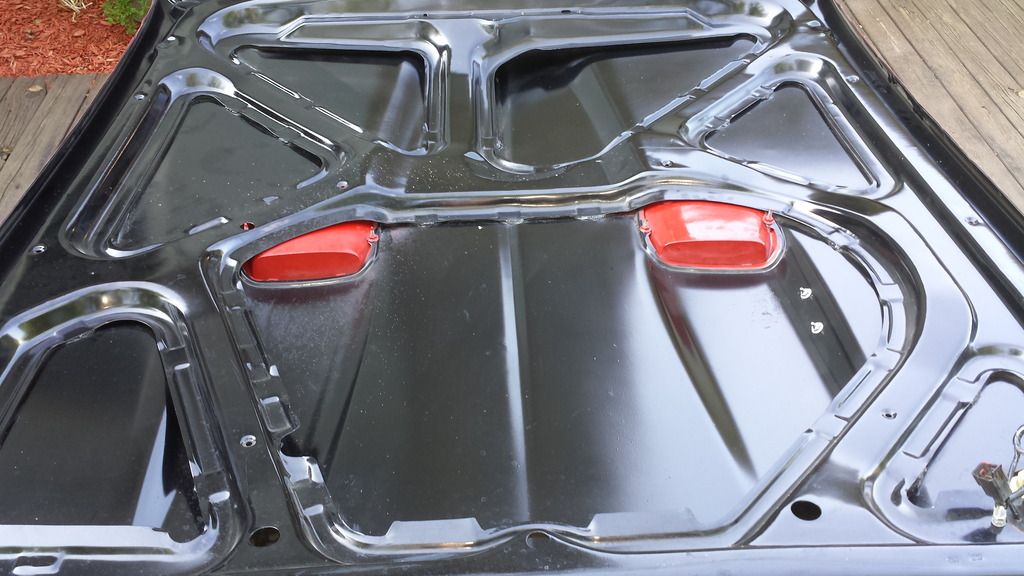
The tab would have been nice to have on but since I already had it all painted I left it off. Maybe i will add in the future.
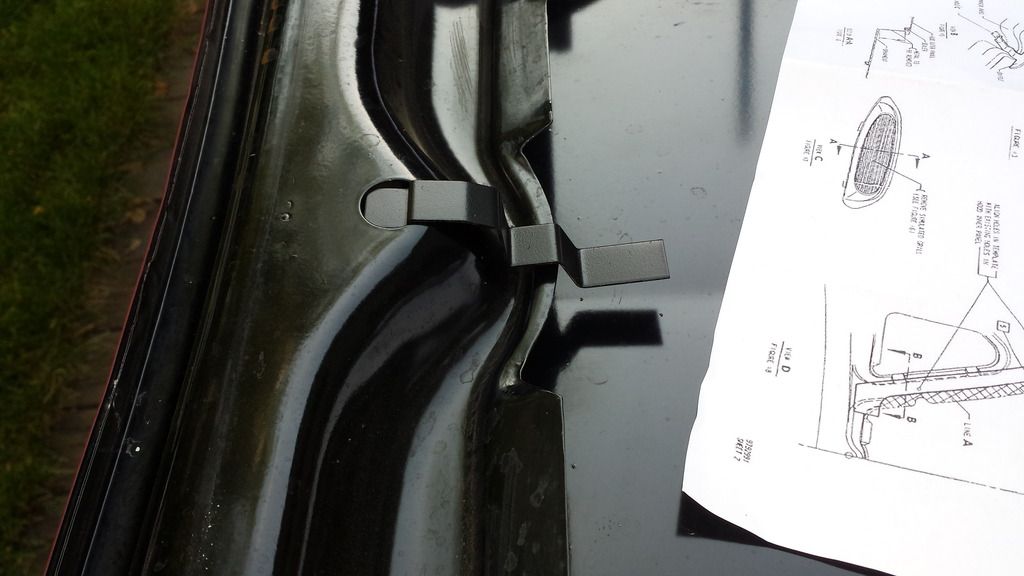
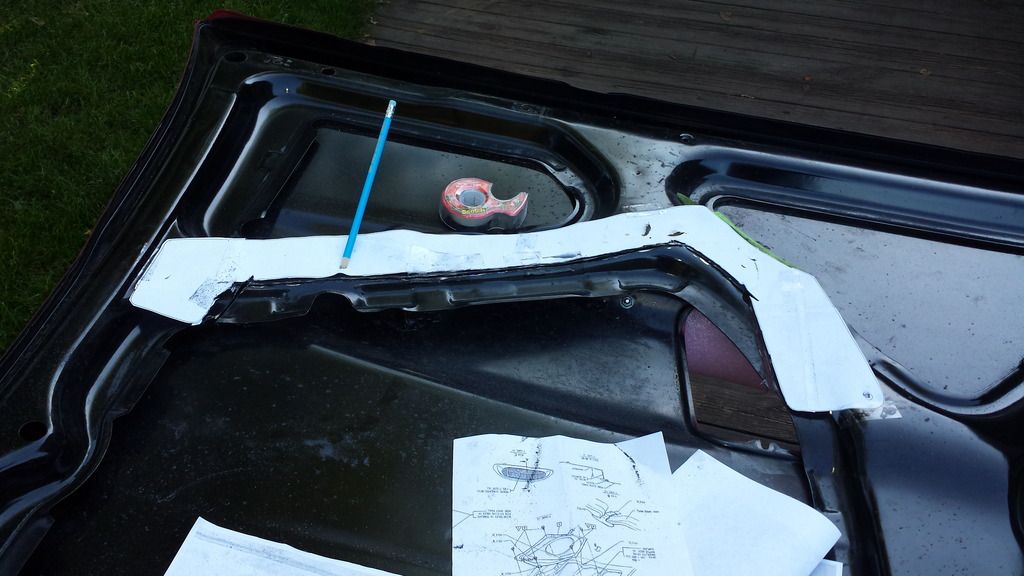
I printed out the template. Thanks brians for that. 6 pages on 11x17 paper at work to get the 1:1. I taped it down and check with the upper plan in place. I just stuck a couple of pencils in the guide holes.
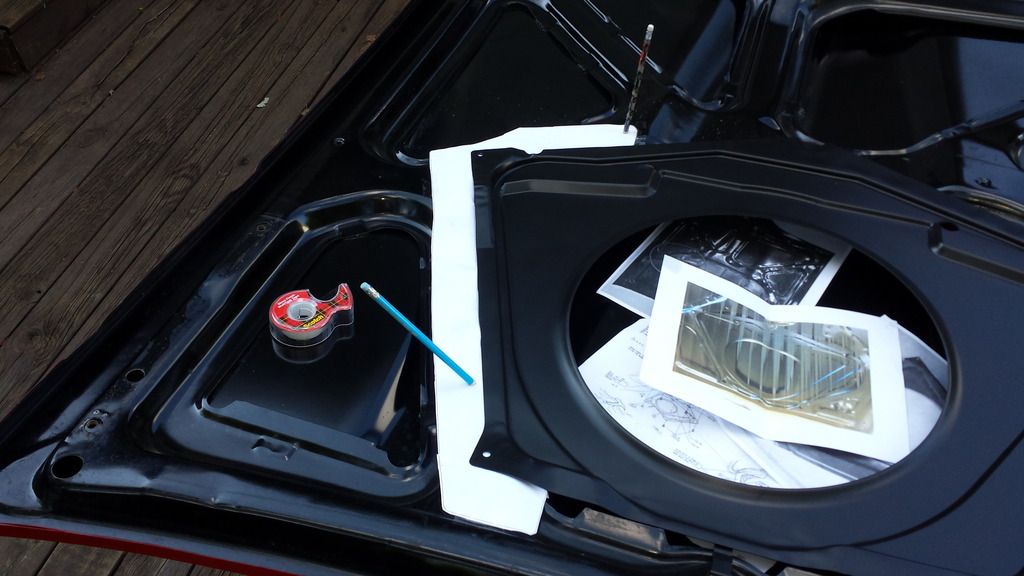
I used my POS harbor freight electric cut off tool and once I grew a pair made the cut. I came close to starting the template on fire but it all came out well. I used the dremel and a file to smooth it up. I hit the bare metal with some SEM trim black.
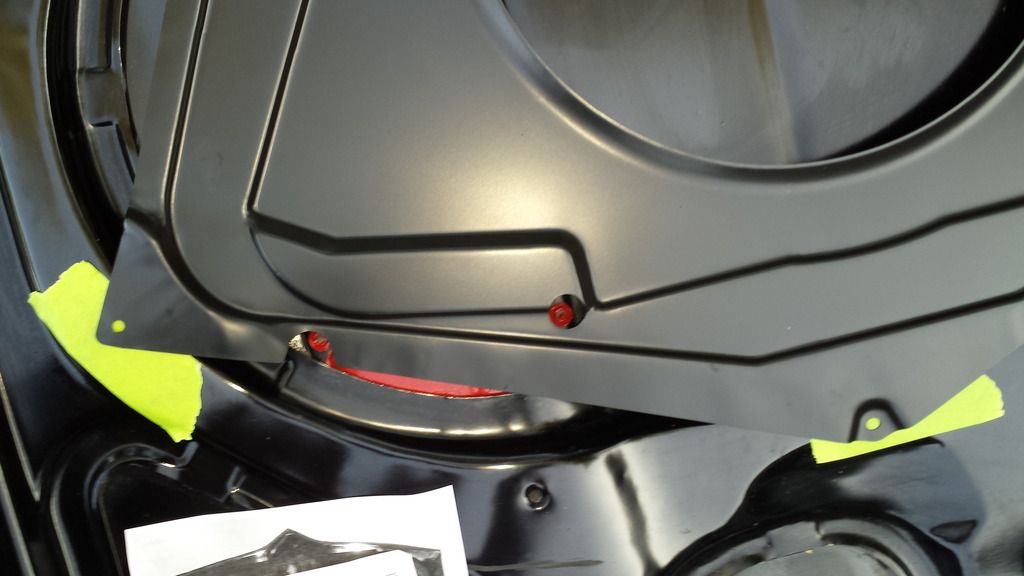
I put some tape down at the 5 spots for the bolts.

I used the hood scoop bolts more than anything to get the holes lined up.
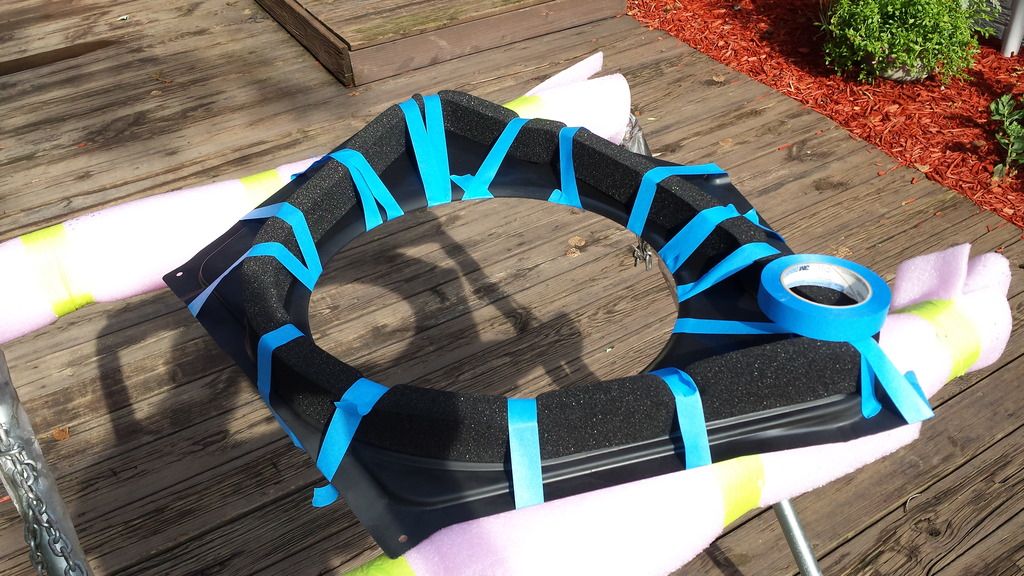
I liked the magnet idea for the foam but I used the weather stip adheasive instead. Of course I got a big smear where I didn't want it. Messed up the paint with 3m adhesive remover and then ended up doing a little sanding and re-painting.

The upper pan is not flat so this is what I did to glue down the foam.
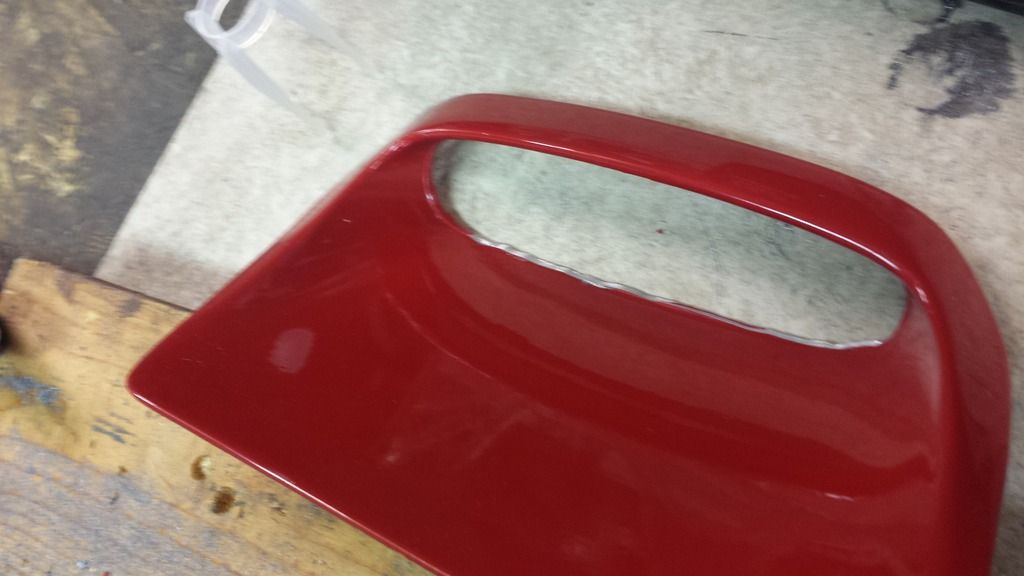
The hood scoops were the high pucker factor on this more than anything. Since its aluminum or pot metal it heats up quick. I saw some else used holesaws and so that is what I used. That was pretty slick.
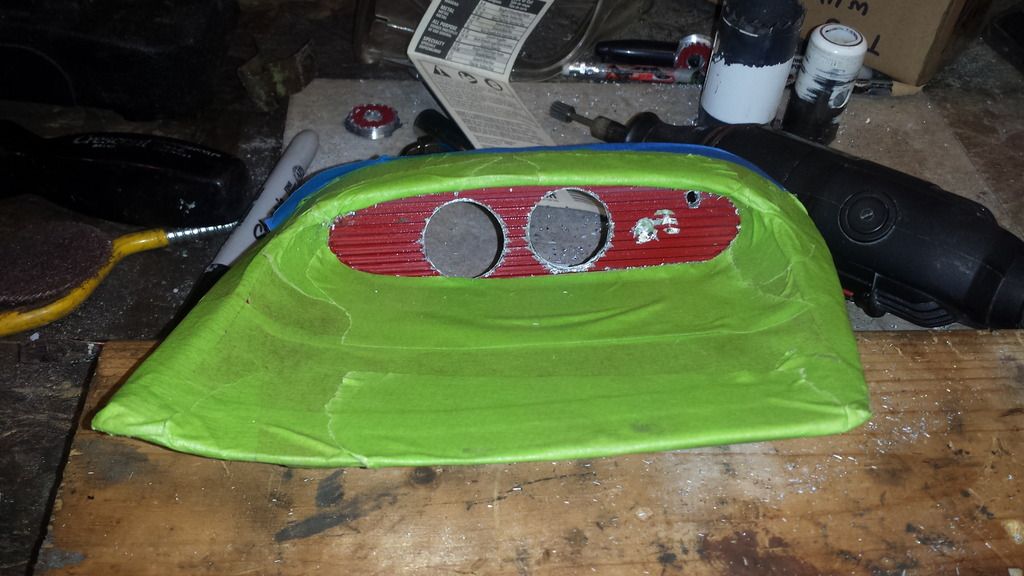
I did the finish work with the dremel. It worked pretty well.

Picked up some touch-up paint at the store to cover the scars. I guess we will see how it holds up.
Much nicer than my old air clean. I had to purchase a new air cleaner stud.