


| FAQ |
| Members List |
| Social Groups |
| Calendar |
| Search |
| Today's Posts |
|
#1
 08-09-2009, 07:06 PM
|
|||
|
|||
 '63 SD Tempest aluminum front end
I'm in the process of building an aluminum front end for a '63 SD Tempest and thought I would share the process with you fine folks.
The first step is to capture as much information from the original part as possible. In this case, a donor steel front end is being used to create bucks to fit the new panels to. The inner structure is first removed, then the interior side of the panels are cleaned and waxed. (The wax acts as a release agent.) A grid of 1/4" rods are then laid out at about 6-8" intervals. After the rods are welded, gussets added, etc., fiberglass reinforced body filler is used around the perimeter in areas where the buck will double as a hammerform. The rest of the rods are covered with regular cheap body filler, as those are used only as a guide to make sure the panels are shaped properly. About 4" from the upper fender mounting flange, there is a bolt flange incorporated in the design of the buck, making it modular to allow the buck to be removed from the original panel as well as removing new parts from the buck as they are completed. Without being able to break down the buck, it would be locked in place due to flanges, undercuts, etc.   Since there is quite a bit of shape in the lower half of these fenders, I chose to make quick, inexpensive dies to stamp those areas. Those were made from laying up 6-8 layers of fiberglass mat and resin on the inside of the fender, then body filler was thinned with fiberglass resin to get a consistency that is pourable and self leveling. The finished die ends up being 2-3" thick and quite durable, believe it or not.  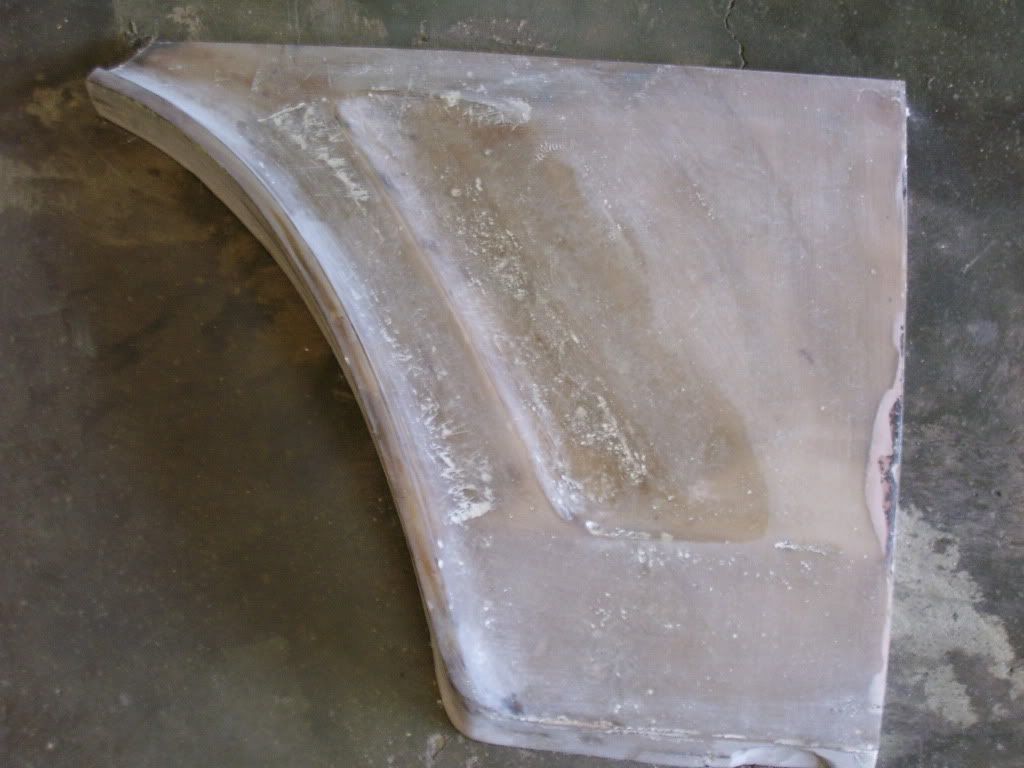 With all that boring stuff out of the way, it's time to start shaping panels. This is after a couple hits in the stamping press. I'm very new to stamping, so there is still a lot to learn, but that's part of the fun. The aluminum blank is laid on top of the dies, then 3/4" rubber pads are added to the top of the aluminum blank as needed between cycles in the press to get the aluminum to conform to the die. This panel is obviously not finished at this point, but it is promising to be a viable approach. I ended up making a small section of an upper die to get the rest of the definition where the bumper mounts. It wasn't getting a deep enough draw with the rubber pads. Part of that is no doubt due to a lack of tonnage and a lack of knowledge/experience on my part.  Due to the crown of the fender near the front, i decided it would save time to make that as a separate panel from the rest of the top half of the fender. Both of the panels that make up the top half of the fender were made with an english wheel.  After some careful trimming for a tight, butt-welded seam, it starts coming together pretty quick.  I tried taking a picture this afternoon of the fender, but the sunlight creates too much of a glare for a good picture. I'll try to get a good picture when the sun sets this evening. |
|
|
The PY Online Forums is the largest online gathering of Pontiac enthusiasts anywhere in the world. Founded in 1991, it was also the first online forum for people to gather and talk about their Pontiacs. Since then, it has become the mecca of Pontiac technical data and knowledge that no other place can surpass.




 Threaded Mode