


| FAQ |
| Members List |
| Social Groups |
| Calendar |
| Search |
| Today's Posts |
|
|
|
#1
 03-07-2008, 09:26 AM
|
||||
|
||||

Quote:
|
|
#2
03-07-2008, 10:48 AM
|
||||
|
||||
|
Jason,
Your work looks fantastic! It's that attention to detail that makes the difference once the car is assembled & finished. Did you replace the gas tank & where did you get the USS logo stencil? Keep the pics coming! |
|
#3
03-07-2008, 12:47 PM
|
|||
|
|||

Very impressive work, I'm sure you will have a long waiting list very soon, if not already. I was wondering about the process/plating used on the gas tank. I'm working on mine now. Really appreciate the time you have taken to divulge the info in this thread. Thanks Dave K.
|
|
#4
03-07-2008, 05:57 PM
|
|||
|
|||
|
Thanks for all the compliments, guys.
The gas tank and sending unit are brand new parts supplied by Inline Tube. They also supplied the US Steel stencil along with all the fluid lines and alot of other details. Here is a photo of the original 55 AMP alternator #1100700 with a 12/69 date code......completely rebuilt, restored and mounted on the engine: 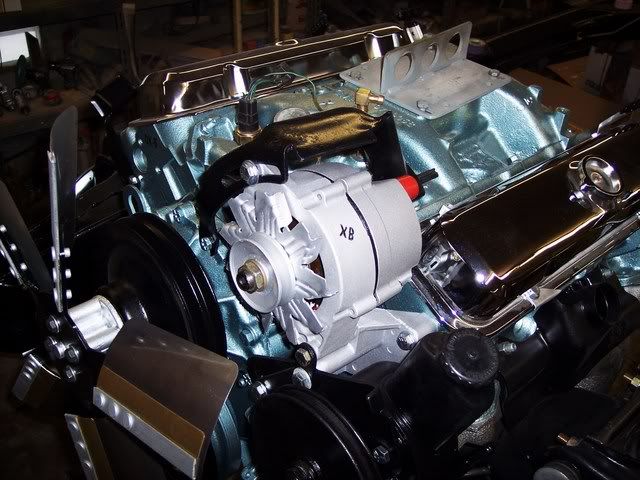 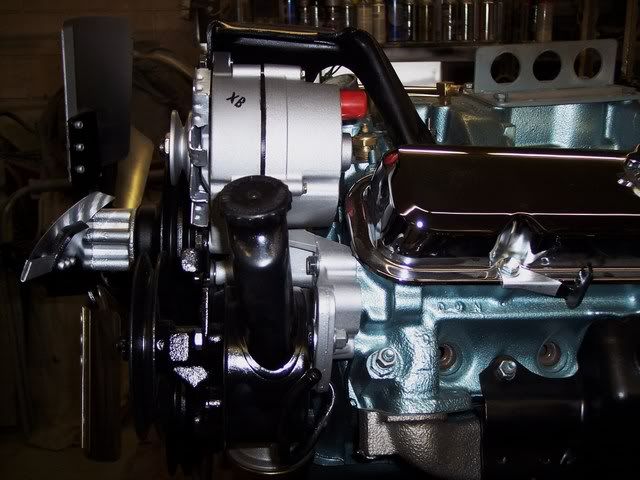 And a couple pictures of the restored Ram Air pans. The original ThermoVac flaps in the upper pan were rusty and not even able to move. I had to completely dissassemble them and sandblast the parts and rebuild them....and now they work perfectly. 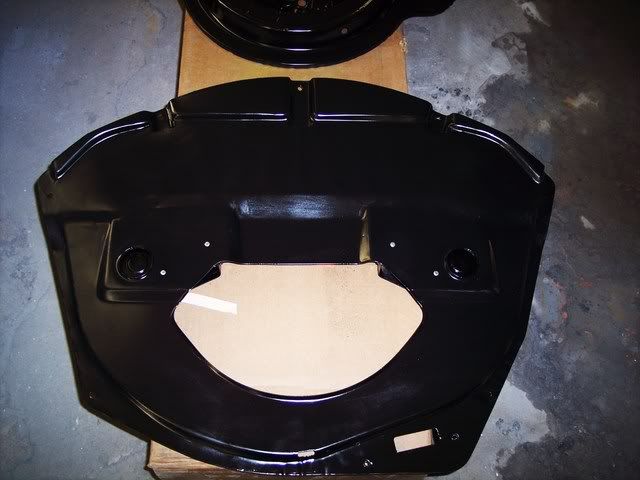 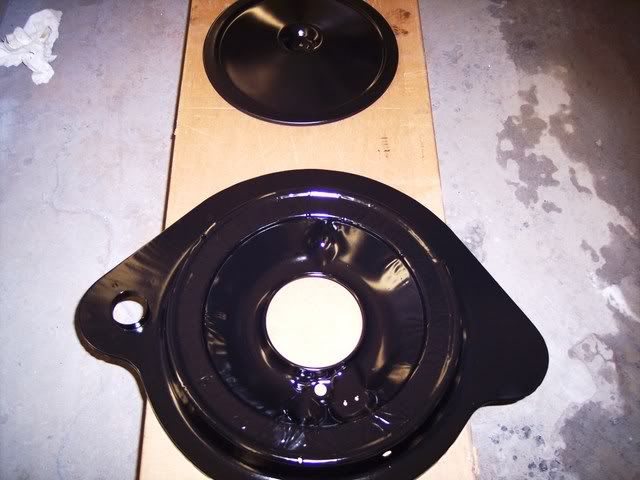
|
|
#5
03-10-2008, 10:46 PM
|
|||
|
|||
|
Here are some pictures of the body coming along. The bottom of the car was cleaned and sandblasted to bare metal.......and immediately coated with epoxy primer. The bottom of the car will be done in the correct black primer with white overspray. The body plugs will be re-installed after the painting is done, with the correct tan-colored sealer poking through.
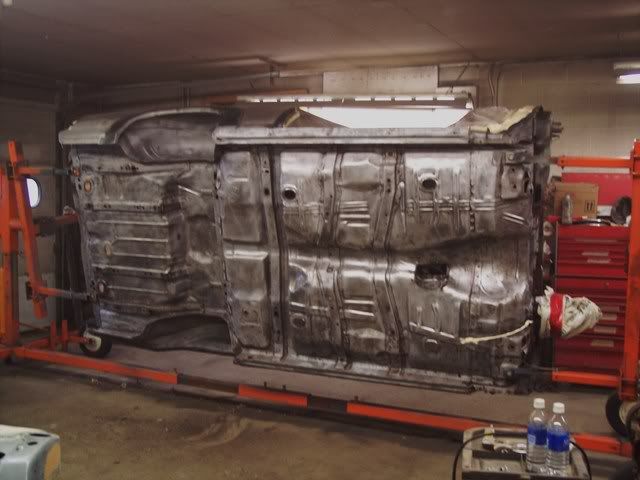 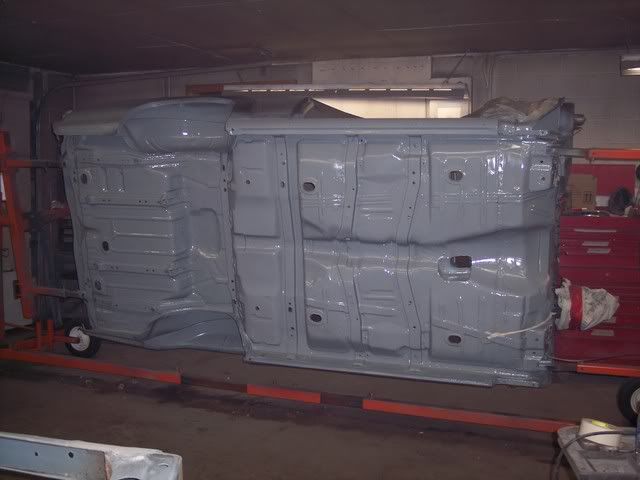 The only real rust-through on the body was around the rear quarter panel lips on both sides. We bought reproduction quarter panel skins and grafted in only the areas we needed. We also replaced the very outer lip of the outer wheelhosues so we could preserve the part number stamp on the original wheelhouses. 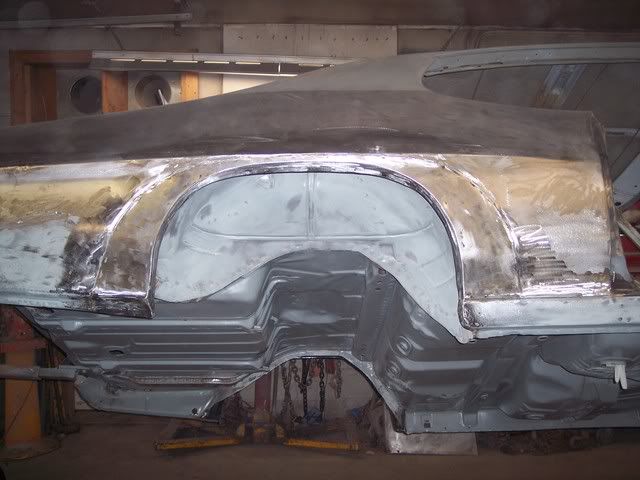 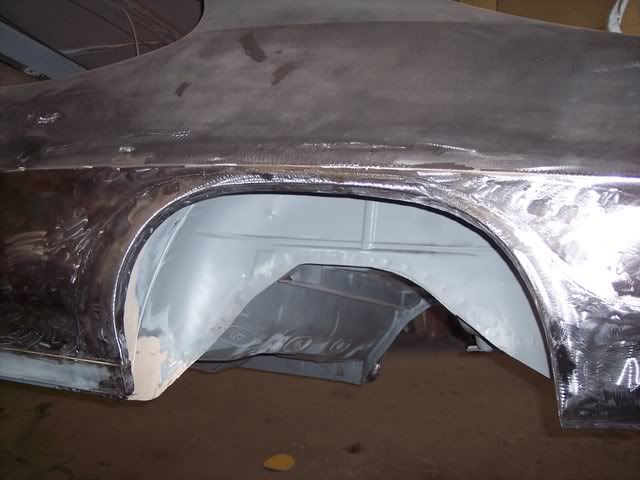
|
| Reply |
| Thread Tools | |
| Display Modes | |
|
|
The PY Online Forums is the largest online gathering of Pontiac enthusiasts anywhere in the world. Founded in 1991, it was also the first online forum for people to gather and talk about their Pontiacs. Since then, it has become the mecca of Pontiac technical data and knowledge that no other place can surpass.








 Hybrid Mode
