


| FAQ |
| Members List |
| Social Groups |
| Calendar |
| Search |
| Today's Posts |
|
|
|
#1
 06-25-2008, 09:12 PM
|
||||
|
||||

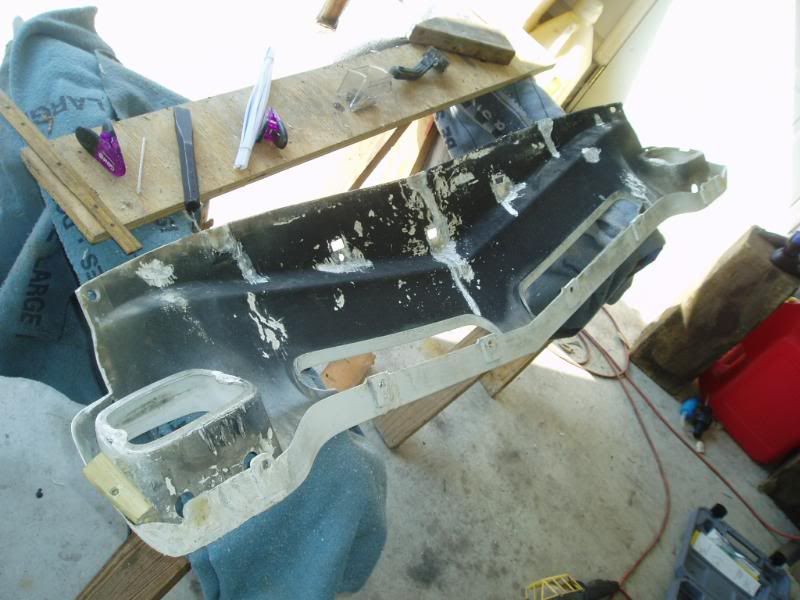
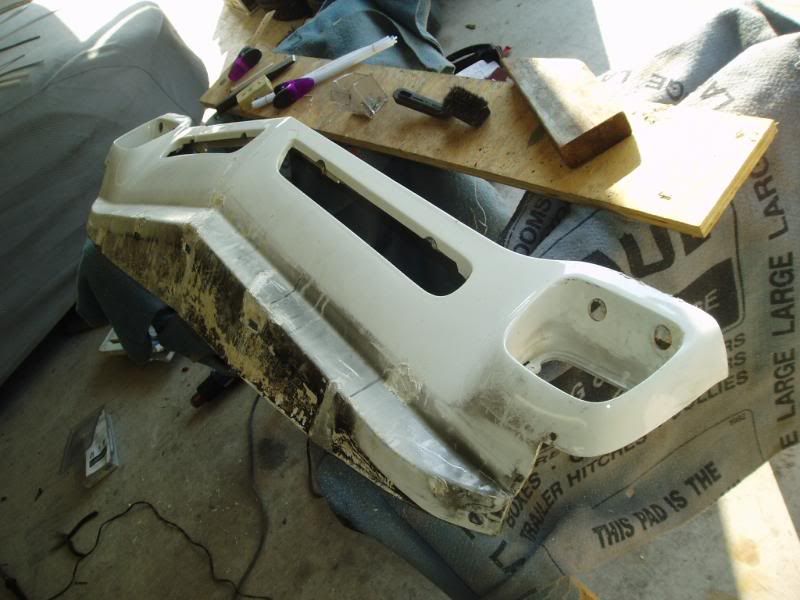
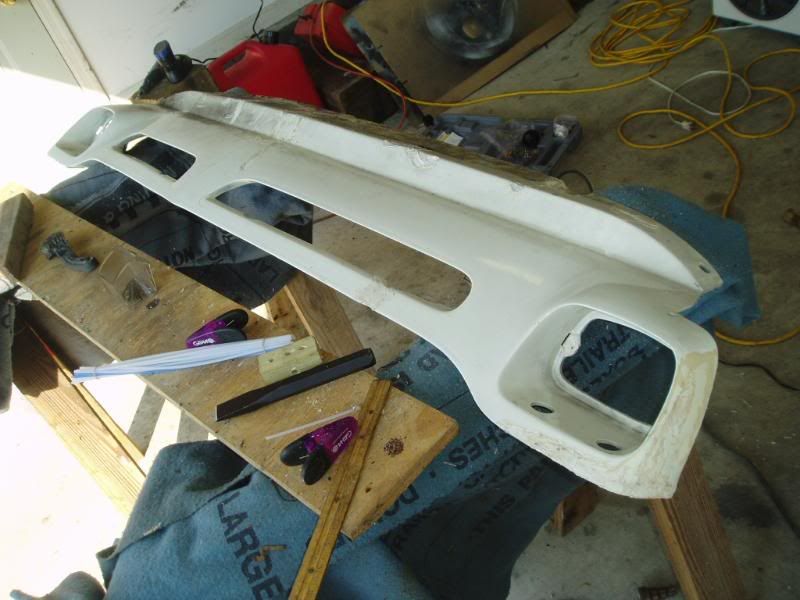
After about four hours of melting and inhaling burnt plastic fumes, here is the current result:
|
|
#2
06-25-2008, 09:14 PM
|
||||
|
||||
|
I soaked the valance in the old Purple Stuff degreaser over the last couple days. I used a tall kitchen garbage can and was able to get one third of the panel covered, and then turned it over to get the other third. For the center I had to lay it flat and cover that area with a towel soaked in the Purple Stuff and let it sit overnight on the area. That purple stuff works wonders: it removed all the soot and the flat black spray paint. The heavy white paint and primer surfacer is another story.
I had to use a razor blade and shave the white paint off. In some areas the paint and primer layer flaked away together, in others, just the white paint, and in others, neither came off. So I had to use the mini sander, which promptly burned out so now I have to buy another one... Here's the cleaned valance: 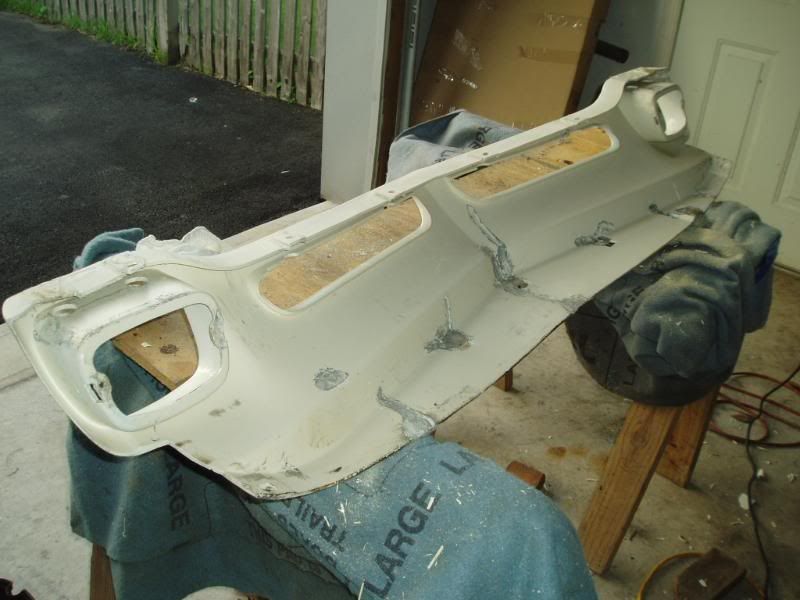 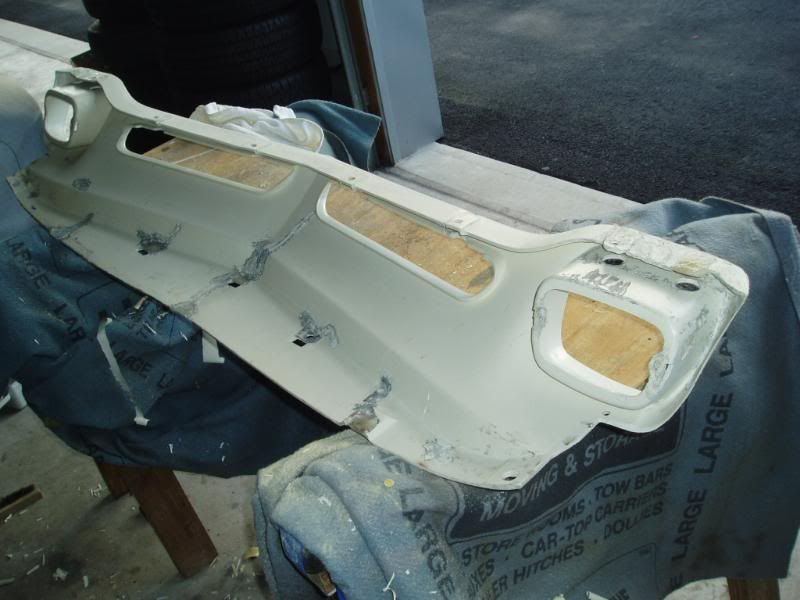 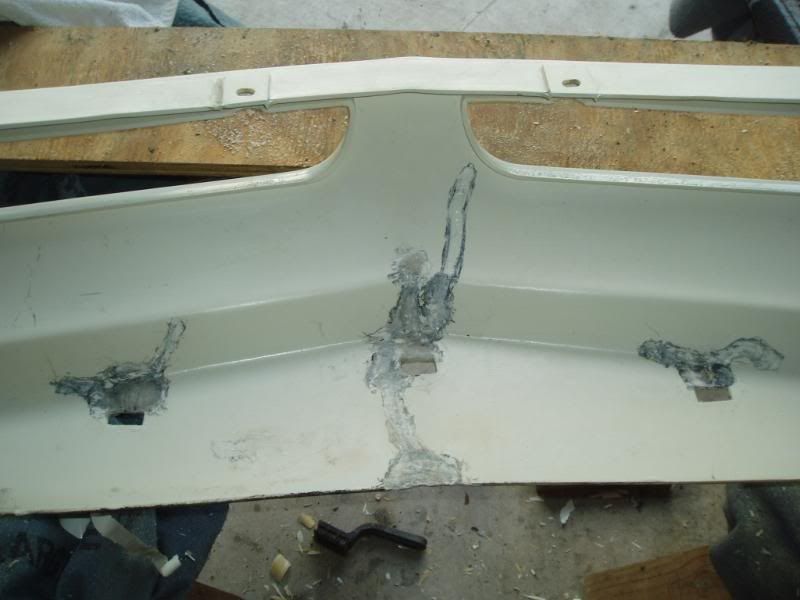
|
|
#3
06-25-2008, 09:16 PM
|
||||
|
||||
|
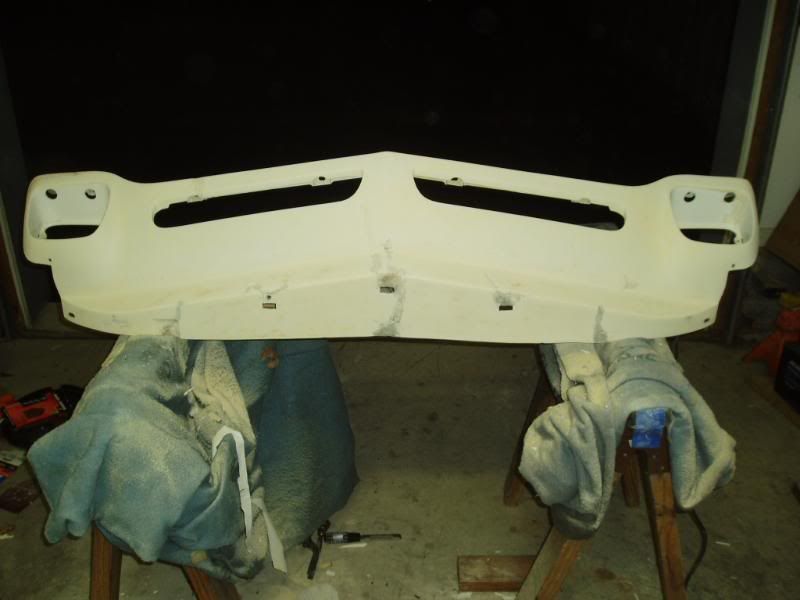
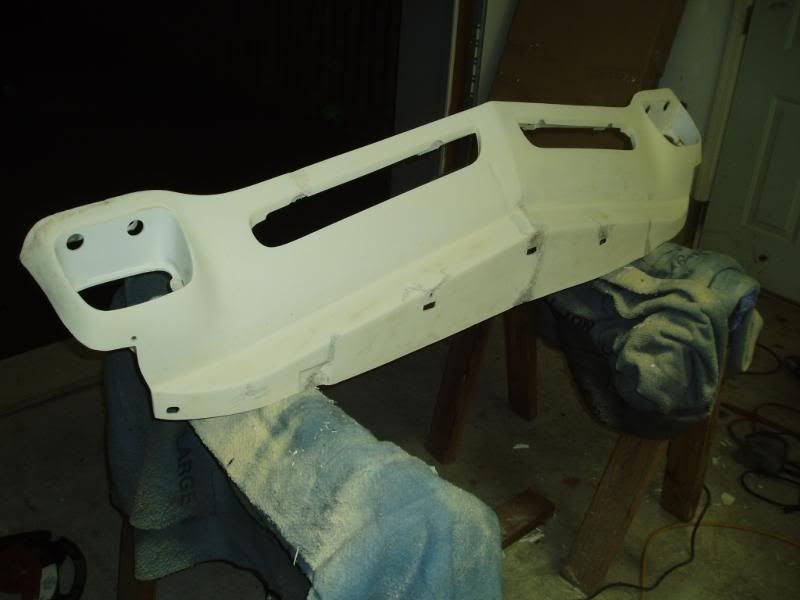
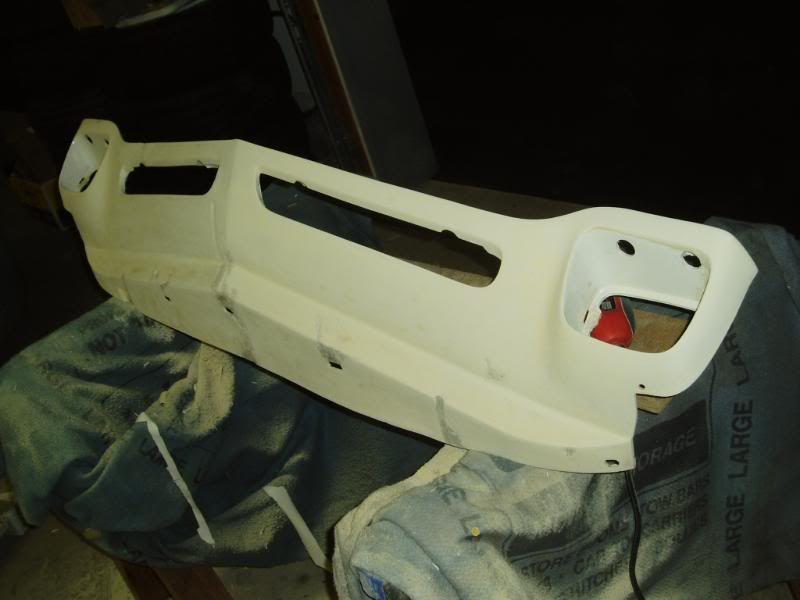
And the front side. You can see the different areas of good and bad paint adhesion.
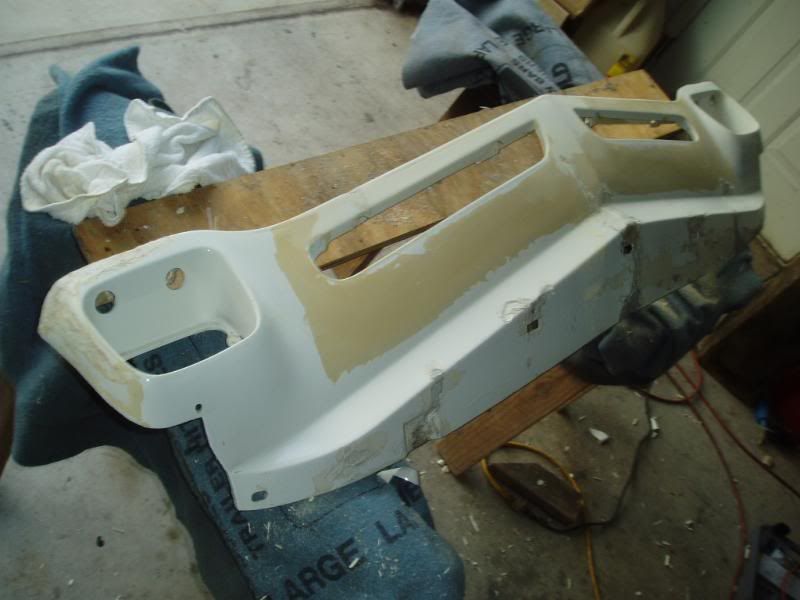 Here's some of the filled in rough repairs: 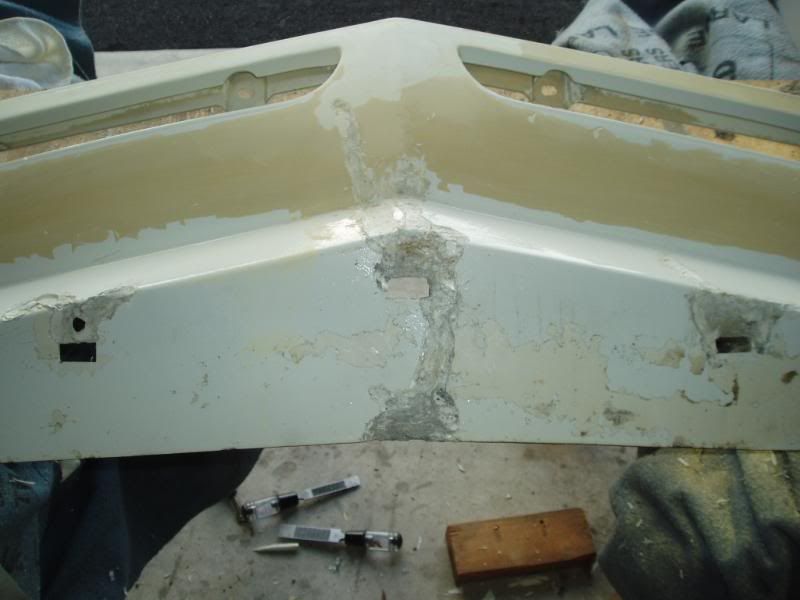 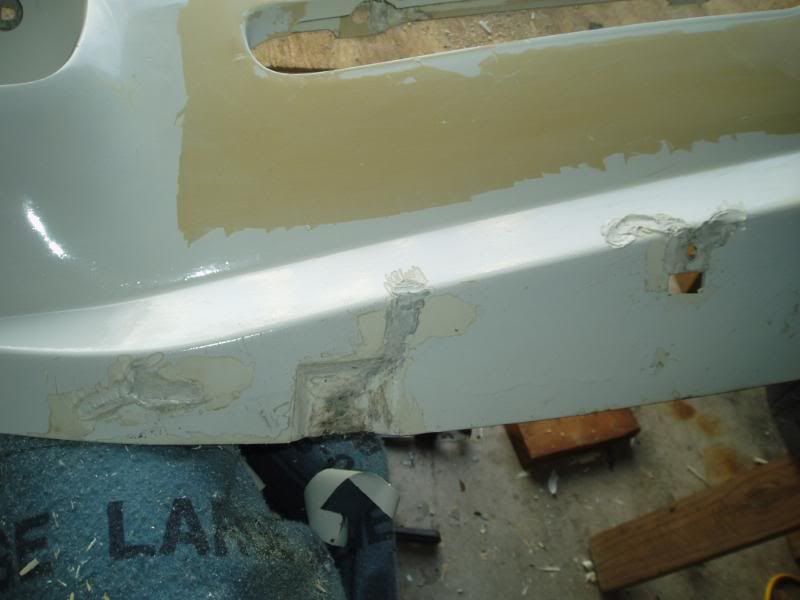 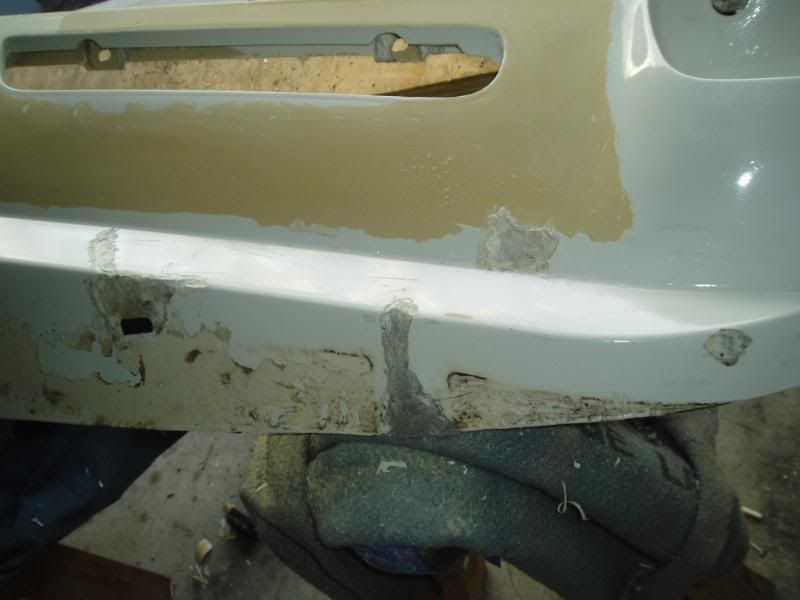 And the preliminary rough sanding of the upper face bar repair: 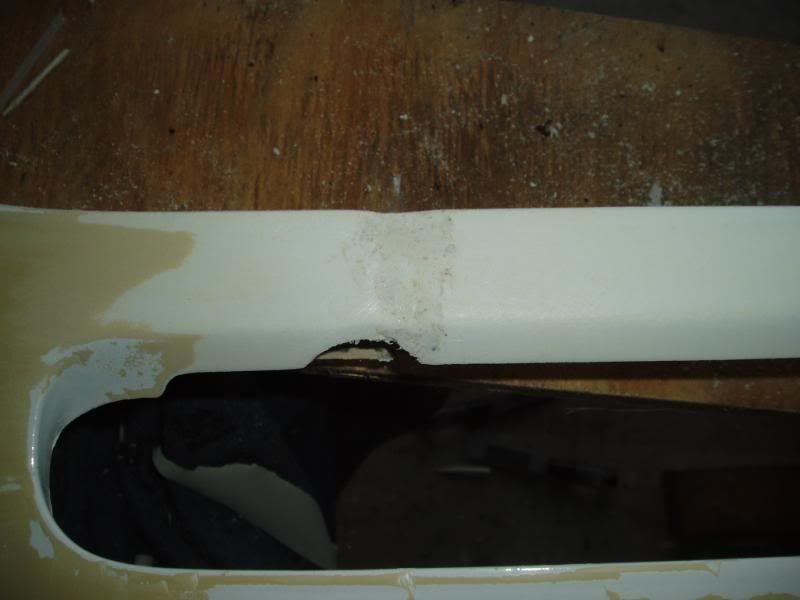
|
|
#4
06-25-2008, 09:18 PM
|
||||
|
||||
|
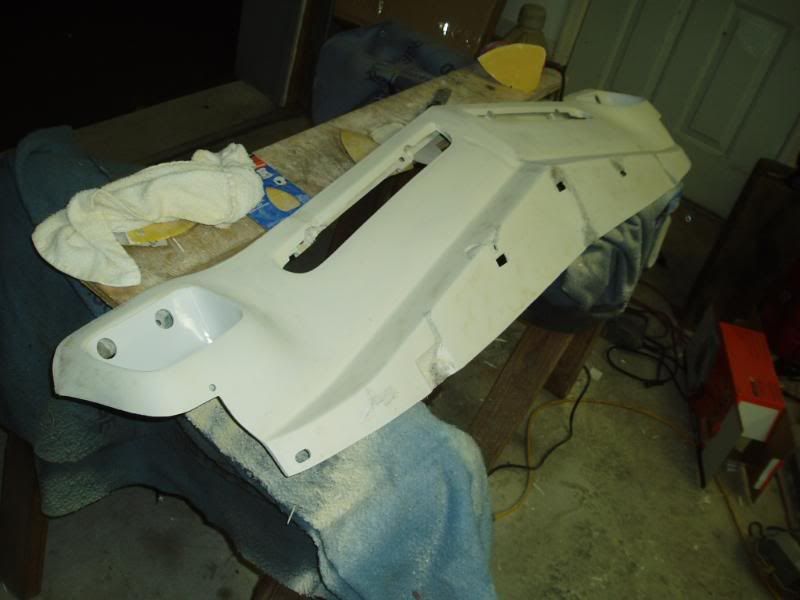
Stopped by Home Depot today and replaced the crappy Craftsman Mini Mouse Sander with a Black&Decker model. It worked fine. Using 80 grit, I had all the paint off of the front of the valance in about 2 hours. I can't feel my hands though. Maybe the feeling with come back in a day or two, in time to do the back of the panel.
|
|
#5
06-27-2008, 07:07 PM
|
||||
|
||||
|
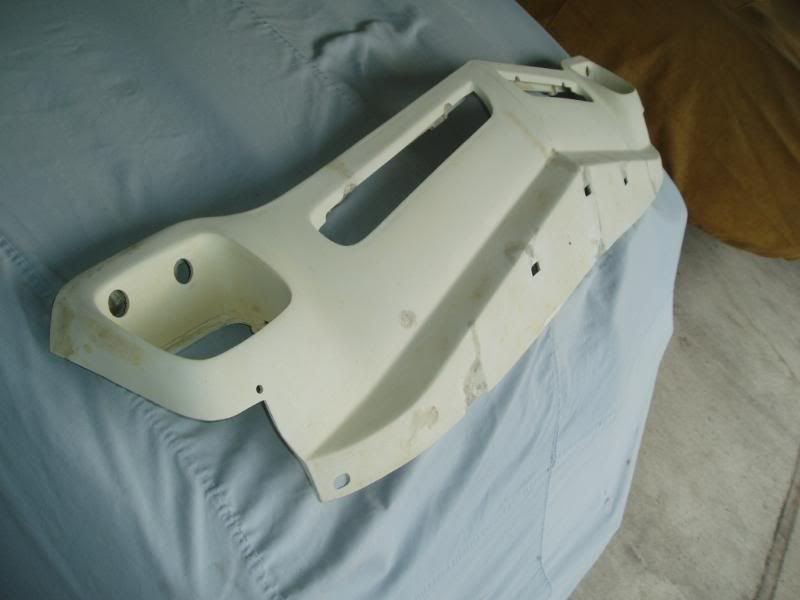
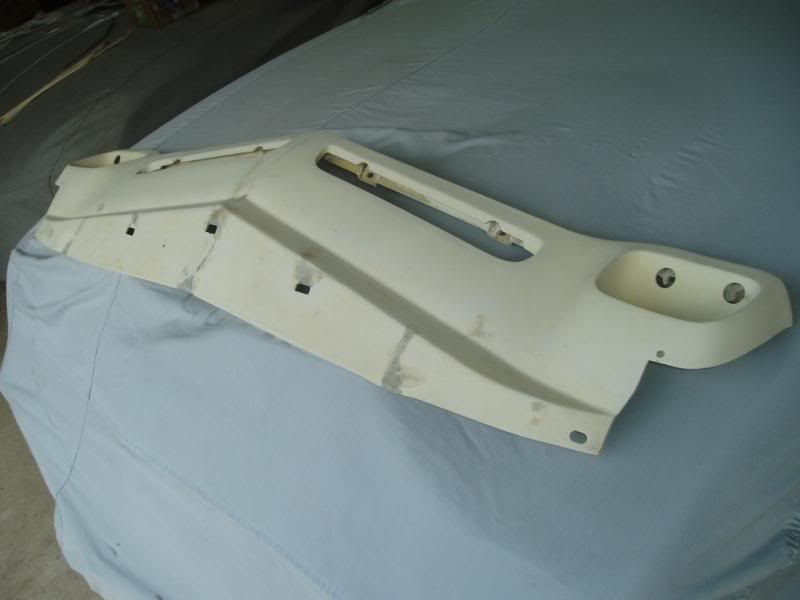
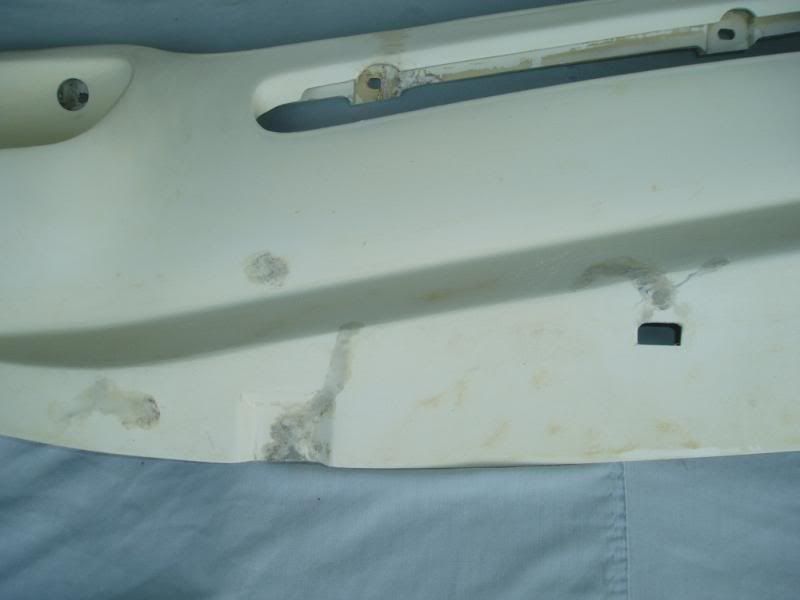
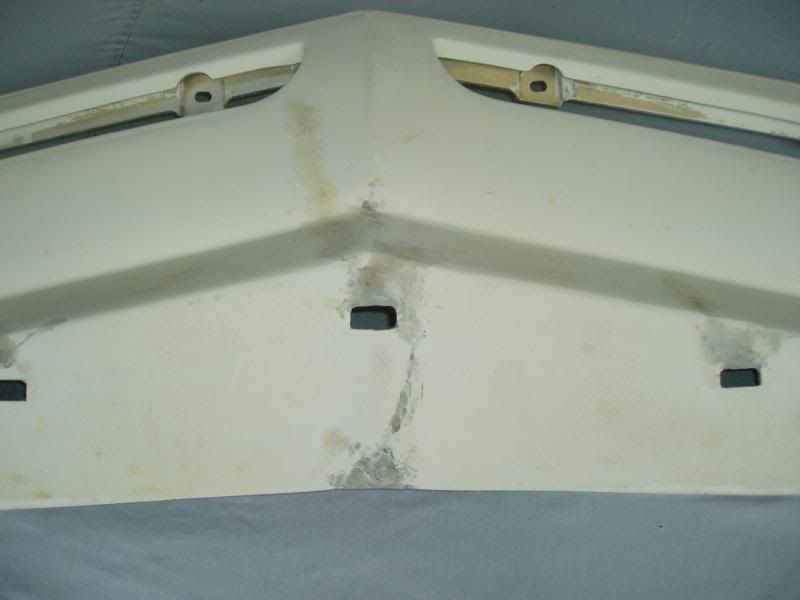
Well, here's the finished product. It took a few days of sanding and remelting and reapplying more polyethylene rods but this will work on the car. I left the main mounting holes filled in so I can redrill them in the correct spots one the valance is trial fitted on the car.
     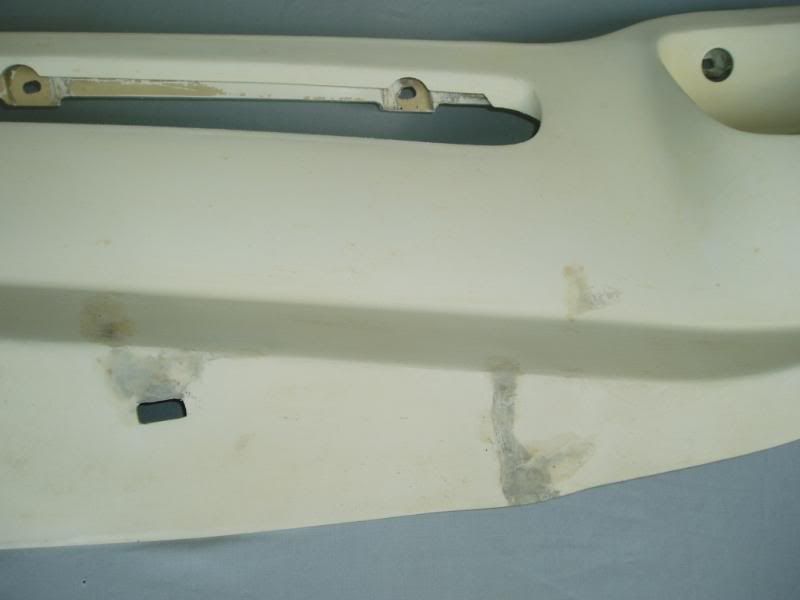
|
|
#6
06-27-2008, 07:08 PM
|
||||
|
||||
|
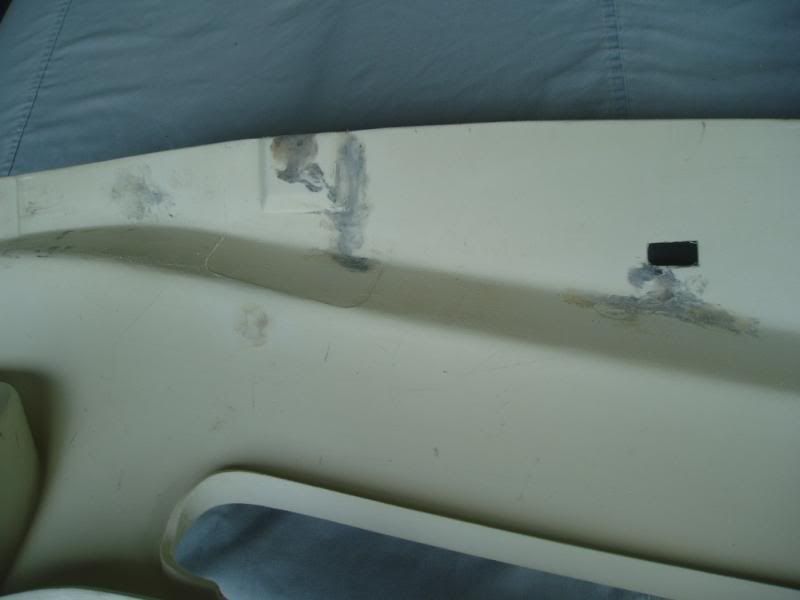
Here are the most difficult repaired areas, the upper mounting points, the turn signal housing and the upper face bar.
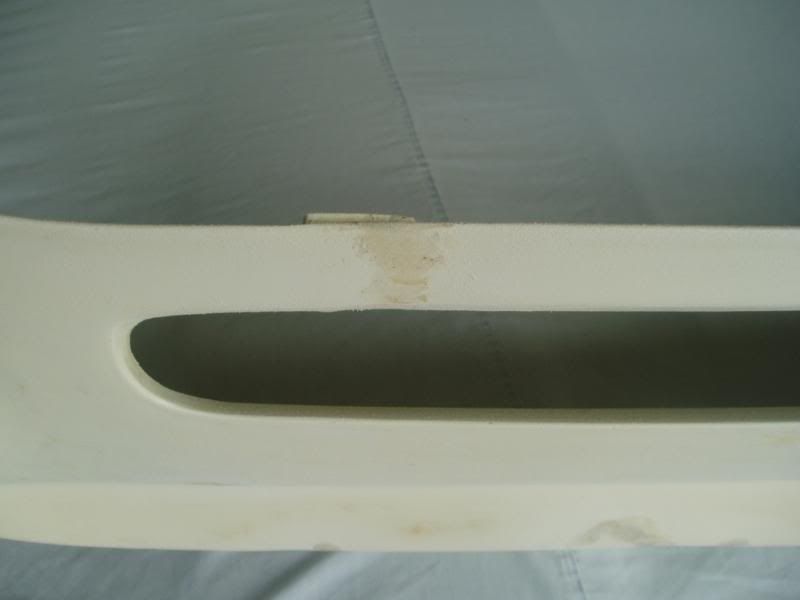 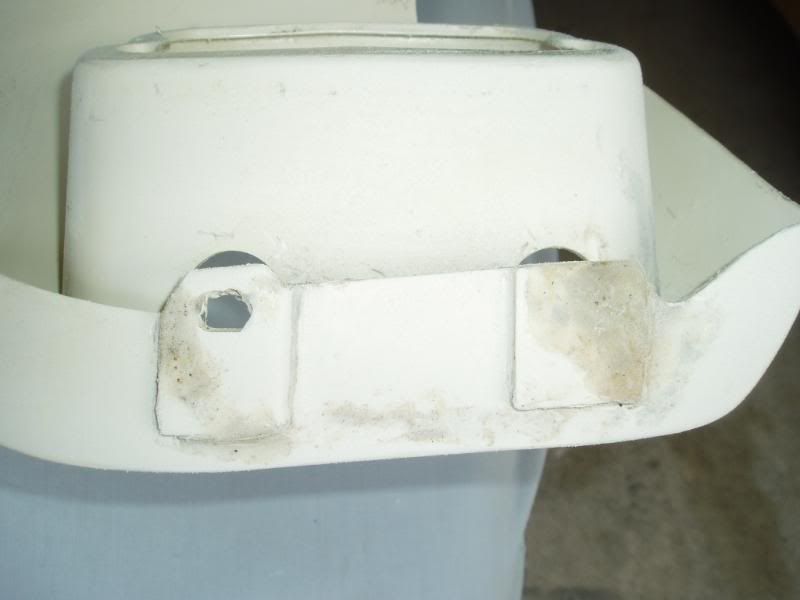 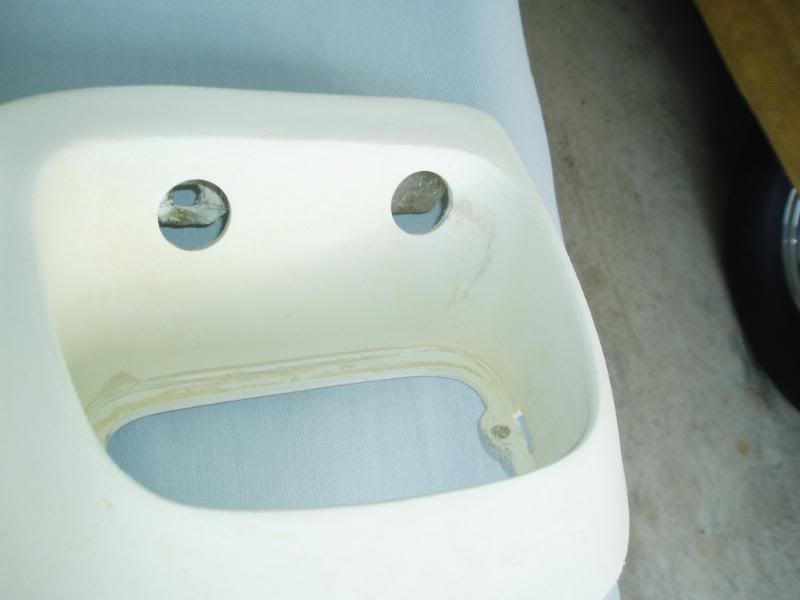 The yucky looking yellow stuff in the outer edge of the passenger side turn signal housing is extra welded in polethylene rod I added for reinforcement. It doesn't have to look pretty, it's just there for the added bracing. 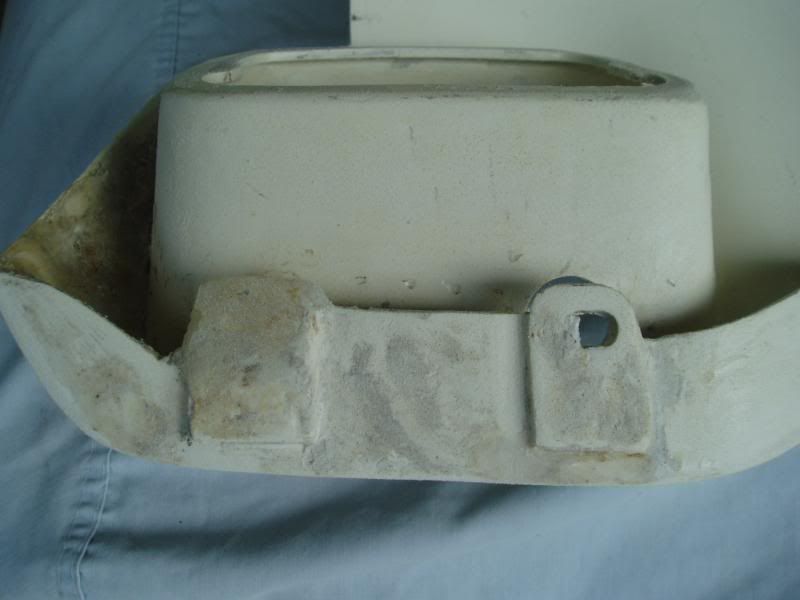
|
|
#7
06-27-2008, 07:10 PM
|
||||
|
||||
|
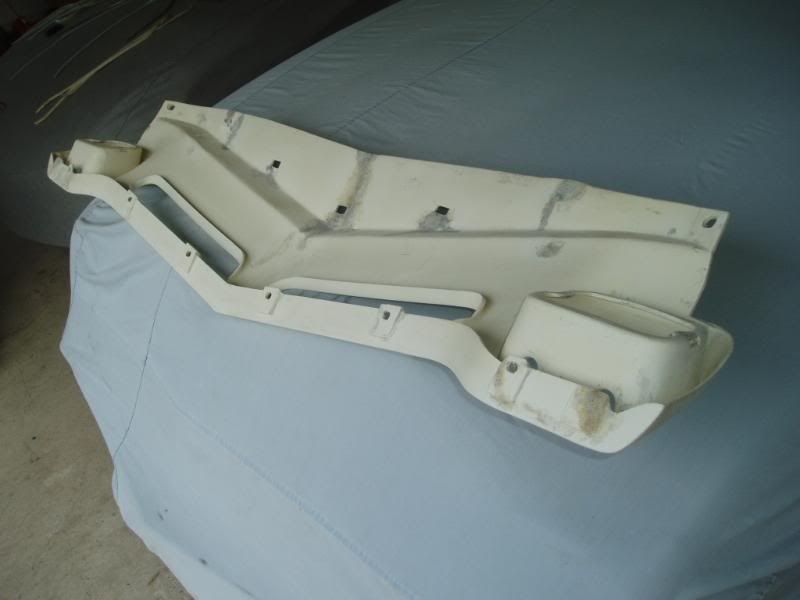
The back side of the panel. I used some fine stainless steel screen and melted/embedded it into the main center fractured area to add some reinforcement. This is the recommended method when repairing areas that will face stress when installed.
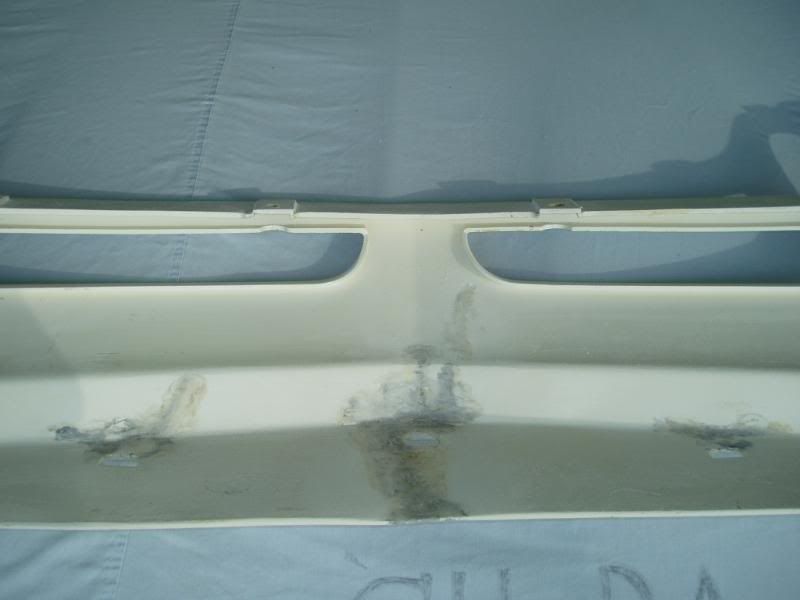 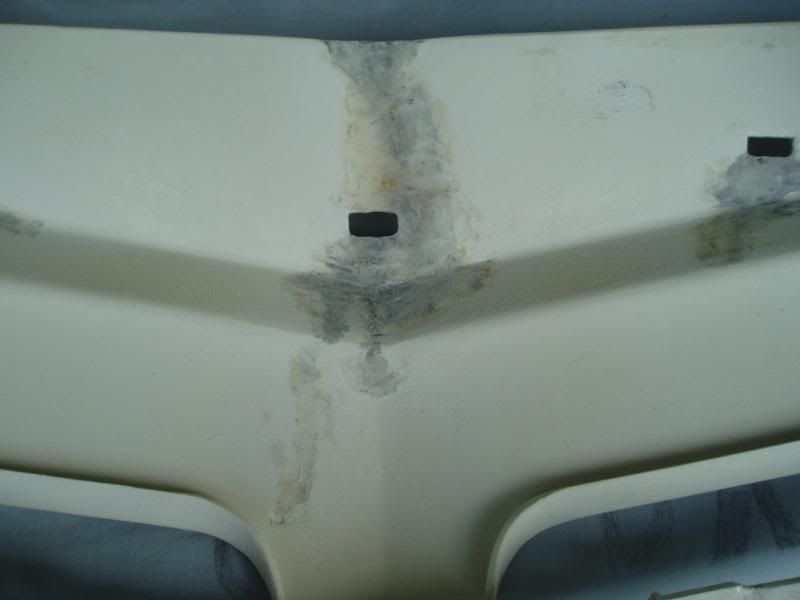 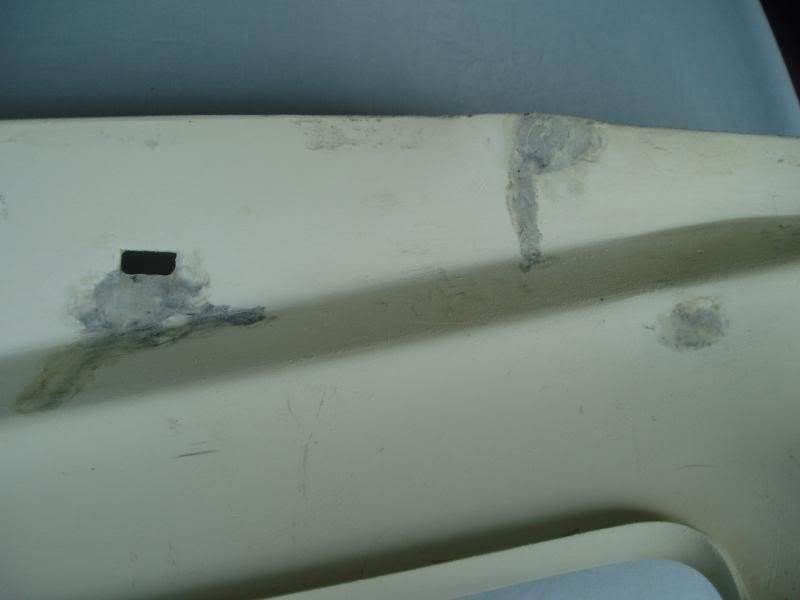 
|
| Reply |
| Thread Tools | |
| Display Modes | |
|
|
The PY Online Forums is the largest online gathering of Pontiac enthusiasts anywhere in the world. Founded in 1991, it was also the first online forum for people to gather and talk about their Pontiacs. Since then, it has become the mecca of Pontiac technical data and knowledge that no other place can surpass.




 Hybrid Mode
