Quote:
Originally Posted by andrewb70

Thanks again Sir.
As for racing, I am up for it. I think it would be very close. B-man might get you if he gets his suspension dialed in. I bet his car will be only about 3300 pounds, compared to my 3700.
Andrew
|
Andrew,
I'm hoping my car weighs in at 3600 when I'm done, and I'm not willing to bet it will be that light. It weighed in at 3780 with 3/4s of a tank of fuel and a big ice cooler in the trunk at my local drag strip before I started this reincarnation.
That included an all-iron 455 with Tri-Power and Ram Air exhaust manifolds, the intake and carbs alone weigh close to 80 #. This powerplant had to be close to 675 to 700# alone, so I figure I'm saving about 250 # with the new LS3.
But my new 4L70E will weigh more than the old TH400. The new 9.5" YANK converter will be lighter than the 13" Continental I had though so it's close to a wash there with my bet still being the OD trans package will add weight.
My old 17X8" wheels were 37# each bare, my new alloy 18X9" wheels are 20.8# each. So with all 5 wheels accounted for I'm dropping 81#, but I'm easily adding just about all that back if not more with the monsterous Z06 rotors and calipers all around. So that's a wash.
I'll be saving some weight up front with the aluminum ATS spindles & steering arms and tubular SPC lower A-arms and adjustable uppers, but no more than 20# in my estimation.
The new rear suspension parts will drop a few pounds and I'm going to a smaller rear sway bar (1" vs 1-3/8"), but the heavier 8.5" rear replacing the 8.2" one should even out the score there some.
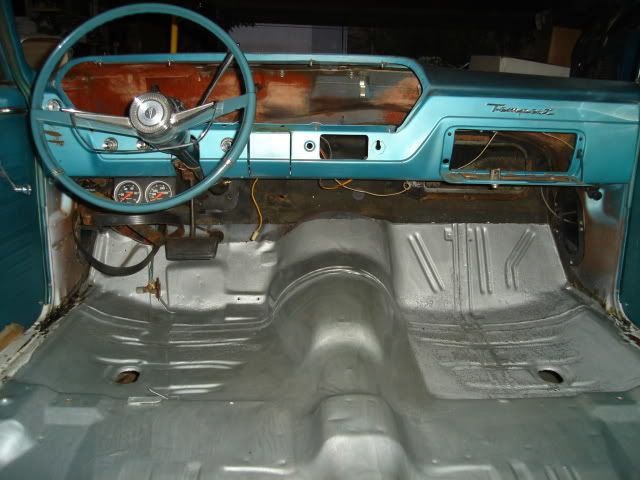
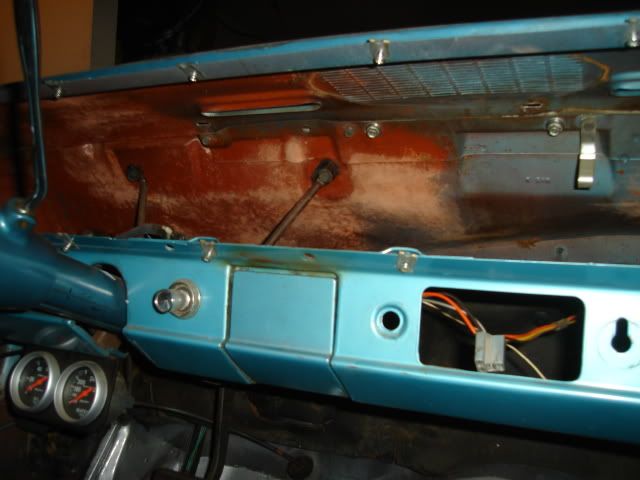
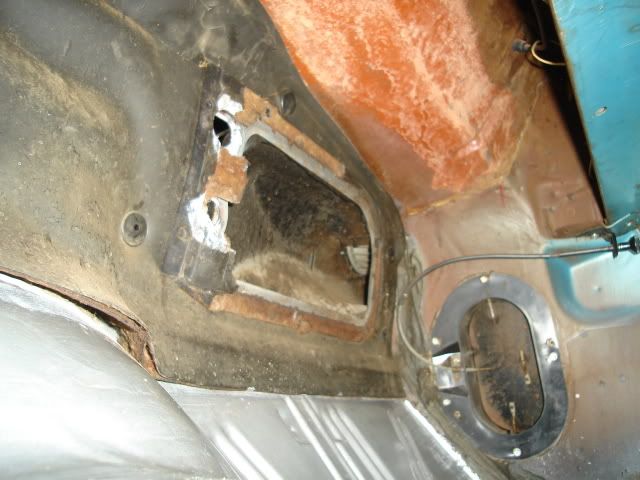
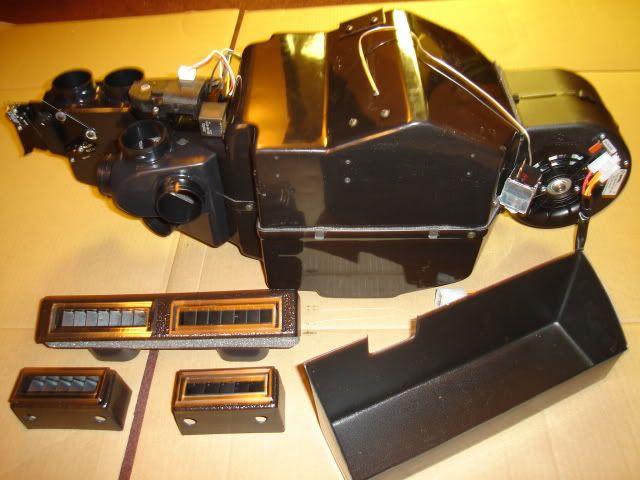
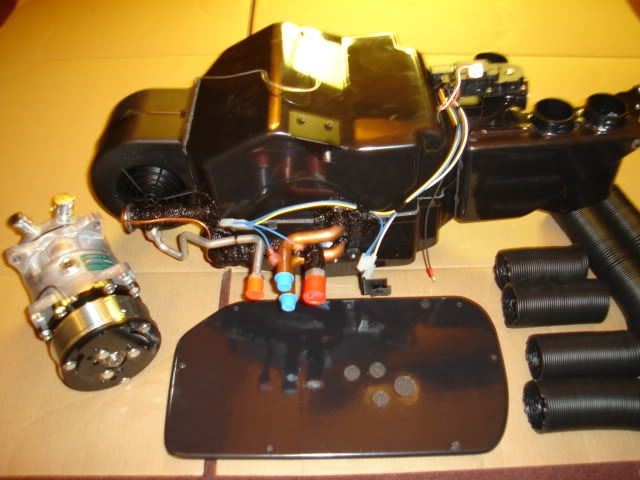
The addition of the new Classic Auto Air 'Perfect Fit' system that I finally ordered a few days ago will easily add another 70+ pounds, I'm guessing some new Second Skin floor insulation will add 20 to 40 more compared to the old original stuff.
But I'll be dropping weight mainly from the front of the car, and most of any additional weight added from the various components will be fairly evenly distributed front to back and even help lower my center of gravity a little.
Quote:
Originally Posted by Silver Judge
For quite a few years, I could not stand the idea of a chevy or corporate powerplant in an old Pontiac. And while, I still prefer poncho power in ponchos.........
I'm changing my mind--BMan, this project is the essence of hot rodding and ingenuity.
So is the project that Andrew B did on his very nice '70 GTO
You guys are way better mechanics and trouble-shooters than I am, that's for sure.
I give a great big hat's off to you for all of the hard work, research, preparation on this.
This tasty old Tempest is going to be pretty danged cool when you're done and I'd drive it any day of the week ...with a big happy grin on my face.
Nice work there and thanks for sharing so much of your knowledge and experience   |
Thanks for the kind words. I never thought I'd be dropping a corporate power plant into one of my old Pontiacs, but the power-per-dollar combined with the fuel savings and light weight makes these engines very attractive.
When I get into the wiring of this beast it will really test my skills and patience as I'm really not an electronics guy. I'm really just learning as I go, and so I far I've learned this is project is getting to be very expensive.

Quote:
Originally Posted by Silver Judge
I'd love to drag race against you guys...I'm warning you though...I'm undefeated against big block chevies, 2-0 |
I'm ready, I used to do pretty well driving the Tempest at the bracket races. I have a lot of practice wheeling '64s down the race track with a bookcase full of trophies to show for it, most were earned behind the wheel of
this old warrior shown below:

Quote:
Originally Posted by 455HOGT37
LOL! As I recall, I didn't even get to complete the sentence "wanna drive it" before you were running for the house to change clothes!
You have a great project going there... I'm glad I could keep the fires of motivation lit in a fellow Pontiac "nut". You still owe me a test drive though.  |
You're first in line Mike. Thanks again for the spin in your 'vette, it was a rush.
Bart






 Hybrid Mode


