Non Pontiac Motors in Pontiacs includes factory 403,305,350 Chevy, Buick V6,
Also Pontiac Motors in non-Pontiacs!

          
Reply
 
Thread Tools Display Modes
  #1  
Old 04-22-2011, 12:13 PM
mcshooter mcshooter is offline
Member
 
Join Date: Feb 2011
Location: ne. ohio
Posts: 99
Default

great looking job, you are years ahead of me. i have a full quarter panel for the pass side on the 1970 lemans on order from summit racing since the first of feb and now get a notice it may come in by may 20. they have the goodmark brand and i know there quality is suspect. do any of you folks know of any other quarter panel brand ??

  #2  
Old 04-24-2011, 12:59 AM
fbrown fbrown is offline
Senior Chief
 
Join Date: Jul 2008
Location: Marietta GA
Posts: 387
Default

Quote:
great looking job, you are years ahead of me. i have a full quarter panel for the pass side on the 1970 lemans on order from summit racing since the first of feb and now get a notice it may come in by may 20. they have the goodmark brand and i know there quality is suspect. do any of you folks know of any other quarter panel brand ??
You might try posting this question in the Body Shop Section. You will probably get more responses there. The two major shops for metal are Goodmark and Dynacorn. As is common with reproduction parts, some reproductions are very good and some are very poor. I have used some Goodmark parts on my 68 that were good. However the same part for your 70 model could be bad. You need to get feedback from someone who has installed the Goodmark quarter in a 70 Lemans.

__________________
68 Lemans - GTO appearance LS3
68 Eldorado - waiting for restoration
96 Roadmaster Wagon
2014 Infiniti Q50S Hybrid
Marietta GA
  #3  
Old 04-24-2011, 02:22 AM
fbrown fbrown is offline
Senior Chief
 
Join Date: Jul 2008
Location: Marietta GA
Posts: 387
Default

Door repair Continued
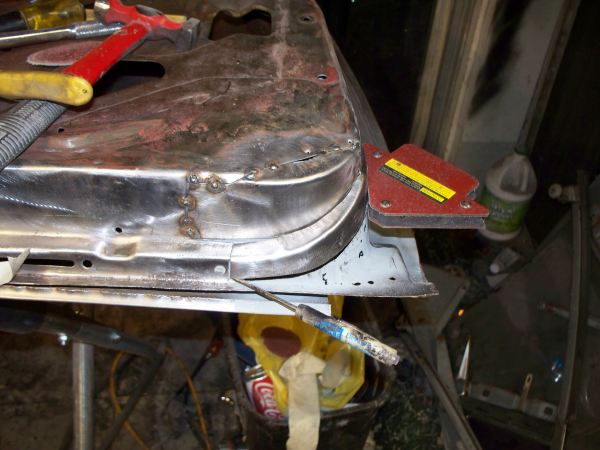


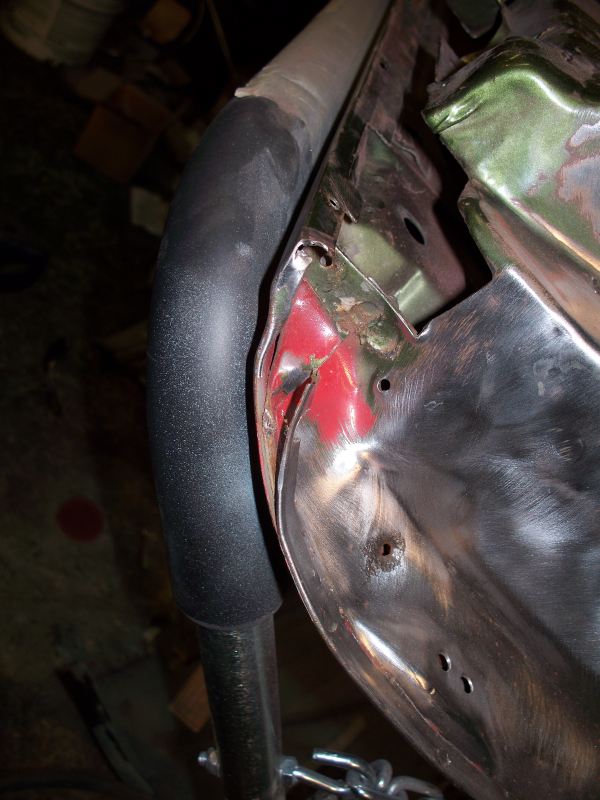
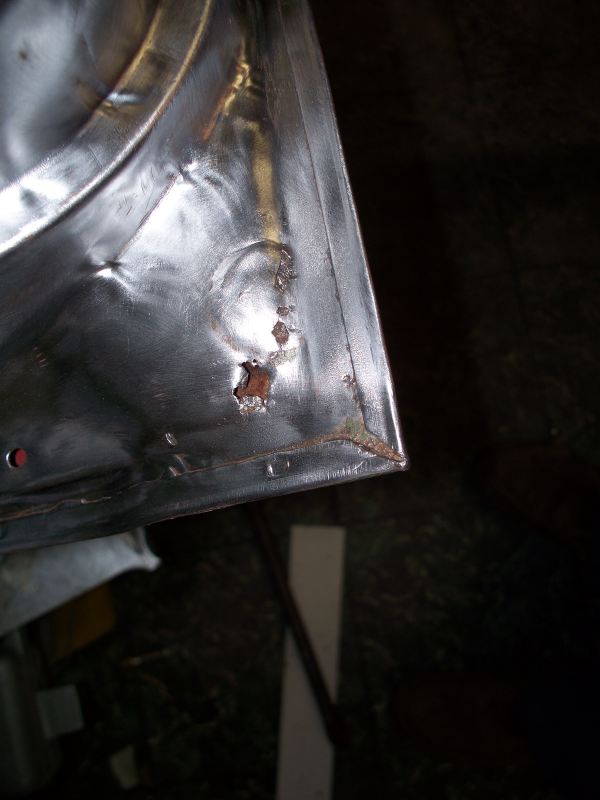
Cut the next piece out. Although not visible in the photo, this piece as almost rusted out and did have some pin holes.


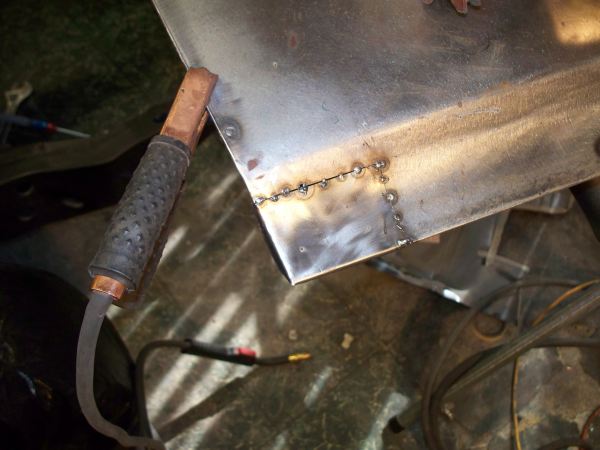
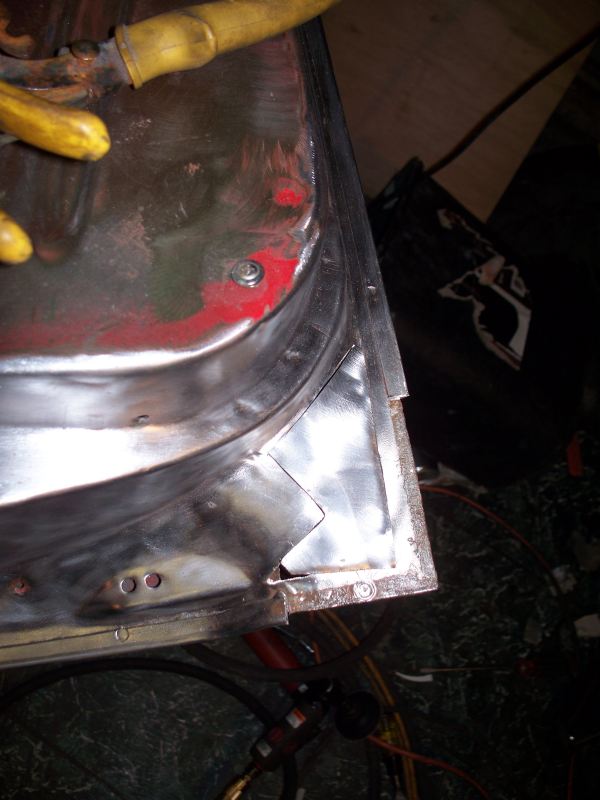
The fabricated replacement
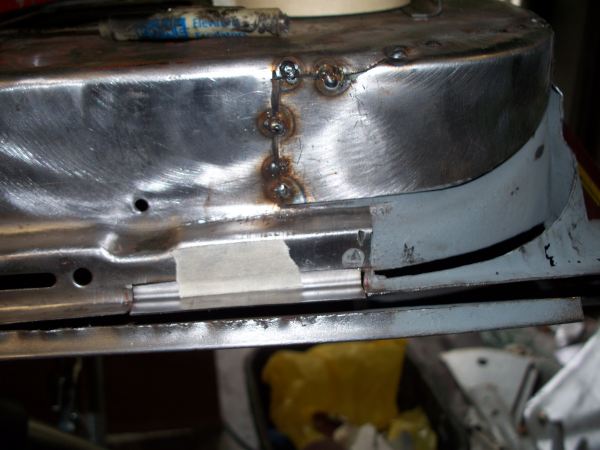


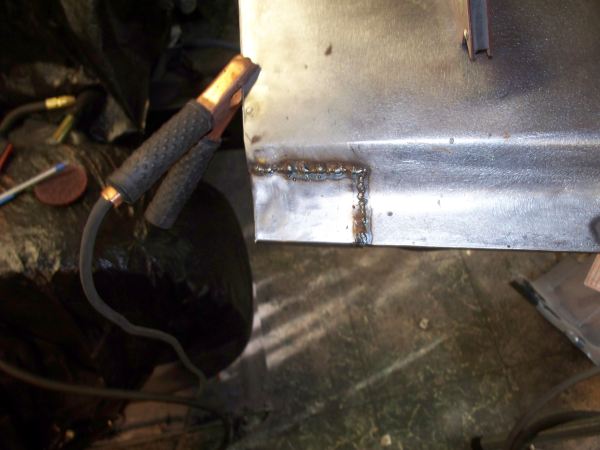
Welded in


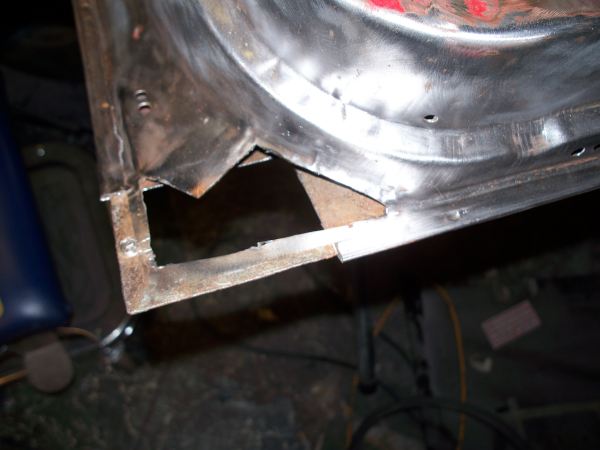
Cut out the next piece. Up to this point the repair had been fairly easy. It got real hard after this.


I failed to take photos of most of the next steps, it took four additional pieces to get to this step, I tried to make fewer pieces but ending up cutting one of them in two, I was not able to get everything lined up.


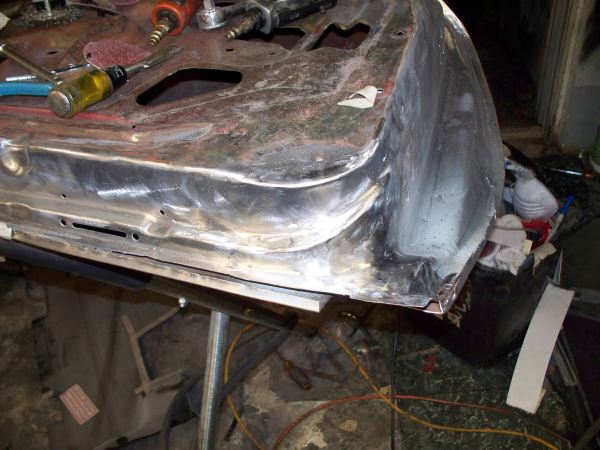
The finished repair.


Observations from this repair. This was the most complicated repair I have attempted to date. I believe it turned out acceptable. Problems with the repair are the usual welding voids caused by rapid start/stop of the welding bead. There is also some distortion in part of the repair. However when compared to the factory part my repair is no worse than what might be found on any given factory door. In fact there is quite a bit of wrinkled metal in the curves in the factory part. In any event a thin layer of metal to metal would cover all of these problems. Also note this is the bottom of the door and this area will not been seen once the door is installed. I may put a thin layer of metal to metal in the area, mostly to fill the micro voids in the weld bead.


Another question, why do such a complicated repair when reproduction doors are available? There are several reasons.

1. I saved about $450 on the cost of a repro door. This represents money that can been spent on something more important, like a drive shift.

2. I did this repair to show someone how to make complicated parts, by making one piece at a time and welding everything together to make a complex shape. In my buddy's case he survived a down sizing and was given a job to make a prototype case for a device his company was working on. He had no idea how to proceed until I showed him pictures of my door repair.

3. This repair gives me practice for my next project that will not have the luxury of plentiful reproduction parts. My next project will be my 68 Eldorado. I am converting it to rear wheel drive and powering it with a supercharged LS3 engine. There will be a lot of fabrication of special panels for this project.

For what its worth I have about 20 hours of time in the door at this point. If I had it to do again I would make the patch pieces differently. So this was a good learning experience.

Still to do is minor rust on the other end on the door and to fix the mistake at the top of the door where the metal is folded over rather than under the door skin.

__________________
68 Lemans - GTO appearance LS3
68 Eldorado - waiting for restoration
96 Roadmaster Wagon
2014 Infiniti Q50S Hybrid
Marietta GA
  #4  
Old 04-27-2011, 12:08 AM
fbrown fbrown is offline
Senior Chief
 
Join Date: Jul 2008
Location: Marietta GA
Posts: 387
Default

Never ending door repair

Hand formed patch for the door skin


Tacked In


Welded In


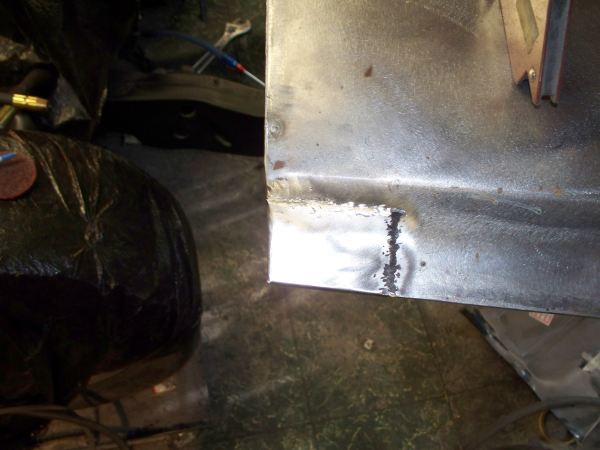
Weld ground with cut-off wheel


Angle grinder with 24 grit wheel followed with 80 grit DA. With a little more work this weld would not be visible at all. I am going to stop here because I will skim the whole door with Rage to get rid of all the minor surface flaws so its not worth the effort to make the weld disappear.


Now to correct the factory build flaw. Spot weld drilled out. It took quite a bit of effort to bend/beat this flap back under the door fold where it belongs.


I spot welded the door skin and inner door structure as the factory attempted to do. I put a weld bead down the fold of the door skin to rejoin the lip where it was folded over and broke. This part of the repair would had worked better by TIG welding, but came good anyway. I have a TIG but it was buried under in a stack of body parts. And then TIG welding is very slow.


Next the last part of the rust repair.
This is what is looked like on the surface


This is how much I ending up cutting out.


And then the corner of the door skin because it had almost rusted through from the back side.


The patch is almost ready. It's getting late so I calling it a night. A few more minute of bending and it will be ready to install.


In between door repair I mounted the driver side seat. I will show pictures of how the seat frame was modified later. For those of you who thought I had black seats, I did, but I used them in a company van and then replaced them with blue seats. Unfortunately I have to modify seat frames again.


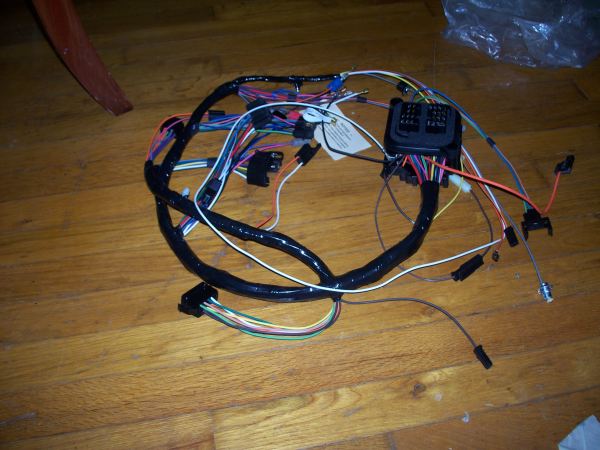
And UPS brought more necessary parts today. I decided that the wiring in the original dash harness was too brittle and bought a new harness. It's better to put the dash harness in now rather than redoing it later.

__________________
68 Lemans - GTO appearance LS3
68 Eldorado - waiting for restoration
96 Roadmaster Wagon
2014 Infiniti Q50S Hybrid
Marietta GA
Reply

Thread Tools
Display Modes

Posting Rules
You may not post new threads
You may not post replies
You may not post attachments
You may not edit your posts

BB code is On
Smilies are On
[IMG] code is On
HTML code is Off

Forum Jump


All times are GMT -4. The time now is 02:46 AM.


About Us

The PY Online Forums is the largest online gathering of Pontiac enthusiasts anywhere in the world. Founded in 1991, it was also the first online forum for people to gather and talk about their Pontiacs. Since then, it has become the mecca of Pontiac technical data and knowledge that no other place can surpass.


Copyright © 2017