| FAQ |
| Members List |
| Social Groups |
| Calendar |
| Search |
| Today's Posts |
![]() |
|
| Non Pontiac Motors in Pontiacs includes factory 403,305,350 Chevy, Buick V6, Also Pontiac Motors in non-Pontiacs! |
| Reply |
|
|
Thread Tools | Display Modes |
|
|
|
#1
|
|||
|
|||
|
I really appreciate how you share with us how you overcome each obstacle you run across in your project. I don't think Trepanier or Foose would be so revealing. Great work.
|
|
#2
|
|||
|
|||
|
Quote:
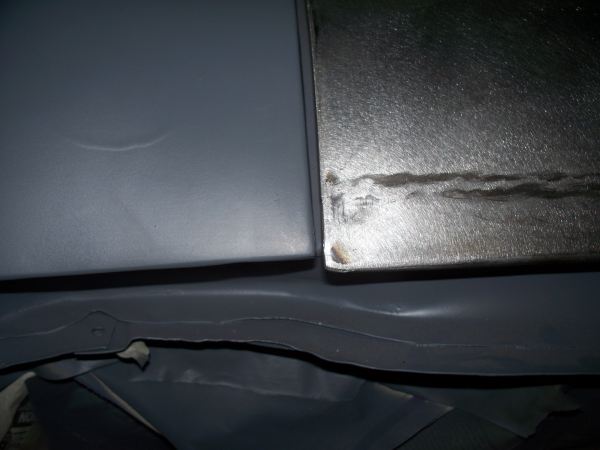
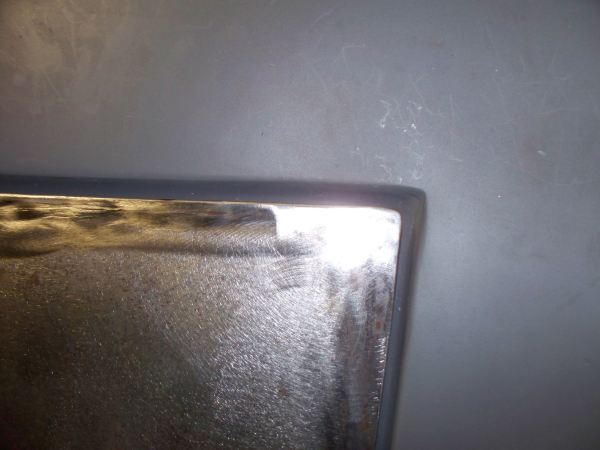
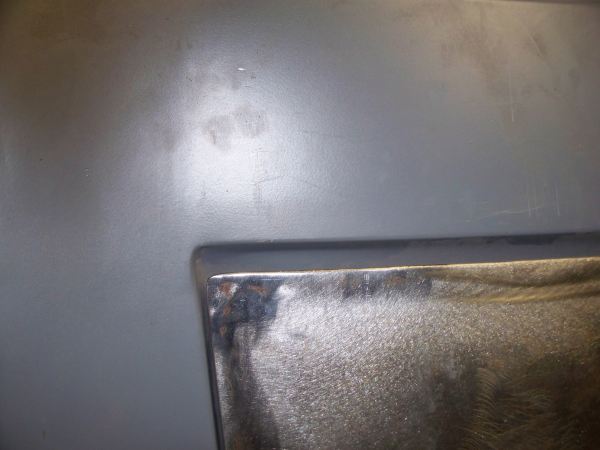
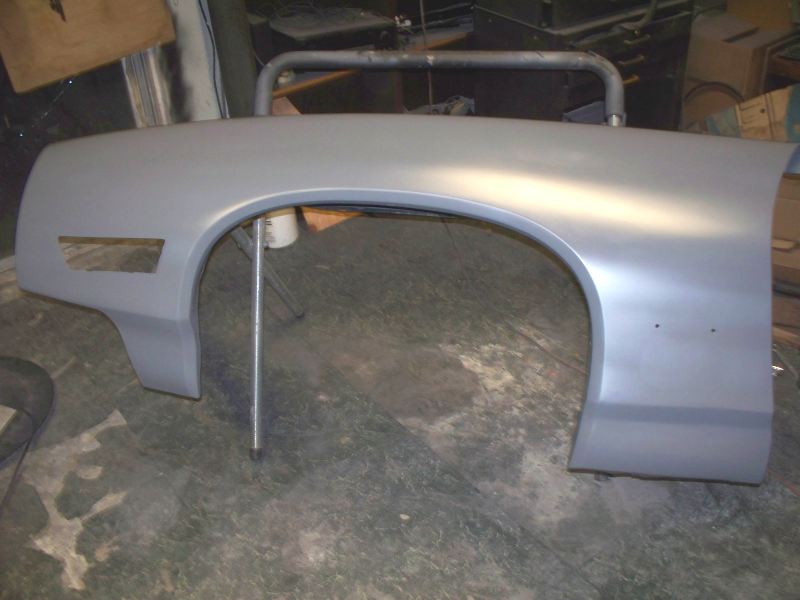
There are no real secrets for the execution of the plans that Foose of Trepanier does. All the grunt work is done by fabricators and body men who work from drawings and renderings. In overhaulin' there was a different crew in almost every build. The only constant thing in the Overhaulin' builds were the renderings produced by Foose. The secret is in the design of the project, after that any well equipped shop should be able to build the project. I spent almost a day making making the channel, restoring the ends and assembling the frame to the glass. If I had access to better tools, like a foot operated sheer and a brake that could bend 16 gauge metal, the channel could have been made in about 10 minutes. Then another hour to finish the window assembly. Use of wood frame and forms to bend metal is an old time approach. One that sadly seems to be forgotten by most metal fabricators. There is nothing wrong with wood forms for making a few pieces. However wood forms do have their limitations, they will wear out quickly. This shows that with a little time and effort you can make one off parts that are not readily available. OK, back to the build. Not a whole lot to show. I am taking a break from glass and power windows and working on the trunk lid area. There are a couple of problem areas that need to be addressed. One the left quarter panel does not line up with the trunk lid very well. The other is the gap at the back of the trunk lid sucks ranging from 7/16" on one side to 9/16" on the other. This is the starting point for the quarter to trunk lid. ![]() This is the roughed in work. I still need to cover the work with Rage. ![]() The starting point for the trunk lid gap. The gap is really excessive. ![]() ![]() This is my work in progress. I still need to work the edge a little more. ![]() ![]() I spend some time locating and drilling holes for the fender emblem.
__________________
68 Lemans - GTO appearance LS3 68 Eldorado - waiting for restoration 96 Roadmaster Wagon 2014 Infiniti Q50S Hybrid Marietta GA |
|
#3
|
|||
|
|||
|
I have been working on the trunk lid alignment and trunk lid gaps. I was unable to shift the trunk lid far enough to one side. It turned out that the washers on the trunk hinge bolts were stopped the lid from shifting to the position I needed. I ended up grinding about 1/8" off the side of the washer on all 4 bolts. I was only about 1/16" from being where I needed to be with the side to side alignment.
Alignment Tip During my many attempts to work things out I came up with a good way to save the front/back alignment. I put tape across the trunk lid and the quarter panel and marked a straight line across the tape. All I need to do check the front/back alignment is to place a filler spreader across the line to check that I have restored the back/front alignment. This makes for fast back/front alignment and leaves you free to work on the side alignment and know that the back/front alignment is still right. ![]() I made minor adjustments to the latch and had to do minor filling to the rear of the right quarter panel to have a even line across the trunk lid and quarters. I used All- Metal filler to make up the alignment differences. ![]() Next I remove the trunk lid so I can work on the inside part of the rear window panel. This gap work was also done with all metal filler. The gap filled by the filler is about 3/16" on one side and narrows to about 1/32" on the other side. ![]() This is a work in progress picture, I did fill the voids before moving on. This is the side that needed 3/16" of filler. ![]() All metal is hard to sand to a really smooth finish, so it will be top coated with Rage Extreme. This is my first pass with Rage Extreme. I will probably need two more filling sessions before this is complete.
__________________
68 Lemans - GTO appearance LS3 68 Eldorado - waiting for restoration 96 Roadmaster Wagon 2014 Infiniti Q50S Hybrid Marietta GA |
|
#4
|
||||
|
||||
|
I love this thread and always anxiously await more posts. I was wondering how many folks in the PY forum might be missing out on Mr. Brown's valuable insights and explanations regarding fabrication, rust repair, panel alignment, etc..because they might skip over the posts as they are in the "Non Pontiac Motors in Pontiac" section. This thread is way more than just that! Every PY member could take something from this thread. Guess it's my way of giving you kudos Mr. Brown.
Dave |
|
#5
|
|||
|
|||
|
Quote:
I continued with my prep work around the trunk opening. It took only one additional coating of Rage to fill the imperfections. The trunk opening edges are ready for primer. ![]() These areas don't photograph well. The work is very smooth but appears rough since it transitions from primer, bare metal, All-Metal and Rage Extreme. The curved area is very smooth although it is difficult to determine from the photos. ![]() ![]() ![]() Some sanding Tips. To sand inside corners where you don't want a sharp edge. Wrap sandpaper around a 3/16" piece on brake line. Don't have brake line, then use a drill bit. ![]() For sanding the vertical edges of the trunk gutter near the corner. Use a metal spreader and cut a piece of PSA sandpaper and stick it to the spreader. Paint stirring sticks can also be used. ![]() For sanding curved surfaces that don't match any sanding blocks. Use a plastic filler spreader. It can be bent and can be used on the curved surface. I cut and stick PSA sandpaper to the spreader. ![]() You will need to change the paper frequently since there is so little of it on the spreader and it will wear out quickly.
__________________
68 Lemans - GTO appearance LS3 68 Eldorado - waiting for restoration 96 Roadmaster Wagon 2014 Infiniti Q50S Hybrid Marietta GA |
|
#6
|
|||
|
|||
|
I Primed the trunk opening area today.
Masked and ready for primer. ![]() Primed ![]() Under side of trunk lid ready for primer ![]() Primed Next will be to install the trunk lid and do the final prep work to the trunk lid.
__________________
68 Lemans - GTO appearance LS3 68 Eldorado - waiting for restoration 96 Roadmaster Wagon 2014 Infiniti Q50S Hybrid Marietta GA |
|
#7
|
|||
|
|||
|
what primer are you using over the evercoat rage?
|
|
#8
|
|||
|
|||
|
I once rented an Escalade on a road trip and was blown away by the performance and fuel economy. Ran into a guy with an alignment shop who had taken a 66 Buick and did a restomod installing an escalade power plant and finishing out the vehicle to a high level. It was a stunning ride with the exceptional performance and fuel economy of the escalade power plant that I knew to be far superior to anything I could have done to my Pontiac. He loved the originality of my pontiac and seeing a pontiac motor under the hood. I loved his choice of taking an not so sexy model car and modifying it to a sophisticated driver that made all the sense in the world to me. Originality has it's place to be sure. Everyone likes to see a car finished to a high level of originality. What you are doing to that lemans is so over the top and so unbelievably top drawer, I can't imagine any sensable person faulting the concept. The finished product will be fine as a frogs hair. Well done.
__________________
1965 Pontiac Lemans Convertible, 1957 Chevy 3600 dump bed, 1968 Ford backhoe. ![]() http://picasaweb.google.com/orchidsk...vyiKGThcblmQE# |
|
#9
|
|||
|
|||
|
Quote:
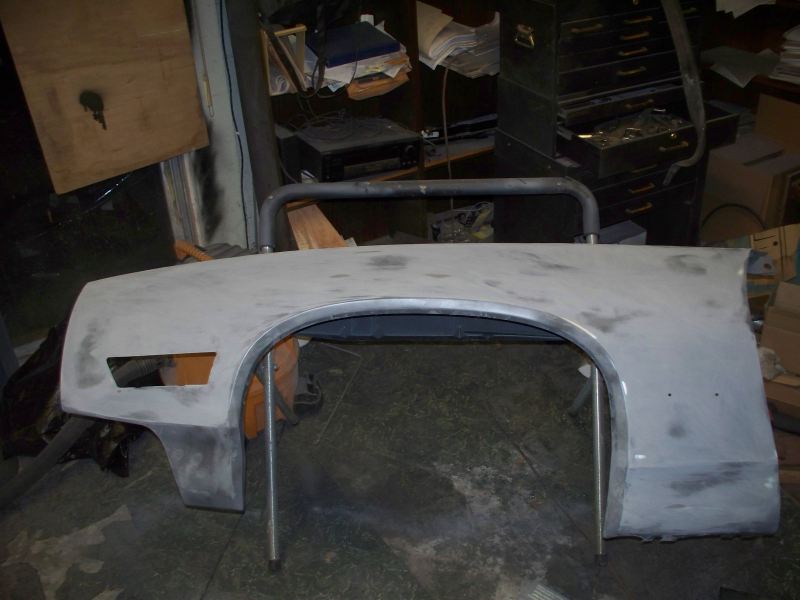
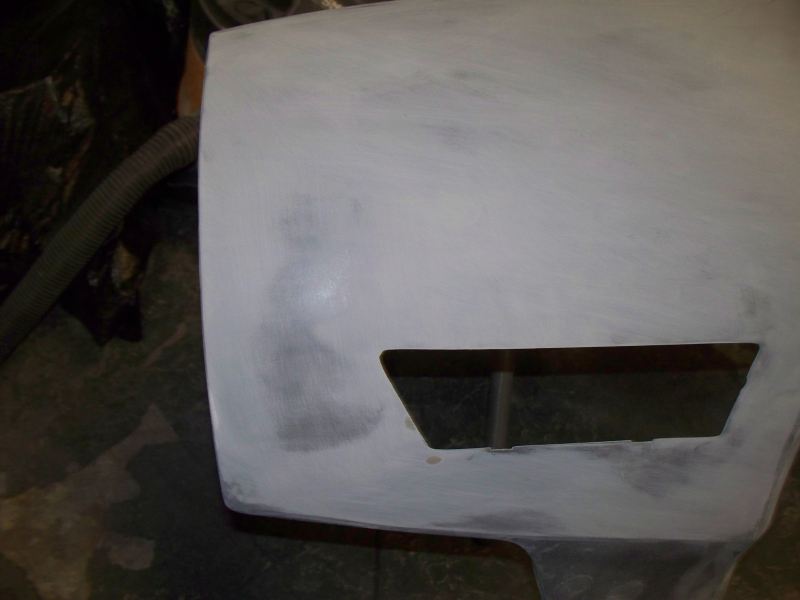
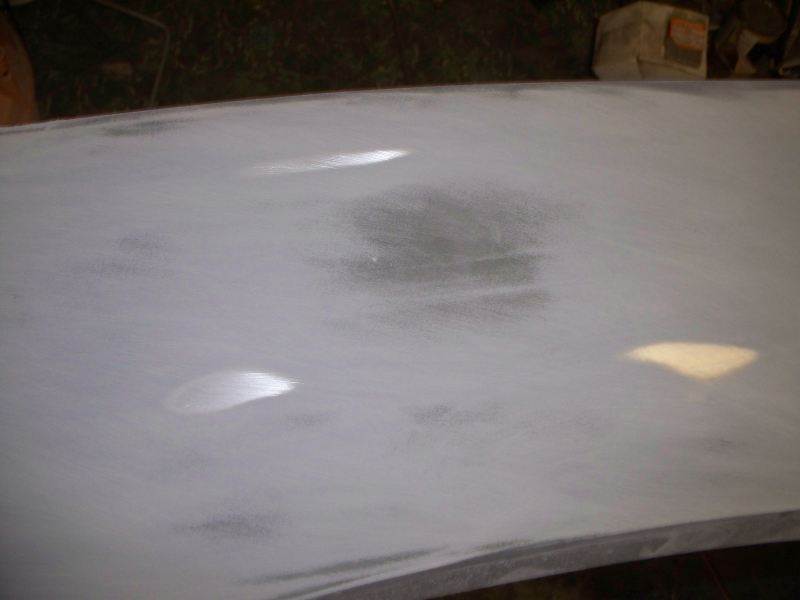
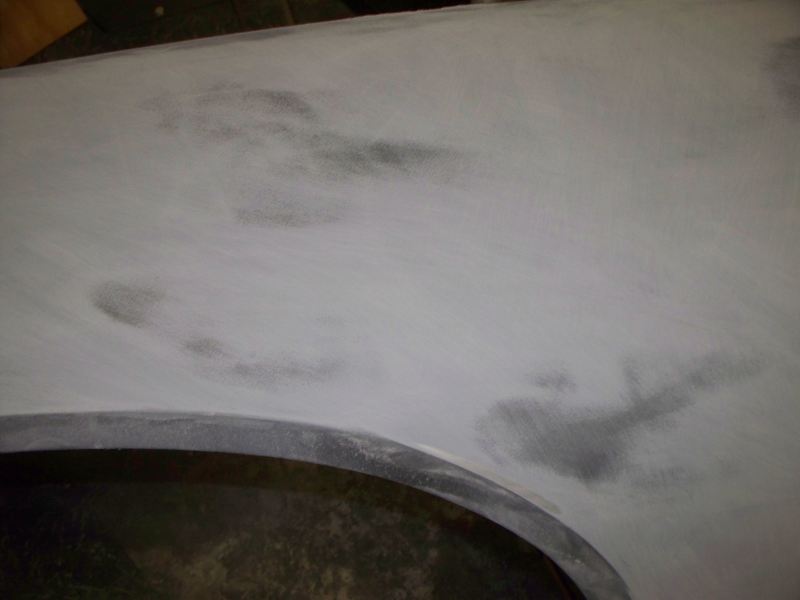
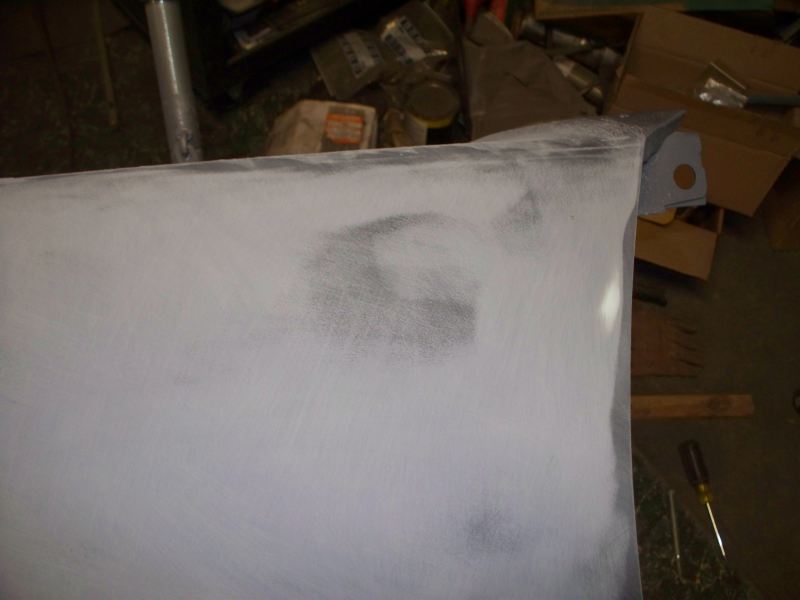
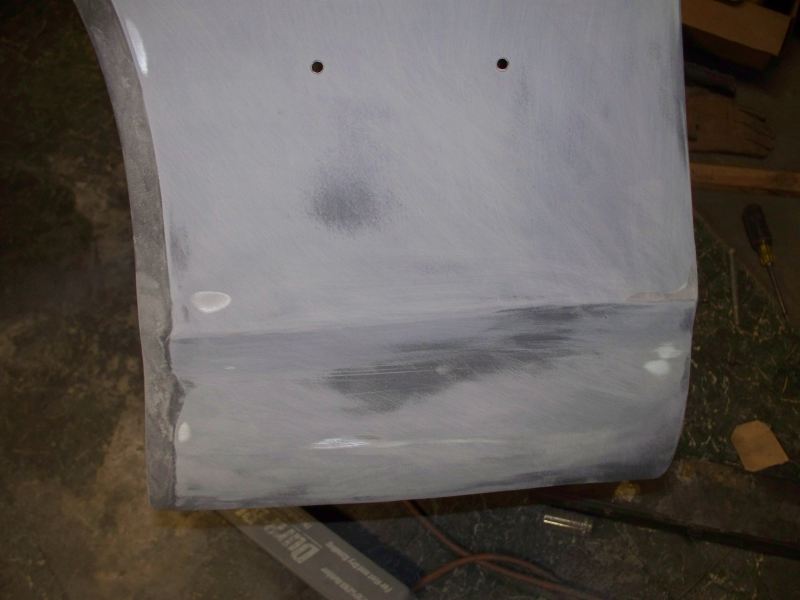
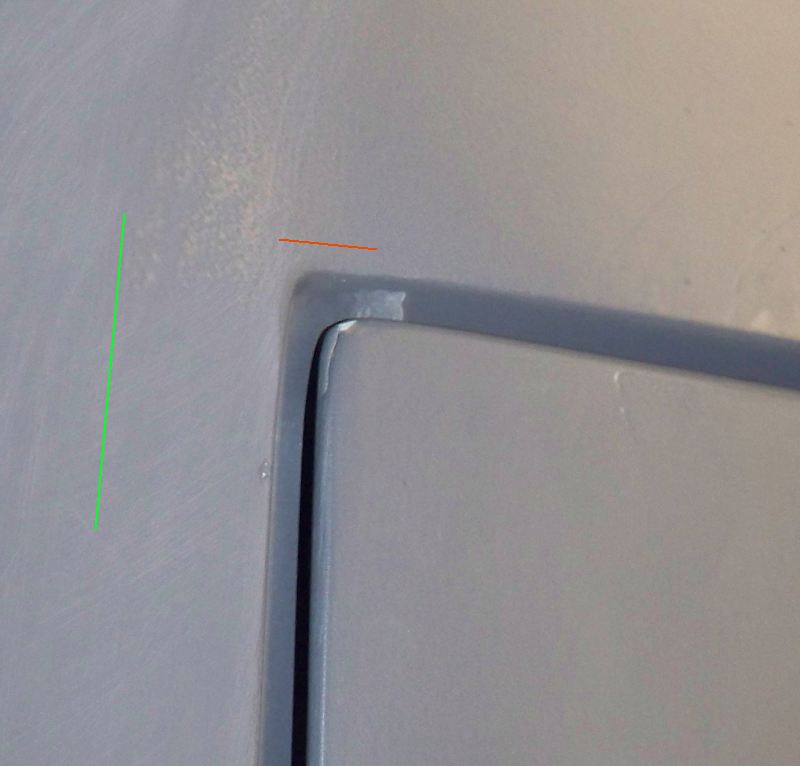
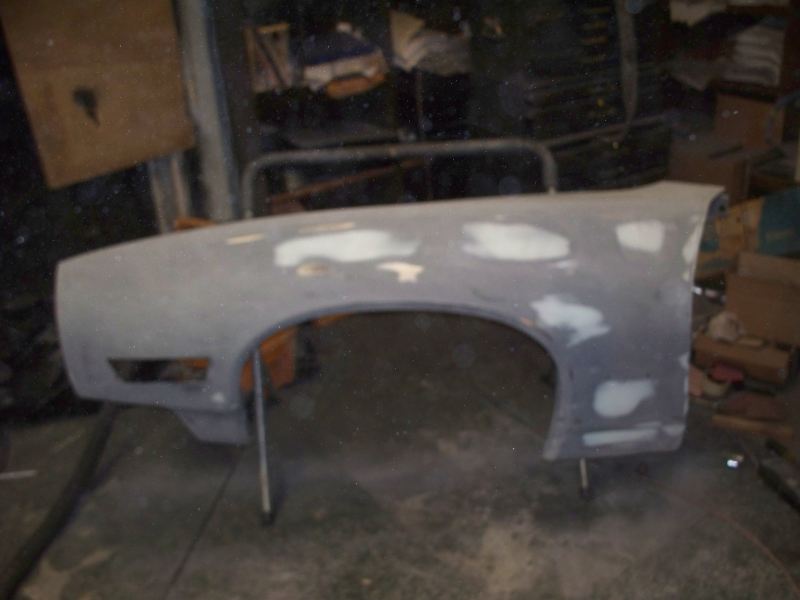
Unfortunately I keep injuring myself so I have trouble working on the car. I cut my hand real bad at work, so things have been going slow. I hope to get a few things done this weekend.I applied a guide coat and started sanding the primer. ![]() After sanding this is the result, I still have several areas to deal with. I guess this is not too bad but shows lots of problem areas that would be wavy without attention. ![]() Now for some close ups of the problem areas. A slight low spot in the front. I don't think the primer is thick enough to sand this out. ![]() I have already sanded to bare metal in 3 places and still have a low spot. I am using a 17" long Dura-Block to sand with. ![]() It's possible these low spots might sand out with hitting metal. ![]() Another low spot, the back edge of the fender is also low, the back edge will require filler. ![]() In spite of the multiple attempts to work this area with filler, I still have low spots. ![]() On the back of the car at the back corner of the trunk I wet sanded the area with 600 grit paper. While this photo does not show the flaws or how smooth the surface is, there are a couple of flaws in this area. When you sight along the surface the primer is starting to show a shine, which also highlights any flaw. I have a little bit of a ridge along the green line. Although it looks fine from above, when you sight along this area it is slightly wavy. I also have a slightly low spot along the red line. To the left of the red line you can still see orange peel in an area that I didn't sand very much. The slight sanding scratches are still the remains of sanding with 320 grit. ![]() As I can tell, it's going to take a lot of work to get a flat paint job. This is my first attempt at doing a near show car paint job.
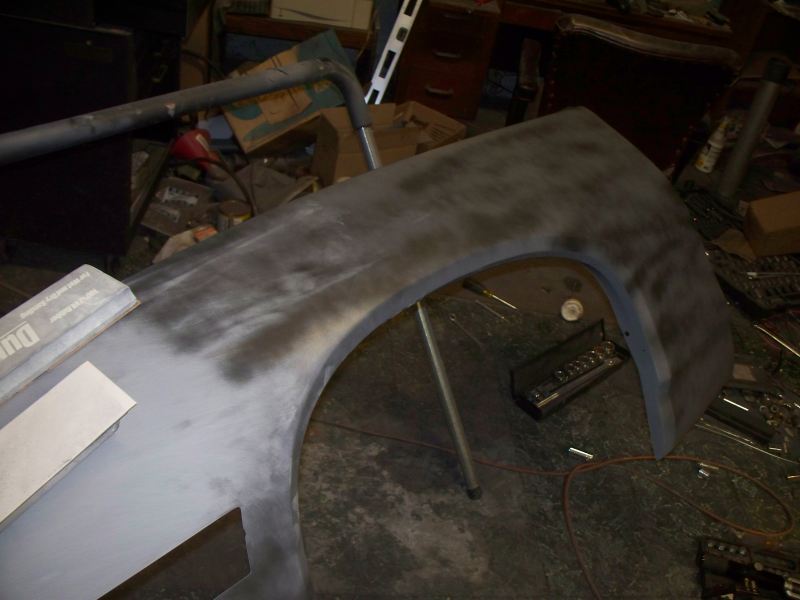

__________________
68 Lemans - GTO appearance LS3 68 Eldorado - waiting for restoration 96 Roadmaster Wagon 2014 Infiniti Q50S Hybrid Marietta GA |
|
#10
|
|||
|
|||
|
...really sucks. I blocked for days, then hired a helper and we blocked some more. No where as meticulously as what you are doing but I took it to a point where I was way past exhaustion and called it a day. Turned out just ok. You are already far past anything I did and i think you'll be lightyears ahead of any pro work you'd have done. My experience with so called pros is that they tend to disappoint. Lose stuff. Cut corners. Very frustrating and expensive. What you are doing probably doesn't even exist in the real world of professional body work. You would have to pay about ten bazillion dollars to get that kind of work if it really existed. The materials aren't expensive, it's the time you're putting in. What we all wish we had the time to do. I like it. When it's done send me some nice detailed picks.
__________________
1965 Pontiac Lemans Convertible, 1957 Chevy 3600 dump bed, 1968 Ford backhoe. ![]() http://picasaweb.google.com/orchidsk...vyiKGThcblmQE# |
|
#11
|
|||
|
|||
|
More Fender paint prep this weekend.
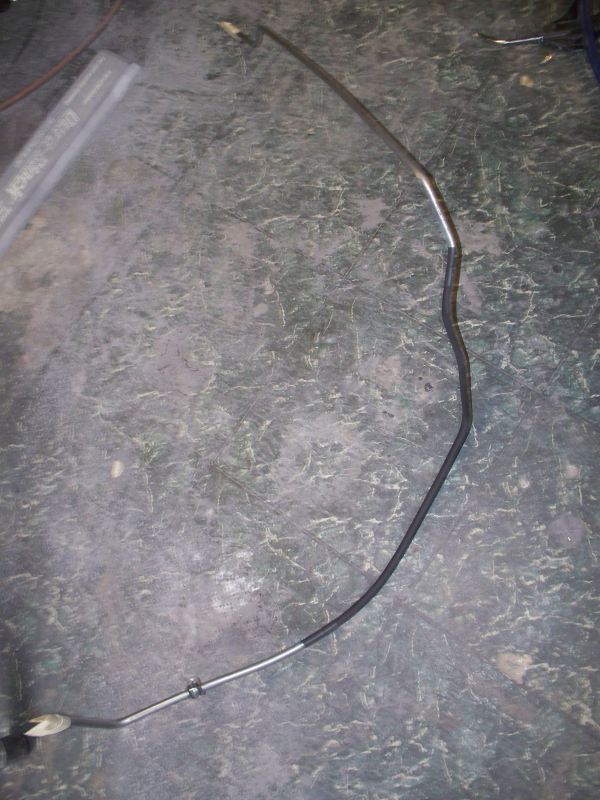
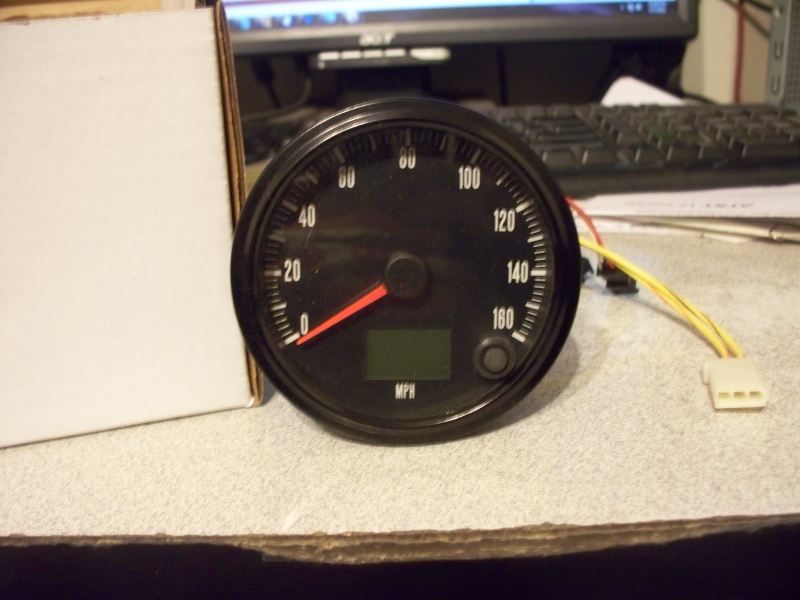
Bad picture and I didn't take another but this still shows what I did. I filled the low spots with a Pourable putty. ![]() I shot four more coats of epoxy primer. I will need to wait a few days before I can sand the primer. The Epoxy primer I'm using needs about 3 days before it can be sanded without clogging sand paper. I hope this takes care of the low spots. ![]() I started reinstalling fuel lines. However the line between the corvette fuel pressure/filter regulator and the engine no longer fit. I ran brake lines while the body was off the frame and installed an adjustable brake proportioning valve. Of course at the time I couldn't tell the adjustable knob was right where the fuel line wanted to go. I had to rework the line and installed some heat reflective sleeving while reworking the line. The black cover is Taylor Heat Sleeving, it is held in place at each end with short pieces of heat shrink. ![]() I working on other things not really worthy of photos. I installed new wiring for the dome light and I'm still reworking the area at the back of the trunk lid. I had a setback with the instrument panel. I was getting ready to apply Eastwood's liquid Chrome to the panel and I dropped it. I now have a crack to repair. Here is the electronic Speedometer I going to use. If I use the mechanical one I will have over $700 in it by the time I get it restored and purchase a Cable-X to drive it. This speedometer will read the VSS signal from the PCM. Best yet it was about $150 on sale.
__________________
68 Lemans - GTO appearance LS3 68 Eldorado - waiting for restoration 96 Roadmaster Wagon 2014 Infiniti Q50S Hybrid Marietta GA |
|
#12
|
|||
|
|||
|
Fuel line for EFI application and E10.
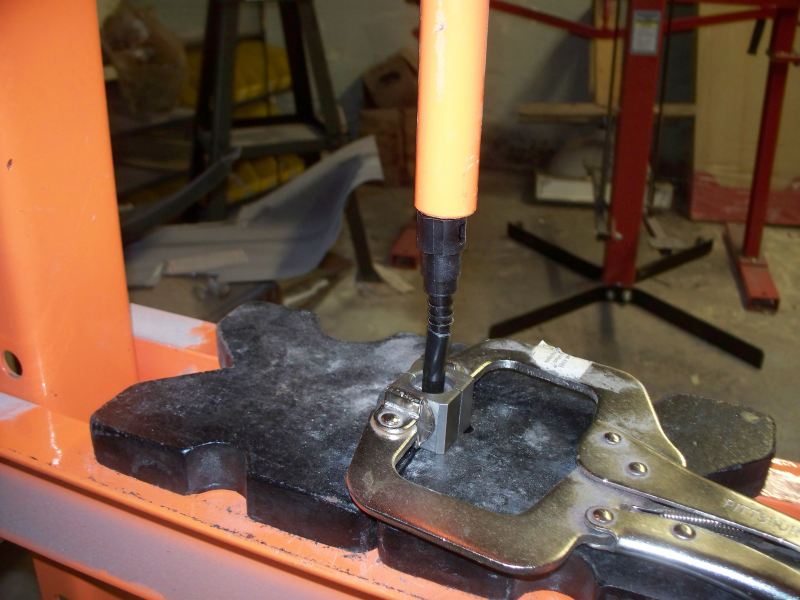
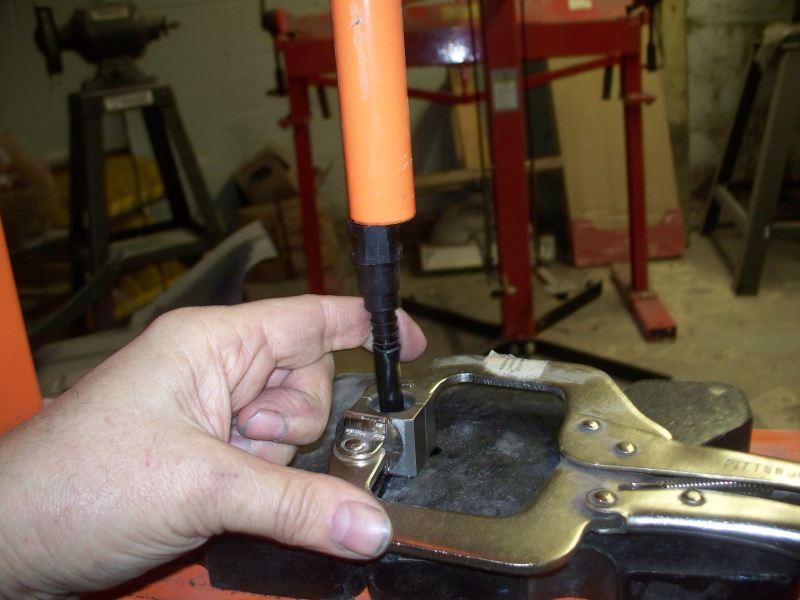
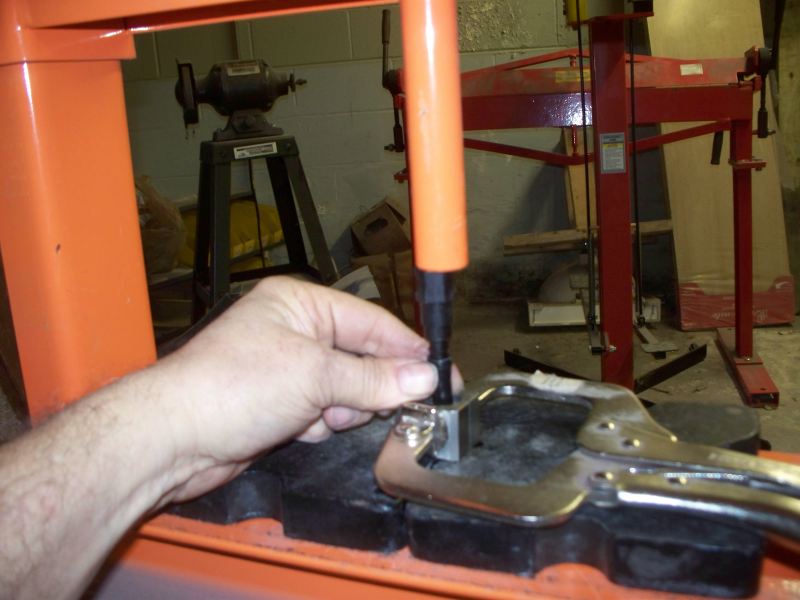
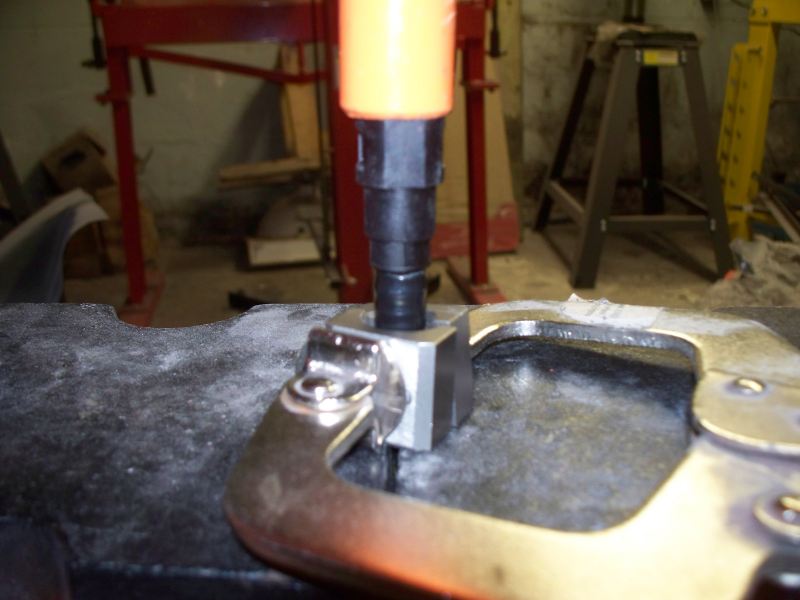
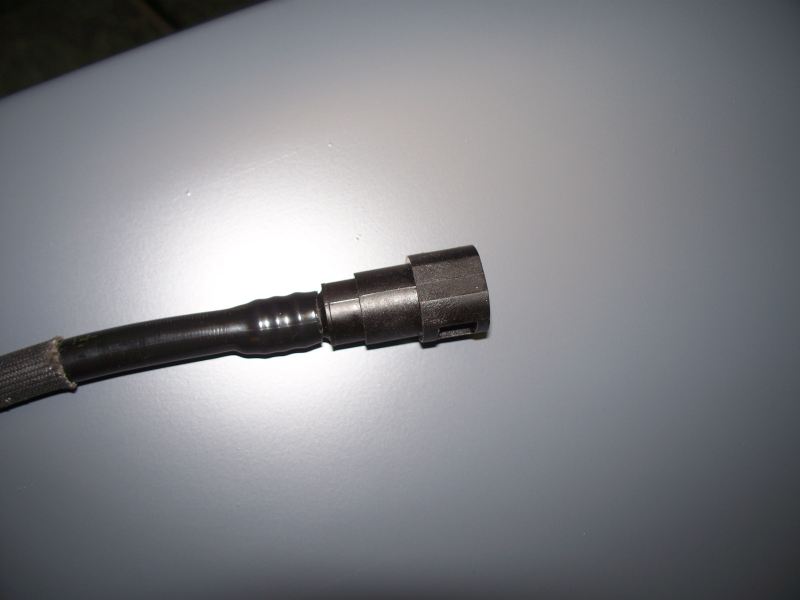
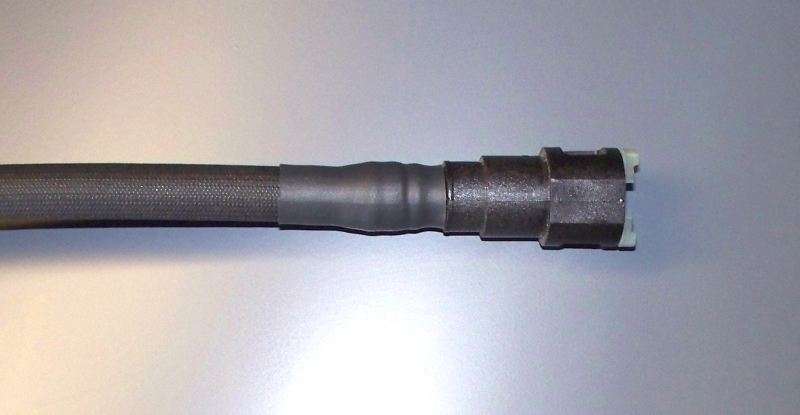
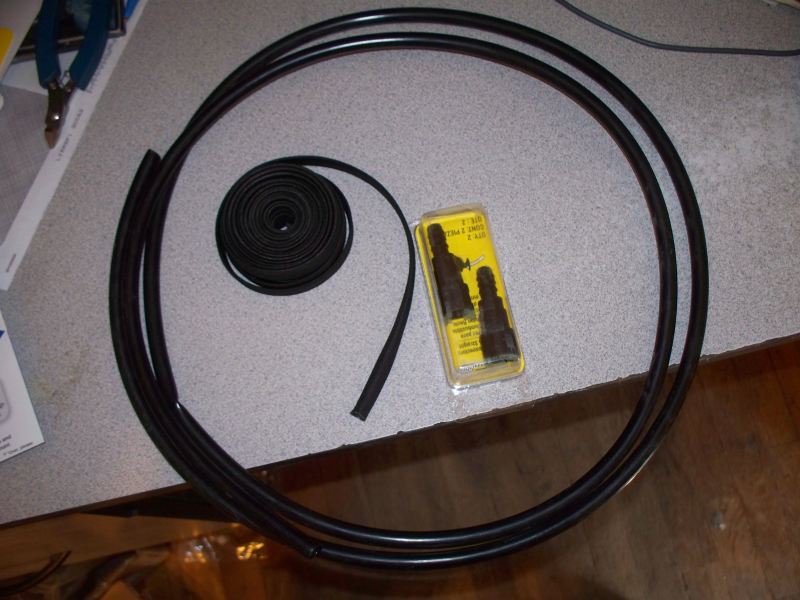
Most of the available aftermarket flexible fuel line worries me, the description is "resistant to alcohol". This means they slowly deteriorate and would require frequent replacement. The two choices that appear to solve the problem are Teflon coated lines and plastic lines as used by GM and others. Teflon coated lines should last the life of the care but are very expensive. Plastic lines seem to last as long as they are not abused. I made a line to connect from the firewall to the engine using Dorman nylon hose, Taylor heat protective sleeving and quick disconnect fittings. There is a Dorman tool that will press the connectors on the line but it runs about $100 and is expensive for something with limited use. Some people have rigged a caulk gun to press the fittings on. I have a method that works well. I use a 10 ton press to make quick work on the job. This is the materials used. Dorman plastic fuel line, Taylor heat resistant sleeving and the fittings. I also used a couple of short pieces of heat shrink to clean up the look. ![]() This is my setup for pressing the connector ends on. I used the fuel line clamps out of my MasterCool Hydraulic set to hold the line, but a cheap $10 harbor freight flaring tool could be used to hold the line. In my case I used vise grips to hold the clamp on the line. Here the hose and connector are aligned and ready to be pressed on. ![]() When pressing the connector on the barbed end will want to push the hose sideways you can easily guide it with one hand and work the press lever with the other. ![]() This shot shows the hose starting to slide over the barbs. ![]() The final result ![]() At this point I cut a piece of the Taylor sleeving to length. The Taylor sleeving will also protect the nylon fuel line from abrasion. ![]() The competed end with a piece of heat shrink over the Taylor sleeving and barbed end of the quick disconnect. ![]() Now repeat doing the other end. Be sure to slide a piece of heat shrink over the line before pressing the other connector on.
__________________
68 Lemans - GTO appearance LS3 68 Eldorado - waiting for restoration 96 Roadmaster Wagon 2014 Infiniti Q50S Hybrid Marietta GA |
|
#13
|
|||
|
|||
|
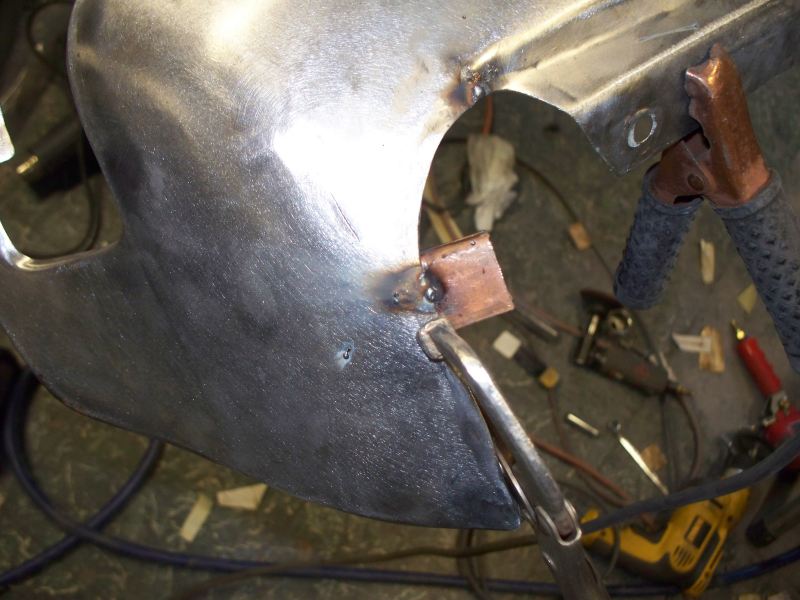
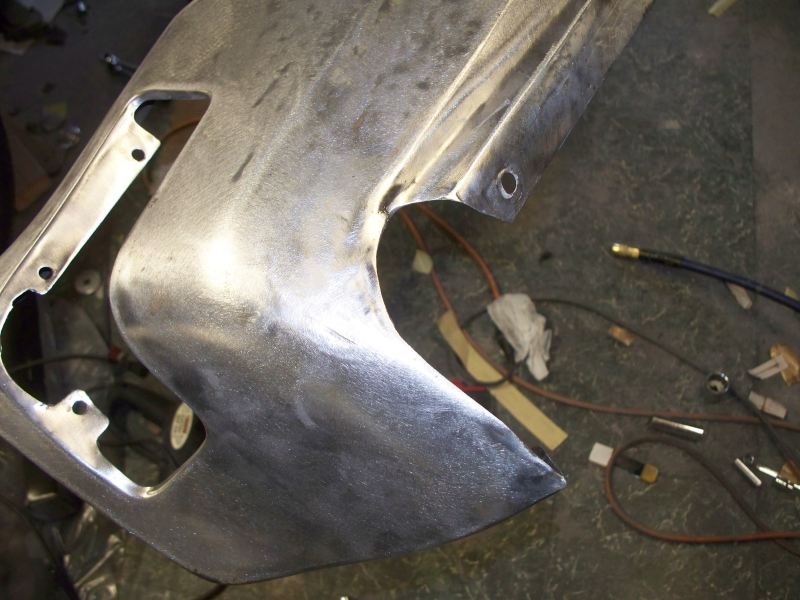
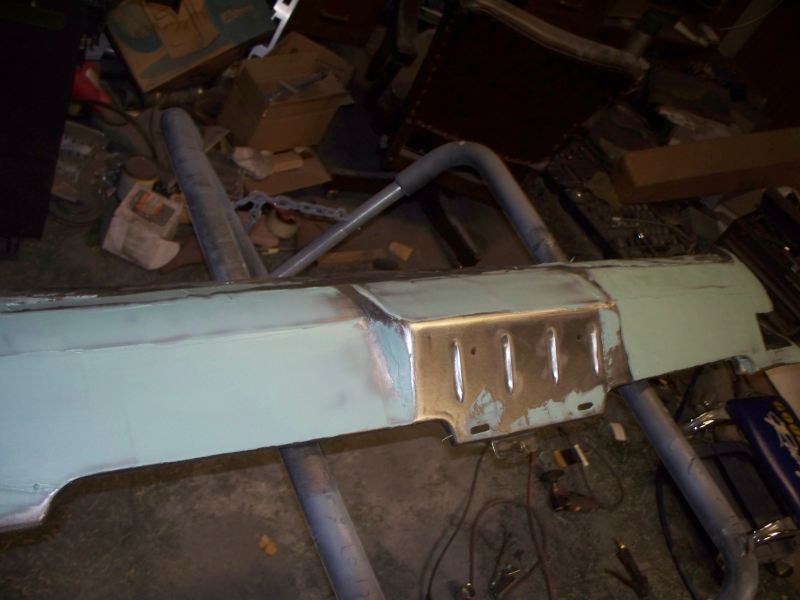
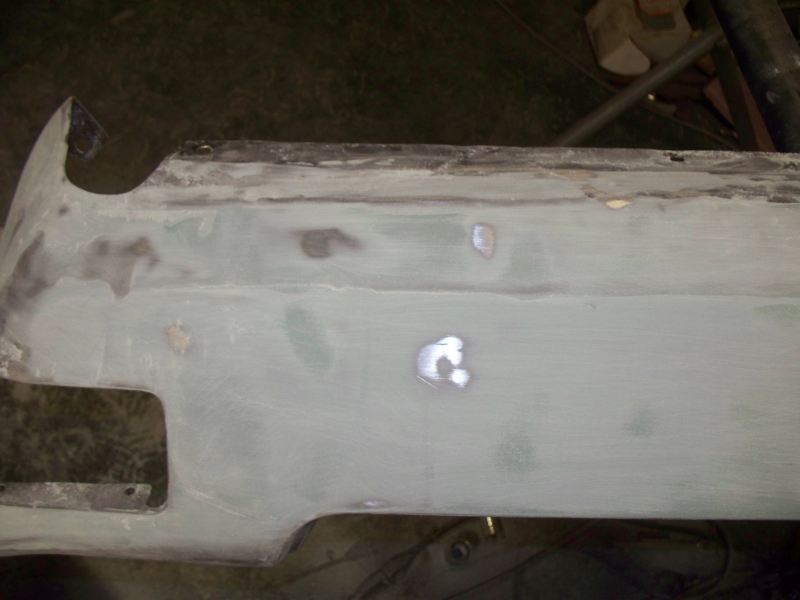
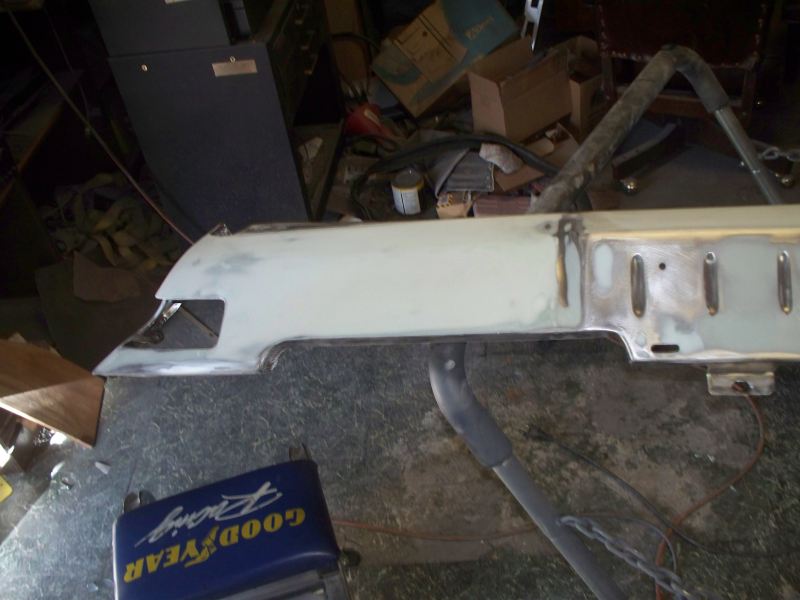
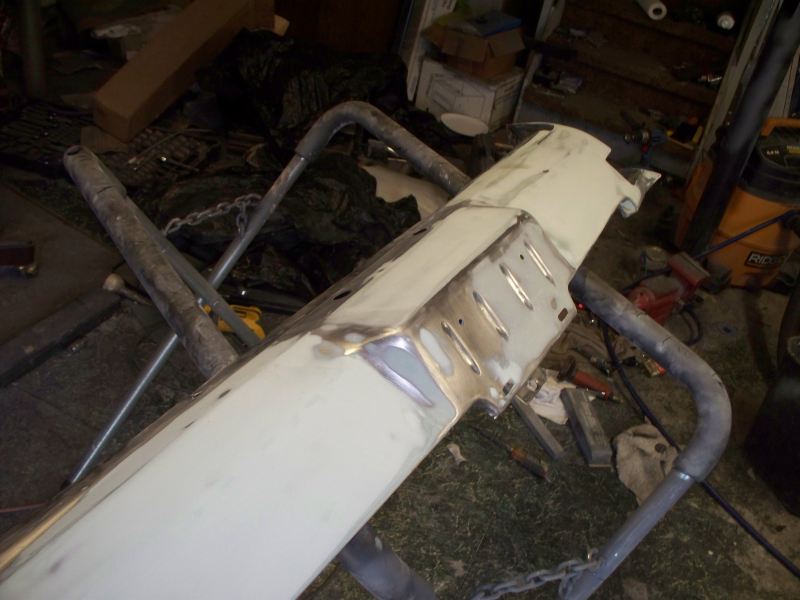
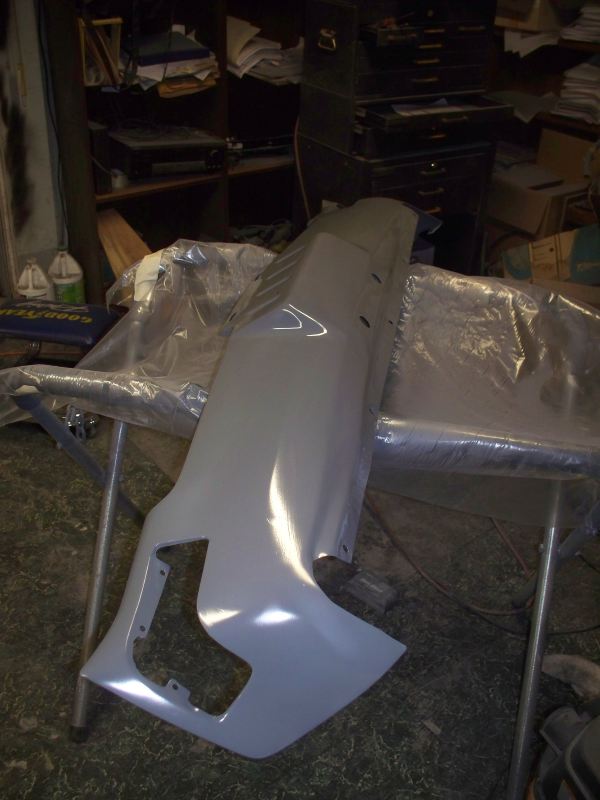
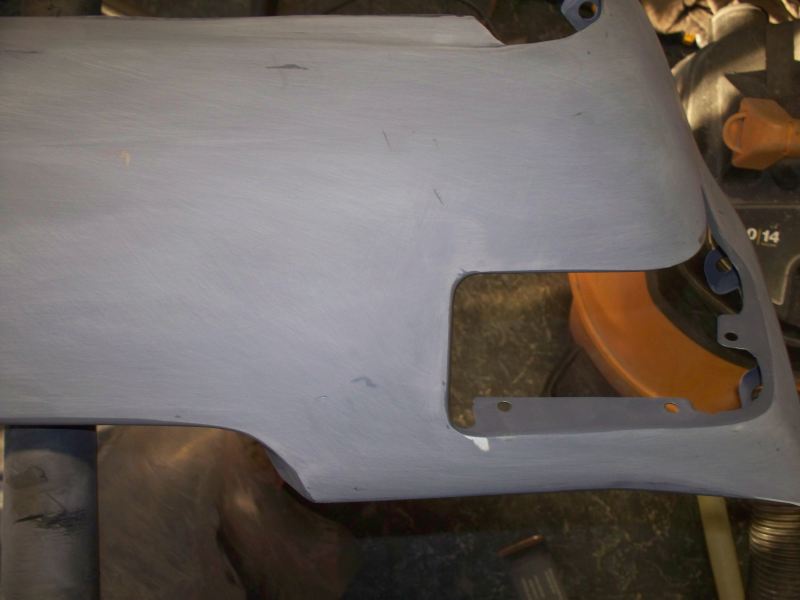
I been working on the valance panel lately. I had previously spent a couple of hours with a hammer and dolly to beat it back into shape. On close inspection I found a couple of hairline cracks that needed attention.
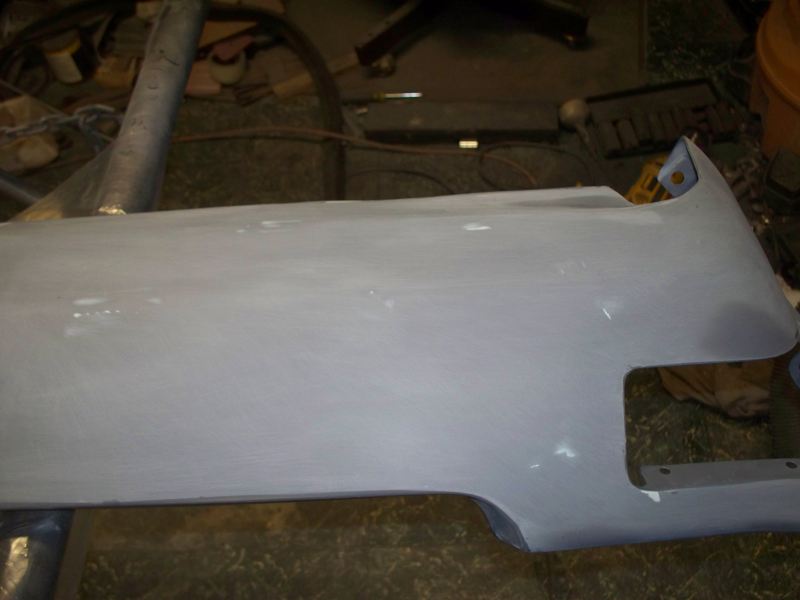
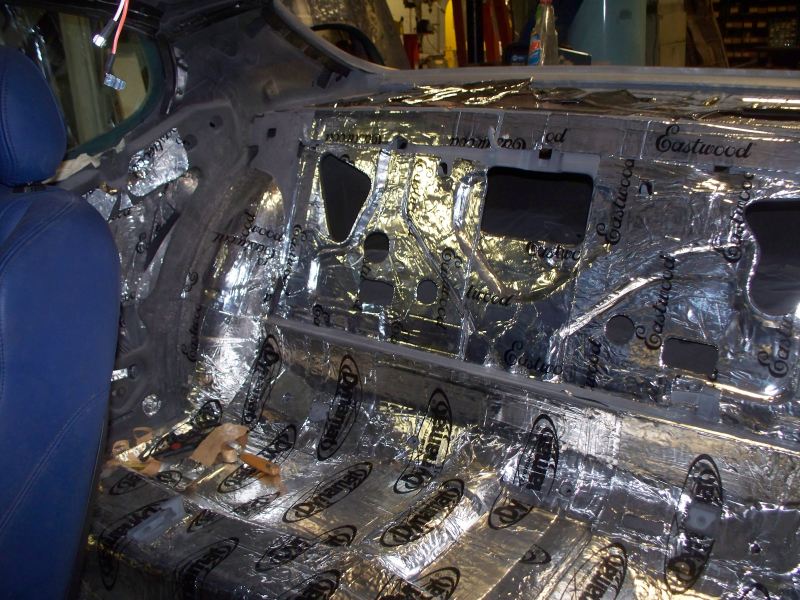
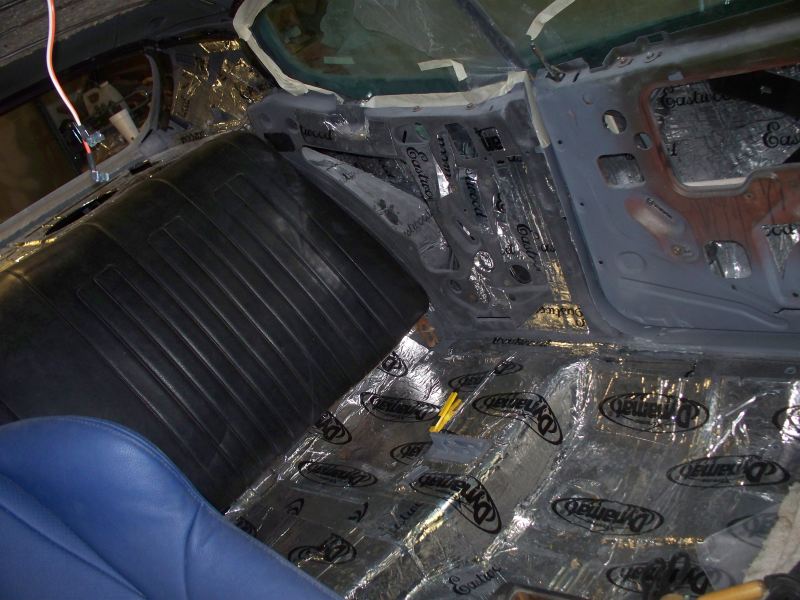
The cracks did not show up on a photo, but this is the repair. I used a copper backing plate in order to apply more heat without blowing holes in the metal. ![]() After grinding and sanding. ![]() I applied Rage as a first coat of filler. ![]() As you can see there is still some high spots and lows. ![]() I knocked the high spot down with a pick hammer before proceeding to apply a layer of Rage Extreme. ![]() I ended up putting another layer of Rage Extreme before I primed the valance. This is the final result of the filler work. ![]() Valance in primer. I applied four coats. ![]() Sanding the primer. This revealed several flaws. These spots were filled withing sanding dust and were not visible until painted. Although I used high pressure air to blow the panel off it did not dislodge the sanding dust. However the paint gun blew this stuff right out. ![]() Flaws filled with spot putty and ready for another coat of primer. ![]() While waiting for primer to dry I started covering the car with Dynamat. ![]()
__________________
68 Lemans - GTO appearance LS3 68 Eldorado - waiting for restoration 96 Roadmaster Wagon 2014 Infiniti Q50S Hybrid Marietta GA |
| Reply |
| Thread Tools | |
| Display Modes | |
|
|