| FAQ |
| Members List |
| Social Groups |
| Calendar |
| Search |
| Today's Posts |
![]() |
|
| Non Pontiac Motors in Pontiacs includes factory 403,305,350 Chevy, Buick V6, Also Pontiac Motors in non-Pontiacs! |
| Reply |
|
|
Thread Tools | Display Modes |
|
|
|
#1
|
|||
|
|||
|
Summit Epoxy Primer - SUM-UP230
Epoxy Primer Catalyst - SUM-UP231 I had been using Kirker Epoxy Primer but ran out and needed to obtain more Primer before the re-coat window passed. Delivery of Kirker takes me two days vs one for Summit Racing. It has been suggested that Summit Primer is made by Kirker. While the primer is similar it is not identical. The Summit product dries to a much higher gloss than Kirker primer. By the way Rage Extreme is private labeled for Finishmasters and sells for about $35/Gal. I have compared "Rage Extreme" against the private labeled filler and found them to be identical. I had a little of the Rage Extreme left and did a side by side comparison with the private label product. Even the content list is identical. Finishmasters is a paint supplier and has locations in most large cities.
__________________
68 Lemans - GTO appearance LS3 68 Eldorado - waiting for restoration 96 Roadmaster Wagon 2014 Infiniti Q50S Hybrid Marietta GA |
|
#2
|
|||
|
|||
|
This is the House Brand of Rage Extreme. Sells for about $35
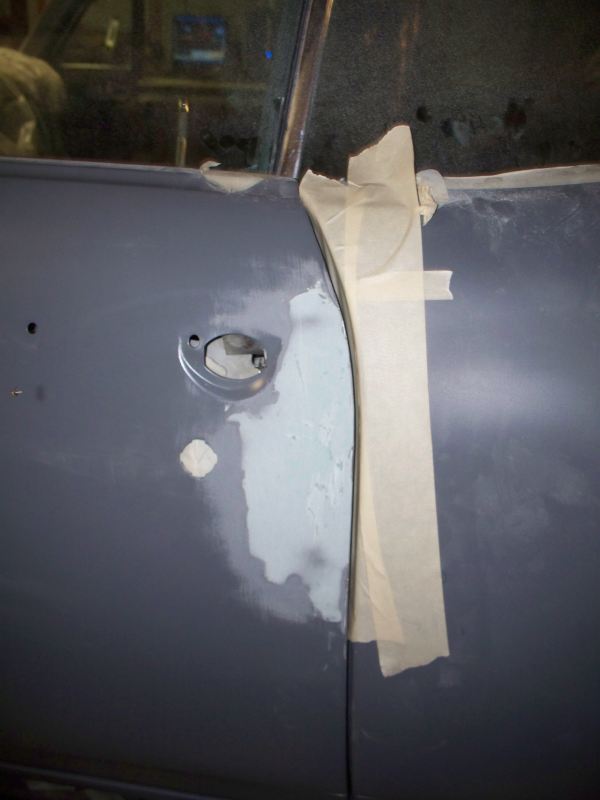
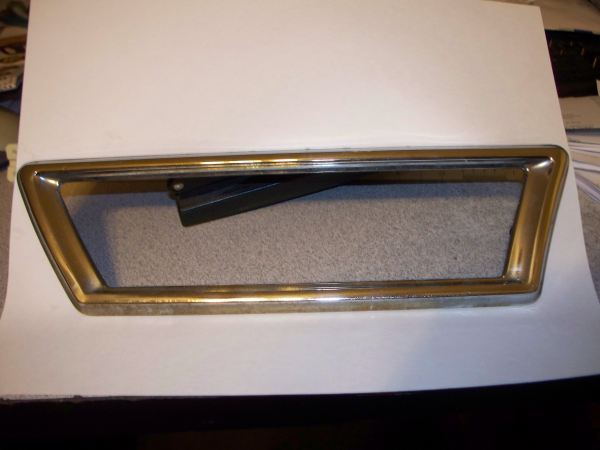
![]() Cornering lights are hard to find and/or very expensive. A set just sold for $415 + Shipping on Ebay. I stumbled across these Buick parts that appear similar to the Pontiac cornering lights. I hope they work out. If not I can probably sell them for what I paid for them. ![]() I started working on the passenger door today. The back bottom corner is pushed in about 1/16" but is even with the quarter a couple of inches up. ![]() Rather than fill this, this is something that can be tweaked. I used a Crescent wrench to carefully bent the edge back into place. ![]() Success, no additional work needed here. ![]() The area around the door handle will need more work. I believe this is due to the dynacorn quarter not being quite right. The edge goes from even to about 1/16" too high. ![]() This is the first filling attempt. On this work I am using Rage rather than Rage extreme. Rage extreme tends to run on vertical surfaces when applied thickly. I will probably need another application on Rage and then follow it up with Rage Extreme. ![]() The front door edge has similar problems and also requires filler. This is the first application. Several more will probably be required.
__________________
68 Lemans - GTO appearance LS3 68 Eldorado - waiting for restoration 96 Roadmaster Wagon 2014 Infiniti Q50S Hybrid Marietta GA |
|
#3
|
||||
|
||||
|
Cornering lamps-
Yes nice ones are hard to find. Those should work as long as they fit the fender cutouts and you are happy with the look. I searched for Grand Prix cornering lamps since I knew they were the same, and only paid around $50. The lenses and housings were nice but I had to get the bezels re-chromed which added another $200 or so. If the car did not originally come with cornering lamps you will have to cut out the reliefs in the core support. You will also have to install a new turn signal switch with harness in order to make them work. I got a Wells switch from RockAuto for around $20. For some reason the harness connector didn't fit because it was slightly narrow. No problem though, I just re-used my original connector. And none of the parts stores stock the correct bulbs that go in them. I found some on e-bay cheap though. Not sure all the expense and work was worth it, but it is cool to see them work when I hit the turn signals at night. That's going to be one really nice car. Looks to me like the final results when you are fixing gap and alignment issues are better than the factory standards back then. Walt
__________________
1969 Lemans vert, matador red, 462 CI, 3.07 12-bolt posi 1974 455 TA, admiralty blue/red interior HPP "cover car" - sold "The best way to show a car is to drive it" |
|
#4
|
|||
|
|||
|
Quote:
The cornering lights need to be addressed now. I have to decide if I am going to run with or without cornering lights now. I currently have one fender cut for cornering lights and the other is not. I need to either fill one hole or cut another hole on the other fender and soon, since I hope to finish prep on the fenders by the end of next week. Hopefully my Rivera cornering lights will arrive in a few days and I can decide if they are usable. Quote:
Quote:
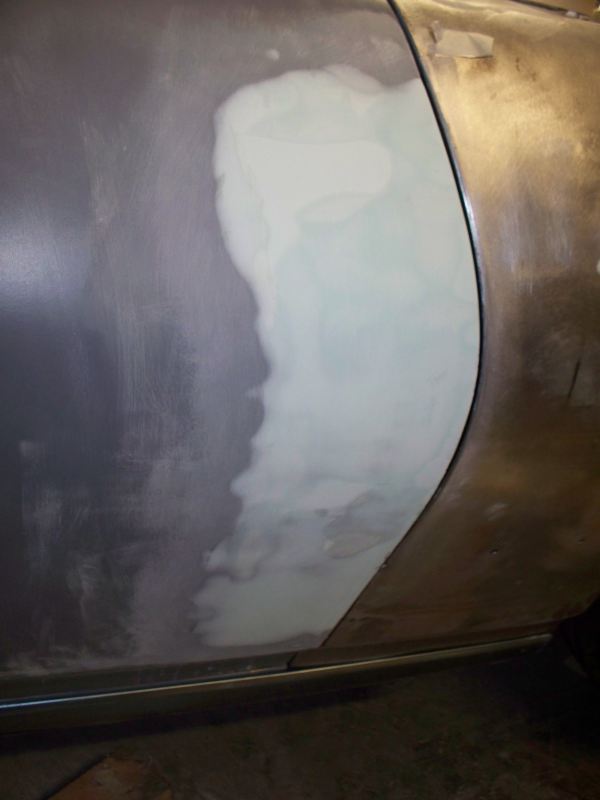
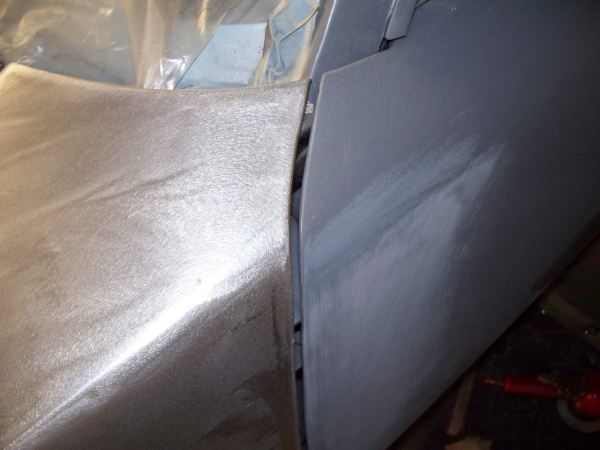
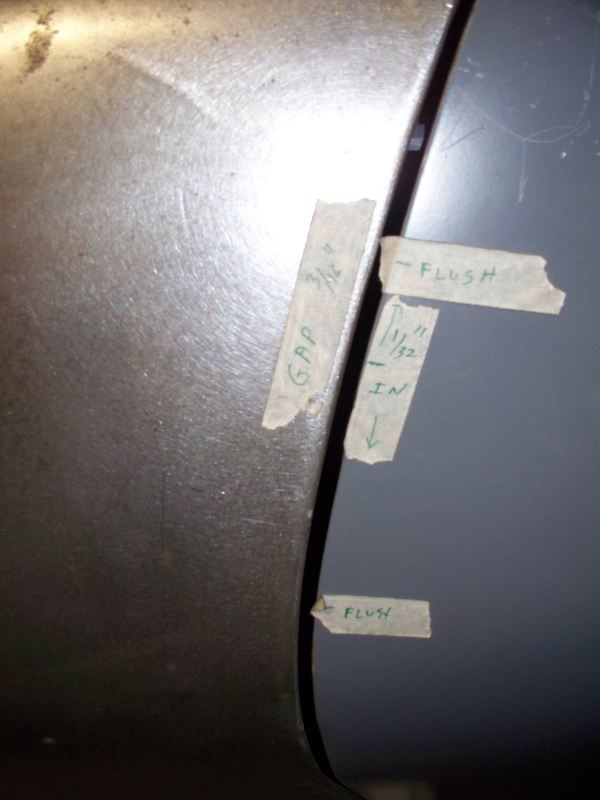
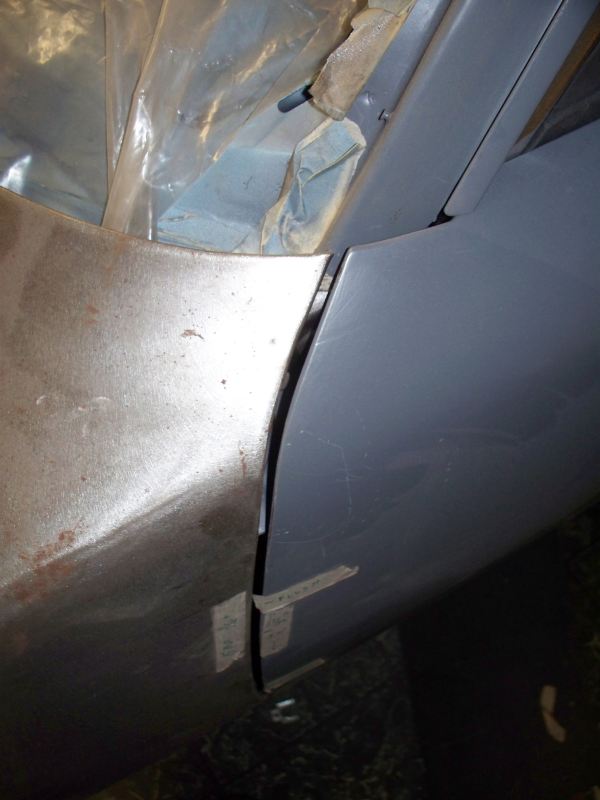
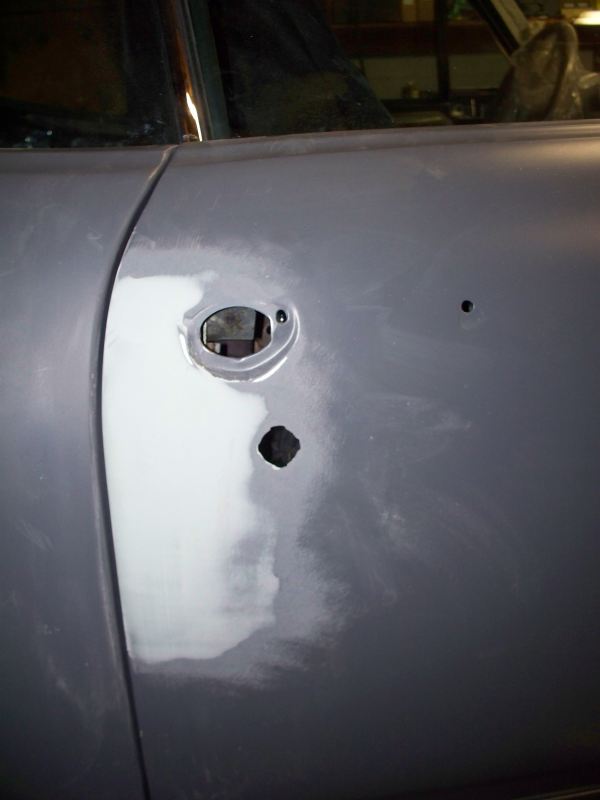
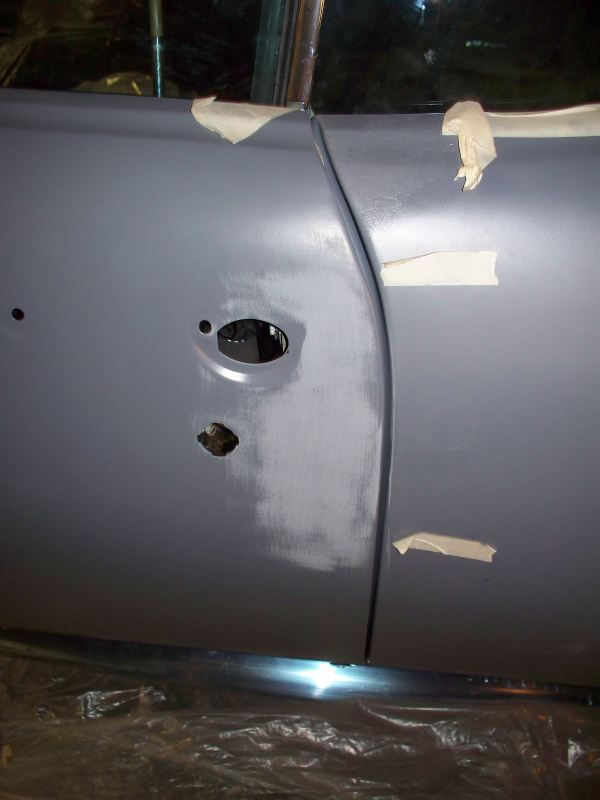
The misalignment is 1/32" and covers a smaller area than the other side. Probably as good as it gets for factory standards. ![]() The gap does grow a little at the top of the door but is off no more than other cars I see. ![]() I'm now trying to decide if I should break down and rework this door like I did the passenger side. This side is probably up to factory standards but may stand out as bad when compared with the passenger side. As to work on the car, mostly more of the same, filling and sanding the problem areas. Mostly complete except for a couple of pin holes. Maybe a little more blending right before I shoot more primer over the work. ![]() Another coat of filler at the front of the door. The level is close but not quite high enough. ![]() I started on the driver door today. Roughed up primer before applying filler. ![]() And the first coat of filler.
__________________
68 Lemans - GTO appearance LS3 68 Eldorado - waiting for restoration 96 Roadmaster Wagon 2014 Infiniti Q50S Hybrid Marietta GA |
|
#5
|
|||
|
|||
|
Not much new going on still working problem areas. However the passenger door to quarter filling is totally complete.
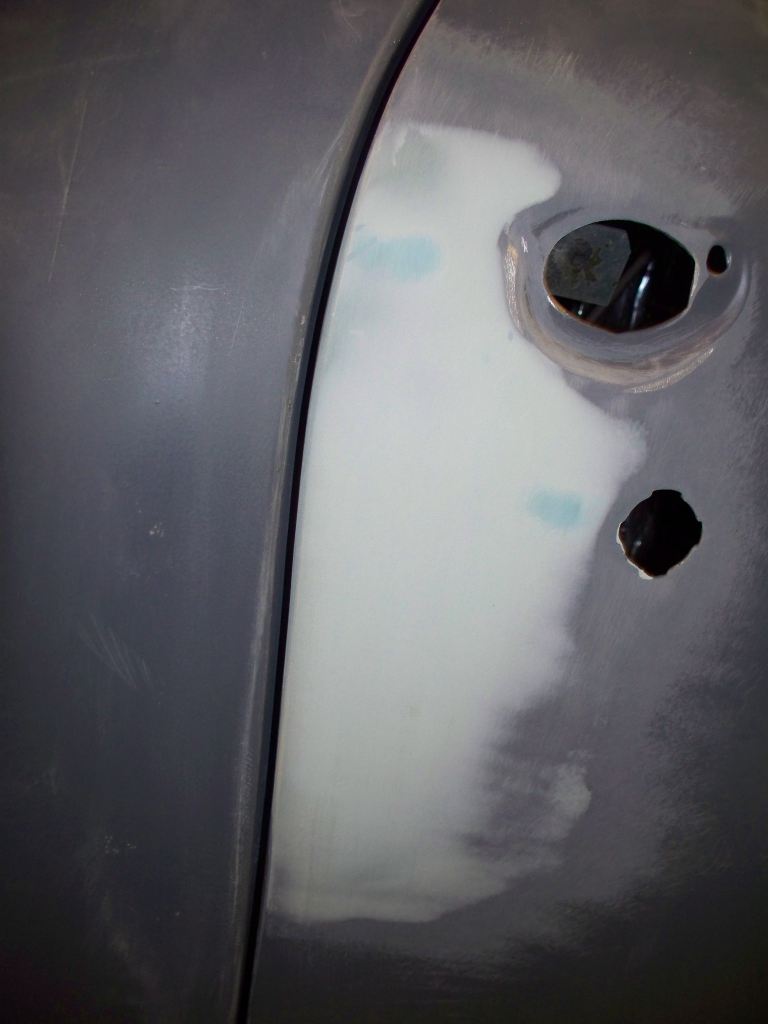
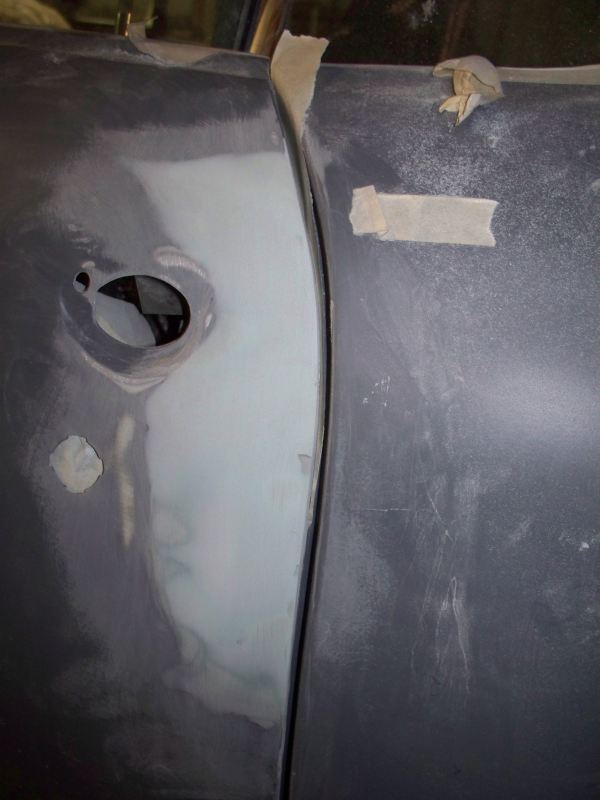
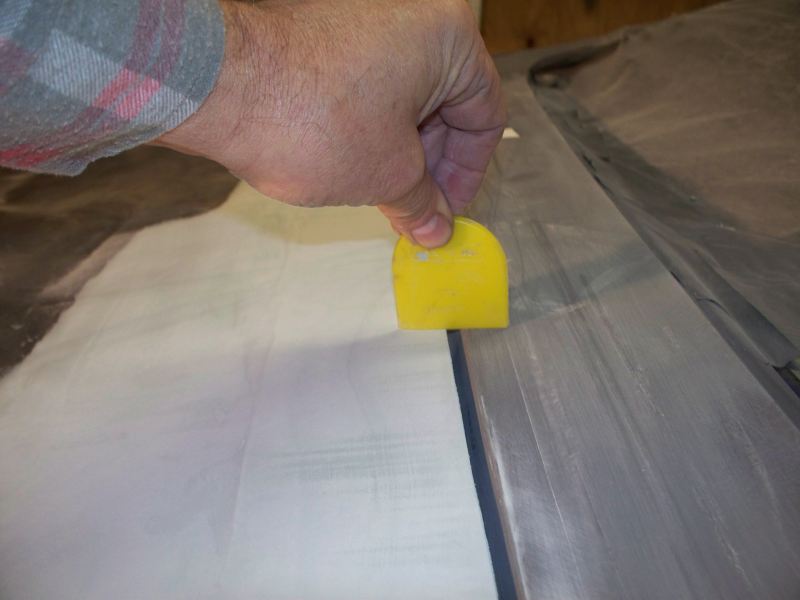
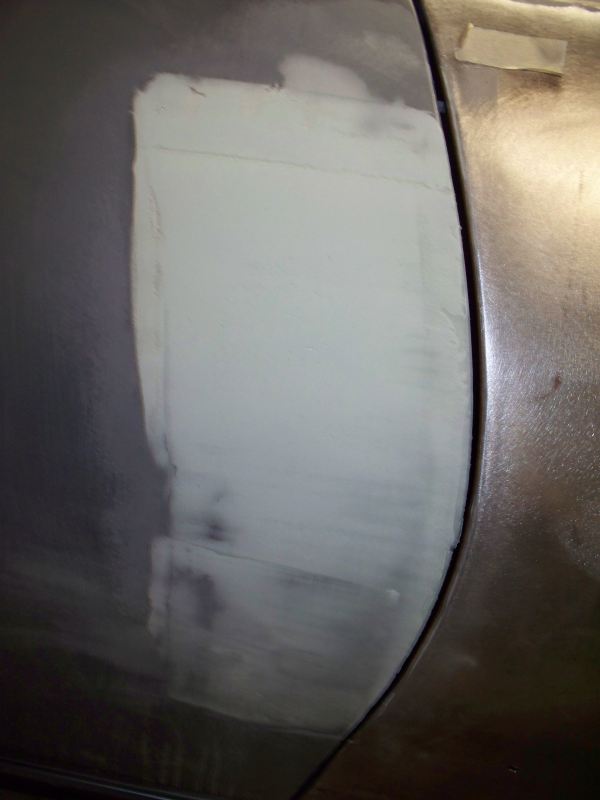
I thought I would outline the steps I followed since this is a little different from filling a slight depression. I find it is much harder to build up a surface as opposed to filling in a dent. For the first two to three filling sessions I tape up the quarter and jam area since I don't want any filler on the quarter. I use quarter panel as a guide, dragging one edge of the spreader across the quarter panel to set the contour on the door. In my case I took three attempts to get the level built up high enough. For these filling sessions I used regular Rage. I kept the door edge square and waited until everything was finished before rounding the edge slightly. For the Last coat I used Rage Extreme. For this last filling I opened the door at applied a light coating dragging the spreader fairly hard since I only wanted a thin coating for the last coat. After sanding the filler fairly smooth I applied a guide coat and continued sanding until all of the guide coat disappeared. My last sanding was done with 320 grit to feather the edges. This is the end result. I am showing this in slightly higher resolution to give a better view of the result. A few comments since photos often lie and things aren't as the appear in the photo. 1 - The result is extremely smooth and no ripples can be felt with you hand. The dark spot at the very top is where I sanded through the Rage Extreme and uncovered Regular Rage which is a slightly different color. 2- The two blue spots are where I fixed a couple of pin hole problems. For this I used Easy Sand, which is a spot filler. 3 - Because of shadows and the slight sanding on the edge of the quarter the gap looks uneven. It's much better than it appears in the photo. ![]() On the driver side I am almost complete I have one area that is slightly depressed near the edge. The black in the hole is the guide coat. You can still see that the edge it completely square. I find that rounding the edge should be the last step. ![]() Passenger door is almost complete. I messed up the lower part of the door by sanding where it didn't need sanding and had to run filler farther down. ![]() This work is slow, although the instructions talk about being able to sand in 30 minutes, I find that sanding seems to work a little better if you wait somewhat longer. I usually wait 60 to 90 minutes before sanding.
__________________
68 Lemans - GTO appearance LS3 68 Eldorado - waiting for restoration 96 Roadmaster Wagon 2014 Infiniti Q50S Hybrid Marietta GA |
|
#6
|
|||
|
|||
|
I have not been able to work on the car too much lately, I usually have Tuesday and Thursday off, but have been too busy at work to take the days off. I still have been trying to work for a couple of hours per night to move things along.
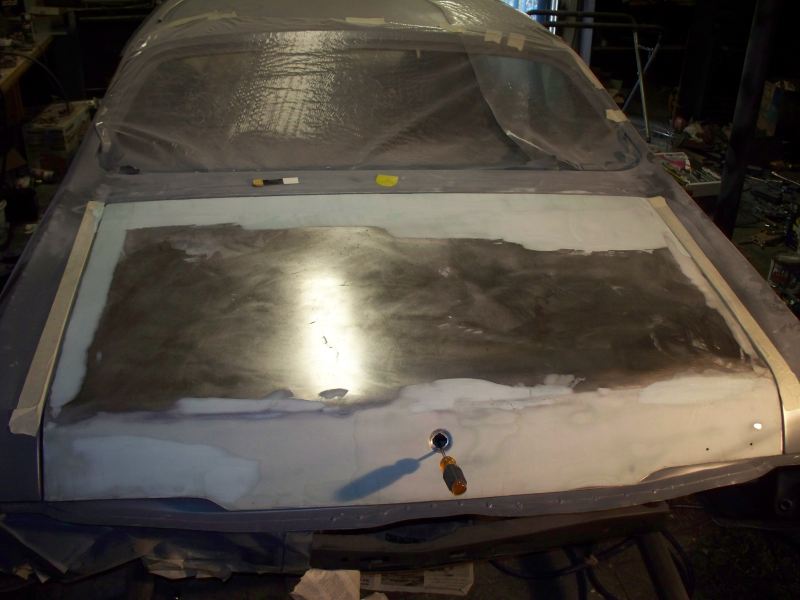
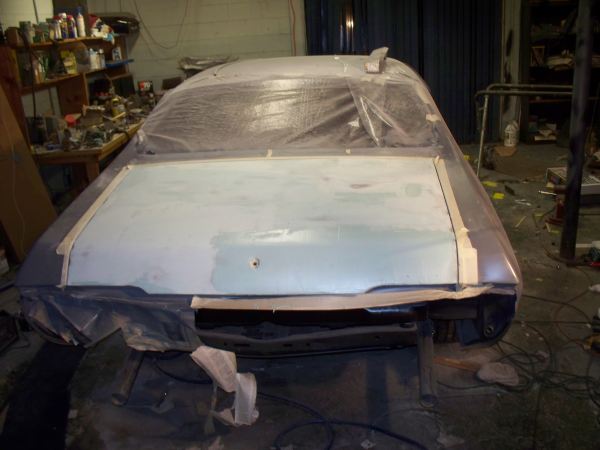
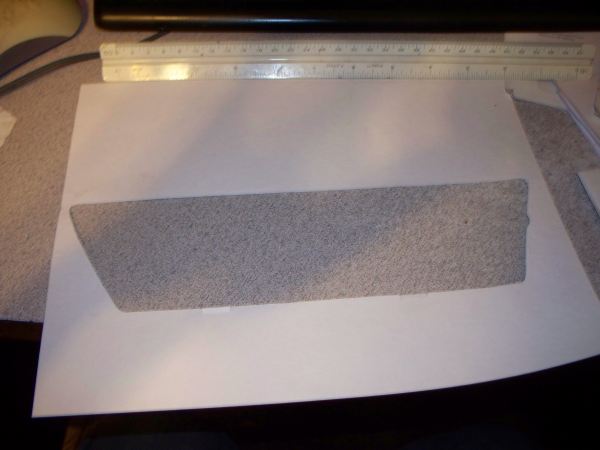
I have reinstalled the trunk lid so I can make the edges flush. The back edge varies form being flush to being depressed by about 1/16". I applied several coats of Rage to build the edge even. ![]() The edge is nice and flush now. ![]() This is still a work in progress. I still need to sand entire lid smooth and apply a very thin final coat of Rage Extreme over the entire deck lid, followed by one final sanding. ![]() My Rivera Cornering lights came in. They look like they should work. They are a little bigger than the Pontiac lights, but not that much bigger. I made a template out of card stock to mark the hole for the lights. It took me several attempts and about 30 minutes to make this pattern. ![]() It fits real tight and will provide a good pattern for the new hole. ![]() I started on the driver door to fender gap problems. My original alignment compromised the gap at the top of the door to get the panel alignment better in the middle. Since I going to use filler to address the middle of the door problem, I readjusted the door so than the alignment was flush at the top of the door. This made the gap much better, however the middle of the door is now depressed by about 1/16 instead of 1/32". ![]() The bottom of the door however is still bad. The contour on the fender patch simply does not match the door. Since this requires around 3/16" of filling at the deepest point, I'm using "All Metal" to do the initial filling. This is the first coat. I used a total of three coats to get to this point. This is close enough to do the final filler work with Rage Extreme.
__________________
68 Lemans - GTO appearance LS3 68 Eldorado - waiting for restoration 96 Roadmaster Wagon 2014 Infiniti Q50S Hybrid Marietta GA |
|
#7
|
||||
|
||||
|
fbrown did you go on holiday break?
|
| Reply |
| Thread Tools | |
| Display Modes | |
|
|