


| FAQ |
| Members List |
| Social Groups |
| Calendar |
| Search |
| Today's Posts |
|
|
|
#1
 11-10-2013, 03:23 PM
|
||||
|
||||

Quote:
Techs not using the correct fitting socket on their air gun can easily ruin originals, yes Im guilty. I do prefer a buldge seat on a old, worn wheel. Doubt we will see any prefect repops
__________________
" Long may we DRIVE !" |
|
#2
11-10-2013, 03:32 PM
|
||||
|
||||
|
I have switched over to using an old, hand operated, four-way lug wrench that has a forged, tight fitting socket, and have not had any problems since. You're right about the modern air gun and socket problem. Most places have those damn, one-size-fits-most, metric sockets that do the damage.
|
| The Following 2 Users Say Thank You to njsteve For This Useful Post: | ||
|
#3
11-10-2013, 03:40 PM
|
|||
|
|||
|
Jumping back a bit... sometimes it's just too cold to paint outside -- or it's windy, or buggy or leaves are falling. Fall is usually the best time -- temp. and humidity-wise.
|
|
#4
11-10-2013, 04:53 PM
|
||||
|
||||
|
Especially out on the western frontier....
The nice thing about the "paint booth" is that it is never too hot, cold, windy, rainy....I am blessed to have the space I have to indulge my obsessions. |
|
#5
11-10-2013, 09:58 PM
|
||||
|
||||
|
All right, the paint has been flying and the wheel are looking pretty nice. I ended up going ahead and sanding them down with medium grit 3M sanding pads. This helped even out the existing finish and knock down any dust knibs and pre-existing flaws. I didn't get them all by any means, but I got a lot of them. There were a couple of cracks and a few holes that I filled in with flexible/sandable 3M filler first. Once all this was done I applied several coats of adhesion promoter. After letting this dry for about 10 minutes I starte applying the OER magnesium wheel paint. I used this on the honeycombs on the Red Car and thought it was fantastic. I've never used the OEM, but can't imagine it is any better than the OER. Especially when you can get the OER FOR $16.99 per can and there is no 3 can minimum like with OEM. You need to spray the last several coats from about 2 feet away to just dust the wheels. This helps give them better texture and a more even finish. Here are a few pictures.
Wheels prepped and ready 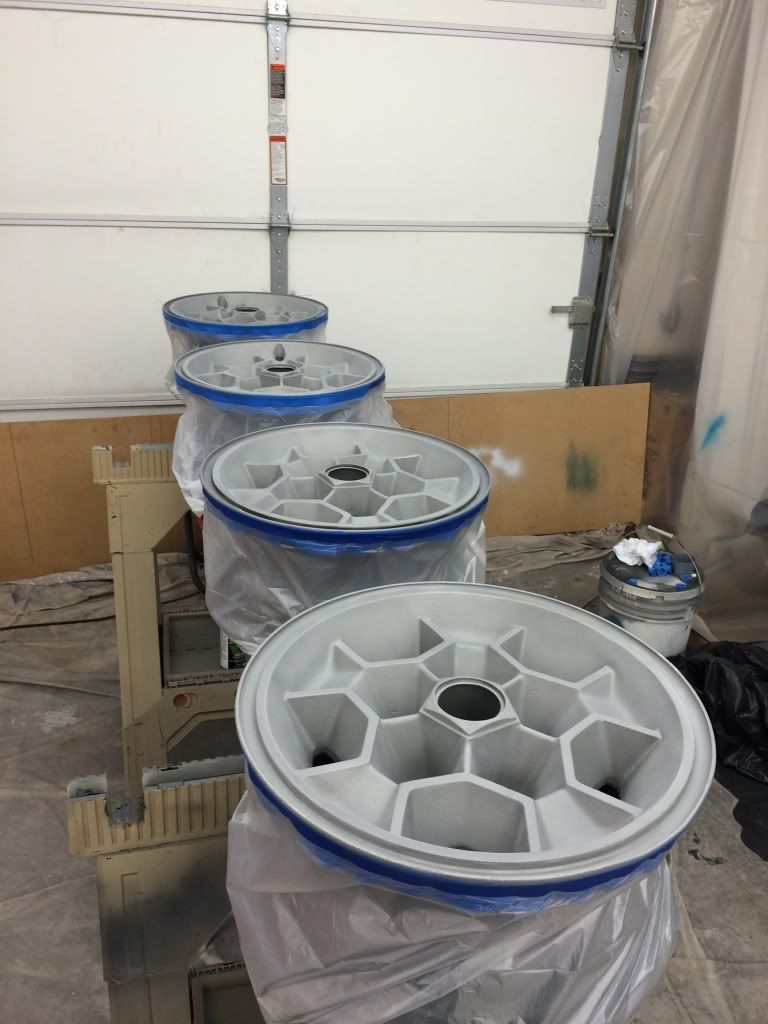 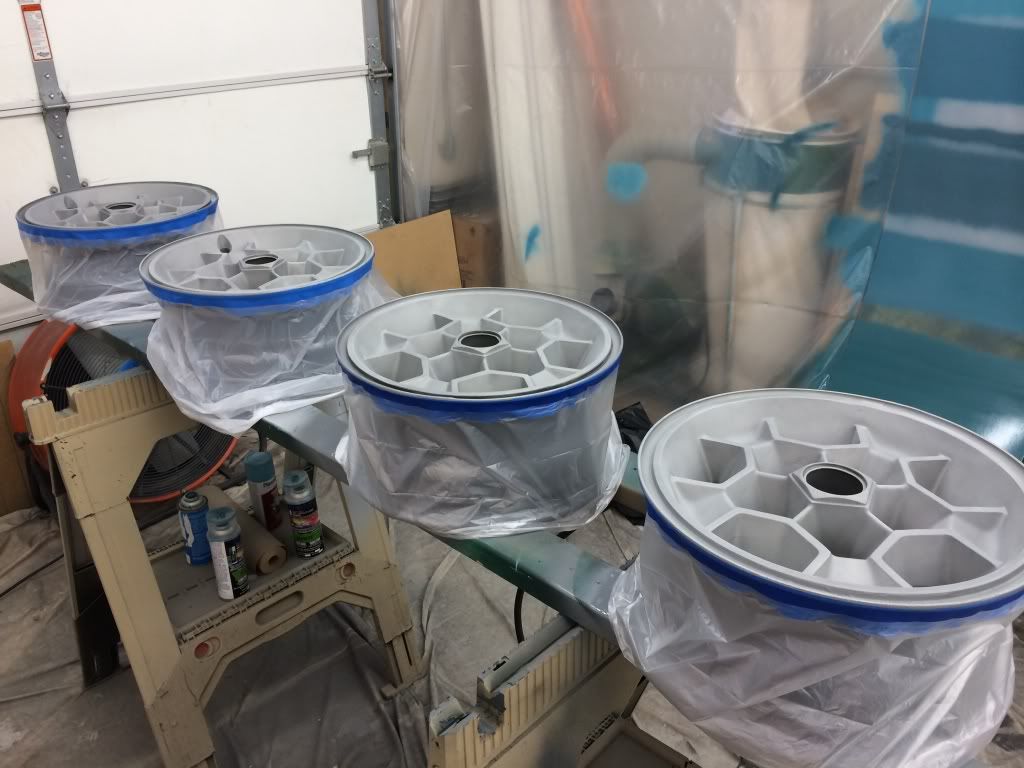 Wheels with finished paint 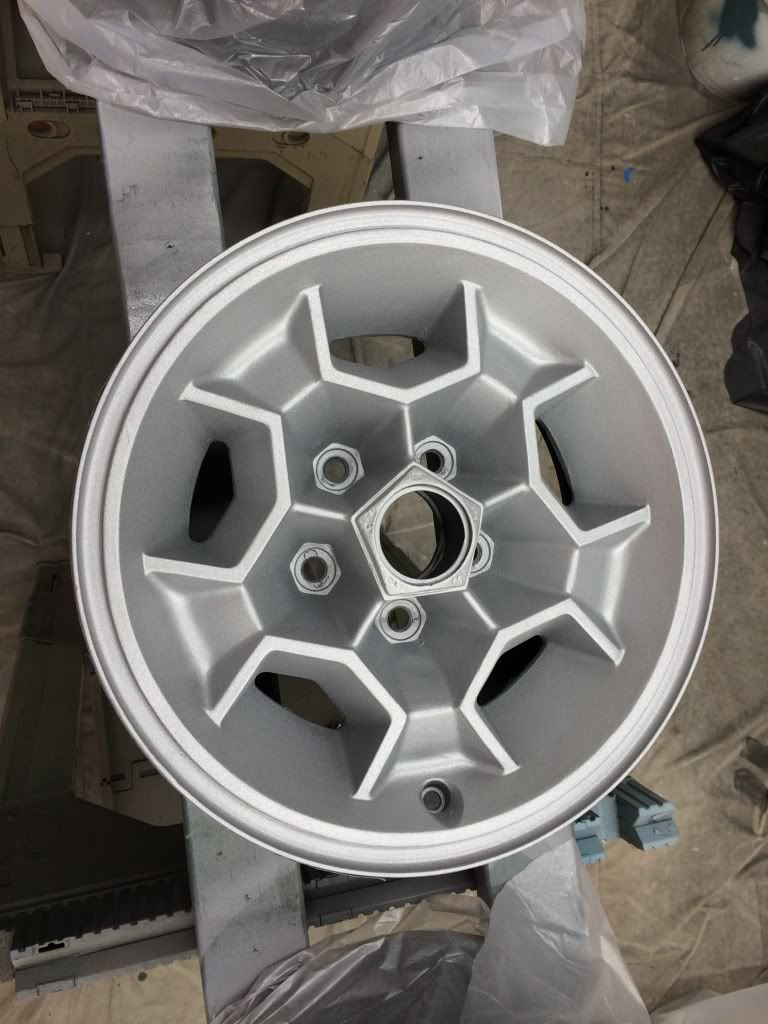 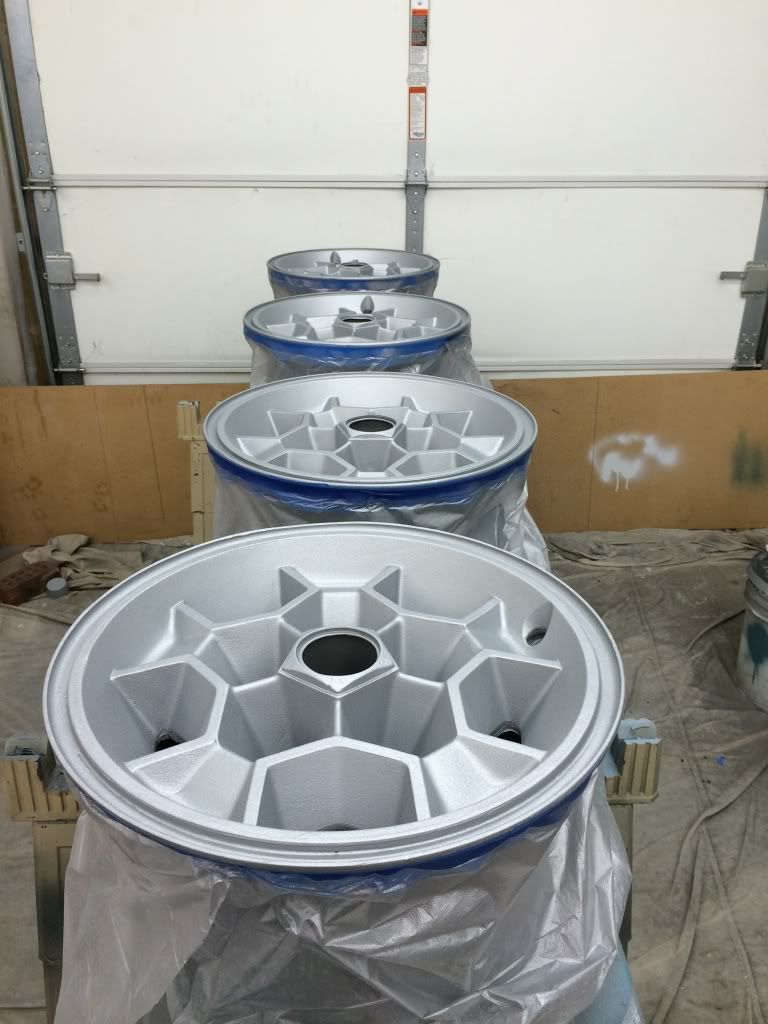 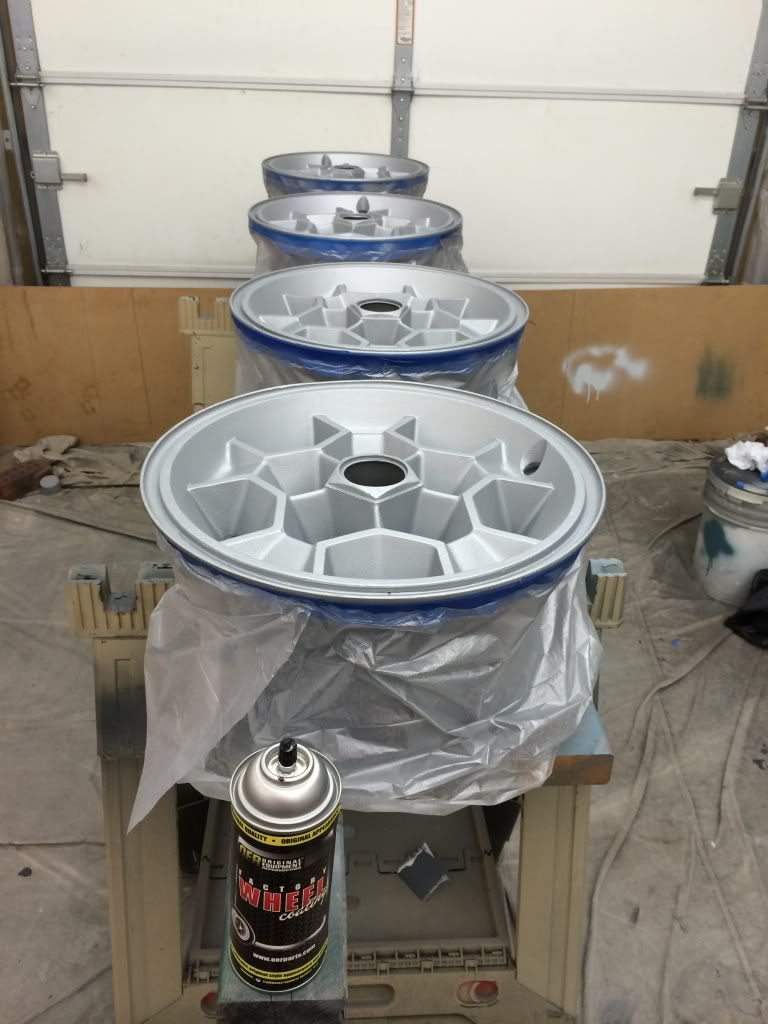 Tires cleaned and ready 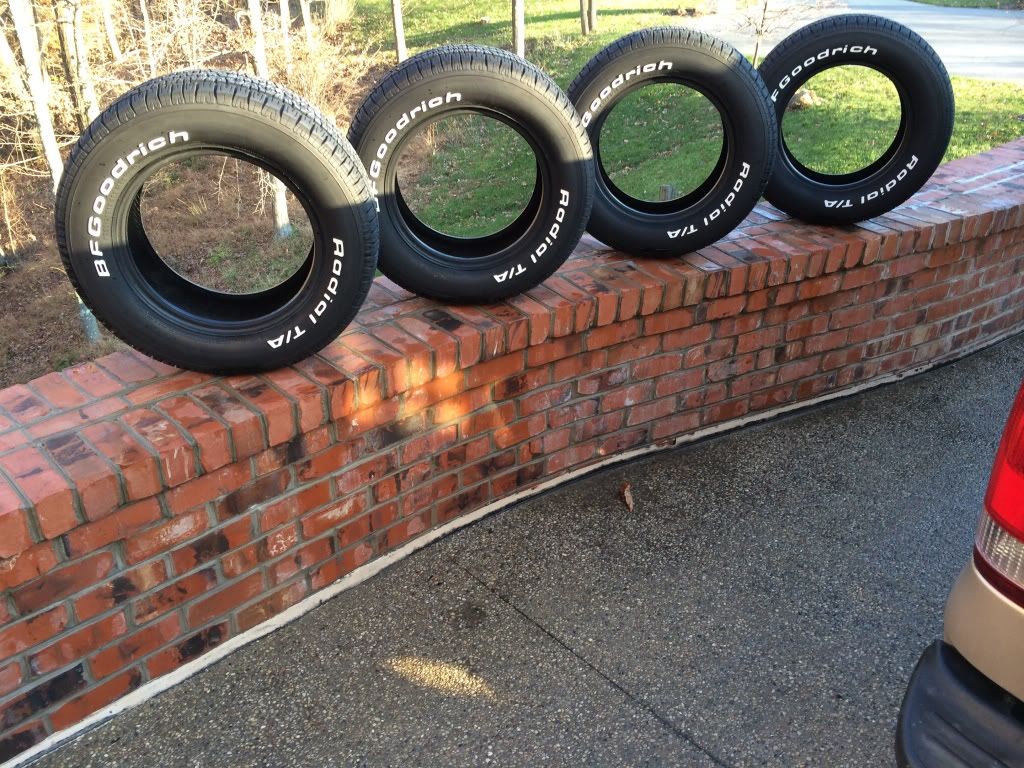
|
| Reply |
| Thread Tools | |
| Display Modes | |
|
|
The PY Online Forums is the largest online gathering of Pontiac enthusiasts anywhere in the world. Founded in 1991, it was also the first online forum for people to gather and talk about their Pontiacs. Since then, it has become the mecca of Pontiac technical data and knowledge that no other place can surpass.







 Hybrid Mode
