


| FAQ |
| Members List |
| Social Groups |
| Calendar |
| Search |
| Today's Posts |
|
|
|
#1
 11-29-2013, 09:57 AM
|
||||
|
||||

Quote:
Still trying to locate where I found the colored hose information.
__________________
1973 Formula 400 4 spd 04C build date Norwood assembly plant. |
|
#2
11-29-2013, 10:12 AM
|
||||
|
||||
|
Mine is as blue71ta shows, and was routed plus checked per Brews 72 silver HO verified by Dan Jensen at TA Nats.
This will be a good tread all by itself.
__________________
Mike/Illinois Last edited by Judge273; 11-29-2013 at 10:18 AM. |
|
#3
11-29-2013, 10:20 AM
|
||||
|
||||
|
Quote:
The system is designed to aid in cold startup / engine warm-up. Most factory GM air cleaners use the same system, but would only have one vacuum pod on a single snorkel air cleaner... |
|
#4
11-29-2013, 10:44 AM
|
||||
|
||||
|
Quote:
__________________
1973 Formula 400 4 spd 04C build date Norwood assembly plant. |
|
#5
11-29-2013, 11:14 AM
|
||||
|
||||
|
And now you know why I leave those things disconnected. The less vacuum leaks, the better the car runs.
|
| The Following User Says Thank You to njsteve For This Useful Post: | ||
|
#6
11-29-2013, 11:15 AM
|
||||
|
||||
|
I wouldn't really say it's a 'leak', unless you think the power brake vacuum line is a 'leak'?

__________________
John Wallace - johnta1 Pontiac Power RULES !!! www.wallaceracing.com Winner of Top Class at Pontiac Nationals, 2004 Cordova Winner of Quick 16 At Ames 2004 Pontiac Tripower Nats KRE's MR-1 - 1st 5 second Pontiac block ever! W.E.C moment "Every man has a right to his own opinion, but no man has a right to be wrong in his facts." "People demand freedom of speech to make up for the freedom of thought which they avoid." – Socrates |
|
#7
11-29-2013, 12:10 PM
|
||||
|
||||
|
Quote:
|
| The Following User Says Thank You to njsteve For This Useful Post: | ||
|
#8
11-29-2013, 09:44 PM
|
||||
|
||||
|
Quote:
__________________
1973 Formula 400 4 spd 04C build date Norwood assembly plant. |
|
#9
12-01-2013, 09:57 AM
|
||||
|
||||
|
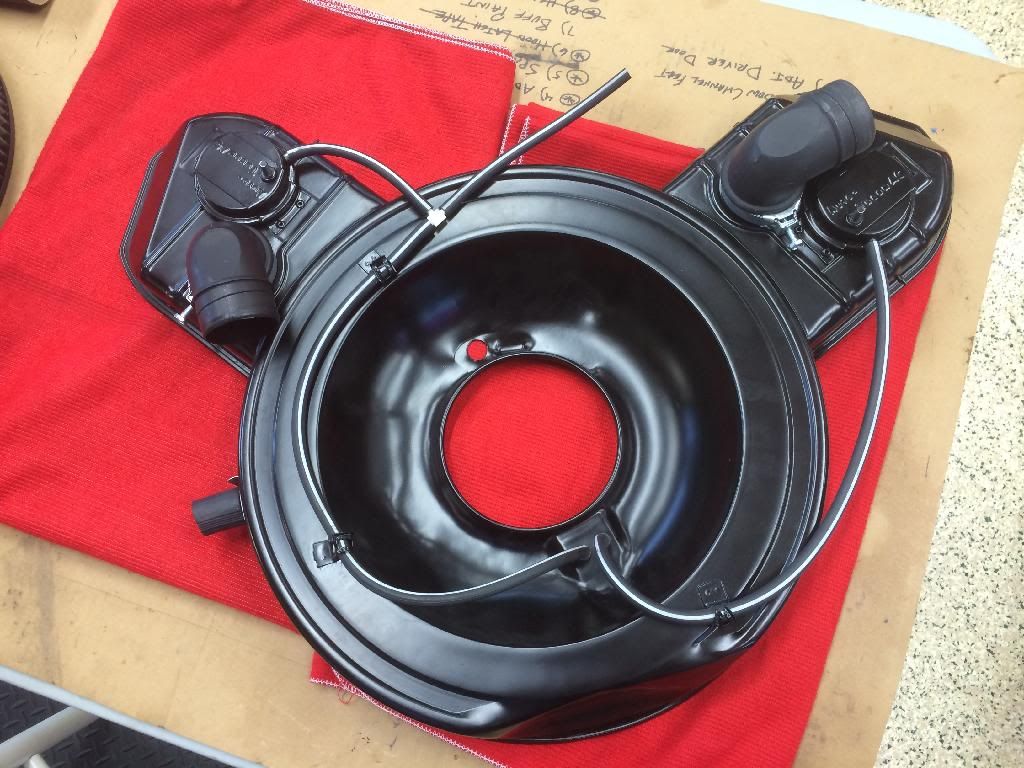
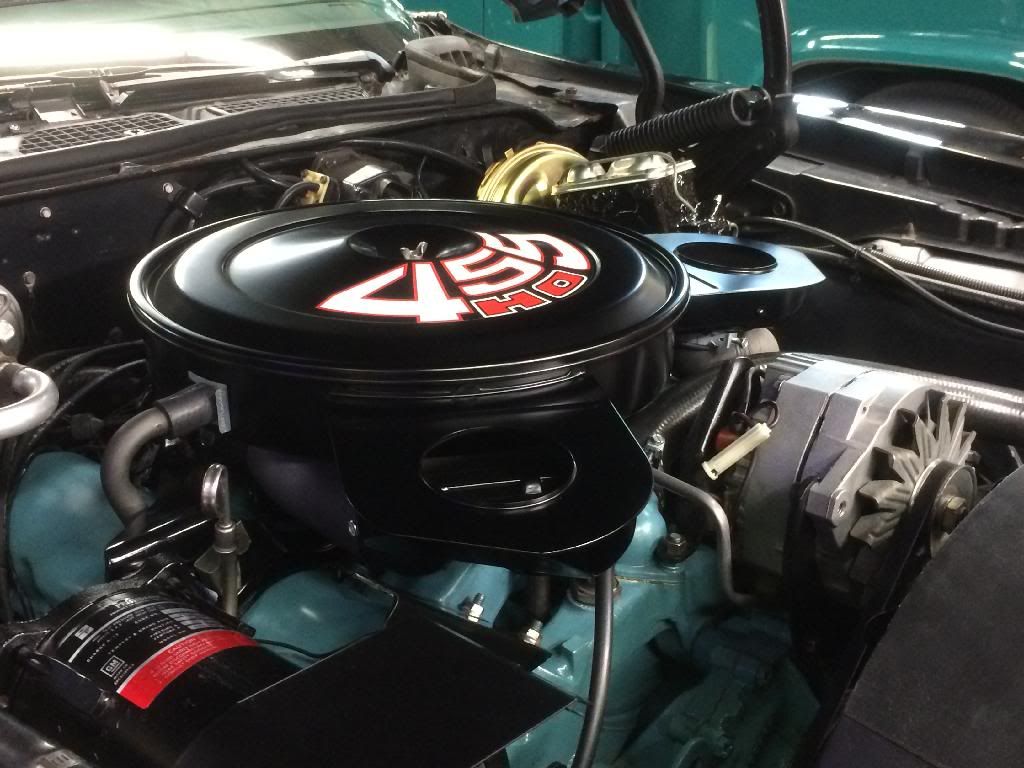
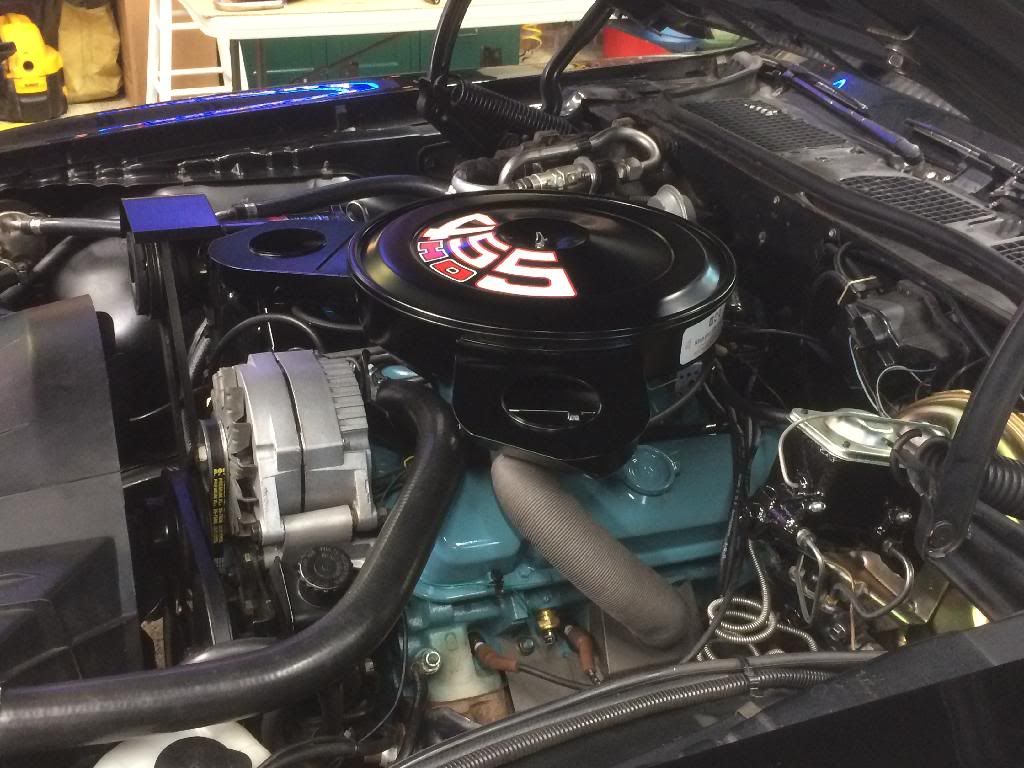
Air Cleaner done and working
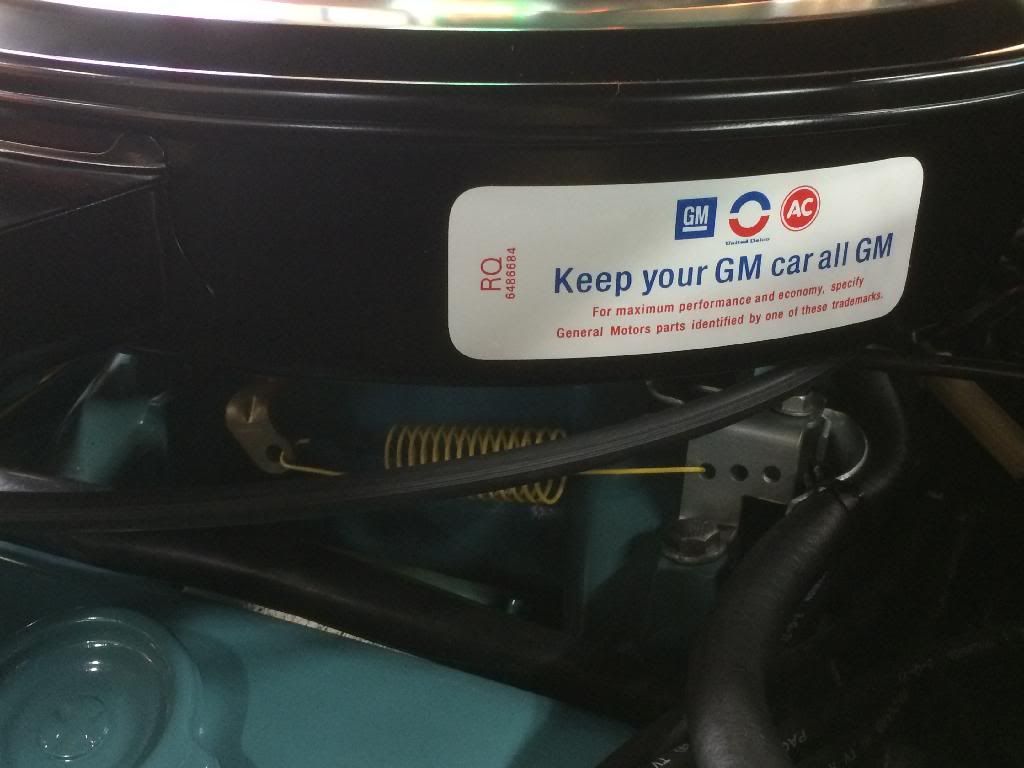
So the air cleaner project is finished. I switched out air cleaners and am using one I restored previously. I'll go through the one I removed and ultimately reunite it with the Black Car. Thanks to a lot of assistance from the forum, I think I have it plumbed correctly. I know that it is working correctly. It's pretty cool to watch the flappers close up and then several minutes later reopen. I also have the new correct air cleaner decal in place, and of course PB's correct lid decal. Thanks to everyone for your assistance.
|
| The Following User Says Thank You to Bentwheelbob For This Useful Post: | ||
|
#10
12-01-2013, 10:26 AM
|
||||
|
||||
|
Engine detail
Mission creep....
While I had the air cleaner off I decided to do a little engine clean up and detail. I have a lot of parts that were gathered for the stalled engine transplant on the Red Car, and these came in very handy. I switched out the TCS switch, installed Norwood's new repro heat riser parts, installed an NOS choke coil and cover, installed an NOS idle stop, switched out the throttle cable bracket, replaced the throttle return spring, installed a new brake booster vacuum hose, removed and repainted the valve covers, switched out the breather tube, and media blasted and repainted the a/c brackets. If I had planned better I could have added one of Greg's upper radiator hoses to the list, but I do have one coming from the next batch he makes. I had a very good starting point, but I am happy with the improvements. I'm sure I've missed a few things or have some items that are not correct and welcome all the help I can get. Here's a few before and after shots - regrettably I did not fire up the camera before removing the valve covers. 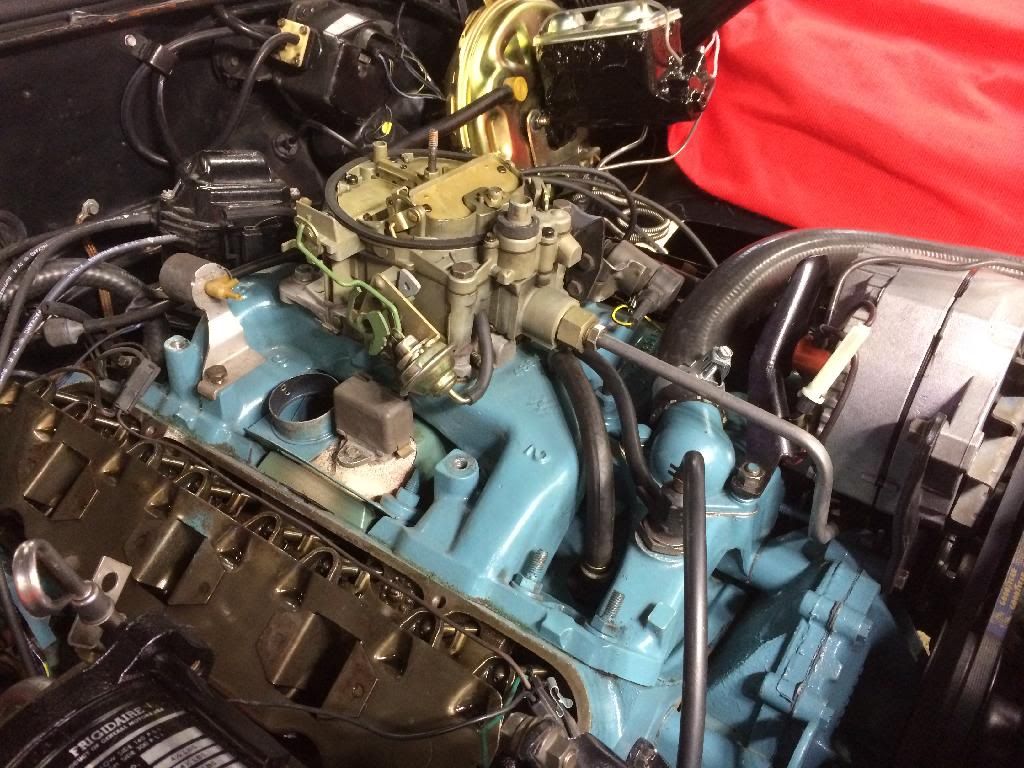 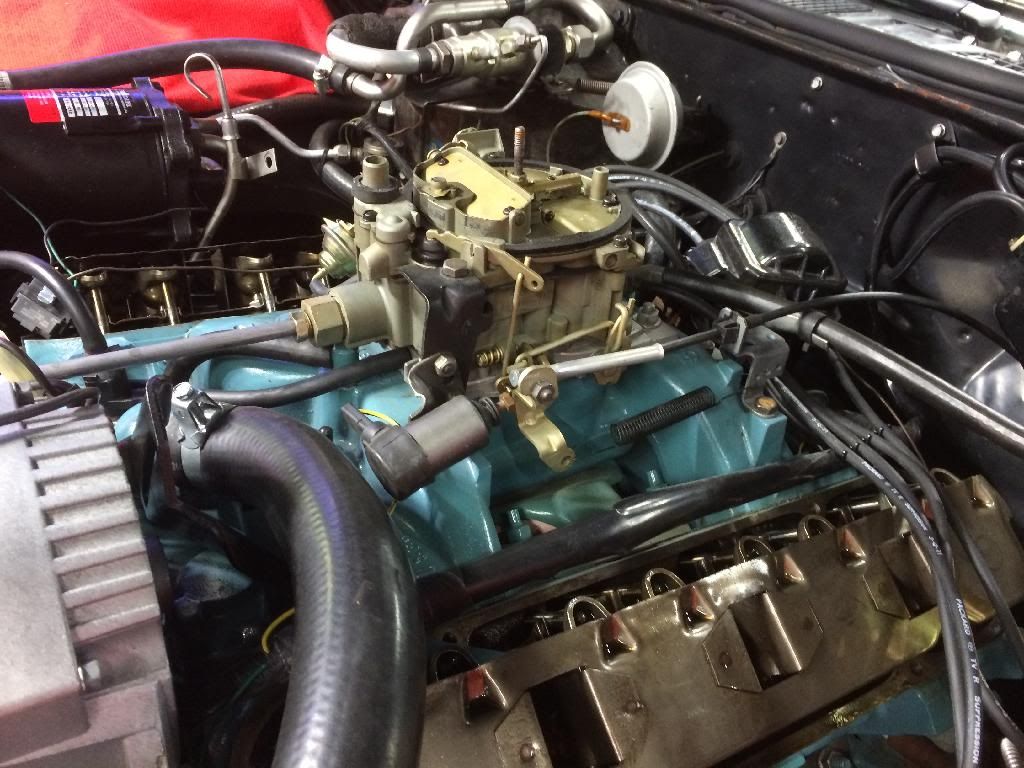 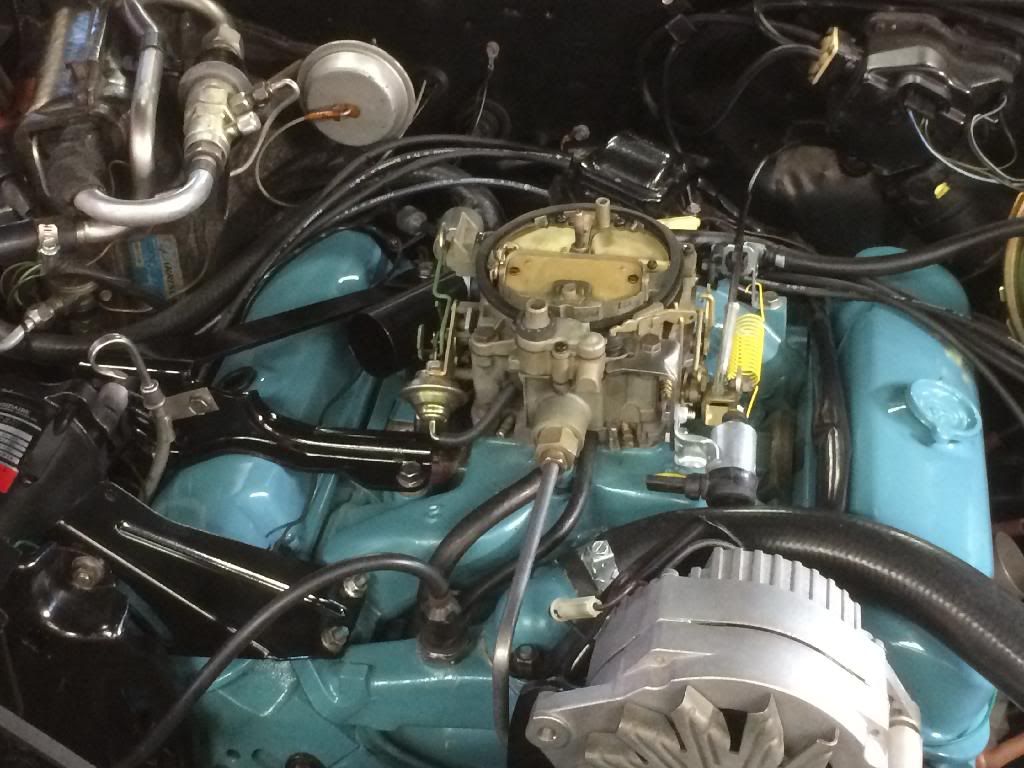 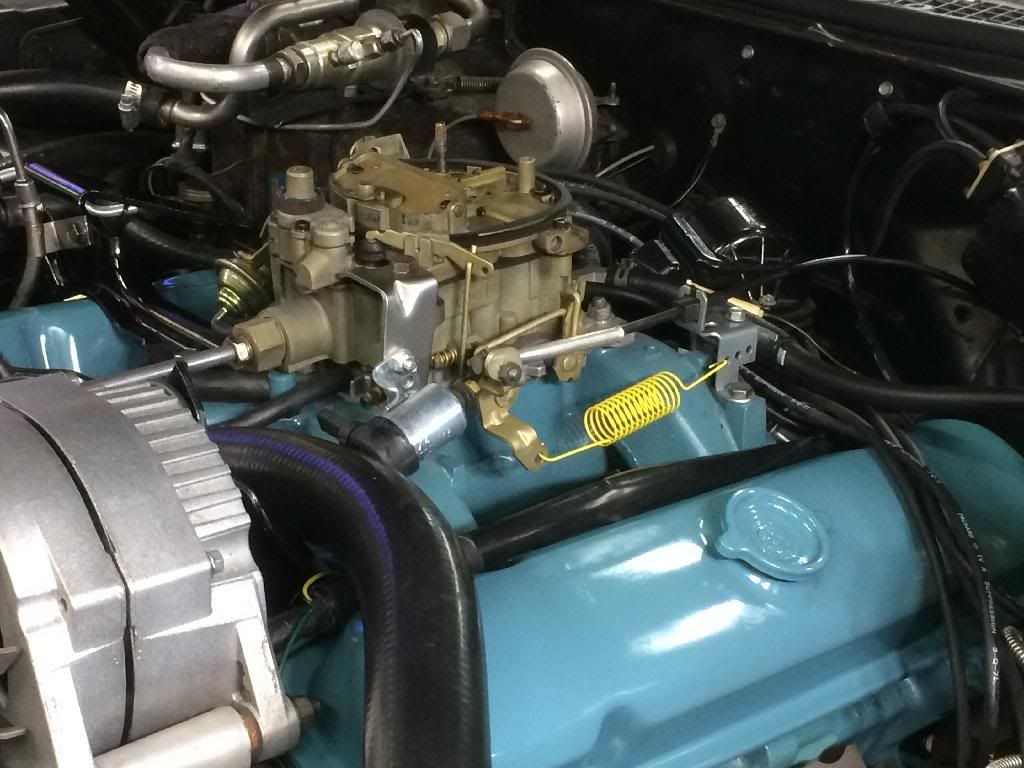 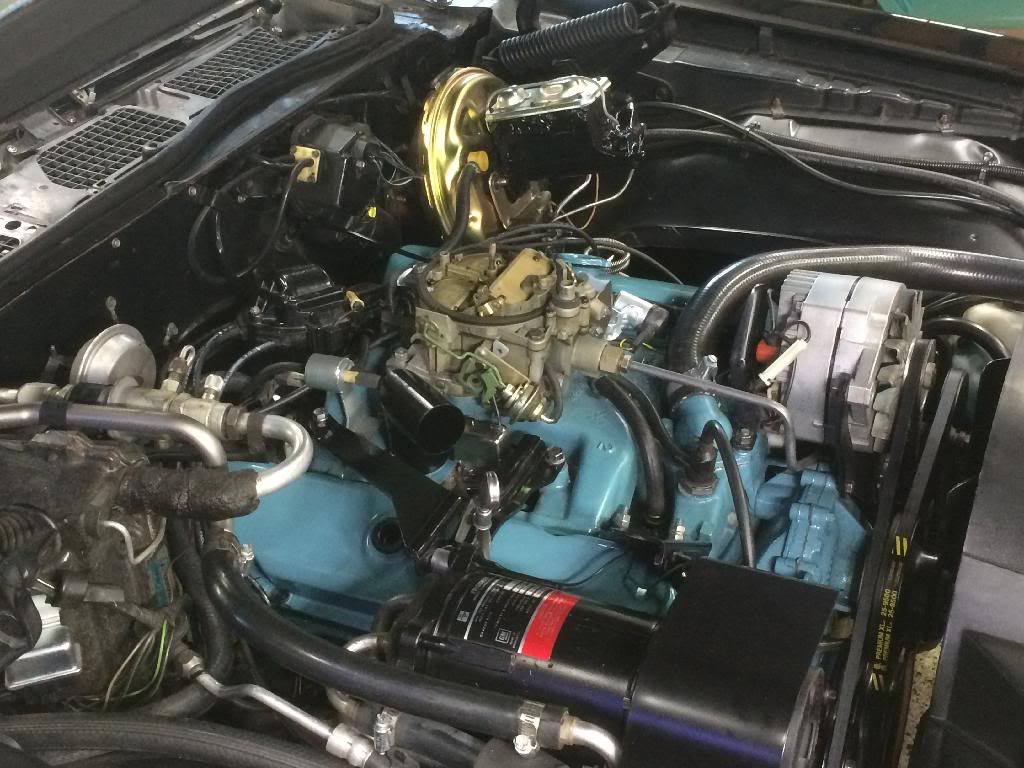
|
| The Following User Says Thank You to Bentwheelbob For This Useful Post: | ||
|
#11
12-02-2013, 11:25 PM
|
|||
|
|||
|
Quote:
This is how I think the vacuum hoses ran: 1st Thermo Switch Port:vacuum directly from intake to one port of thermo switch 2nd Thermo Switch Port: other port of the thermo switch to the "t" Both Flappers: "T" to each flapper. That is the only way the thermo regulates both flappers. |
| Reply |
| Thread Tools | |
| Display Modes | |
|
|
The PY Online Forums is the largest online gathering of Pontiac enthusiasts anywhere in the world. Founded in 1991, it was also the first online forum for people to gather and talk about their Pontiacs. Since then, it has become the mecca of Pontiac technical data and knowledge that no other place can surpass.







 Hybrid Mode
