| FAQ |
| Members List |
| Social Groups |
| Calendar |
| Search |
| Today's Posts |

![]() |
|
| Non Pontiac Motors in Pontiacs includes factory 403,305,350 Chevy, Buick V6, Also Pontiac Motors in non-Pontiacs! |
| Reply |
|
|
Thread Tools | Display Modes |
|
|
|
#1
|
||||
|
||||
|
I had not really touched the T/A this month, kinda burned out and bummed about the fitment of the custom tail panel. I decided the hell with it and ordered a bunch of 70-73 components. The tail panel was chonged up pretty good; Ames said all of theirs were damaged, as were Classic's... so I finally sucked it up and massaged the deformations out so they may actually fit the light buckets.
Cut a test hole to take a look at what is going on... combined arms assault: plasma, sawzall, snips, spotweld drill, air chisel... most of the panel gone. Testing an idea I read about; left side tail light has white painted reflecter, other side stock silver - not much difference I can see Got my instrument panel from Randy Combs - looks quite nice. Will be fitting it out with gauges soon. |
|
#2
|
||||
|
||||
|
3 months since the last post, things have still been moving along. The 70-73 rear has been grafted on; quite a bit of work and fabricating fill pieces! GM used a lot of pooky on the tail panel, so will I.
The inside was reinforced more than stock - a piece of angle iron ties in the two frame rails and hopefully reduces twisting and flex. A heavier steel plate was welded on to the top of the frame rails and a gusset welded tying in all. I originally was using a Mopar minivan master cylinder, but it did not move enough fluid, so a 1984-93 Dodge D150 master was used instead. I plan on a manual setup. Another thing that vexed me was the imbecilic way Pontiac hung the nose. I carefully removed some urethane from the upper headlight brace, welded a tab to it then bolted that to the forward fender bolt. No more gaps. |
|
#3
|
||||
|
||||
|
Red letter day: it runs. Temporarily hooked up ignition power, tested fuel integrity, filled and pressure checked coolant. Will finish up filling diff and trans so I can drive on/off trailer.
|
|
#4
|
||||
|
||||
|
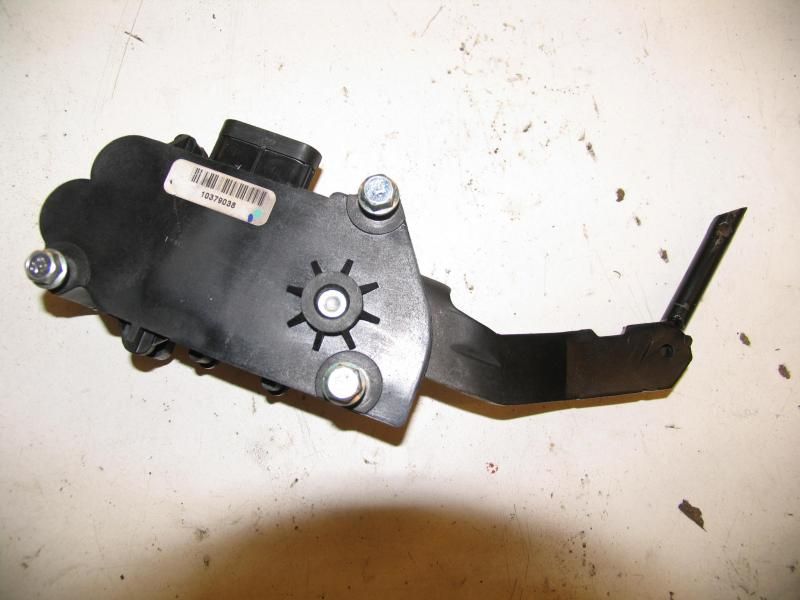
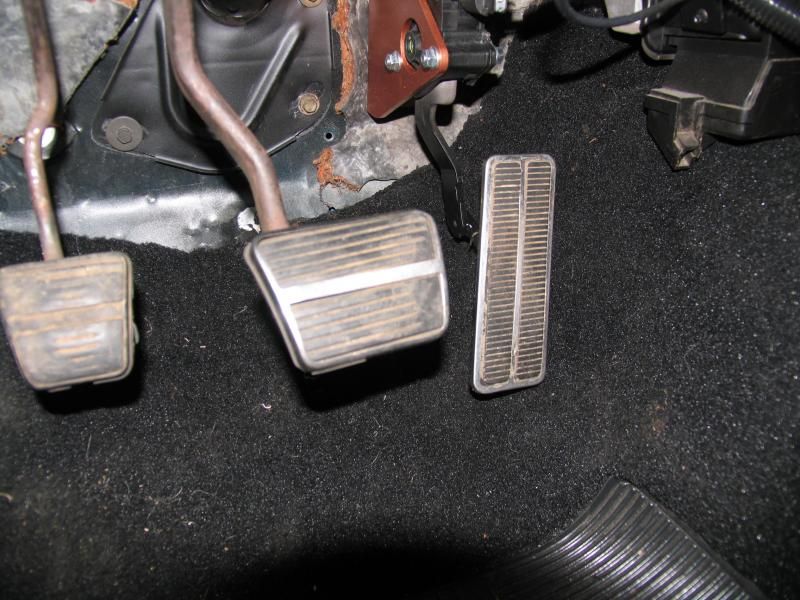
We got the brackets in from the cutters. *They are a more refined design; simpler. *They use the 10379038 GM 2004-2011 Cadillac CTS *pedal assy. *These run around $70 from Rockauto and Nalley GMC. *We needed to weld an extension to fit the existing F pedal. We did try the Impala piece - the offset was wrong. This is the Caddy piece here:
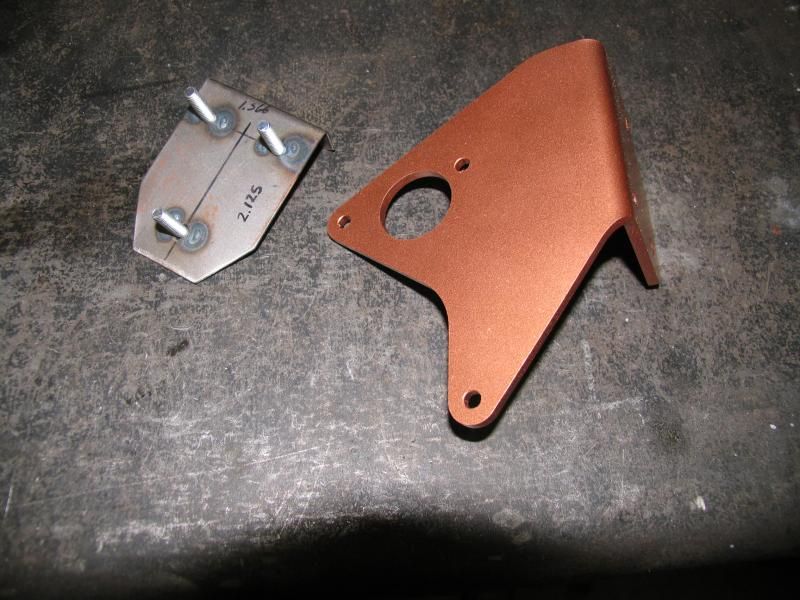
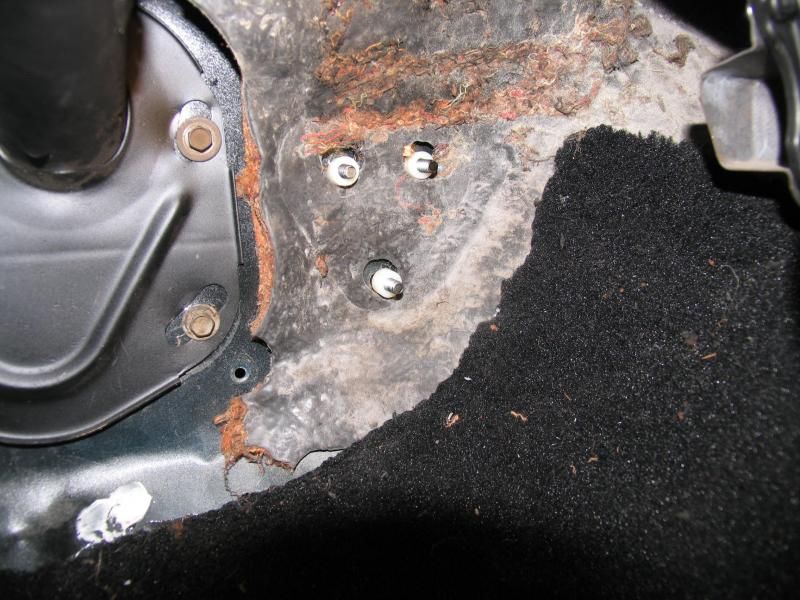
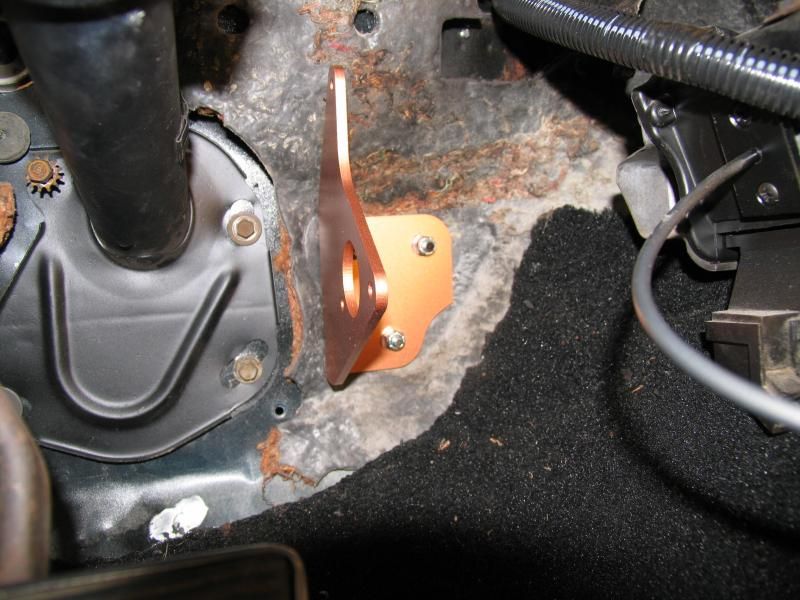
![]() We start with the bracket here: ![]() The smaller piece off to the left is a backer we made as one of the firewall holes was stripped so we elected to use bolts. *Mounting 3 individual bolts is no fun, so we ganged them together, and left a shelf to mount wire looms to boot on the engine side. ![]() We used 3 nylon spacers to clear the insulation for rigidity. ![]() Mounted. ![]() All finished. *I drove the car today to the paint shop - pedal motion is identical to a vechicle of 70's vintage. We will sell the bracket, weldable pedal rod and 3 nylon spacers for $38 plus shipping, just mention PY... |
|
#5
|
||||
|
||||
|
Back to paint. Engine started the other day; now moving under power. I was going to borrow Verdean's trailer - thought why not drive it there? Did a quick test drive, realized power steering works better with fluid...
![]() As you see a few things are missing; all lights, bumpers, trim, etc. We wired in a single brake light and a race style ignition panel, with girl's mirror clamped to it for rear view. Did a fast alignment with an Iphone app and as Alan B Shephard said "lit the candle". Drove good, brakes stiff as master bore may be too big (will sort out later). Lotta low end power, weight hopefully around 3300#. Now to get rework estimate - Nick was not in a good mood.
|
|
#6
|
|||
|
|||
|
Quote:
Personally I think you will be much happier with the earlier rear panels/tail lights in, everything else just doesn't look "correct" even with the big back window. Turning out really nice. |
|
#7
|
||||
|
||||
|
Thanks.
Hinge time! Nick said the driver's hinge was shot - he was correct. Repop units are not well received and used hinges may be worse. There is a guy down in Cali who does rebuilds for a decent rate, but time/money is getting tight so decided to give it a shot. I used a bunch of flanged bushings; 1/2" OD and 3/8" ID. The arms are made from 11 gauge steel (0.121" thick) so bushed length was trimmed down to twice that in a lathe, with a washer on the non-flanged end. The bolts nearest the hood had their heads trimmed down to clear, but the rest worked very well. I had to ream the holes all to 1/2" ID. Once tightened to spec the nuts were fused. |
| Reply |
| Thread Tools | |
| Display Modes | |
|
|