


| FAQ |
| Members List |
| Social Groups |
| Calendar |
| Search |
| Today's Posts |
|
|
|
#1
 03-06-2008, 06:45 PM
|
||||
|
||||

How long has this taken? I wish I had sent my car up there.
__________________
1965 TriPower GTO, 1967 GTO, 1969 GTO, 1969 Judge, 1972 GTO, 1977 Smokey and the Bandit, 1989 TA ProStreet, 1968 Firebird NHRA 10.90 racecar, 1963 Tempest S/Gas |
|
#2
03-06-2008, 08:26 PM
|
|||
|
|||
|
WHAT PROCESS DID YOU USE TO RESTORE THE FLEX FAN
EVERYTHING YOU HAVE DONE ON THE JUDGE SO FAR IS GREAT. I WAS CURIOUS ON HOW YOU RESTORED THE FAN. KEEP UP THE GOOD WORK AND GREAT PICTURES.
|
|
#3
03-06-2008, 08:46 PM
|
|||
|
|||
|
Quote:
In regards to the fan, From the factory, the center hub was painted black, and the folded metal parts that hold the blades with rivets were bare metal. The flexible fan blades themselves are stainless steel. After a thourough cleaning and polishing of the blades, we masked off the stainless flex blades with duct tape and then sandblasted the surface rust off the rest of the metal parts. We then painted the "backbone" of each of the fan blades to look like bare metal. After that was dry, we then masked those areas off (including the back side of the rivets).........and then we painted the center hub black. Each fan blade has a thicker piece of stainless steel wrapped with it that acts as a stiffener to help keep the blades' form and also to give the rivets something stronger to clamp down on. Those pieces of metal had a golden look to them. Since we couldn't remove them and have them plated without destroying the fan, we decided to paint them with a light mist of gold to freshen them up. |
|
#4
03-06-2008, 09:17 PM
|
||||
|
||||
|
Jason, you are doing such an incredibly thorough job on this restoration with virtually nothing overlooked, that I have to ask...
Maybe it's just the reflection in the pictures, but it looks like many of the parts that were rusty/pitted (frame, engine pulleys, alternator bracket) that you have stripped them and just painted over the pits. Why are you not doing more to fill the pits in on these parts before you put the final paint coat on them? I know it may be more time consuming, but certainly within your ability. Pitted parts just seem to scream out on an otherwise so nicely done car. Or maybe I'm just the only one who notices stuff like that -- would it be considered "over restoring"...? Anyway, I admire the attention to the details you're putting into it, and enjoy watching your progress. This car was lucky to have been found by you.
__________________
keith k 70 Trans Am RA III / T400 / Lucerne Blue / Bright Blue 70 Trans Am RA III / M20 / Lucerne Blue / Sandalwood 70 Formula RA III / M21 / Lucerne Blue / Bright Blue |
|
#5
03-06-2008, 09:46 PM
|
|||
|
|||
|
Quote:
That being said, when you sandblast rusty parts......you're always gonna get some pits. That can't be avoided. As I said before, I did skim-coat the bottom and sides of the frame with filler to eliminate most of the pitting. I did not do that to the top of the frame because once the body is on, you can't see it anyways. As for the pitting you see on the alternator bracket, you can't fill in that area because that is where the alternator is tightened down. Filler would crack as soon as you tighten down the belt. I could locate a new one......but it's just not that noticable in real life. The flash on the camera just makes it stick out. Just today my dad was skim-coating the air cleaner assembly and Ram Air pan just to make them nice and smooth. 
|
|
#6
03-06-2008, 10:54 PM
|
||||
|
||||
|
Quote:
Quote:

__________________
keith k 70 Trans Am RA III / T400 / Lucerne Blue / Bright Blue 70 Trans Am RA III / M20 / Lucerne Blue / Sandalwood 70 Formula RA III / M21 / Lucerne Blue / Bright Blue |
|
#7
03-10-2008, 11:11 PM
|
|||
|
|||
|
Wow, I wish I still had my 70 even after 22 years I still miss it. great documentation on the restore. Gives me ideas on the 70 Judge model I am working on.
Tim
__________________
A clone should NEVER bring more money that a true example. |
|
#8
03-11-2008, 12:24 PM
|
||||
|
||||
|
One word is all I can say Jason..... Wow!!!. I wish I lived closer to ya as I'd love to stop in and shake yer hand. You've done a spectacular job.

__________________
 Gary Get in, ShuT Up, Hang On! Member of the Baltimore Built Brotherhood MY GTO built 4th Week of March 1966 "Crusin' Is Not A Crime" Keep yer stick on the ice. |
|
#9
03-13-2008, 05:12 PM
|
|||
|
|||
|
Thanks again for the nice comments guys!
Here are the quarter panels all finished and in urethane filler primer, which will now be wet-blocked to perfection: 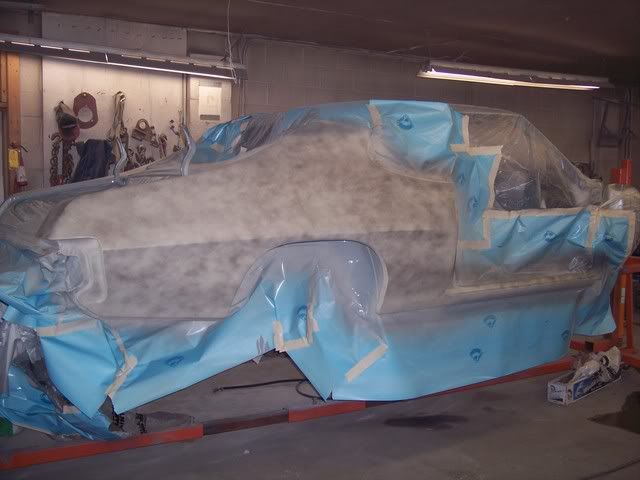 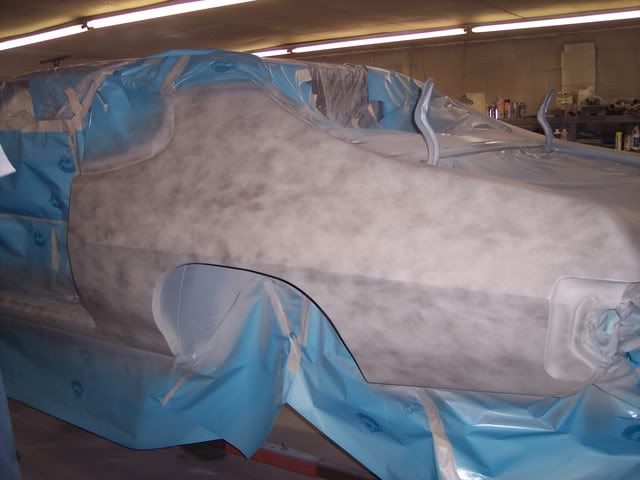 Here is the original 7040273 WC Ram Air Q-Jet that I rebuilt and restored. The date code is 295th day of 1969. Notice the large orange "R" stamp on the side of the carb that I found during disassembly: 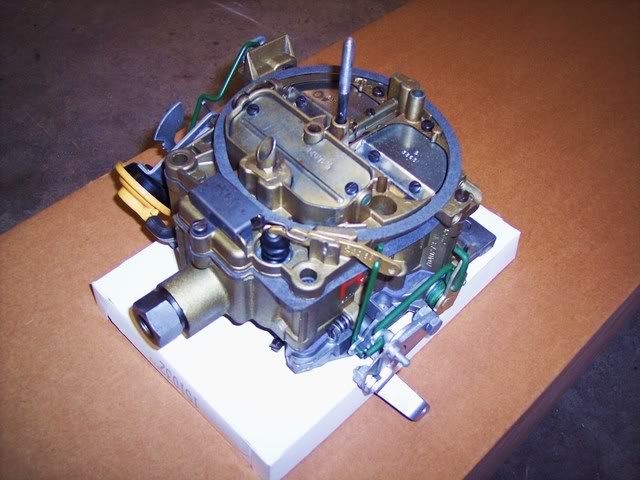 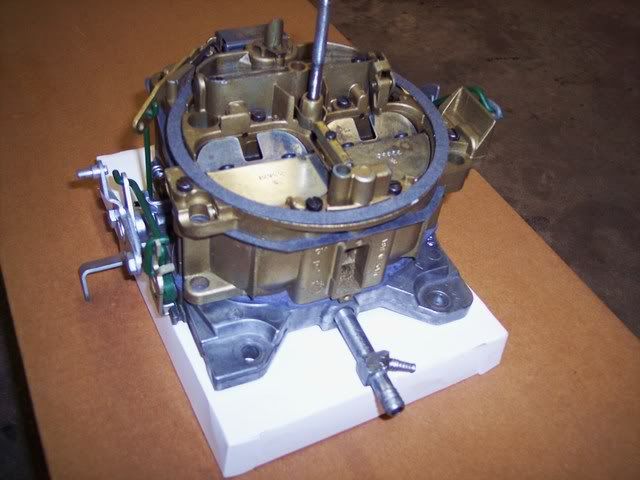 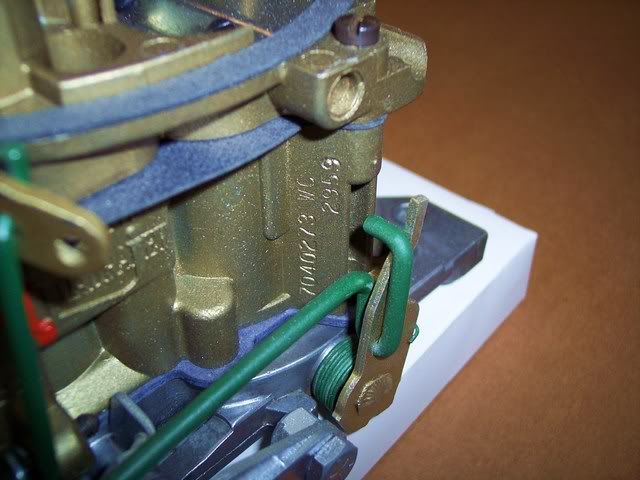 Here are the wheels all restored, including the backsides which are a light gray color with dark gray overspray through the holes in the rim: 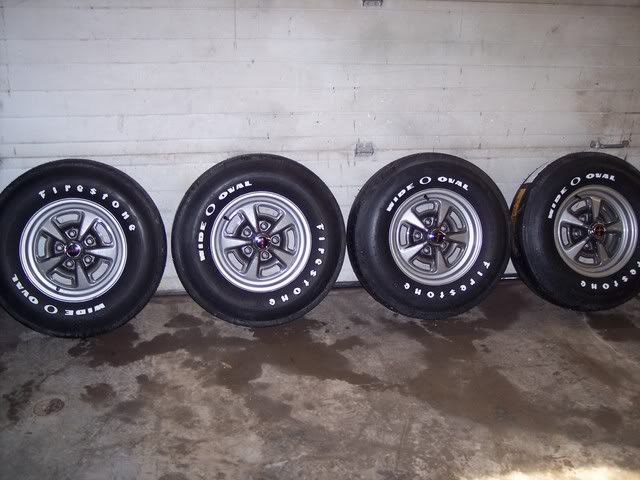 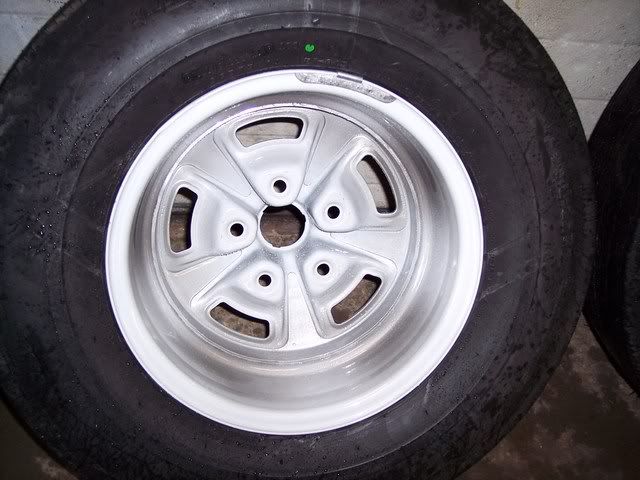 And the chassis......which is starting to look like a contender. 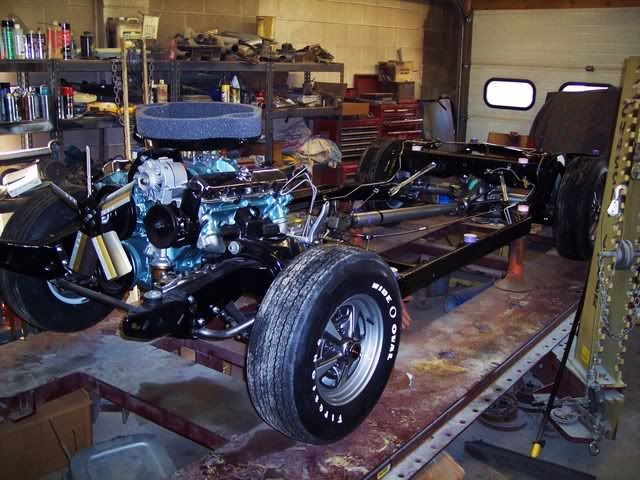
|
| The Following User Says Thank You to JasonD For This Useful Post: | ||
|
#10
03-13-2008, 05:46 PM
|
||||
|
||||
|
Jason:
I think Scott Tieman has some competition - your work and attention to detail is amazing. I'm not knocking Scott's work at all - I've seen his work and your's looks to be in the same class. Keep it up! BJ
__________________
1971 GTO 455 HO 4-speed - Cameo White, White Vinyl Top, Jade Green Interior, Ram Air Hood, AC, Honeycombs and 8-track 1974 Formula 455 I Owned in 1975-1976. Now Own Its Twin From Same Dealership 
|
|
#11
03-13-2008, 06:10 PM
|
|||
|
|||
|
Quote:
I'm more of a Trans Am guy so this is my first "ground up" GTO restoration. One thing that I like about these GTOs is the fact that you can restore the entire chassis and mechanical and be able to work on it right there in the frame. It makes it MUCH easier to get everything set up and bolted in before you set the body back on. When you're doing a T/A like this......everything is bolted directly to the body so things are a little more cramped to work on. The only down side is that GTOs are quite a bit bigger than T/As.....so that means alot more surface area to work on. 
|
|
#12
03-13-2008, 07:04 PM
|
|||
|
|||
|
Are you taking this to the GTO Nats this summer?
__________________

|
|
#13
03-13-2008, 08:53 PM
|
|||
|
|||
|
Quote:
Isn't it in Saratoga Springs this year? |
|
#14
03-13-2008, 09:23 PM
|
||||
|
||||
|
It is in Saratoga and someone will get a stunning car when you do decide to sell it. You do fantastic work with spot on detailing.
Jason, what did you use to restore the trans housing? Did you media blast it first and them paint with the aluminium color paint? I will be doing mine soon and I'm curious.
__________________
69 GTO convertible Warwick blue w/parchment, 400 4bbl auto trans, #'s matching, frame off resto w/ 36 options and more coming. 67 Bonneville 428 convertible one of one Verdoro green w/parchment, documented GM brass hat parade car with every option for 67, non running MAJOR future project. Last edited by Mark Simiele; 03-13-2008 at 09:34 PM. |
|
#15
03-13-2008, 10:13 PM
|
|||
|
|||
|
Quote:
The actual tranny case was done by the rebuild shop that I take all my trannys to. I wasn't really happy with the color as it's a little too dark for my taste. I would have rather seen it look more like the bellhousing.....but it's not terrible looking. 
|
|
#16
03-14-2008, 05:19 PM
|
|||
|
|||
|
Here is the original Ram Air III distributor (manual trans), part number 1112010 with a date code of July 18, 1969. Completely rebuilt and restored.
Notice the small red daub of paint on the distributor housing under the dwell adjustment window: 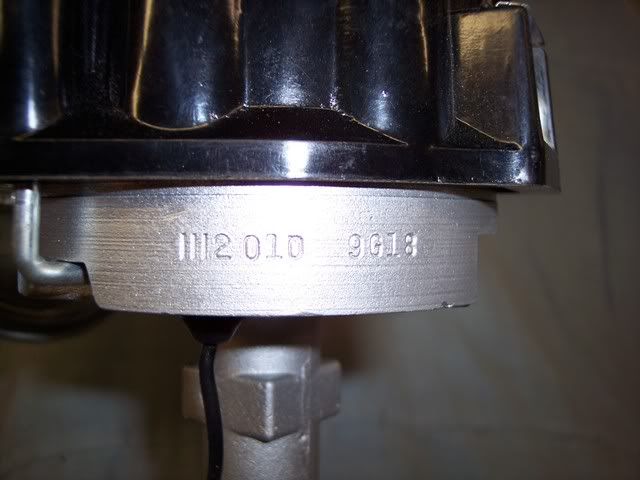 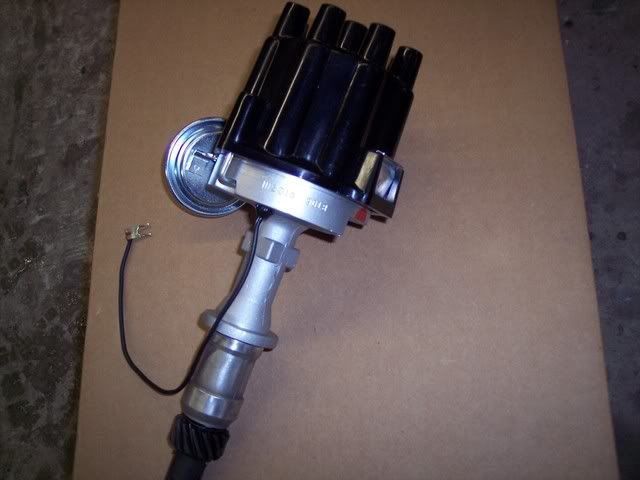
|
|
#17
03-17-2008, 10:54 PM
|
|||
|
|||
|
Jason, thanks again for bringing all your hard work and dedication to the forums for all of us to be inspired. I cannot wait to see it done.
Will make someone proud to own it. I know there is no way in gods green earth I would be able to afford it. But I have my memories of mine. Tim
__________________
A clone should NEVER bring more money that a true example. |
|
#18
03-18-2008, 12:27 AM
|
|||
|
|||
|
Quote:
|
|
#19
03-18-2008, 05:06 PM
|
|||
|
|||
|
All the urethane filler primer on the body has been completely wet-blocked out to perfection and she's as smooth as glass.
The next step is to paint the bottom of the body in the correct black primer with white overspray, and to paint the cowl and firewall with a very low-gloss blackout paint. Then she goes back on the frame again. 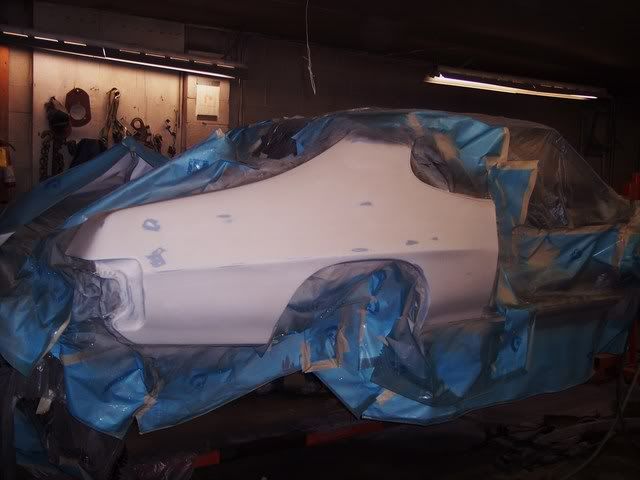 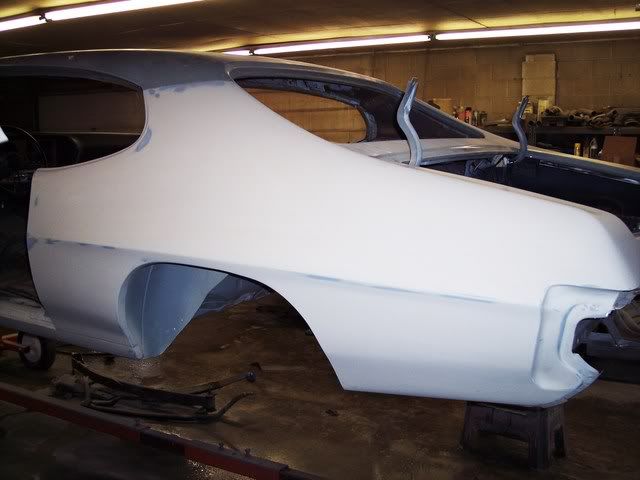 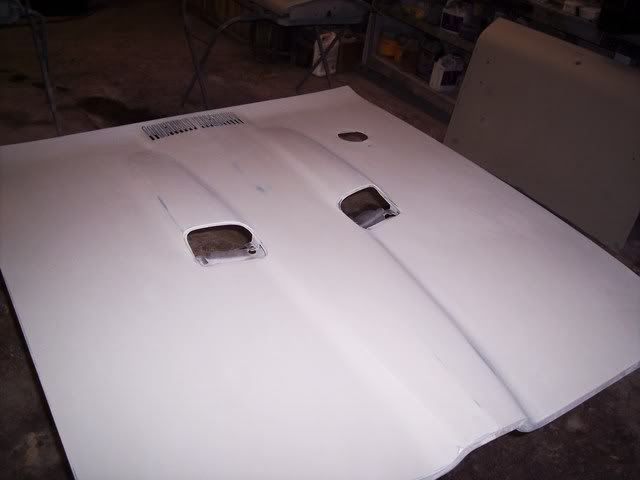 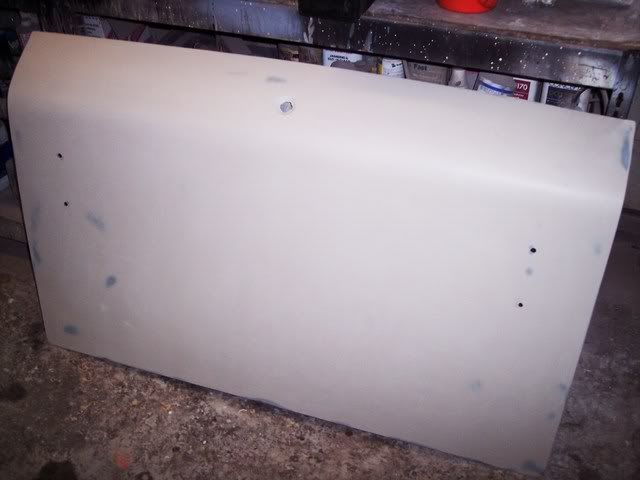 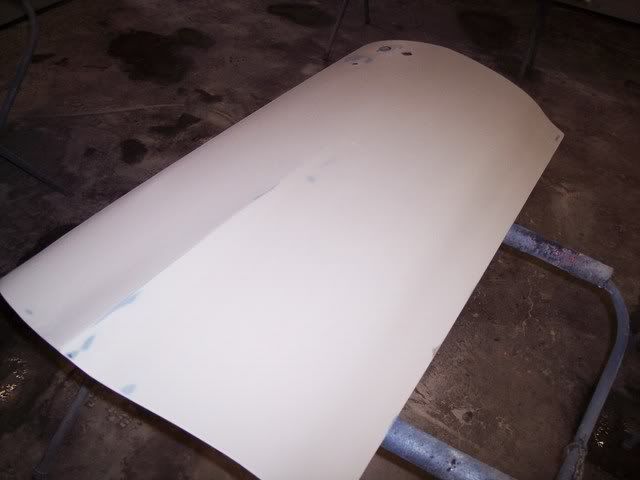 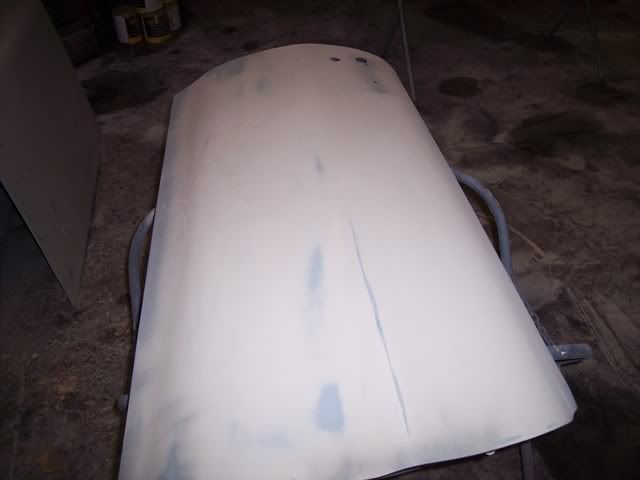
|
|
#20
03-18-2008, 06:03 PM
|
||||
|
||||
|
Beautiful work, Jason! Did you do the alternator yourself or did you send it out? If so, who did you use?
__________________
1971 GTO 455 H.O. Ram Air Nordic Silver - Black |
| Reply |
|
|
The PY Online Forums is the largest online gathering of Pontiac enthusiasts anywhere in the world. Founded in 1991, it was also the first online forum for people to gather and talk about their Pontiacs. Since then, it has become the mecca of Pontiac technical data and knowledge that no other place can surpass.






 Hybrid Mode
