


| FAQ |
| Members List |
| Social Groups |
| Calendar |
| Search |
| Today's Posts |
|
#361
 09-24-2012, 12:39 AM
|
|||
|
|||

Not a lot of news worthy updates this weekend.
Drivers door needed a final adjustment. It was being supported by the striker plate when I aligned it months ago. The only problem is the door droops when open. The door needs to be located properly without the striker plate when adjusting it, but working alone I used the striker plate to support the back end of the door. Ideally you need two or three people to adjust the door but I came up with a solution. I used a body jack at the front and a floor jack at the back edge. The rear of the door should be placed about 1/2" higher than where it needs to be. When you tighten the hinge bolts and release the door it should fall about where it should go. 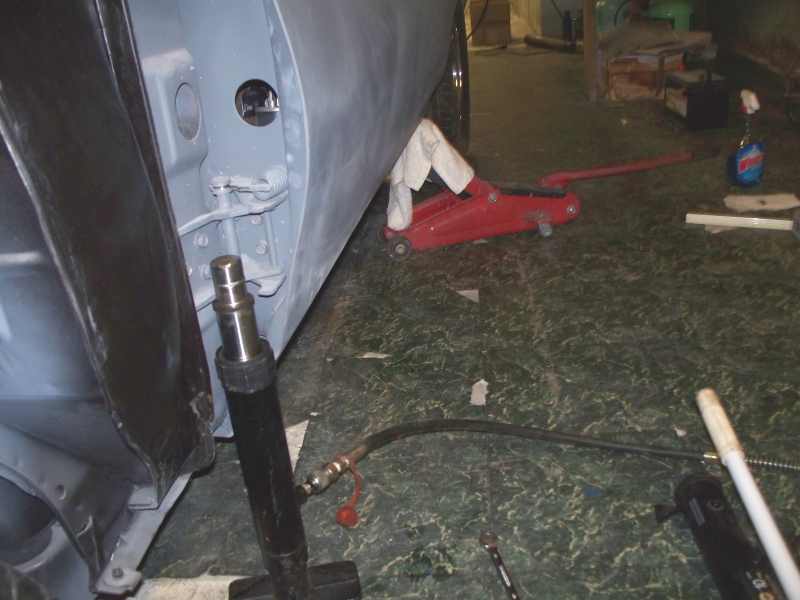 The body jack fits against the hinge really well. Fine adjustment is really easy with the body jack. 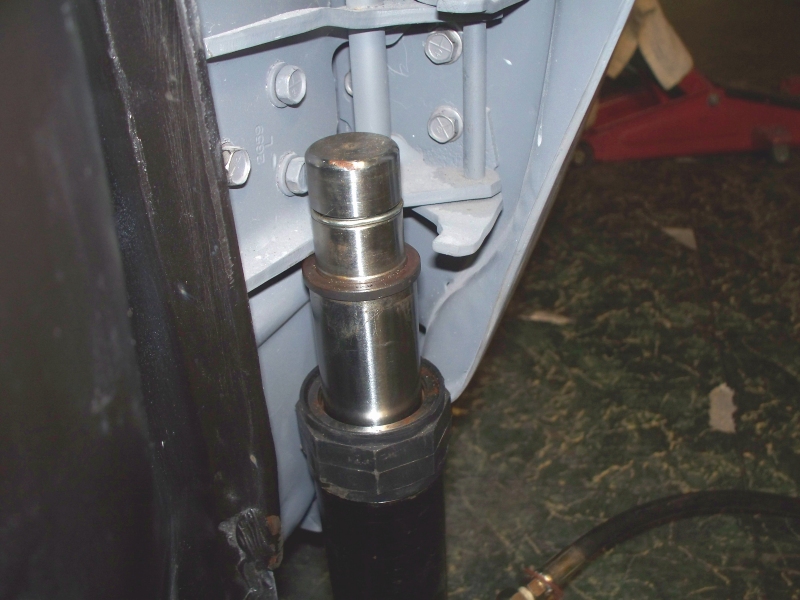 Of course adjusting the door meant that the fender had to come off, so I ended up bolting everything back on and doing one final alignment. That is fender, hood, bumper, valence. Just to make sure that everything will still line up. While the fender was off, I made the hole in the core support for the cornering light slight bigger. It lightly touched the cornering light housing. Everything looks good. I didn't do a perfect alignment, just close enough to make sure everything can be aligned. I also measured and recorded all of the gaps. 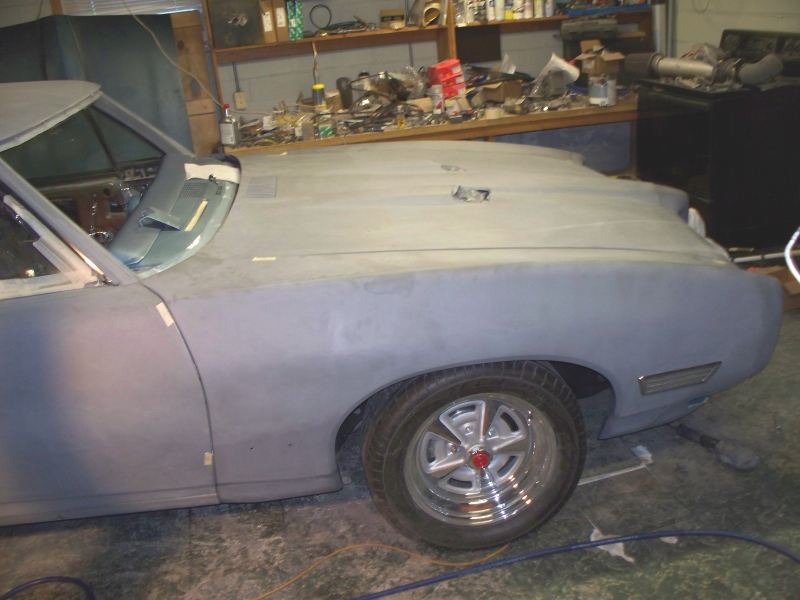 This picture shows why you need to wear gloves after getting ready for paint. All the discoloration is oil from my hands and arms while I was adjusting the fender. OF course the was already dirty from my flood and basement clean out. 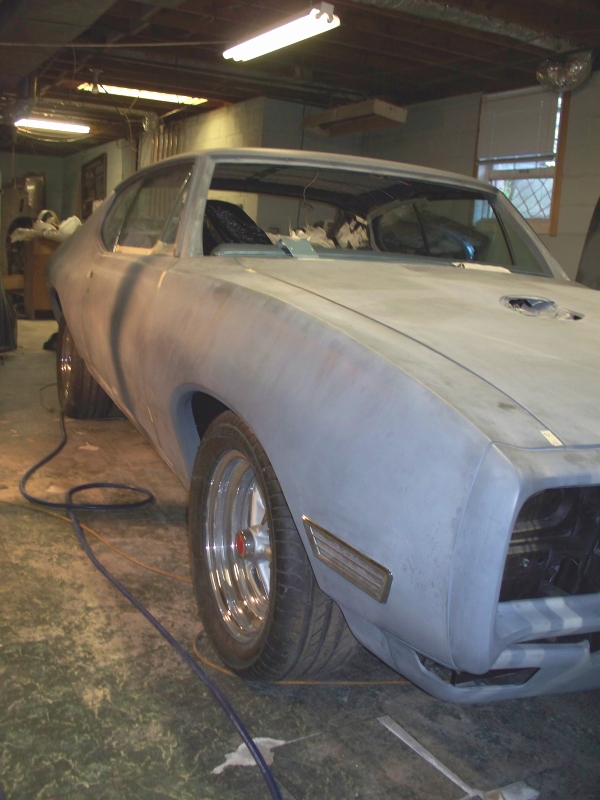  Unfortunately the car comes apart again so I can paint the jams.
__________________
68 Lemans - GTO appearance LS3 68 Eldorado - waiting for restoration 96 Roadmaster Wagon 2014 Infiniti Q50S Hybrid Marietta GA |
|
#362
09-29-2012, 06:51 PM
|
||||
|
||||
|
Can't wait to see this project done. Thinking of doing a LS swap possible down the road.
__________________
1971 Pontiac GT-37 Car is a junk yard dog and maybe one day will be restored.  
|
|
#363
10-02-2012, 01:09 AM
|
|||
|
|||
|
Quote:
I got the car apart in preparation to paint the jams. 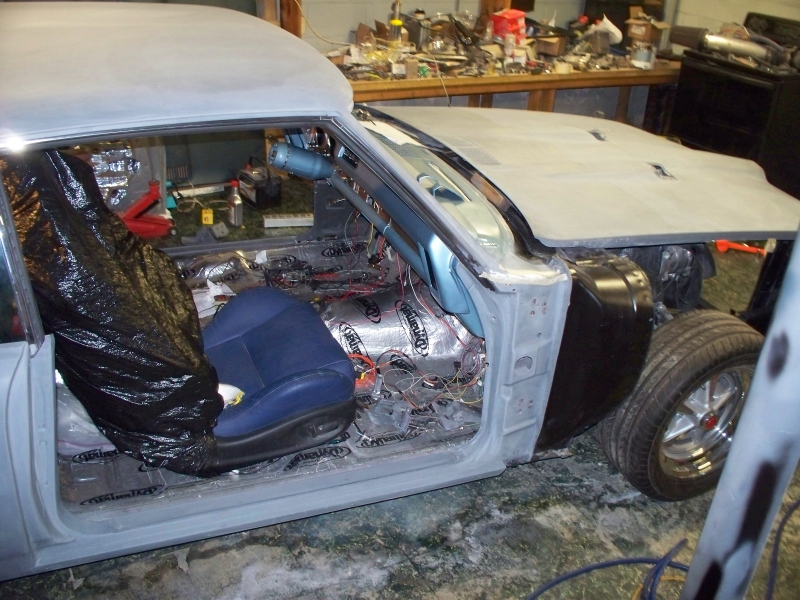 I found a few flaws that need attention. One run, needed to apply seam sealer in a couple of places. Had to aggressively sand a few places to get rid of flaws and now have a few places that need some primer. This time I'm masking the entire car since I need to keep the over spray off the areas that are already prepped. 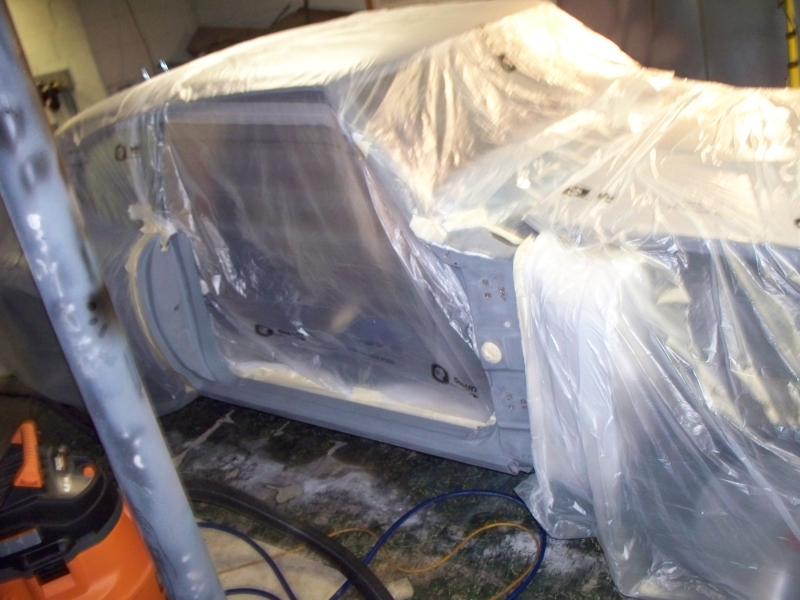 Still need to mask the opening. It got late so I called it a night. 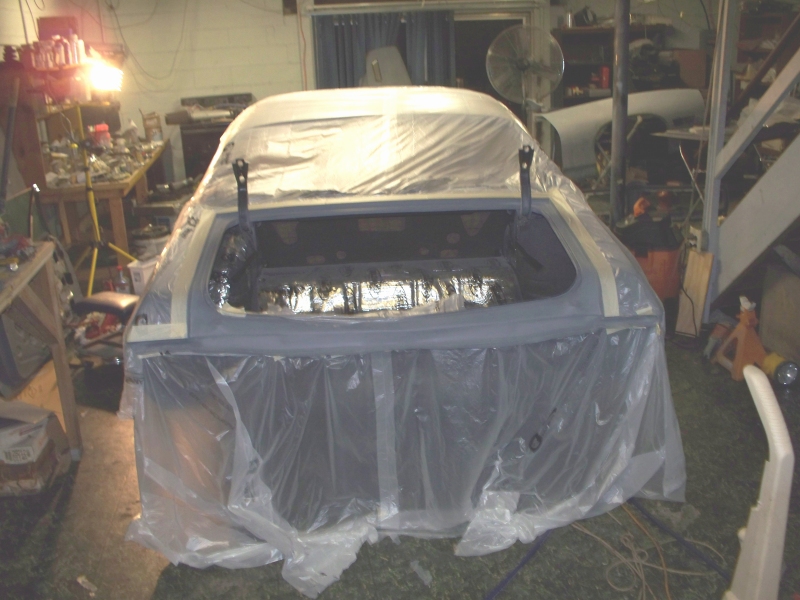 I found this wrap at my local Finishmaster. Its 12'x400' long. Clings to the car and was fairly cheap, about $30. I wish I had found this stuff sooner. 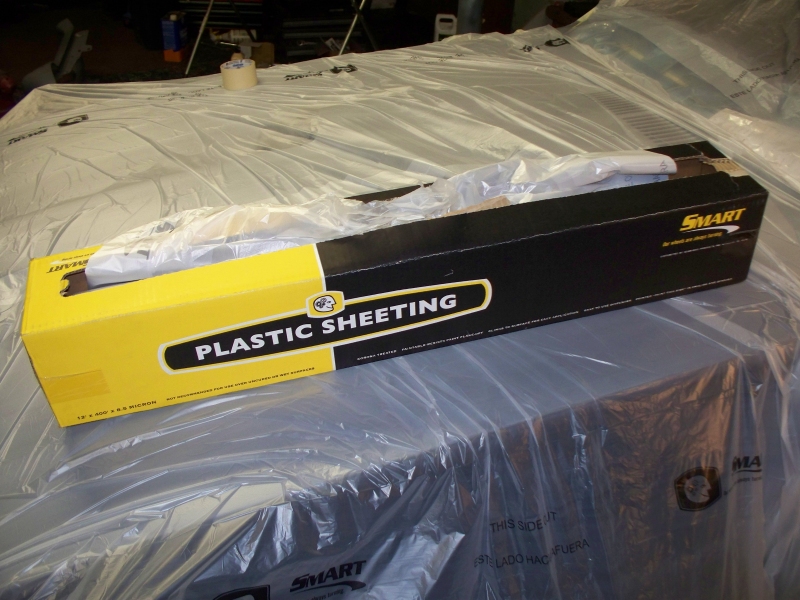
__________________
68 Lemans - GTO appearance LS3 68 Eldorado - waiting for restoration 96 Roadmaster Wagon 2014 Infiniti Q50S Hybrid Marietta GA |
|
#364
10-07-2012, 01:22 AM
|
|||
|
|||
|
Got some color on the car tonight. I got the trunk and door jams painted.
Here is a shot of the base with no clear. Fairly dull at this point. 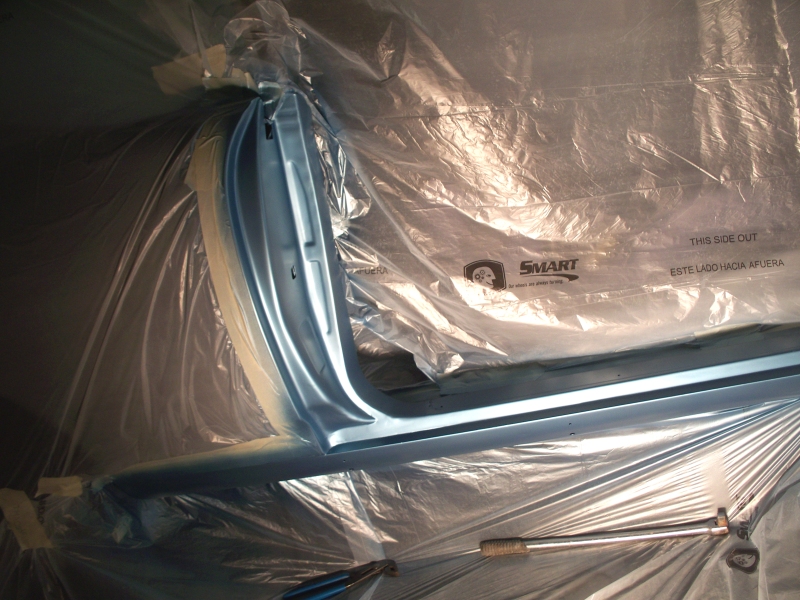 These shots are with clear coat. 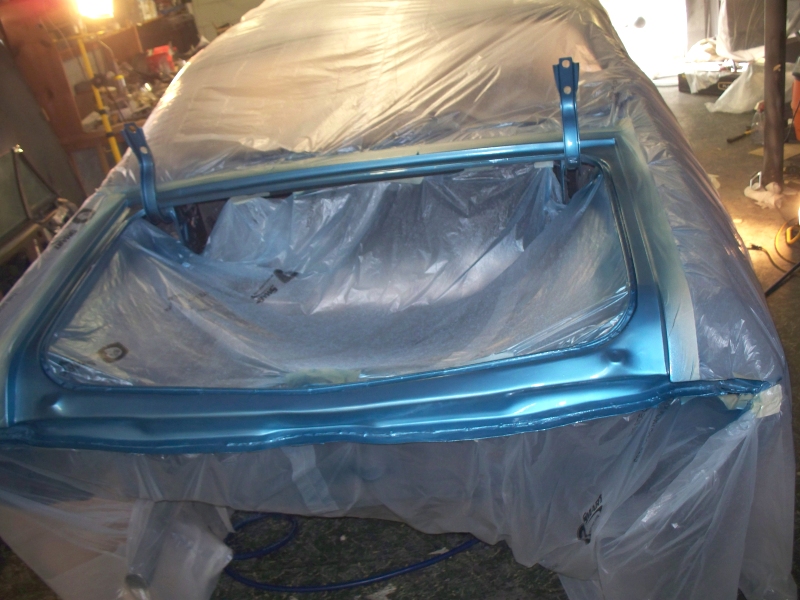 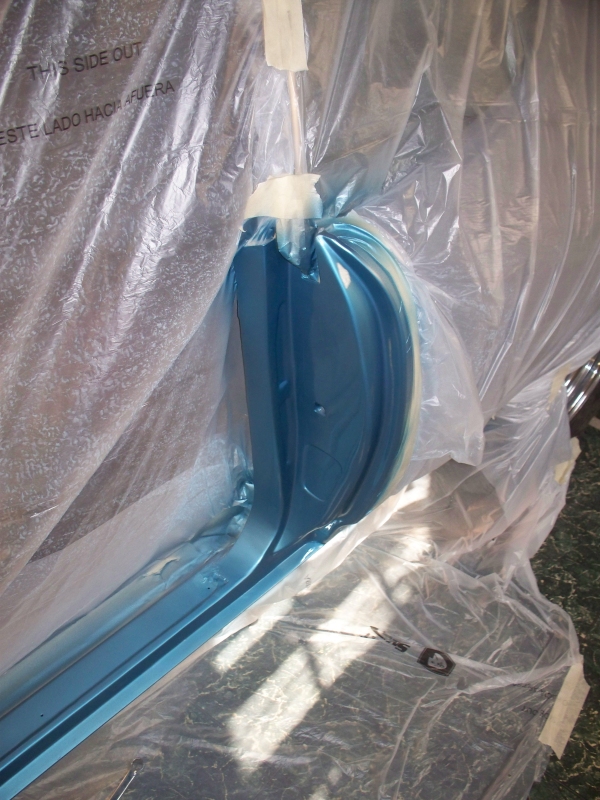 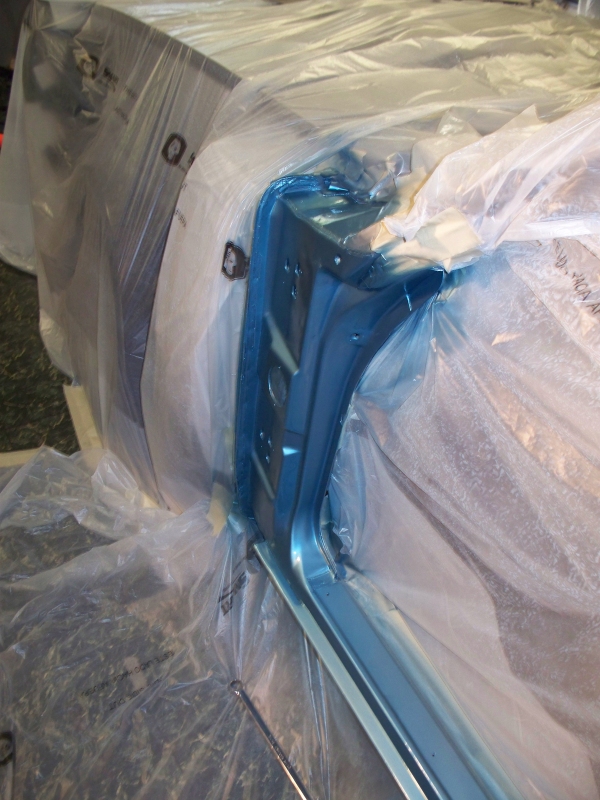 I painted the underside of the trunk lid also. What appears to be flaws is reflections from fluorescent lights and and objects near the lid. 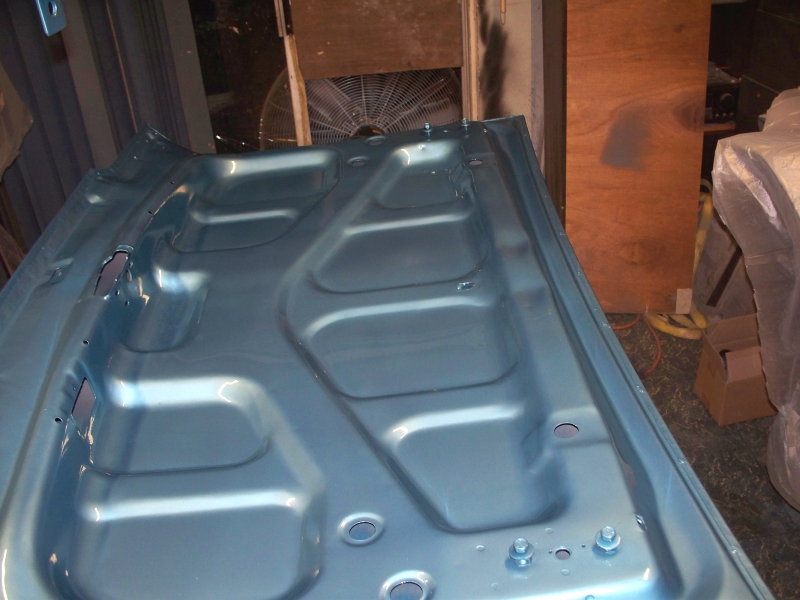 My copper cooler/water trap seems to be working fine. Most of the water collects in the first leg. Not much in the second and only a little mist from the third leg. While I still don't have a lot of hours of use, the trap seems to be working fine. 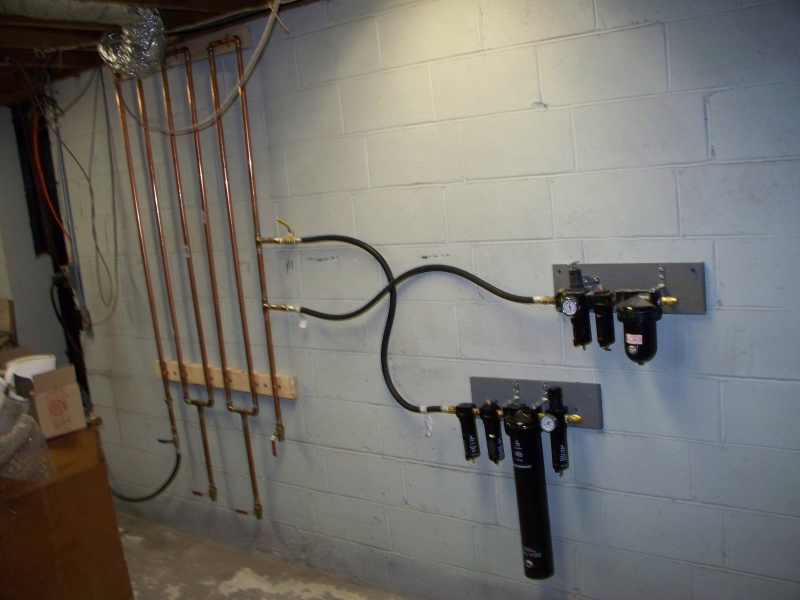
__________________
68 Lemans - GTO appearance LS3 68 Eldorado - waiting for restoration 96 Roadmaster Wagon 2014 Infiniti Q50S Hybrid Marietta GA |
|
#365
10-11-2012, 11:55 PM
|
|||
|
|||
|
I got the jam portion of the doors painted today.
Hinges and doors masked and ready. 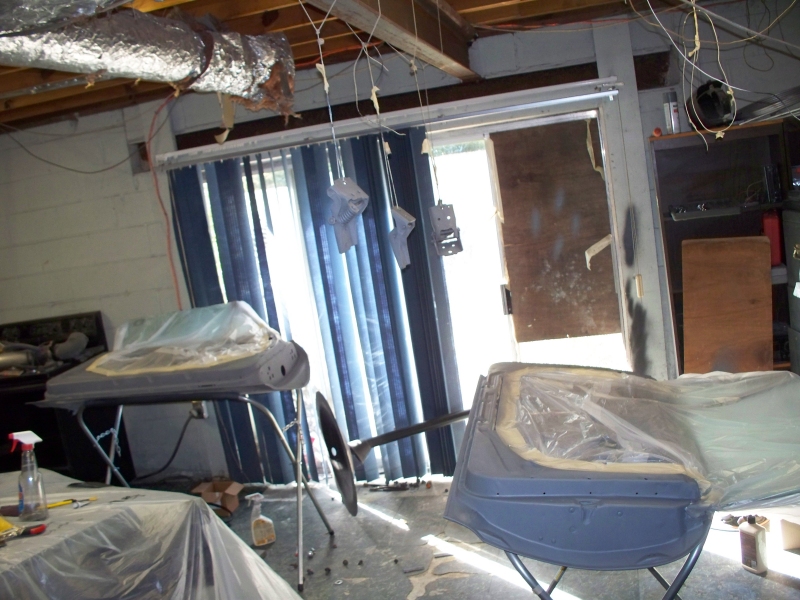 Base coat only, no clear. 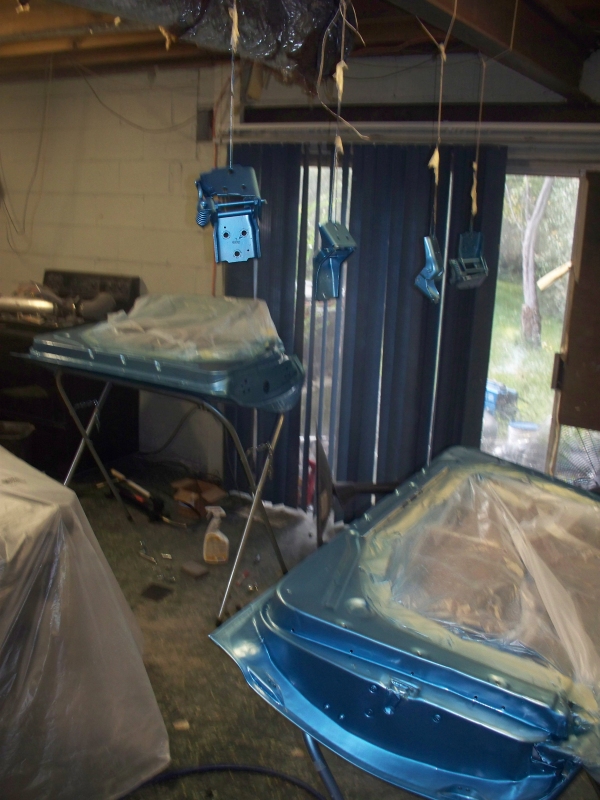 Clear coat. 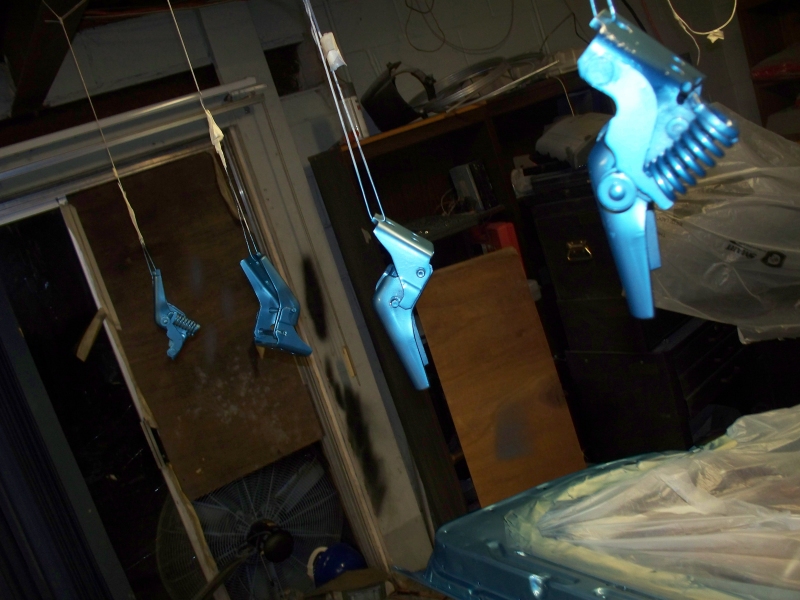 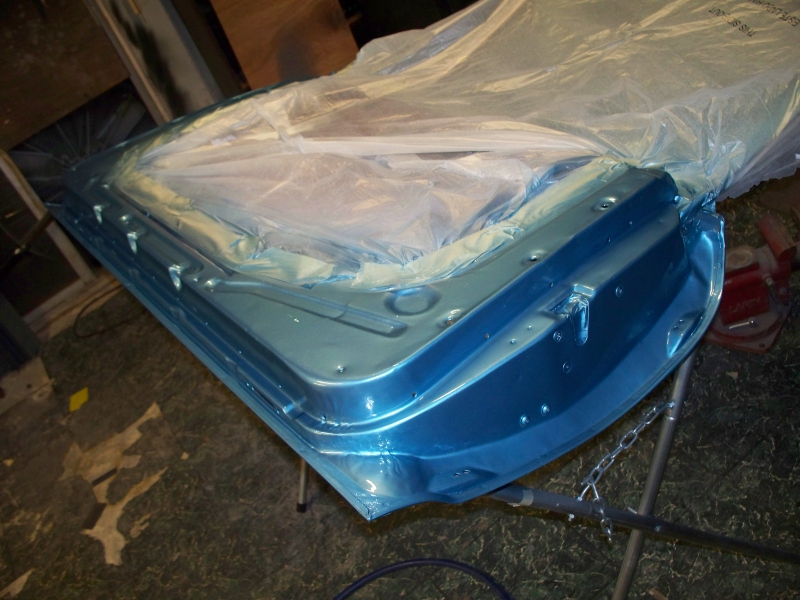 For lack of space and work stands I couldn't paint the fenders at the same time. After giving the clear time to harden I will reinstall the doors and start on the fenders. I found a LED for the map light. Small fits and has 9 LED's 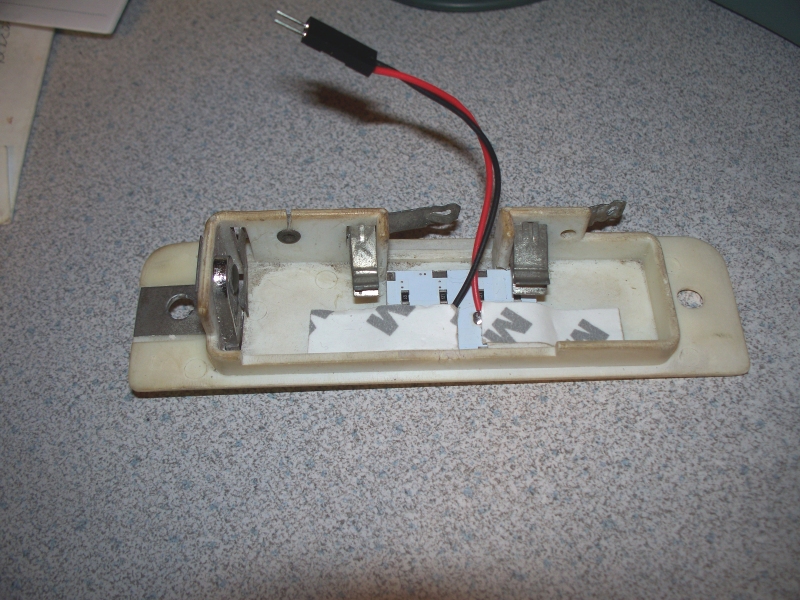 I don't know how bright the original light was since mine was missing the light doesn't seem to be available, but this shot was taken in the dark. The LED seems to light the ad good enough to read and should not blind the driver. This LED does not generate much heat. 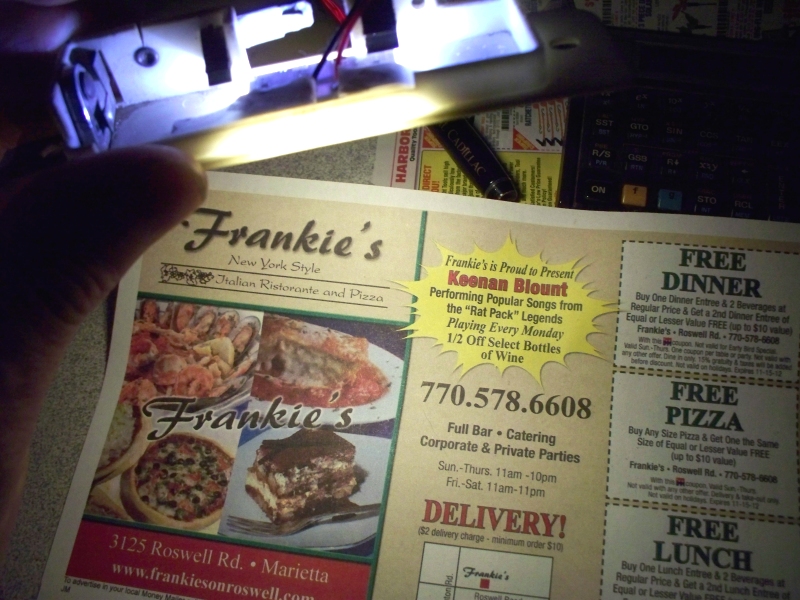
__________________
68 Lemans - GTO appearance LS3 68 Eldorado - waiting for restoration 96 Roadmaster Wagon 2014 Infiniti Q50S Hybrid Marietta GA |
|
#366
10-12-2012, 11:58 AM
|
||||
|
||||
|
looks good. is it the lighting or did the paint darken alittle when clear was applied?
next time I get up to my house in lagrane may have to make a short trip to come see your car it should be sharp when finished |
|
#367
10-12-2012, 03:15 PM
|
|||
|
|||
|
WOW great progress.
|
|
#368
10-12-2012, 05:40 PM
|
||||
|
||||
|
Do tell about that trap, I had an idea like that never seen it before ,why 2 separate outlets. another idea i had was like a 1/2 line jacketed by a 3/4" line you would run your air though the 1/2" the 3/4" you run a water line to it and cool the 1/2'' like a mini condenser or heat exchanger
__________________
73 GTO 455 TKO 600 3.90 |
|
#369
10-12-2012, 05:41 PM
|
||||
|
||||
|
Really nice work ,for a basement build
__________________
73 GTO 455 TKO 600 3.90 |
|
#370
10-12-2012, 08:44 PM
|
|||
|
|||
|
Quote:
1) Clear changes the color of the base. PPG sheet says you must spray a test panel to check color match since color will change after clear is applied. 2) Lighting affects the color. In the picture with base only it was still day light. It was night by the time I had it cleared. The color changes from sun light to fluorescent light. In fact it looks like crap under fluorescent light. I almost abandoned using Alpine Blue because it has a green tint under fluorescent light. But I had to remember the car will be out in the sun and not lit up by fluorescent lights once it's finished. 3) The color changes depending on the angle it is viewed from. It's lighter when viewed straight on and darker when view from an angle. The color changing from an angle convinced me that I must paint the car all put together rather than paint the pieces individually and re-assemble. Maybe a professional painter could pull off painting the pieces separately but I don't think I can. The last drop coat will be very critical to getting a good finish.
__________________
68 Lemans - GTO appearance LS3 68 Eldorado - waiting for restoration 96 Roadmaster Wagon 2014 Infiniti Q50S Hybrid Marietta GA |
|
#371
10-12-2012, 09:36 PM
|
|||
|
|||
|
Quote:
Quote:
The outlet to the small filter is used for air tools and anything else that needs air. I also had the small filter first and decided that I wanted a better filter for painting. I then dedicated the small filter for air tool use. If you jacket the lines and run water thought it, you will need a source of cold water. By the time the air makes it to the filters I think the air is cooled to near ambient temperature anyway. While pumping cold water over the pipe would allow you to use less pipe, your trap would become much more complicated. My trap happens to be underneath a air conditioning vent so I could enclose the trap and duct cold air over the trap. While this would make trap more efficient, I don't think its really necessary. In fact it might make the air too cold, I could see 50 degree air coming out the gun if I cooled the copper pipe. My research on the matter suggests that 50 feet of 3/4 copper line is all you really need. It could be just 50 feet straight across the room with a slight slope and a drain at the end. A lot of shops just place the compressor 100-200 feet away from the paint area and run cast iron pipe down the wall and report that they don't have any problems with moisture getting into the air lines. My choice to zig-zag the line was to use less space. I didn't have 50 feet of wall space. Before I built the copper trap, I had 6 feet of rubber hose running to the small filter. After a few hours of use (air tools) , I would have water vapor coming out of the air line. Now with the copper trap, the first two legs of the copper trap condenses and collects most of the water. I have not drained any water out of either of the water/oil/pressure regulators since I built the copper trap. The key to dry air is to place the compressor as far as possible from your filter/pressure regulator combo. This gives the water vapor at chance to condense to fluid where it can be trapped by the first stage of the filter. Otherwise water vapor makes it past the water and oil filter and is captured by the desiccant filter. Unfortunately the desiccant filter doesn't have a lot of capacity.
__________________
68 Lemans - GTO appearance LS3 68 Eldorado - waiting for restoration 96 Roadmaster Wagon 2014 Infiniti Q50S Hybrid Marietta GA |
|
#372
10-16-2012, 03:54 AM
|
||||
|
||||
|
I have been reading for 4 nights, Im on page 12 now, All i can say is wow great work, If i can help out any with my 68 just let me know. Good luck it is 4 am bed for me.
|
|
#373
10-16-2012, 05:04 PM
|
||||
|
||||
|
Color is fantastic.
What are the lengths of the vertical runs on the water seperator? How did you measure the gaps? |
|
#374
10-17-2012, 12:12 AM
|
|||
|
|||
|
Quote:
Quote:
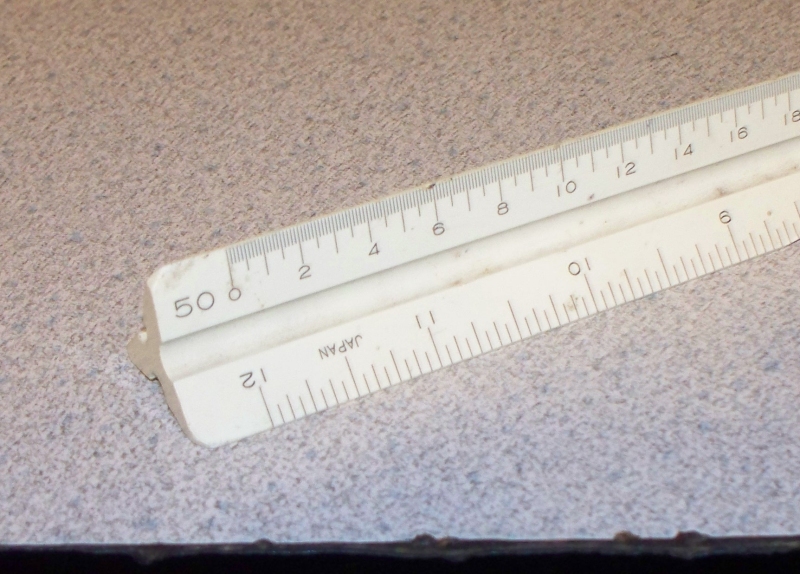
__________________
68 Lemans - GTO appearance LS3 68 Eldorado - waiting for restoration 96 Roadmaster Wagon 2014 Infiniti Q50S Hybrid Marietta GA |
|
#375
10-17-2012, 12:44 AM
|
|||
|
|||
|
Hanging doors alone without scratching the paint is almost impossible. Fortunately I came up with a solution using equipment I already had. It seems that my transmission jack has a crease alone the middle of it. Perfect for locating a door and keeping it from sliding off. I can hold the door with one hand, adjust the jack as necessary and start the bolts with other hand.
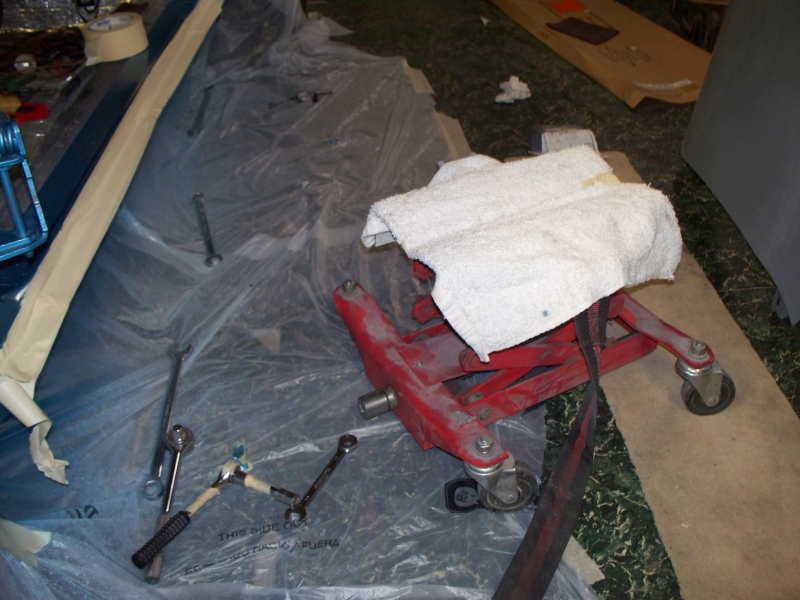 Sliding the door up close to where it needs to be. 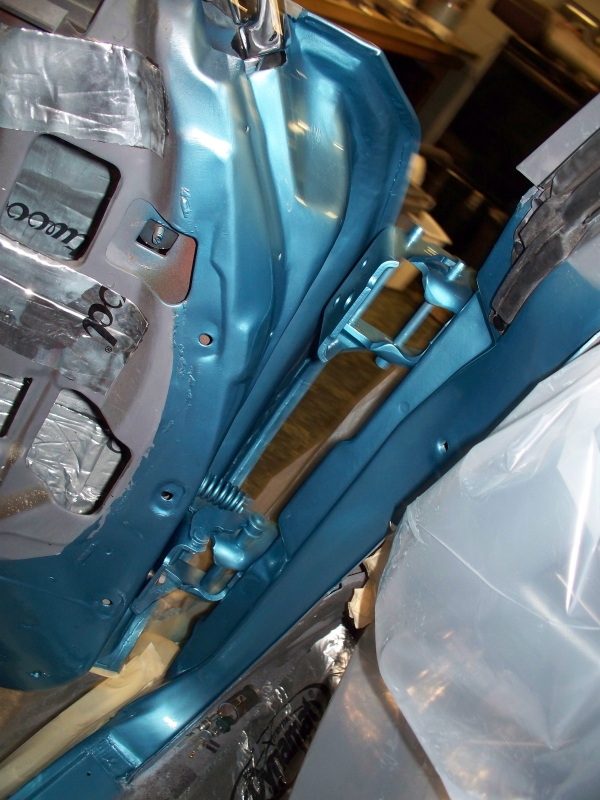 Another shot of the single person door installation. It's almost easy this way. I know there are jack adapters to lift doors but $120 is a lot of money for something you don't often need. 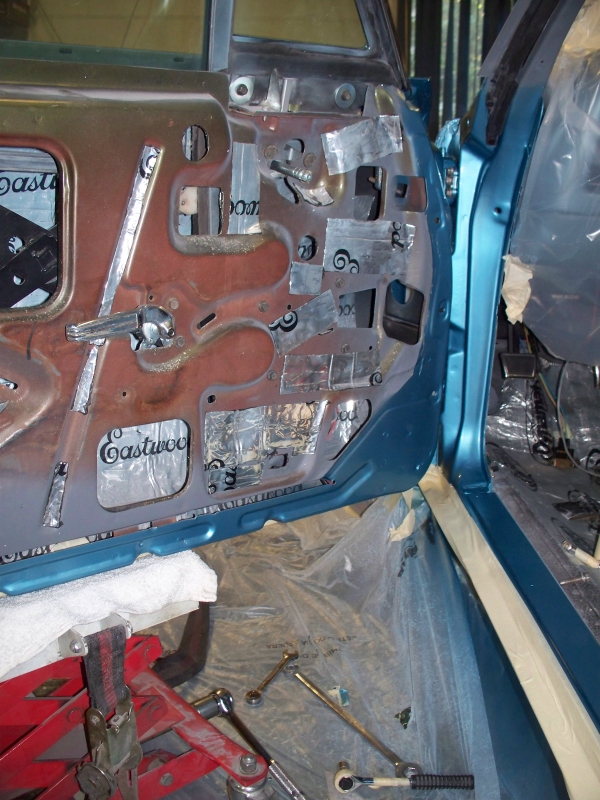 Doors and trunk lid now installed. 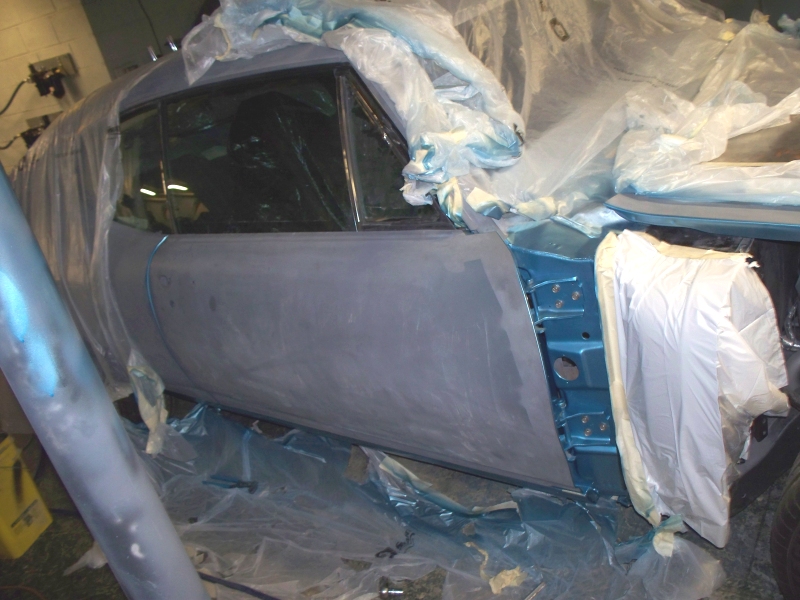 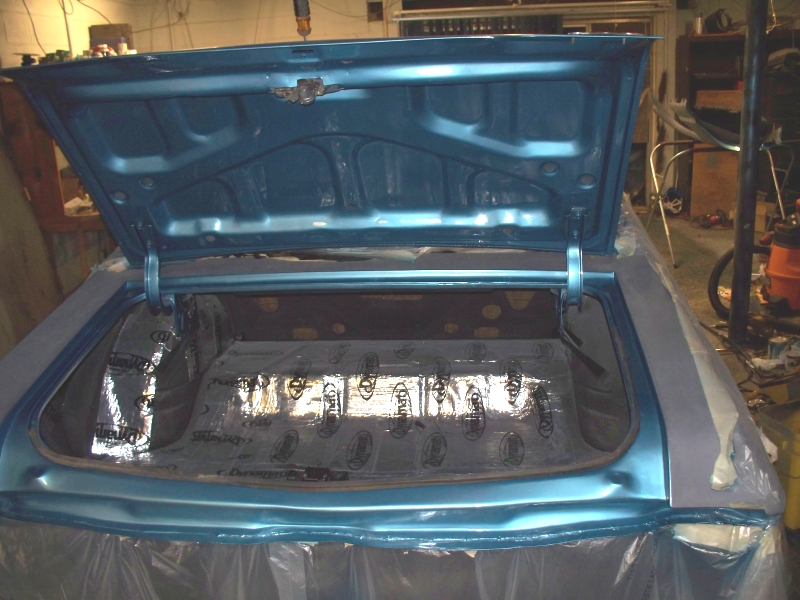 I got the jam area of the fenders and hood painted today. 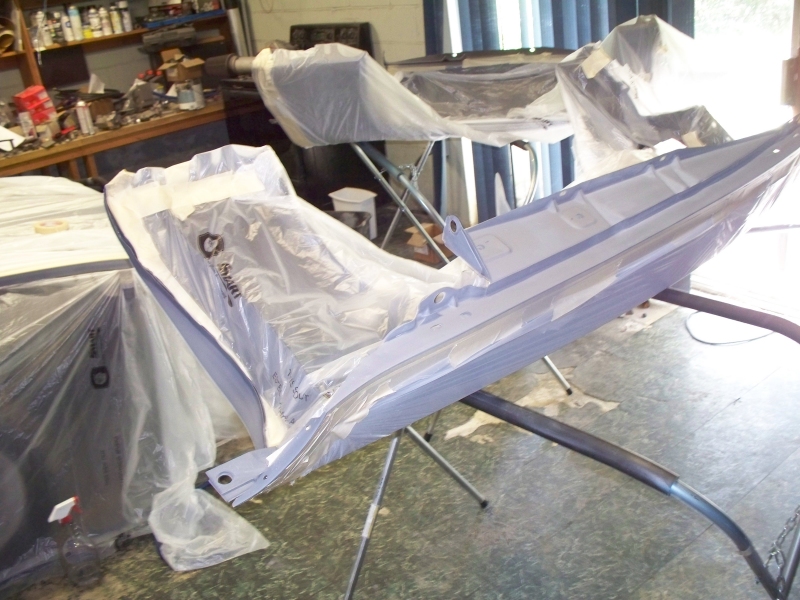 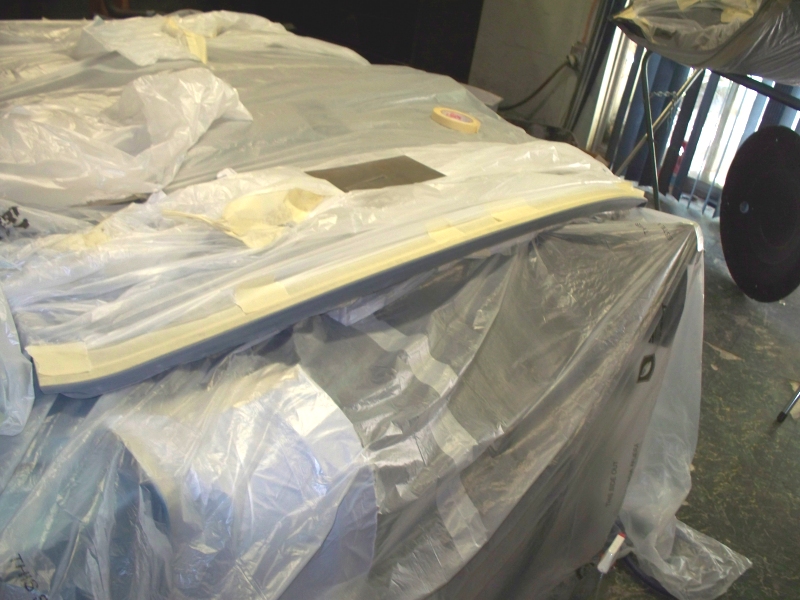 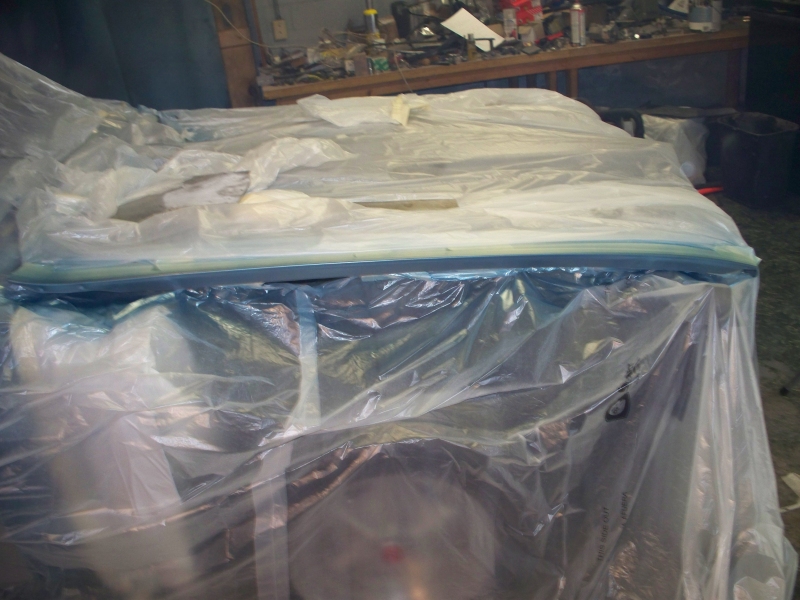 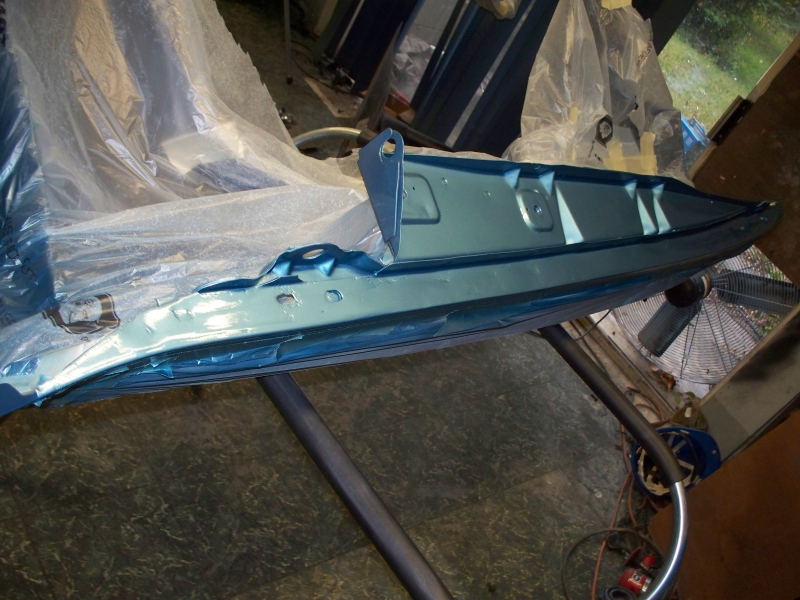 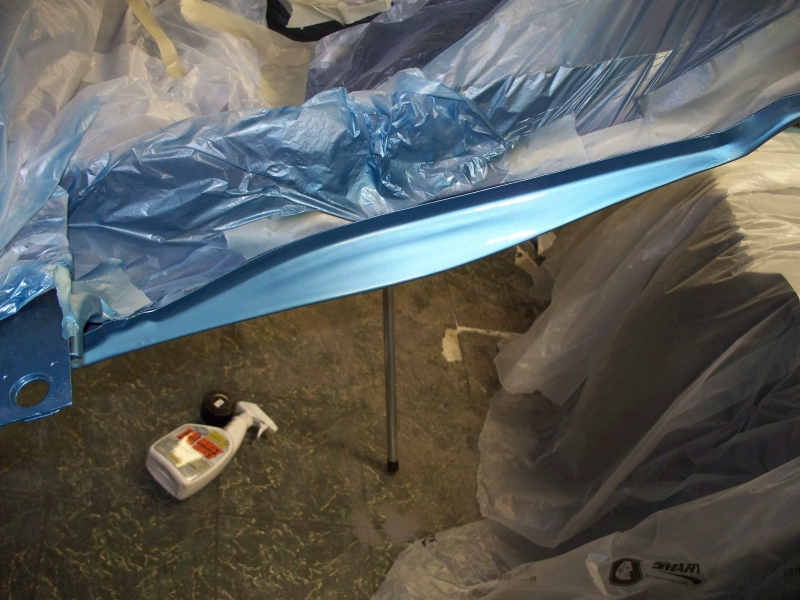 Flood damage. The hinge got wet when my basement flooded. I'm going to try electrolysis to remove the rust. A lot of the front end hardware was on the floor also. I ended up buying another front end hardware kit. Too much effort to remove all the surface rust. 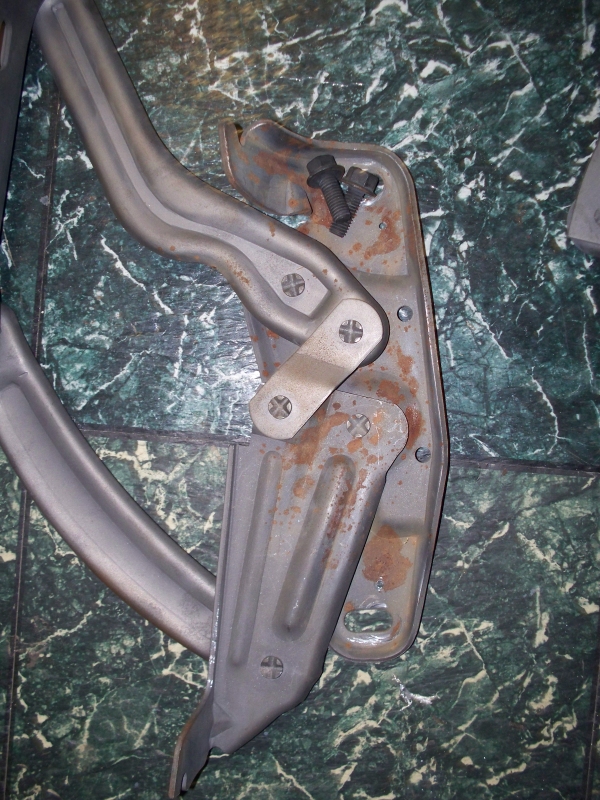 I occurred to me if I don't get the car painted in the next few weeks, it may be too cold to paint till spring. As it is I can't paint till mid morning. So I got busy and ordered all the paint supplies. Now its a race to see if I can get the car prepped and painted in the next few weeks.
__________________
68 Lemans - GTO appearance LS3 68 Eldorado - waiting for restoration 96 Roadmaster Wagon 2014 Infiniti Q50S Hybrid Marietta GA |
|
#376
10-17-2012, 09:15 AM
|
|||
|
|||
|
For those hinges this is my suggestion. Run over to the Home Depot and buy a gallon of phosphoric acid and a plastic spray bottle.
spray it down, let it soak for a while, wire brush and repete. Then rinse with water, dry with air compessor and sweat the metal with a propane tourch or heat gun and Paint. FWIW I have not had much luck keeping the rust off the bolts unless they were painted. What ever that black coating is doesn't do much of anything to keep rust at bay. The flip side is if you paint the bolts then they easily scratch installing them and can chip the paint of the part they are assembling. |
|
#377
10-17-2012, 08:01 PM
|
||||
|
||||
|
good luck with painting the car. I'm heading up to Lagrange this weekend & weatherman is calling for low 40s for sat night
|
|
#378
10-18-2012, 03:36 AM
|
||||
|
||||

Quote:
|
|
#379
10-18-2012, 10:53 AM
|
||||
|
||||
|
Thanks Cuz.
__________________
Greg Reid Palmetto, Georgia |
|
#380
10-18-2012, 09:14 PM
|
||||
|
||||
 Fbrown
There was a few things that my body man missed over 25 yrs ago. 1- dont for get to put the crome ends on the top of your fenders the last time you bolt them on. That is if you are useing the crome on your hood near your windshild. #2- Put the nuts on your fender emblem before you put your inter fender wells on. I take it you are not puting on a vinal top? Keep up the great work and take care of yourself. When i put on that last pice of crome i was verry happy on mine. I would love to be there when you start that bad boy for the test drive. Hell im proud of you.
|
| Reply |
|
|
The PY Online Forums is the largest online gathering of Pontiac enthusiasts anywhere in the world. Founded in 1991, it was also the first online forum for people to gather and talk about their Pontiacs. Since then, it has become the mecca of Pontiac technical data and knowledge that no other place can surpass.




 Linear Mode

