


| FAQ |
| Members List |
| Social Groups |
| Calendar |
| Search |
| Today's Posts |
|
|
|
#1
 11-29-2015, 11:16 AM
|
||||
|
||||

That was my thought as well or possibly a border inspection number.
__________________
Some guys they just give up living And start dying little by little, piece by piece, Some guys come home from work and wash up, And go racin' in the street. Bruce Springsteen - Racing In The Street - 1978 |
|
#2
11-29-2015, 01:39 PM
|
||||
|
||||
|
Has anyone used Rust Prevention Magic ("RPM") produced and sold by ECS? I tried it on the prop valve and will interested to see how it holds up. The prop valve was stripped, holes plugged, and then media blasted. Once it was blasted I hit it with the wire wheel. The whole thing then went to White Post and was rebuilt. It was delivered back to me exactly one week I after I mailed it out.
The RPM stuff is like the consistency of somewhat dry mink oil waterproofing. They recommend heating the part with a heat gun/hair dryer, and then applying the product with a stiff natural bristle brush. Let it soak in, and after the part cools rub off the excess. Once finished it has a slight waxy type feel. We are going to do a test sample on a piece of steel and leave it outside. I'll report back the results. Here's the prop valve before and after application. There is no visual difference. The lighting makes the part look shinier than it really is.  
|
|
#3
12-31-2015, 01:35 PM
|
||||
|
||||
|
Quote:
So here is the test sample after sitting out in the weather for one week. During the week of exposure it rained almost every day. The sample was bead blasted fist and then RPM applied to one half. There are several slight rust spots beginning to form on the RPM side, but all things considered, I am giving this a thumbs up for now. 
|
| The Following User Says Thank You to Bentwheelbob For This Useful Post: | ||
|
#4
01-02-2016, 08:32 PM
|
||||
|
||||
|
Well, a few things have gotten done on the Black Car, or at least on the parts I have. We've started stripping the engine down to clean everything up and get it repainted. The exhaust manifolds have been bead blasted, treated with POR15 Metal Prep, and then painted with POR15 High Temp exhaust manifold paint. After applying two coats with 24 hour cure time after each coat, I baked them on the grill for about an hour to heat cure the paint. The intake crossover and heat shield got the same treatment, and the intake has been beaded and is waiting for me to get some paint on the bottom side. The radiator shroud is also fully prepped and ready for paint as soon as it arrives.
Here's a few pictures       
|
|
#5
01-16-2016, 09:38 PM
|
||||
|
||||
|
So here is the test sample of ESC Rust Prevention Magic after sitting outside and exposed to the elements for over 3 weeks. I am still giving this a thumbs up, maybe two thumbs...
 Quote:
Last edited by Bentwheelbob; 01-16-2016 at 10:00 PM. |
|
#6
01-17-2016, 08:08 PM
|
||||
|
||||
|
Things are grinding along at the Hot Rod Garage. While it's hard to see a lot of progress, the ratio of completed stuff to incomplete stuff is getting better. A lot of focus has been on getting bolts and fasteners cleaned, ready, bagged, and zip tied to the part or assembly they go with. I didn't do this with the Gold Car and think this will really make make reassembly on the Black Car easier. I also got a rolling shelf to put completed parts/assemblies on. So far all the transmission related parts and bolts, intake parts and bolts, and exhaust manifolds and fasteners are finished. Also, I cleaned up and refinished the charcoal canister. I used an SEM bumper paint it and it looks really good. The alternator is also finished. I was going to send the fan and pulley off for replacing, but I cleaned them up on the wire wheel, cleared them, and they look great.
Here's a few pictures.     
|
|
#7
11-29-2015, 05:00 PM
|
||||
|
||||
|
The round blue Canada Transport Decal is known as the "National Safety Mark". I found the registry of NSM numbers and searched for General Motors and it came back "985". Here are the links if you want to see them. Each manufacturer had to register to be allowed to affix those decals to certify the cars met Canadian Safety Standards and each manufacturer got a 3 digit identifier:
https://www.tc.gc.ca/eng/motorvehicl...-faq_e-702.htm http://wwwapps.tc.gc.ca/saf-sec-sur/...neral%20Motors ..
__________________
'72 Formula 455HO TH400, Revere Silver, black deluxe '74 Trans Am SD 4 speed, Admiralty Blue, blue deluxe |
|
#8
11-29-2015, 05:19 PM
|
||||
|
||||
|
Thanks Rick. I kept thinking it was a regulation number pertaining to the transporting of a vehicle. I didn't think they were using them in the '70 model year though.
|
|
#9
11-29-2015, 05:30 PM
|
||||
|
||||
|
Mike, I had a hard time finding any reference to them at all till I found a forum where they referred to the decal by the NSM name and then it was much easier. GM was 985, Ford was 977 and Chrysler was 972. I'm not sure what date they began using the decal though.
__________________
'72 Formula 455HO TH400, Revere Silver, black deluxe '74 Trans Am SD 4 speed, Admiralty Blue, blue deluxe |
|
#10
12-26-2015, 07:19 PM
|
||||
|
||||
|
Slowly, but surely moving forward on the Black Car. The first load of parts have come back from the powder coat guy, and another batch was dropped off including the air cleaner. The stuff that came back looks great. He really does a nice job.
The new panels have also been fully assembled. I got the upgraded uppers from Legendary and they are fantastic. Then I caught big sale at Classic and bought OER lowers, arm rests, door pulls and remote mirror trim. Add in new window crank logo fillers, and they look fantastic. The lower door pockets from OER were really nice. Dead straight with good grain pattern, and all the necessary hardware. I was surprised that the new door pulls did not include the special screws you need, and that window crank fillers did not include the backing plates. I swapped out screws on the old door panels, and made my own backing plates, but I was surprised nonetheless. Here's a couple pictures. 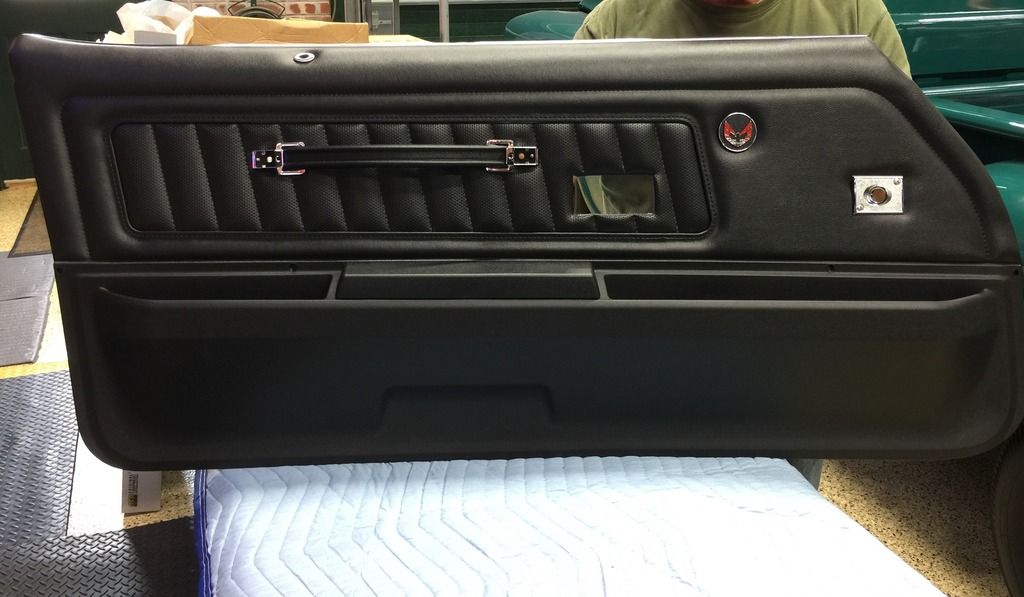 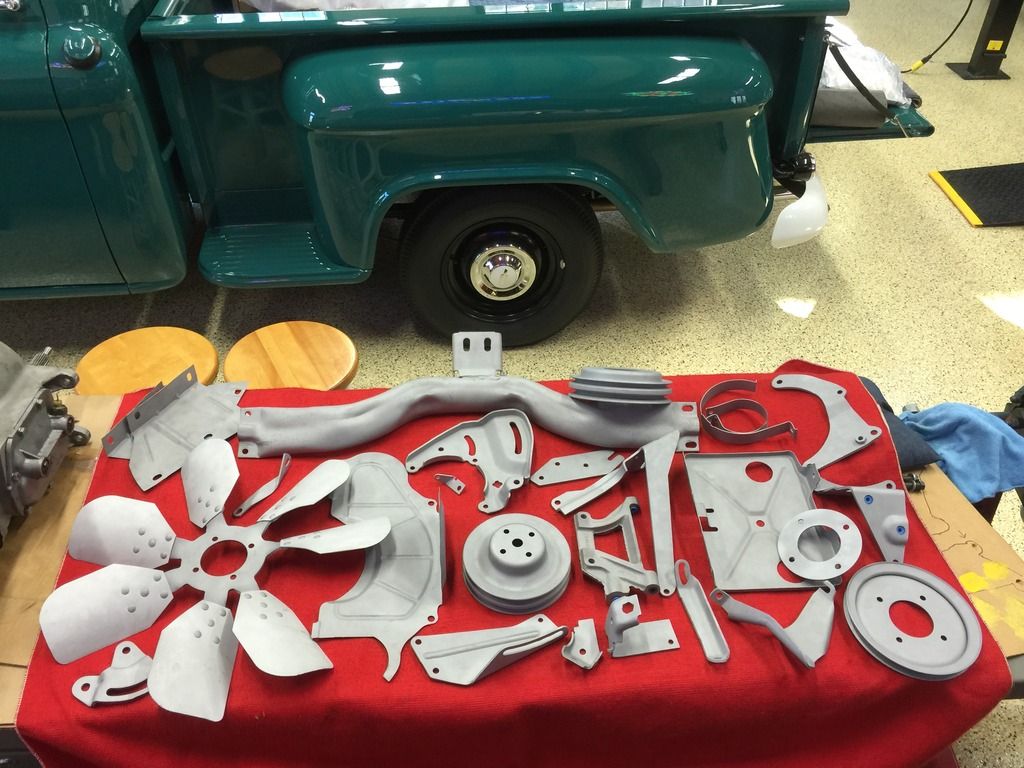 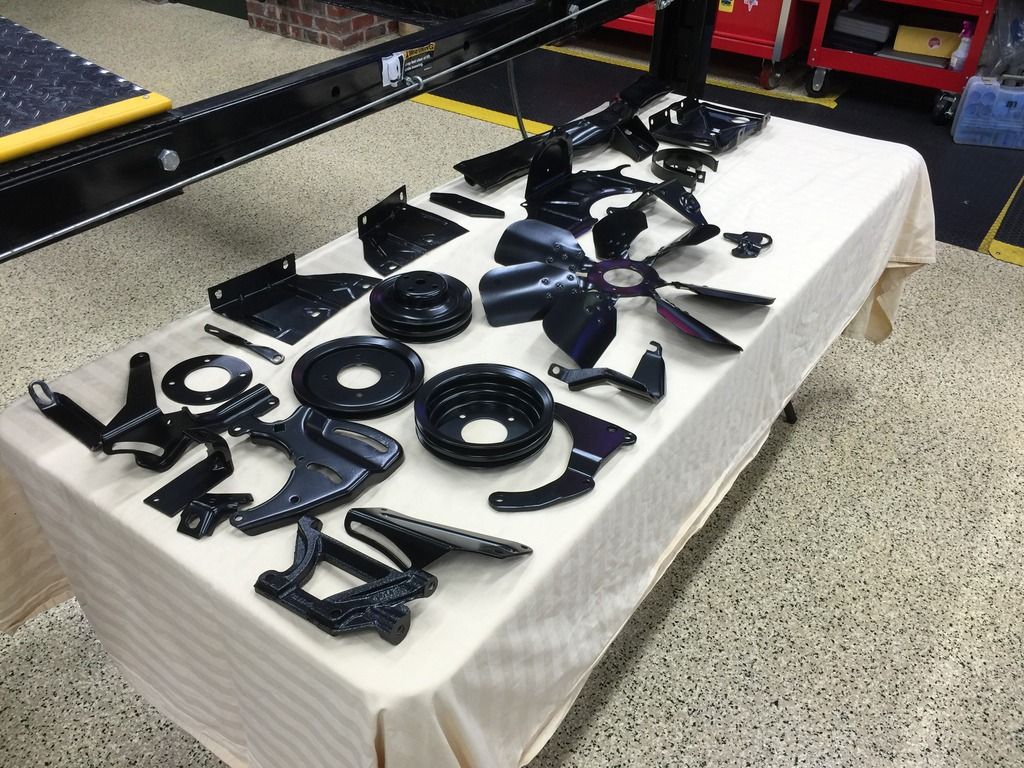
|
|
#11
12-26-2015, 08:30 PM
|
||||
|
||||
|
Looking good as always Bob..
|
|
#12
12-27-2015, 09:12 AM
|
||||
|
||||
|
What a logistical challenge! Looks great Bob!
__________________
Some guys they just give up living And start dying little by little, piece by piece, Some guys come home from work and wash up, And go racin' in the street. Bruce Springsteen - Racing In The Street - 1978 |
|
#13
12-27-2015, 09:35 AM
|
||||
|
||||

Yes fantastic as always...was also surprised regarding the lack of backing plates...
|
|
#14
12-27-2015, 09:54 AM
|
||||
|
||||
|
Bob, can you show the panel insides? The connector that holds the panel to door that always cracked?
__________________
Mike/Illinois |
|
#15
12-27-2015, 12:41 PM
|
||||
|
||||
|
Mike - I'll get you picture at some point, but I have already wrapped the panels and put them away. I bought the Legendary "preassembled" panels which have a rolled metal inner structure at the top where the originals had the rolled plastic that always cracked. The "preassembled" also has the inner window sweep already stapled in place. These were expensive, but very high quality pieces.
|
|
#16
12-27-2015, 01:21 PM
|
||||
|
||||

Been long time since I've worked w OEM door panels, and never w your vintage here.
Was the remove & replace from original panels backing plates easy straightforward or any details you'd care to share on those specifics? Panels look great and was surprised that the new lower repop's were spot on grain & fit wise..was expecting opposite based on other products Dashes, etc. Salute to MPD from me.  
|
|
#17
12-28-2015, 04:45 PM
|
||||
|
||||
|
Bob, those look like excellent quality pieces, better than original due to the metal upper structure. My originals look pretty good other than the plastic upper structures being in several pieces, but I may haul off and replace them someday with those Legendary reproductions.
__________________
'72 Formula 455HO TH400, Revere Silver, black deluxe '74 Trans Am SD 4 speed, Admiralty Blue, blue deluxe |
|
#18
12-28-2015, 07:32 PM
|
||||
|
||||
|
They look great but the million dollar question is how do they fit on the door?
|
|
#19
12-28-2015, 08:40 PM
|
||||
|
||||
|
Quote:
Got the intake off the engine today and started stripping it down for cleaning and fresh paint. MPD wanted me to tell you that you should have replaced the heater hose nipple when you rebuilt the engine. He saved it to give back to you when he returns the car after we get it perfect. Ha, ha... |
|
#20
12-28-2015, 08:57 PM
|
||||
|
||||
|
Great - so he is surgically enhancing nipples now? Can't anything be left au-natural anymore?
|
| Reply |
|
|
The PY Online Forums is the largest online gathering of Pontiac enthusiasts anywhere in the world. Founded in 1991, it was also the first online forum for people to gather and talk about their Pontiacs. Since then, it has become the mecca of Pontiac technical data and knowledge that no other place can surpass.







 Hybrid Mode
