


| FAQ |
| Members List |
| Social Groups |
| Calendar |
| Search |
| Today's Posts |
|
#421
 06-27-2013, 02:13 AM
|
||||
|
||||

HI Fred, Have you started your GTO or done any more body work on it? Long time no here from you. Hope all is well Your friend Randy.
__________________
Cuz68 
|
|
#422
07-07-2013, 12:25 AM
|
|||
|
|||

Things have been busy lately. One major problem after another. I sub-lease space for my business and the company we shared our space went out of business in a very messy way. That was in the February time frame. I didn't know until July 1 that I would be able to keep the space I had. In addition a tornado went through the complex damaging the building we were in and destroying another building across the street from us. Plus a lot of minor non-stop issues to deal with.
Ok back to topic. I managed to work a hour here and there, but didn't post any thing since it was usually late when I finished. What's been going on? I have installed door handles, weather strip, trim, outside mirror, emblems. The rear bumper is installed but I still need to adjust it some more. I started on the electrical. I have the factory wiring harness in place and hooked up. I pulled a wire for the rear view mirror, which has outside temperature and a compass. I still need to run wires for the power door locks. This also requires some relays to be installed since I am also installing a remote controller to lock and unlock the doors and trunk. I reluctantly decided to install the interior myself. The problem of getting an non running car to the upholstery shop was too great. In addition the shop really didn't want a non-running car and did not have enough space to store it. They could only store my car outside. I don't have front and rear windshield installed since headliner work is much easier with the windshield out. Major things to do. 1 Order driveshaft. 2 Paint the hood and install the front bumper. 3 Install front and rear windshield 4 Install AC Hopefully the car will be in running condition by fall. This is the back side of a legendary door panel. The round hole is for the window crank, but the panel is marked for a power window switch. 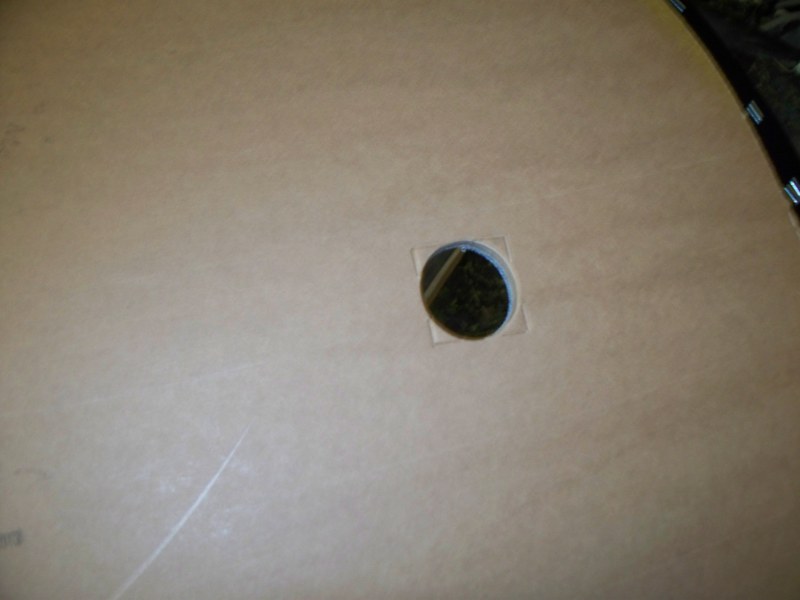 This is the power window switch hardware. 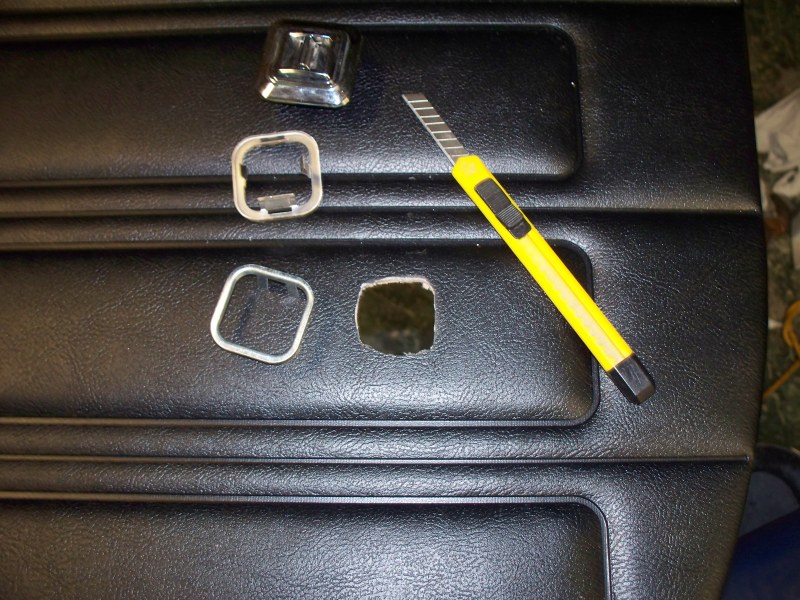 The bezel is inserted and the tabs are bend against the backside of the door panel 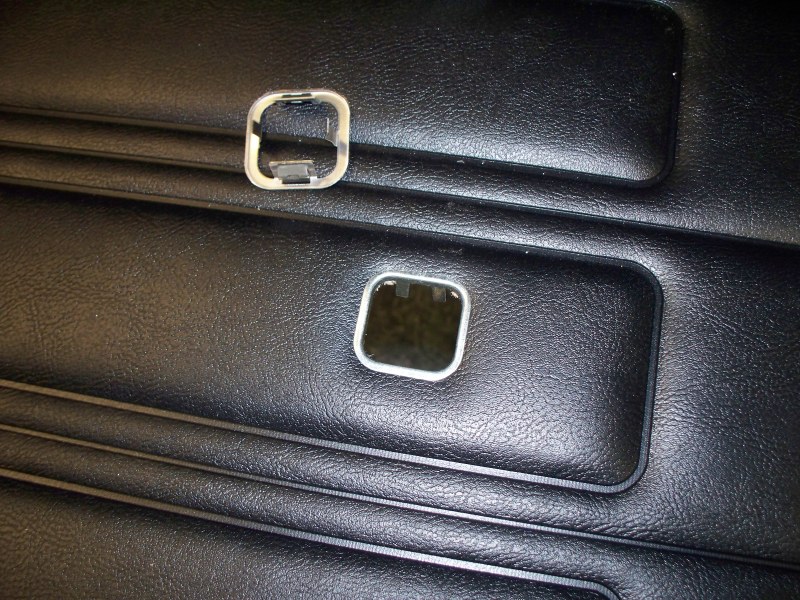 Completed installation. 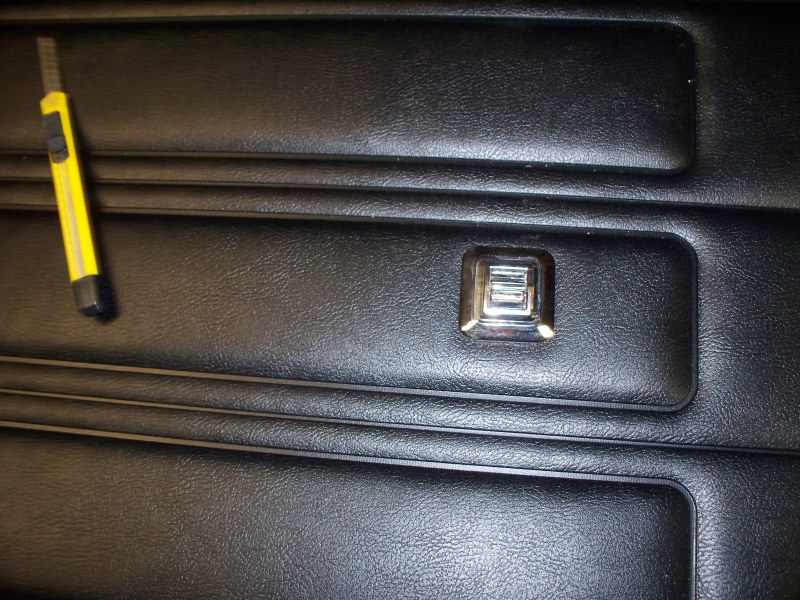 Test fit of quarter panel. 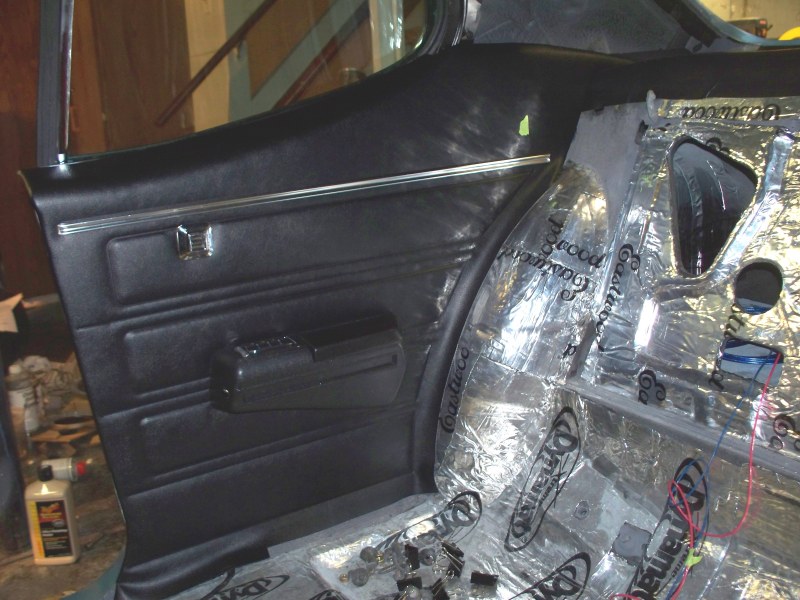 I made some hardware to retain the rear speaker. 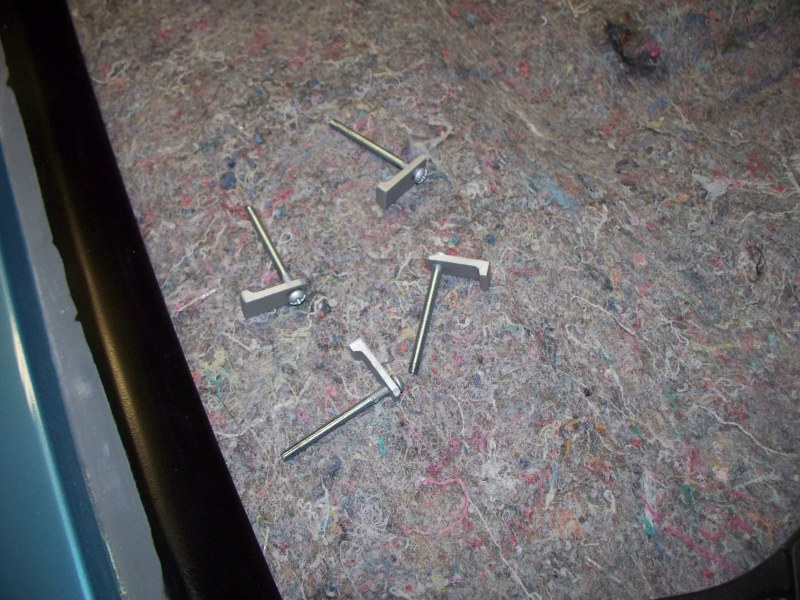 Speaker installed. 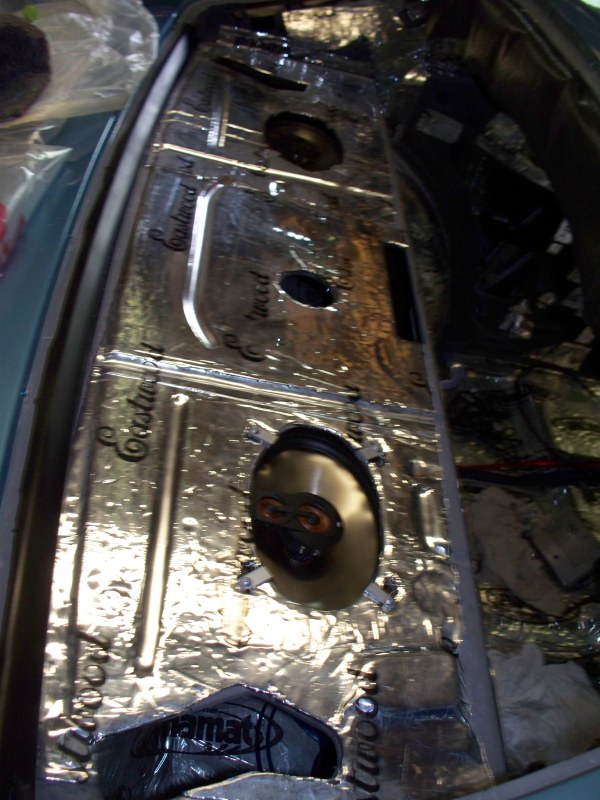 Package tray panel installed. 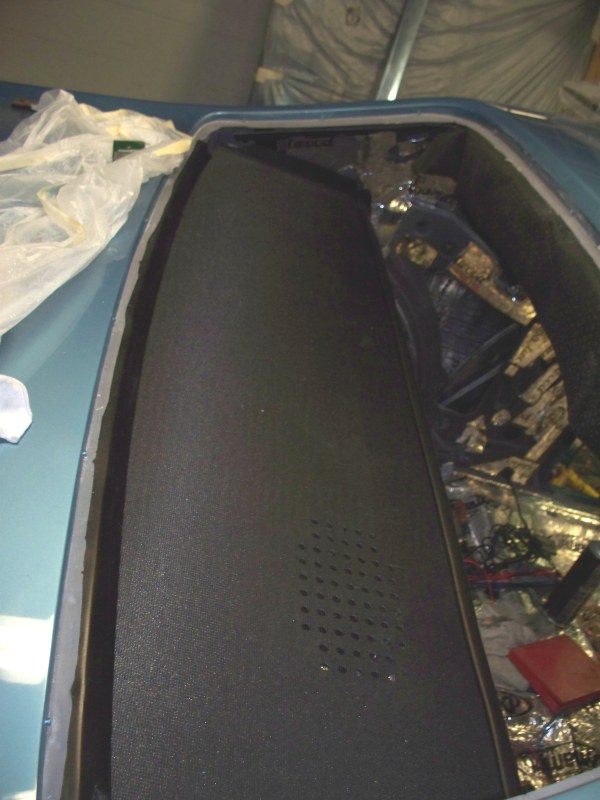 Radio installed. I found out that the Pontiac knobs would fit this radio, so I ordered two new ones. 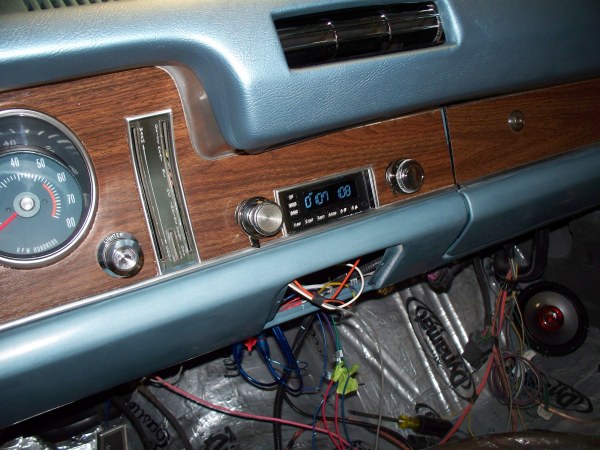 Thats it for tonight. I will try and post more pictures tomorrow.
__________________
68 Lemans - GTO appearance LS3 68 Eldorado - waiting for restoration 96 Roadmaster Wagon 2014 Infiniti Q50S Hybrid Marietta GA |
|
#423
07-08-2013, 02:02 AM
|
||||
|
||||
|
Good to hear from you, Your car is looking great my 68 GTO came with power windows also, Take care your friend Randy.
__________________
Cuz68
|
|
#424
07-08-2013, 09:52 AM
|
||||
|
||||
|
That's going to be an awfully nice car when done. Hope to see it one day.
__________________
Greg Reid Palmetto, Georgia |
|
#425
07-19-2013, 12:58 AM
|
|||
|
|||
|
I ordered a Denny's driveshaft today. Denny's balances their driveshafts up to 10000 rpm to assure there is no vibration. In about three weeks the car should be moving on it's own power.
There are still a lot of things left to do, but the list is getting smaller. I have been working on the wiring on and off. I now have the power windows powered through a relay so they only work with the key on. I have also wired the power door locks and hooked up a remote entry system. The remote entry system will hold the dome light on for 30 seconds when doors are unlocked. Video showing remote entry in operation. http://peripheraltech.com/gto/lock.mov The vinyl of the rear seats was good in the seating area but had rotted where it is hog ringed to the seat frame. Since I don't really know what I doing, I'm not going to say much about the recovering process, but here are some pictures showing the work. The vinyl should have been hog ringed to the wire I should the pink arrow. This part of the seat had rotted away. 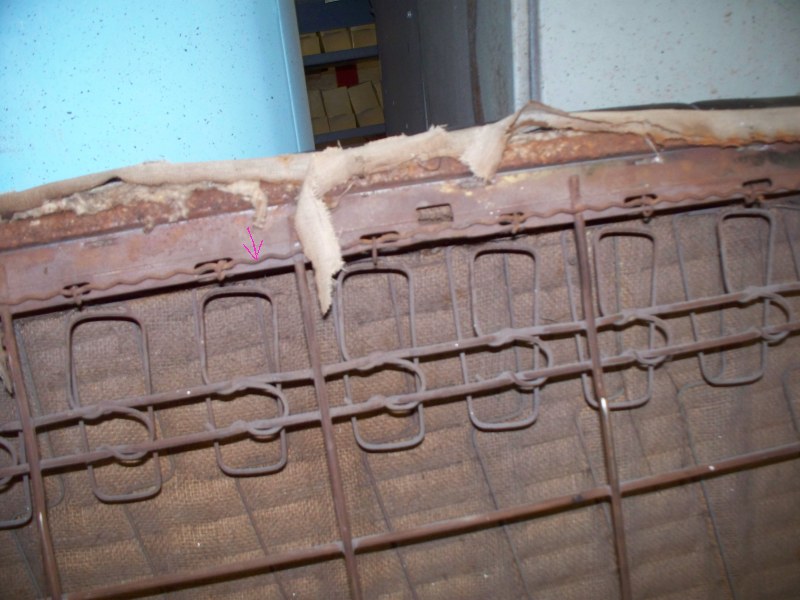 This probably would have cleaned up if the back side have not been rotted. 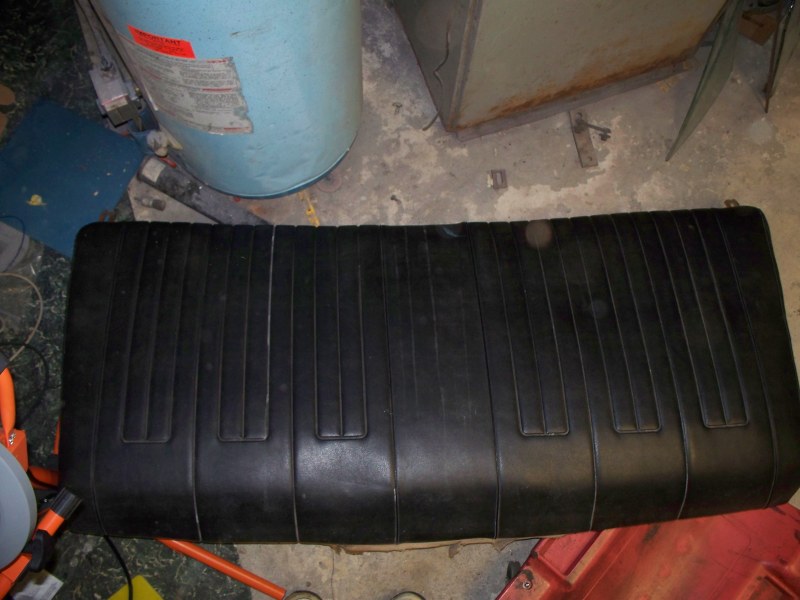 The recovering. Although not shown I did install a layer of cotton batting between the foam and the vinyl. 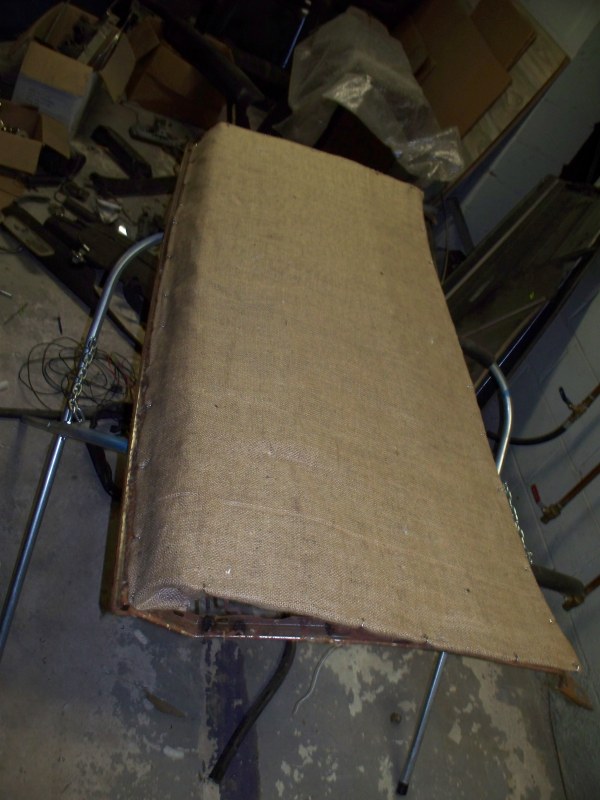 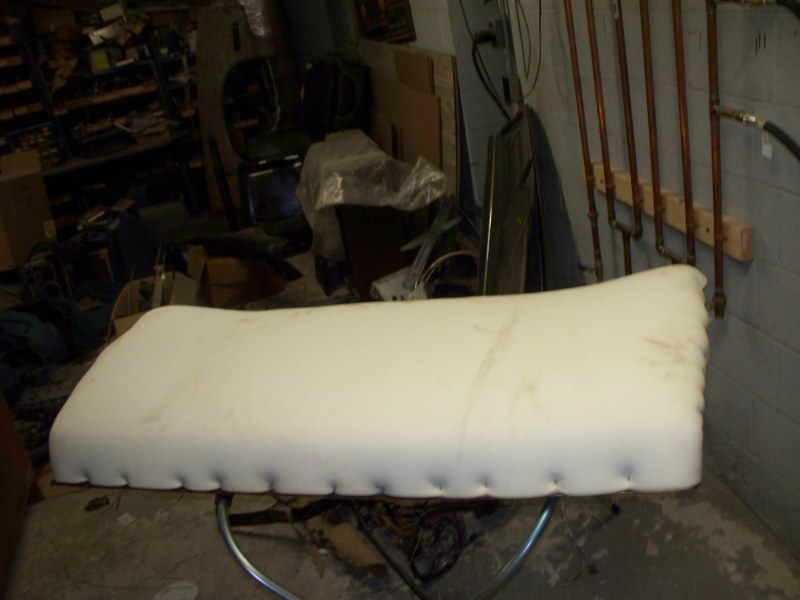 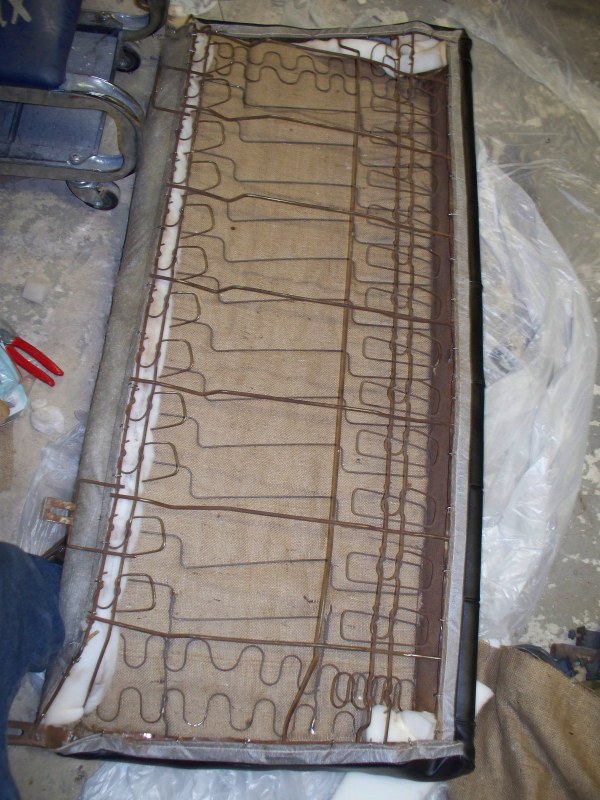 Finished result. 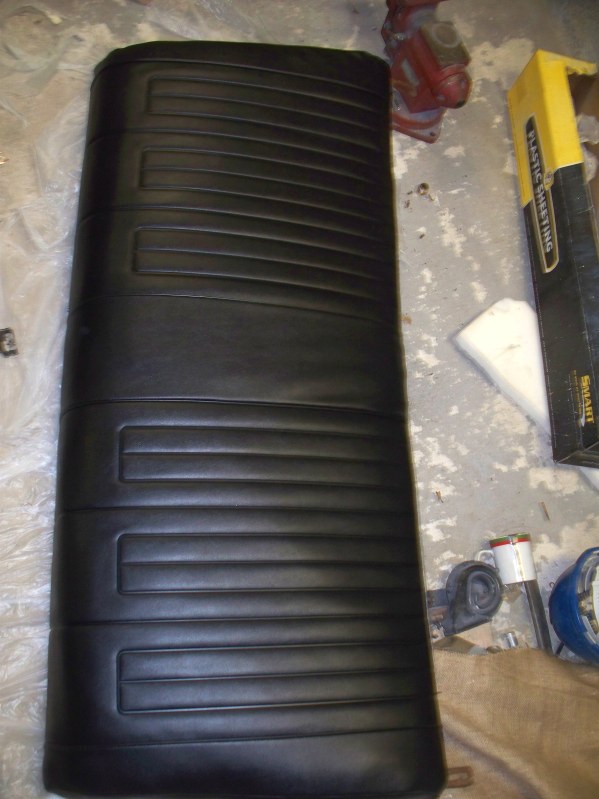 I installed a trunk divider with jute.  The seats installed. 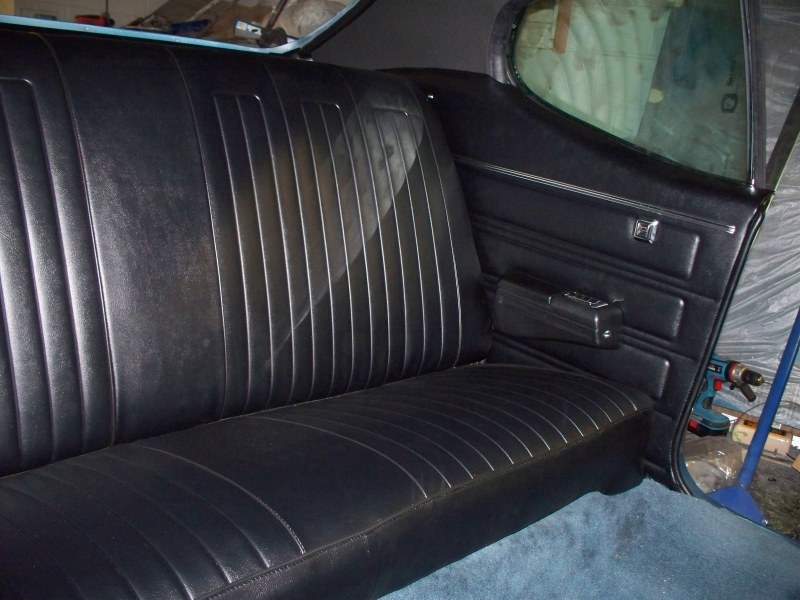 Carpet installed.  JL Kick panel speaker.  Since I installed a deep speaker, I have to cut some bracing, I bolted a strap on to make up for what I cut out. It would have been better to weld this on, but I'm going to risk weld splatter burning something. I should have test fitted this much earlier in the project. 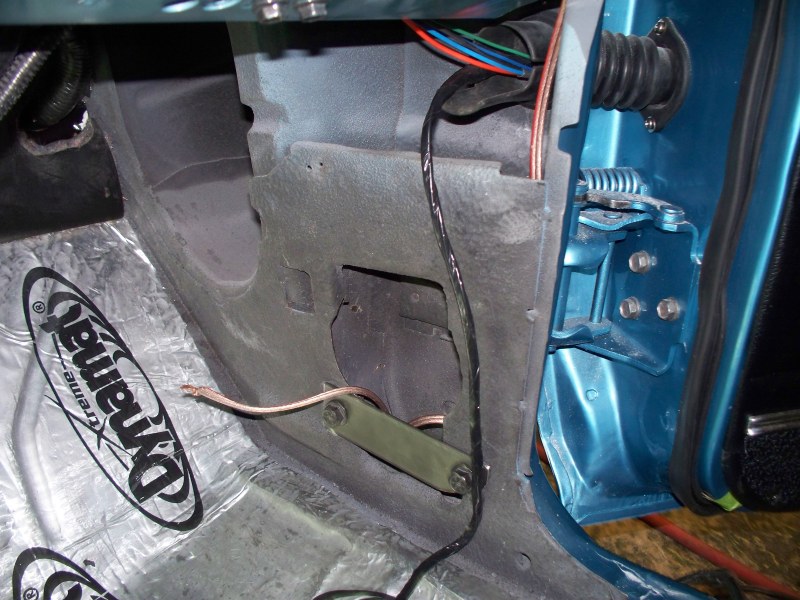
__________________
68 Lemans - GTO appearance LS3 68 Eldorado - waiting for restoration 96 Roadmaster Wagon 2014 Infiniti Q50S Hybrid Marietta GA |
|
#426
07-22-2013, 12:29 AM
|
|||
|
|||
|
It seems like there are millions of little things to do and sometimes the little things get very time consuming. I tried to pop the trunk with the electric trunk latch. All I got was a buzz and no unlock. Since I had tested the latch with a battery many months ago I assumed that it was something in the wiring. I ran a ground wire from the trunk lid to the body, nothing changed. I finally took the latch out and tried it at the battery, loud clank and the latch opened. Installed the latch again, no luck, sounded like the solenoid was moving, just not hard enough. Removed the latch again, shot some silicon lubricant in the moving part and reinstalled. This time I only put the bottom two bolts in. This time the latch worked. Put the upper bolt in and tested one more time, this time no motion, a weak click. It turned out that the mounting surface for the latch was slightly distorted, the upper surface of the latch was about 1/32" from the mounting surface and when tightened it caused the latch to distort around the solenoid to the point that it seized. I gave up on installing the upper bolt, its not really needed. A number of the available power latches only have the lower two bolts anyway. I mainly chickened out on straightening the latch mounting surface, since I didn't want to risk damaging the paint. This little problem killed about 3 hours of time.
I'm hoping to get the electrical system compete and the car ready to crank by the time the driveshaft arrives. If I have too many problems like the trunk latch, I may not make it. This is the mirror I'm using. It has a compass, reads outside temperature and has two map lights. 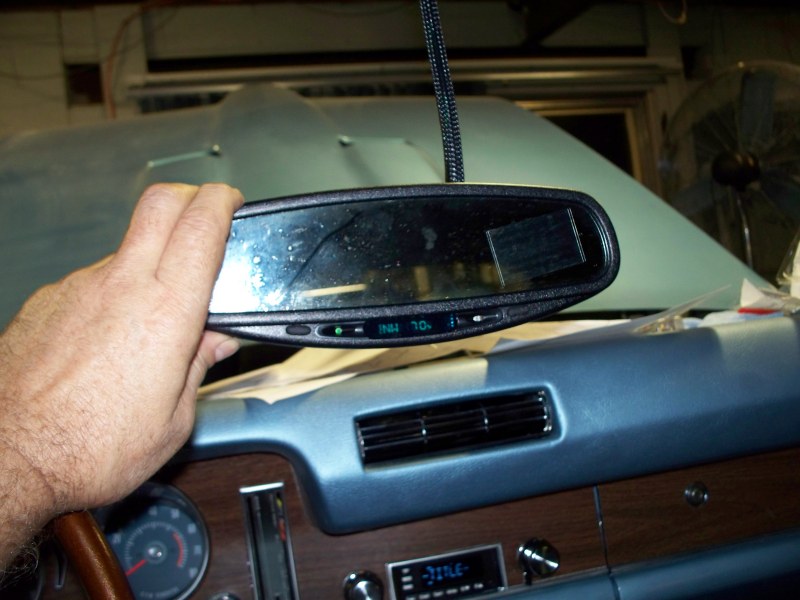 A shot of the kick panel with the speaker grill installed. 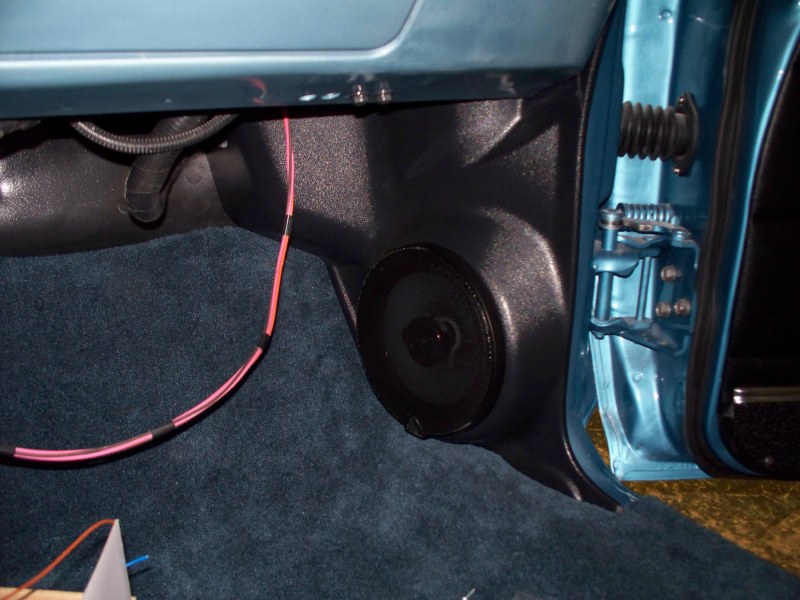 I have started on cleaning up the wiring under the hood. I used a plastic wrap to wrap the PCM harness and GM under-hood harness together. 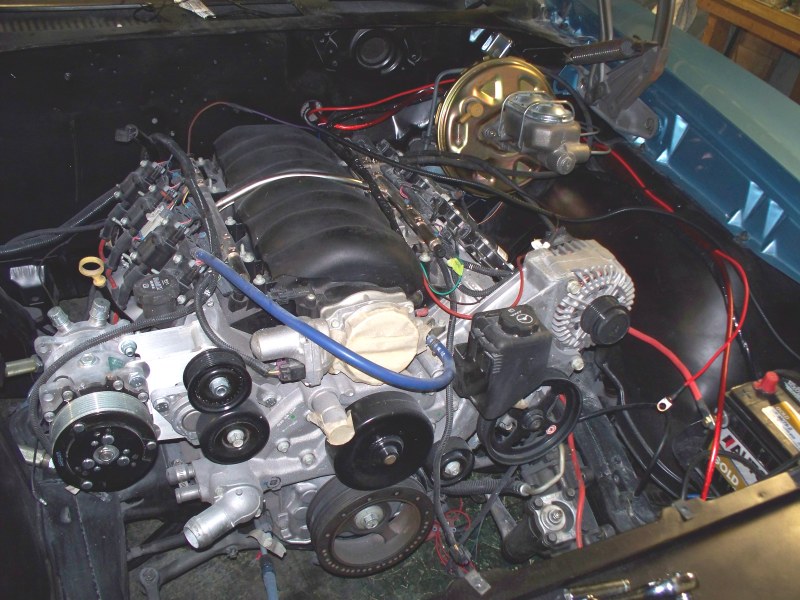 Power distribution is complicated on this project. Ground from the battery connects to a bracket on the frame. The other wire on the frame connects to the engine. +12 connections are done, except for the amp. I don't have everything connected since I don't want to power everything just yet. 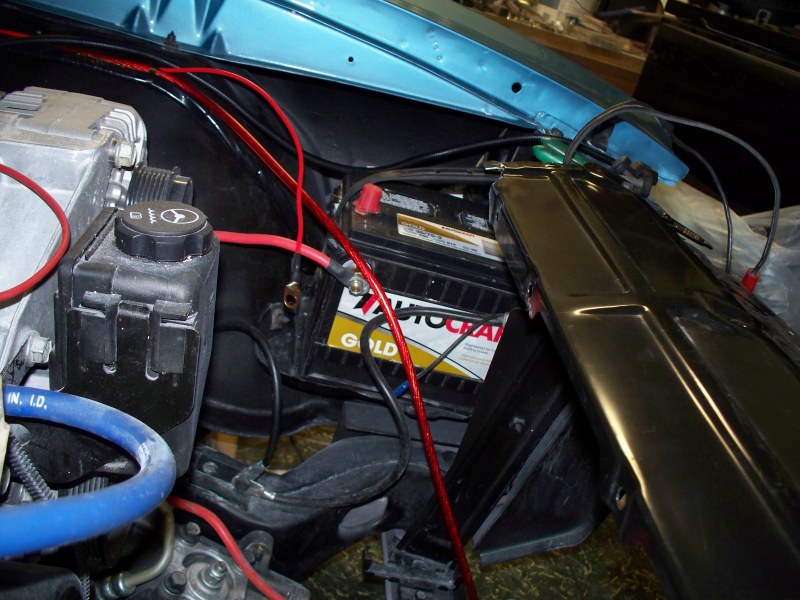 The body gets it ground from the firewall to the frame. That's a 8 gauge wire. The brown wire on the frame is for the PCM. 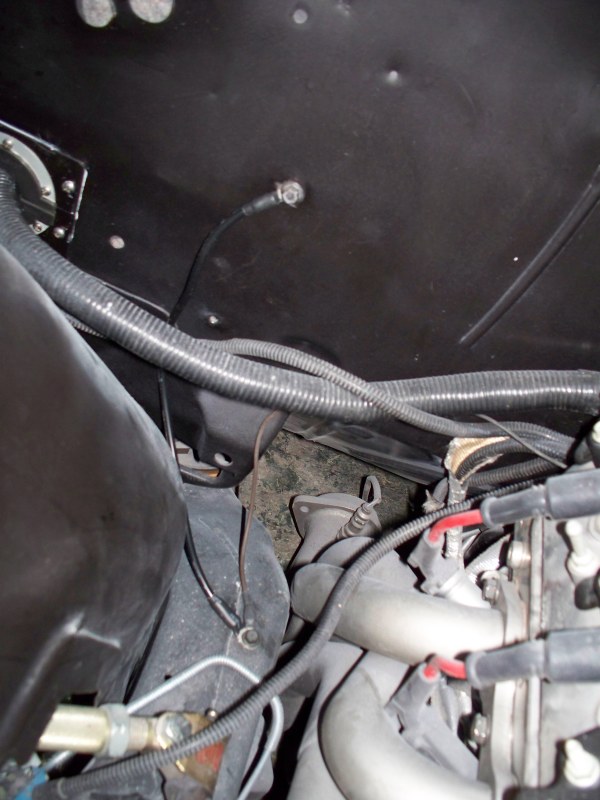 The core support needs to be grounded for the head lights to work. This a 12 gauge wire, but I have determined that it may be marginal and will replace it with a 10 gauge wire. 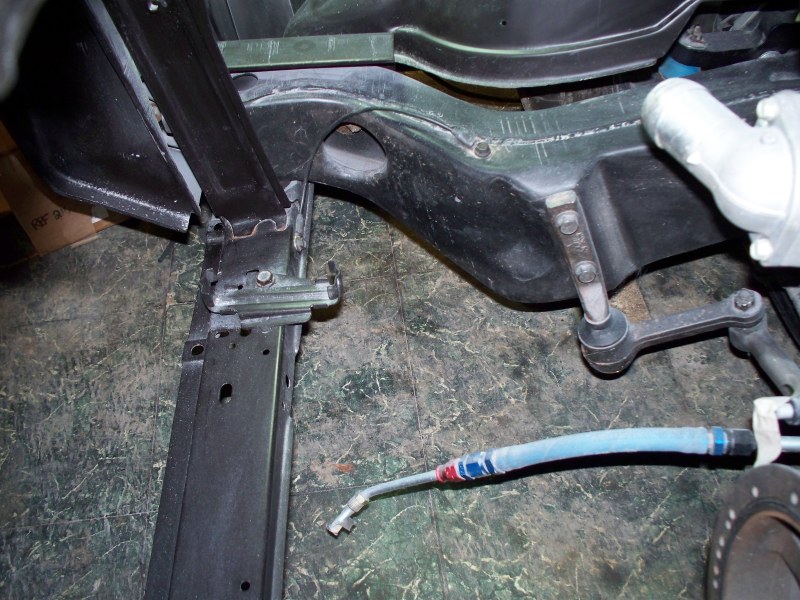 Other problems I am facing are the fuel lines. The hose I am using is no longer considered good enough for E10 fuel. It has been suggested that the hose I am using would need to be replaced every year or two. It seems the only fuel line that you can install once and forget for years is a Teflon lined hose. The OEMS were using a nylon line but OEMS are switching to Teflon lined fuel line. I have two short sections between the tank and the steel fuel lines (supply and return) and another short section where I need hose between the steel lines and the regulator.
__________________
68 Lemans - GTO appearance LS3 68 Eldorado - waiting for restoration 96 Roadmaster Wagon 2014 Infiniti Q50S Hybrid Marietta GA |
|
#427
07-27-2013, 03:36 AM
|
||||
|
||||
|
Looking very good you have done a lot to it sence your last post, I hope that you can get some one to video it when you start it, I would love to be there also. Good luck your friend Randy.
__________________
Cuz68
|
|
#428
11-05-2013, 10:59 AM
|
||||
|
||||
|
Hey Fred, anything to report haven't seen any updates. Hope all is well.
|
|
#429
11-06-2013, 01:35 AM
|
|||
|
|||
|
As they say life gets in the way of projects.
Lost both of my daily drivers. My 96 Roadmaster rear end failed then shortly after that my M45 started having engine problems indicating I should sell the car immediately before the engine failed. The M45 had 61,000 miles on it, so it was just out of warranty..... Replaced it with a 2013 Genesis V6. The Genesis performance is about equal to the M45. The Genesis makes a little more power with a V6. (333HP vs 325HP) Fuel economy is much better, 25 MPG for my daily drive compared to 16MPG for the M45. I injured my elbow. Doctors call it golfers elbow. Say it will take around 12-16 weeks for some recovery and 18 months for full recovery. This really makes working on the Lemans hard. It seems the last 2% of the car is going to take 40% of the total effort to complete. None of the last few items are being resolved quickly and easily. Things I have done. Installed the driveshaft. Initially had almost no clearance and thought I would need to have driveshaft shortened. After buying a angle finder and adjusting the upper control arms, the driveshaft fits. I think the angle ended being 2.75 degrees Set the front ride height. Took most of a day to find the right combination of spacers to get the height I wanted. Installed front shocks after setting front ride height I sent the original dash pad to "Just Dashes". The repro pad didn't want to stay installed, it kept popping loose and I didn't feel like dealing with the problem. I got front and rear windshield installed. Rear windshield trim was in poor condition. Very dented and what looked like 80 grit scratches on most of it. I got three of the pieces restored before I injured my elbow. The forth piece just needs buffing, the dents have been removed. The rear taillight in the reproduction assembly is wired wrong. Bumper will have to be removed to deal with this. I managed to throw out the power steering return hose. Finding hose rated for power steering fluid is difficult. I ended up buying 5 feet of it from Amazon. I also lost or threw away one of the fitting adapters for the Delphi 660 steering box. (Metric to Inverted flare). I spent hours finding a replacement and another week waiting for it to ship. The battery I bought in 2009 has failed. Won't hold a charge. Only cranked the car about three times. I added brake fluid and bled the lines. I worked on the car audio system. The Retro Radio apparently rolls the bass off and sounds like crap. In fact I rate the sound quality from the on board amplifier as very poor. Fortunately the RCA outputs do not roll the bass off. I have hooked up my Kenwood amplifier and get decent sound from the rear speakers, but I now find that I need a amplifier for the front speakers. Every major aftermarket head unit I have ever used (Sony, Kenwood, etc) has been able to power my front speakers fine, generally providing about 25 Watts RMS. While the Retro Sound is rated at 50Wx4 RMS it is misleading because they roll the bass off. I didn't plan to use a amplifier for the front speakers and right now don't know where I can mount one. I hope I don't have to run another set of wires to the trunk. What remains before the car could be cranked ? Install cooling hoses, steam line etc. Add fluids and I should be able to crank the car. Exhaust system still needs to be installed. The only major purchase I need to make is a Vintage Air Unit. I have everything else that is needed to compete the car. The hood needs to be repainted. 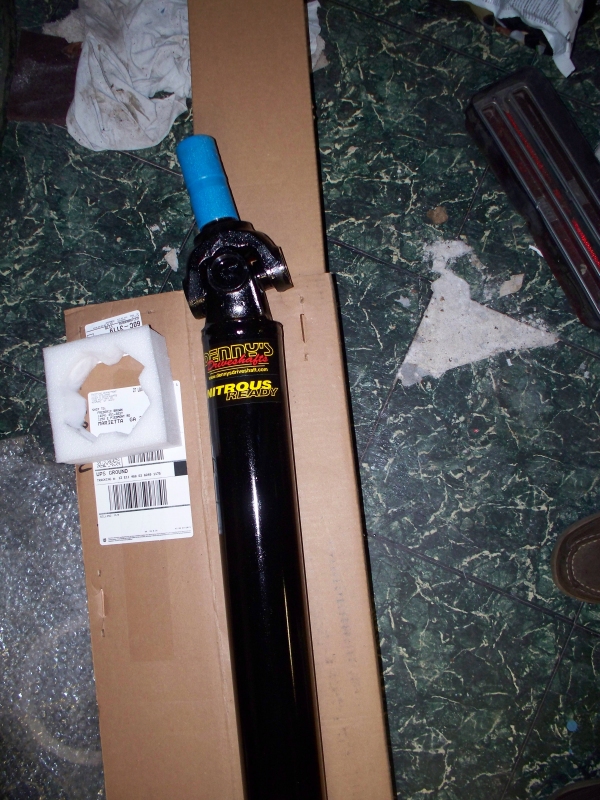 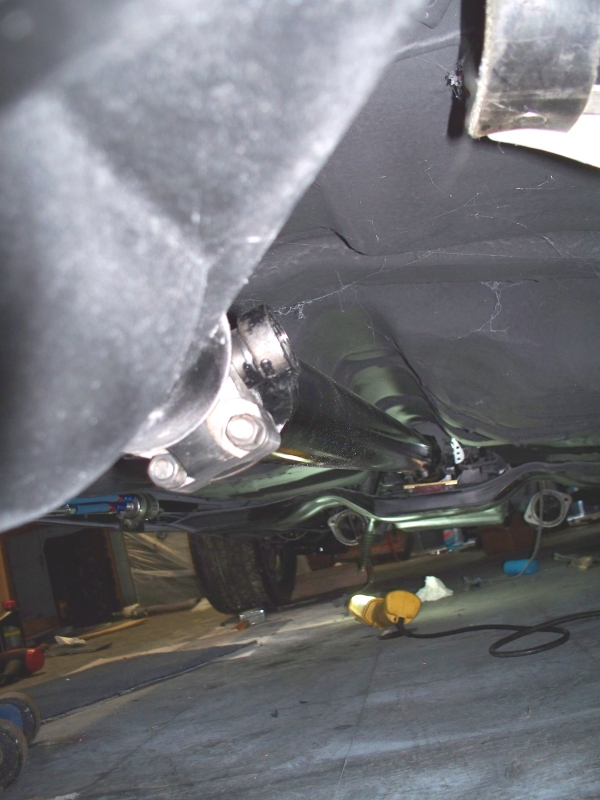 The console has been cleaned and dyed. The shade of blue on the seat doesn't match too good. Looks like another dye job needed.  Various parts stripped and painted. 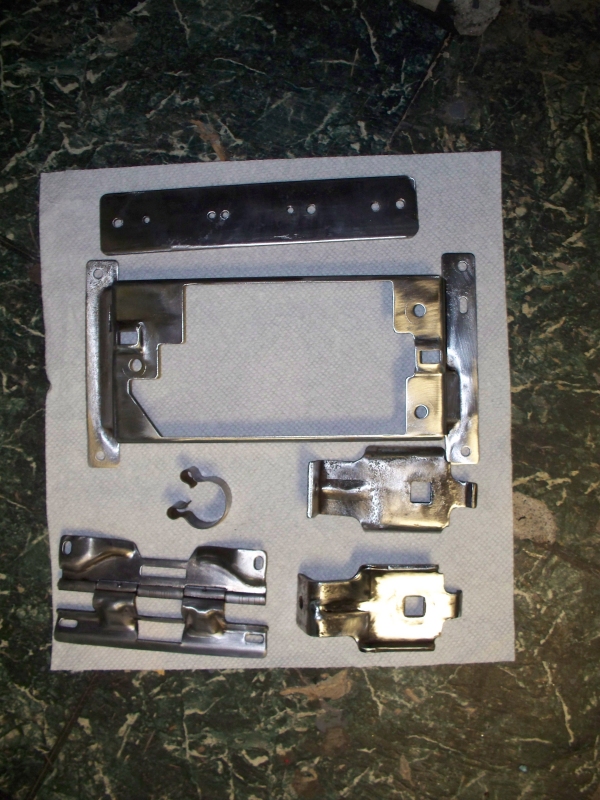 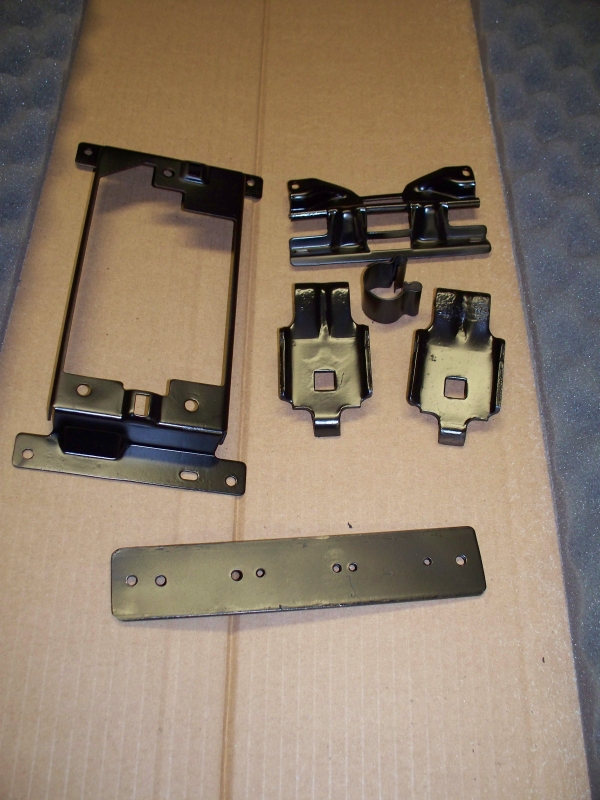 Making hoses 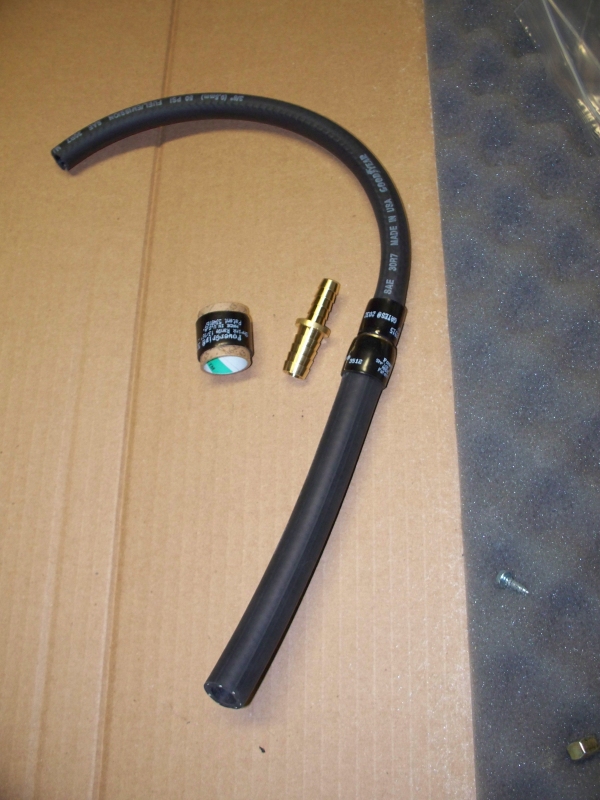 Windshield and trim 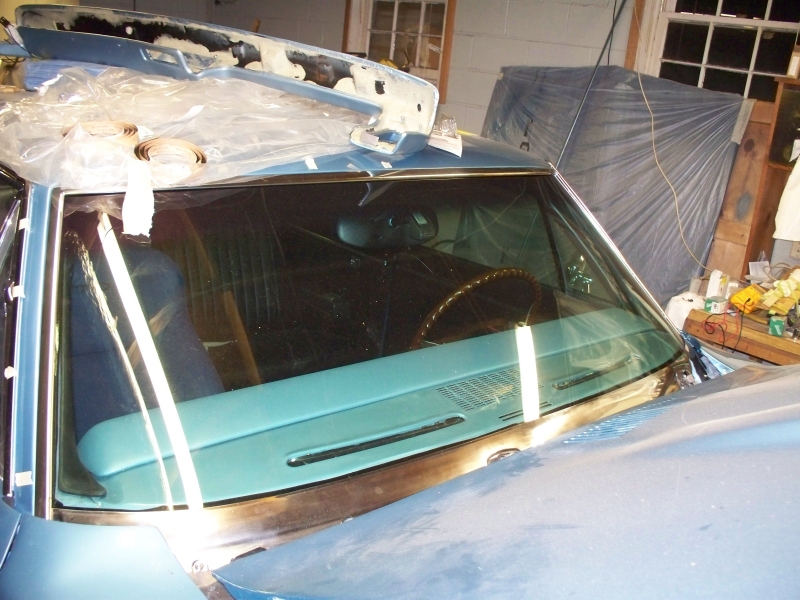 Just Dashes Dash 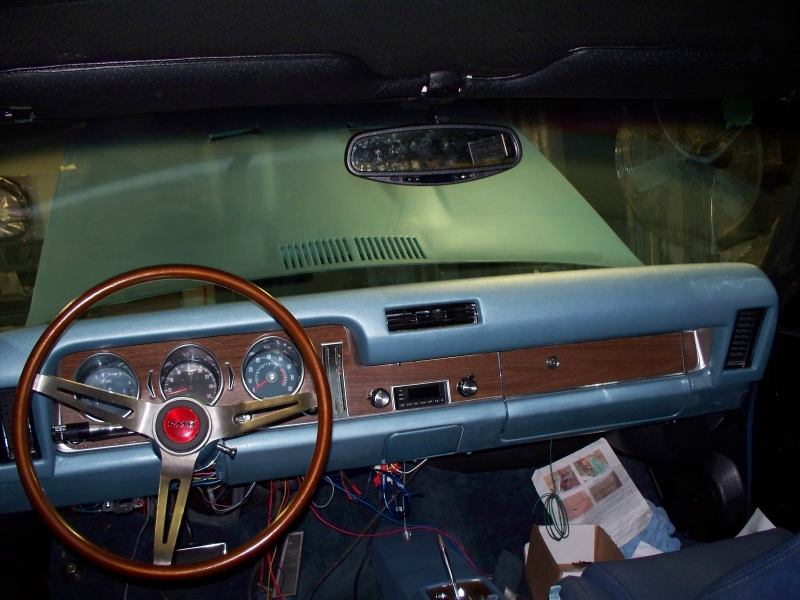
__________________
68 Lemans - GTO appearance LS3 68 Eldorado - waiting for restoration 96 Roadmaster Wagon 2014 Infiniti Q50S Hybrid Marietta GA |
|
#430
11-06-2013, 10:24 AM
|
||||
|
||||
|
Always an entertaining post Mr. Brown.
What gauge wire do you run to the trunk for the amps? Where do you pick up the power? Battery? If so what do you use on the + post? |
|
#431
11-06-2013, 01:22 PM
|
||||
|
||||
|
Looking good Frederick.
I had that elbow thing myself. I got it from turning my engine over with a short ratchet for an extended period of time...Leakdown testing... Didn't hurt myself during the process but the next day, it was killing me and I figured that's what it was. Sleeping was a challenge for months. It took about a year before it really stopped bothering me.
__________________
Greg Reid Palmetto, Georgia |
|
#432
11-06-2013, 05:31 PM
|
||||
|
||||
|
Sorry to hear about your arm but glad to see you're still plugging away at the lemans
|
|
#433
11-06-2013, 10:30 PM
|
|||
|
|||
|
Quote:
Quote:
The stud for the wires is an adapter available at most auto parts stores. It also comes in amplifier wiring kits. I purchased an amp wiring kit from Amazon for about $20. You can also get adapters for the clamp type of battery cables. 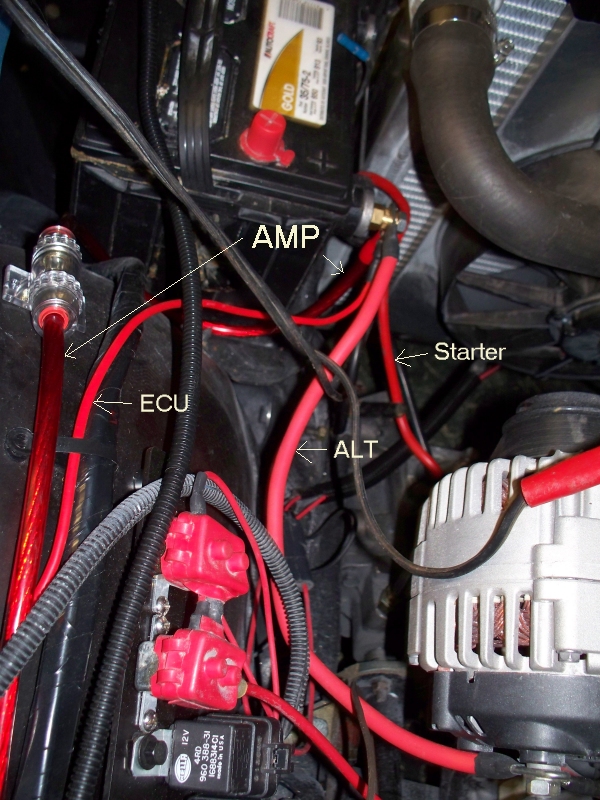 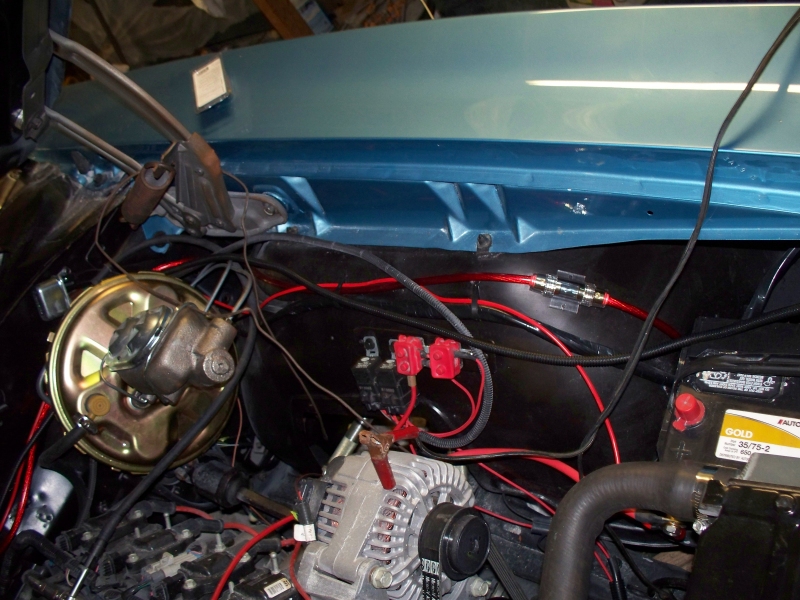 I can't mount anything right now, so I just hooked it up for sound testing. 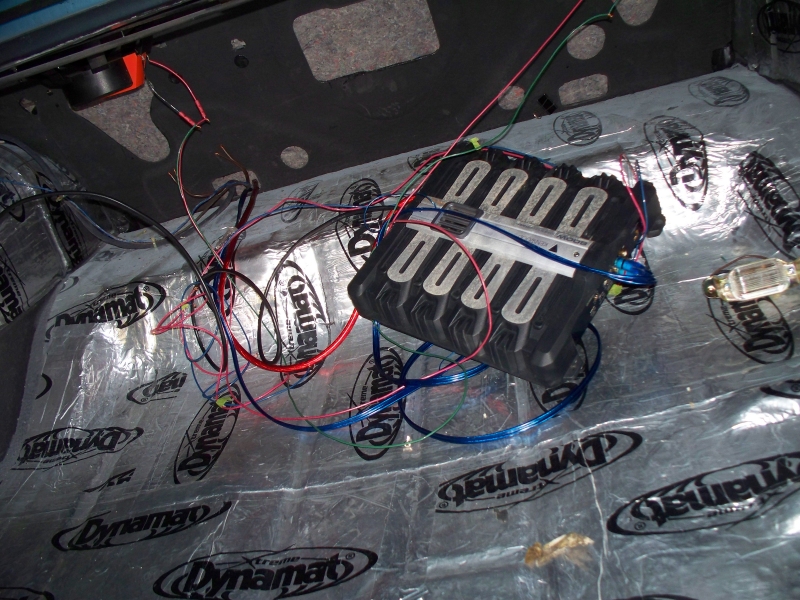 The amp. The label lies, its only 240W RMS at .001% THD. The dynamat works well. No rattles at really high volume. The JBL 6x9's really play loud and clean. Bass that you can feel. 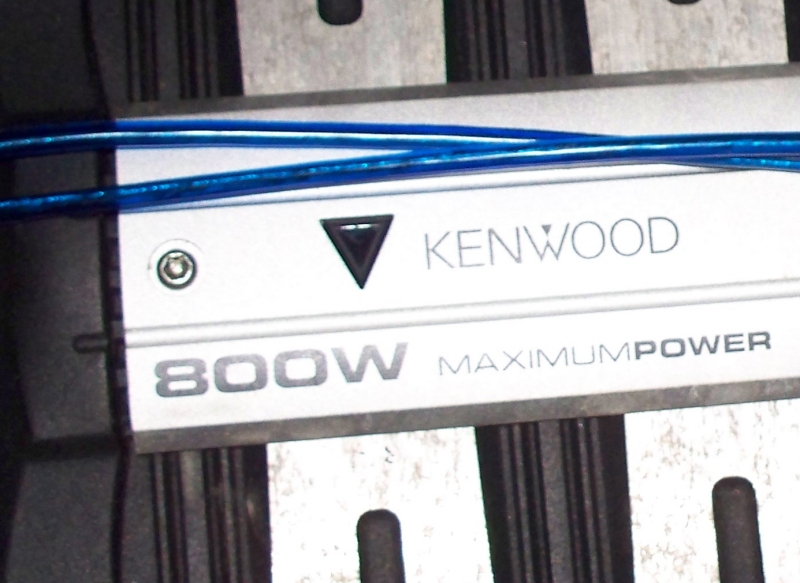
__________________
68 Lemans - GTO appearance LS3 68 Eldorado - waiting for restoration 96 Roadmaster Wagon 2014 Infiniti Q50S Hybrid Marietta GA |
|
#434
11-06-2013, 11:03 PM
|
|||
|
|||
|
You guys got me to thinking about amplifiers and wiring and I remembered the amp I bought to use in my 2006 GTO. I bought the amp to replace the factory sub amp. After replacing the factory speakers with high efficiency Infinity speakers, I found I didn't need the amp so I just sit it in a cabinet and forgot about it.
This amp is a bit overkill, but why buy another when you have something that will work. Specs 2x75 RMS 4 Ohms 2x120 RMS 2 Ohms Total THD 0.03% Draws 20 Amps, fused at 40 amps, 1 amp at idle Recommend 10 gauge wire. The amp is rather big, but I guess I can find somewhere to mount it. I can probably get away with a 12 gauge power wire, since I only wanted/needed about 25W RMS for the front speakers. 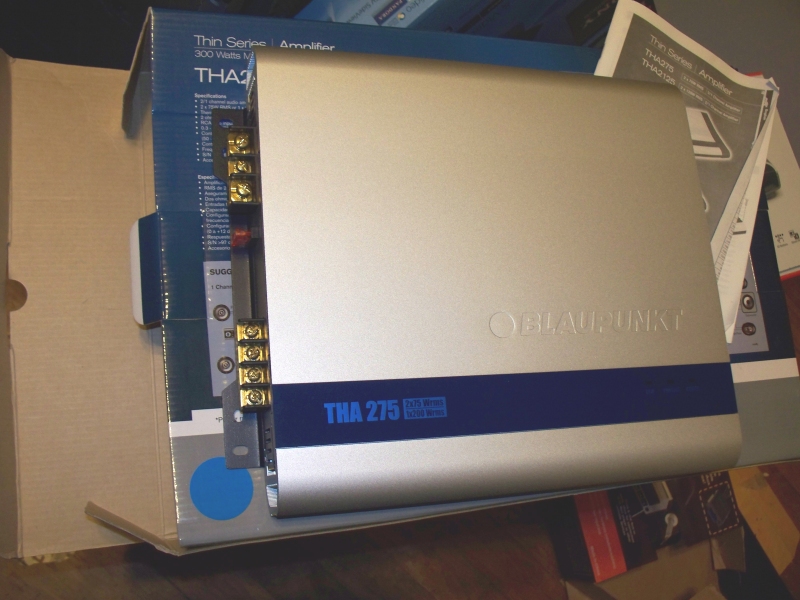
__________________
68 Lemans - GTO appearance LS3 68 Eldorado - waiting for restoration 96 Roadmaster Wagon 2014 Infiniti Q50S Hybrid Marietta GA |
|
#435
11-06-2013, 11:45 PM
|
|||
|
|||
|
The amp is too big to go anywhere but under the rear seat (maybe?) but if get the wiring to the rear seat, its trivial to go ahead and mount the amp in the trunk. Another two feet of wire. Now if I can find a gorilla to remove the rear seat for me. It was all I could do to install the rear seat with both arms.
__________________
68 Lemans - GTO appearance LS3 68 Eldorado - waiting for restoration 96 Roadmaster Wagon 2014 Infiniti Q50S Hybrid Marietta GA |
|
#436
11-06-2013, 11:51 PM
|
||||
|
||||
|
My '68 has an amp installed by a previous owner. It's mounted on the divider between the trunk and the rear seat. I've never used it but it's still there. Looking at my pic though...I can see why you may not want it there...Kinda distracting to the eye.

__________________
Greg Reid Palmetto, Georgia |
|
#437
11-08-2013, 02:58 AM
|
||||
|
||||

Looking real good Fred I wish i could be there when you start it. Your friend Randy.
__________________
Cuz68
|
|
#438
11-08-2013, 12:23 PM
|
||||
|
||||
|
I may have missed it Fred, but I see you gave up on the other dash? What was the problem and what are your plans for it? I might be interested.
__________________
Greg Reid Palmetto, Georgia |
|
#439
11-09-2013, 02:07 AM
|
||||
|
||||
|
Greg it is on post 429.
__________________
Cuz68
|
|
#440
11-09-2013, 11:16 AM
|
||||
|
||||
|
Thanks Randy but I mean the one on the roof. I thinking that is the repop dash he was using a while back and thought that he may have it as a spare since he is now using the Just Dashes unit.
__________________
Greg Reid Palmetto, Georgia |
| Reply |
|
|
The PY Online Forums is the largest online gathering of Pontiac enthusiasts anywhere in the world. Founded in 1991, it was also the first online forum for people to gather and talk about their Pontiacs. Since then, it has become the mecca of Pontiac technical data and knowledge that no other place can surpass.





 Linear Mode

