


| FAQ |
| Members List |
| Social Groups |
| Calendar |
| Search |
| Today's Posts |
|
#261
 04-24-2018, 09:52 PM
|
|||
|
|||

I put up a new post at my website (BargeGarage.com) showing more pics of my new custom fuel tank and the process on how I ended up having one made.
You can check it out in full here - https://bargegarage.com/2018/04/25/o...ade-fuel-tank/ Here are some of the key pics...     
|
|
#262
04-28-2018, 11:23 PM
|
|||
|
|||
|
11hrs hanging off a grinder with a wire cup, then 1hr with an orbital and 40grit discs and we discovered the polyester bog was just put on for fun...
        The car has copped hits in both LH and RH wheel arches, plus they removed the BONNEVILLE script off each rear guard and bogged the holes without filling them. The RH guard is worse than the LH as the RH one is rippled and the wheel arch is a bit tweaked but Brendan is fixing it once he is back from the USA in a couple of weeks.     Brendan epoxy primed the roof, cowl and door jambs, and put seam sealer all around it too. With a quick scuff the door jamb and inner roof structure will be ready for colour. The boot gutter still needs rust repairs before it gets primer, unfortunately. |
|
#263
04-28-2018, 11:32 PM
|
||||
|
||||
|
That's a good example of why it's a good idea to go back to bare metal, to make sure there aren't any surprises under the paint.
Sure is a lot of work, but it's going to be nice when you're done with it. |
|
#264
04-28-2018, 11:40 PM
|
|||
|
|||
|
Yep. As soon as i saw the humidity blisters in the paint i knew the whole car was going to have to get naked.
I was bemused as to why the previous body shop loaded the quarters SO THICK when they could have just done a skim... or fixed the metal properly and put no filler in! |
|
#265
04-28-2018, 11:53 PM
|
||||
|
||||
 Alcohol.... It's the only answer.
__________________
'71 Holden HQ Monaro - 3850lbs race weight, 400c/i - 11.4 @ 120 '66 Pontiac GTO - 389, 4 speed street cruiser |
|
#266
04-29-2018, 01:39 AM
|
|||
|
|||
|
The metal is really good shape for being 56 years sold so i am stoked at how it turned out!
|
|
#267
05-03-2018, 08:57 PM
|
|||
|
|||
 So I still need to mount the rails to the manifold, tap them for fittings and work out how to install a Schrader valve to the back of the passenger side rail. As with a stock LS deadhead fuel system the valve is needed to bleed air out of the system. I also want to do something nicer across the front of the rails that the normal AN fittings and braided line - I am thinking of something with some hardline.   More pics at: https://bargegarage.com/2018/05/04/w...nifold-is-rad/  
|
|
#268
05-20-2018, 07:33 PM
|
|||
|
|||
|
So my painter sent me some teasers yesterday
This is General Motors Poison Ivy, which was used on our Holden Commodores but also your Chevy Cruze (Rainforest Green) and I think some Chevy Silverados. It is also similar to the Corvette Lime Rock Green that one user did his '64 wagon in on here (and where I stole the idea from haha)Hopefully the door and trunk jambs are done over the following fortnight so we can get the doors back on - Brendan is going to replace the entire trunk floor before he does that, however.        Hopefully we're only a month off having the whole shebang in colour! |
|
#269
05-24-2018, 07:00 PM
|
|||
|
|||
|
The new boot floor (flat 1.6mm sheet) is going in this week, then I have to work out how to mount the fuel tank as the old one had two recess lines in its top which located against support beams in the trunk floor. The new tank is flat across the top so, on top of making new straps to hold it off the ground, I'll have to sort out some way to stop it sliding side-to-side.
Old tank - the recesses to locate the tank side-to-side are marked by the four ellipses  New tank - I also have to cut an access hole in the boot floor as I want to be able to remove the pump/MRA without dropping the tank. I'm thinking of welding a couple of small (25mm-long, say) upside down L angle to the boot floor (so the bottom of the L is welded to the boot floor). These should stop the tank moving side-to-side and shouldn't stand out once the whole underside and inside of the trunk is covered in Lizard Skin as a first-step. There are 2 Lizard Skin products and i'll be doing the ceramic thermal barrier (http://www.carbuilders.com.au/lizard...mic-insulation) followed by the Lizard Skin Sound Control (http://www.carbuilders.com.au/lizard-skin-sound-control) because the trunk of my car has more surface area than all of New York city's airports put together, and the new, flat trunk floor is probably going to drum like the ghost of John Bonham (aka a thundering bastard). Lizard Skin ceramic thermal liner: 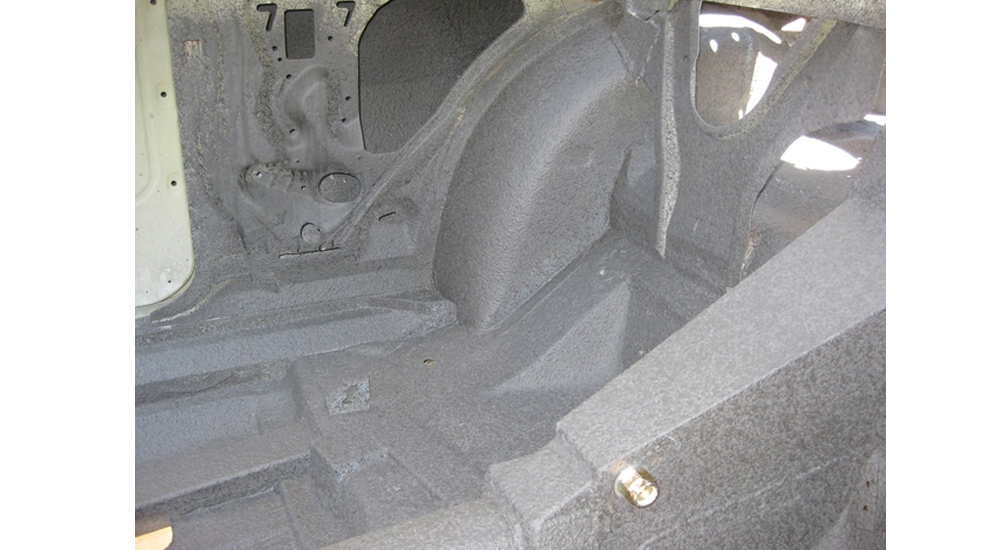 Lizard Skin sound control: 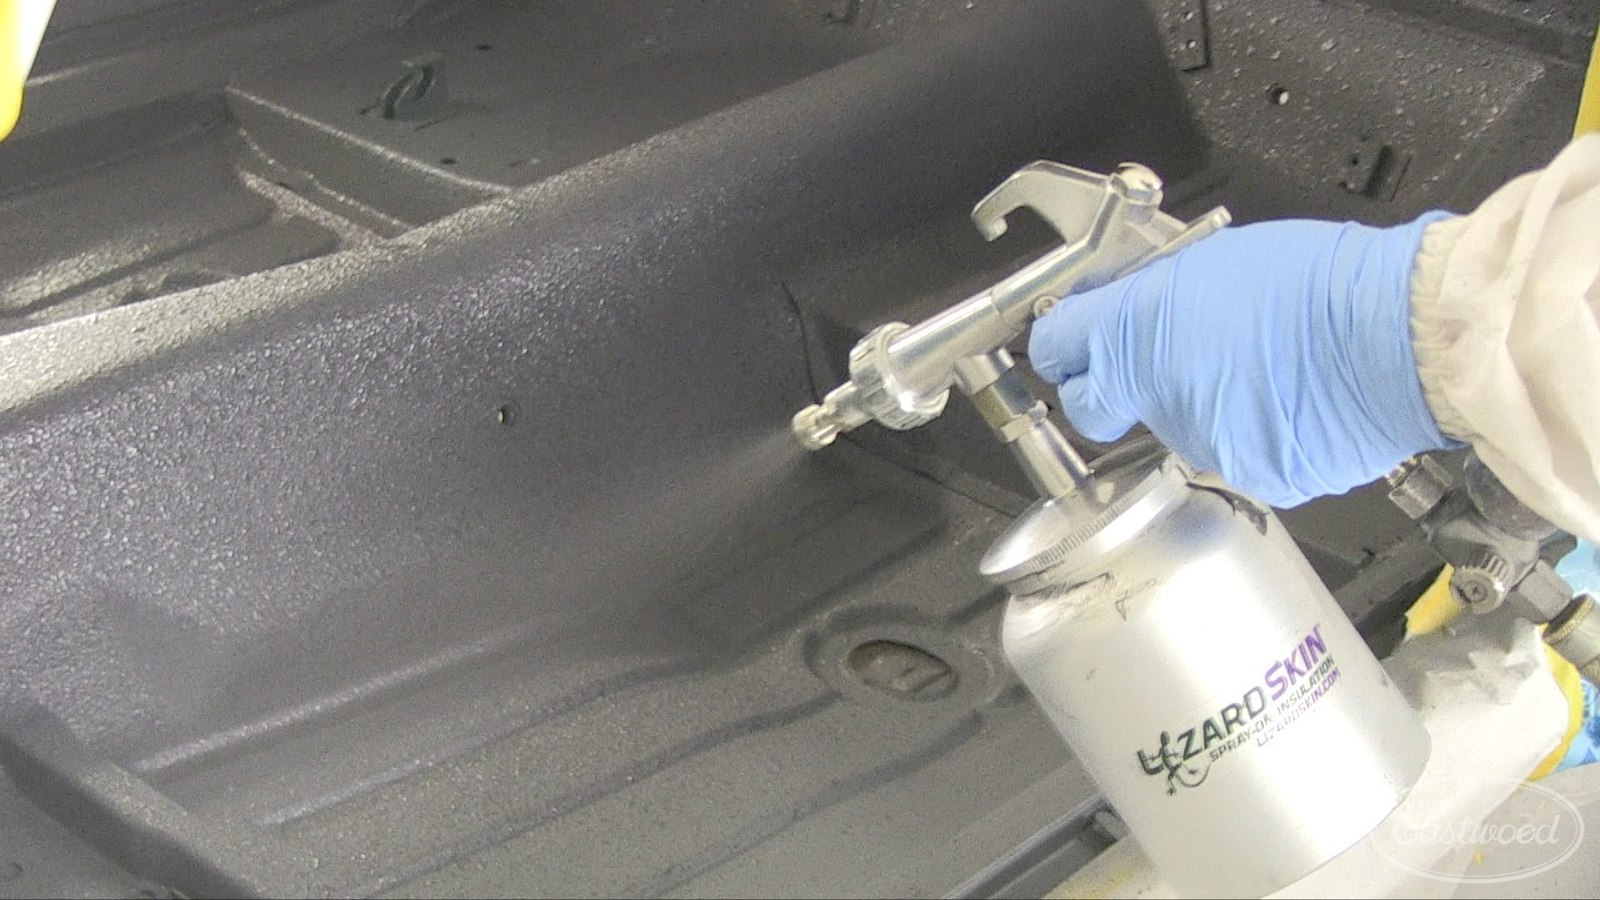 Acoustically my car isn't as bad as this van, but I want to knock as much crappy NVH out of it as possible. https://www.youtube.com/watch?v=W6XG1InN_h8 Once the Lizard Skin coats are done I'm then going to top coat the underside and inside of the trunk in Bully Liner, as this will further help NVH as well as being a nice hard-wearing surface. So the spare wheel, tools and other items* floating around won't scratch the bejeesus out of my nice new trunk floor. Bully Liner is like this, but bleck.  It's good stuff - https://www.youtube.com/watch?v=5DvsrTSG3EI I'll also be doing the 2-stage Lizard Skin straight onto the inside of the roof/turret, and then I'm also going to order up another box of the Car Builders peel-and-stick Black Label sound deadener (http://www.carbuilders.com.au/sound-...-1-black-label) to go over the top as a few friends have had huge success eliminating noise (particularly drumming) and heat this way. I've already done the Black Label insulation on the floors and doors and it is A) a damn sight cheaper than Dynamat and B.) it is an easier product to work with. Brendan Carroll who runs Car Builders actually works for Holden doing insulation and acoustic work and this is all manufacturer OE-level gear. While I'm spending the national debt on my barge I'm also going to grab the Car Builders stage 2 acoustic liner (http://www.carbuilders.com.au/acoust...terior-stage-2) to go between the peel-and-stick insulation and the new carpet I'll be installing. Old cars rule, but their NVH levels suck dead dog arse. Hopefully this makes my landbarge a really nice, comfy place to spend hours 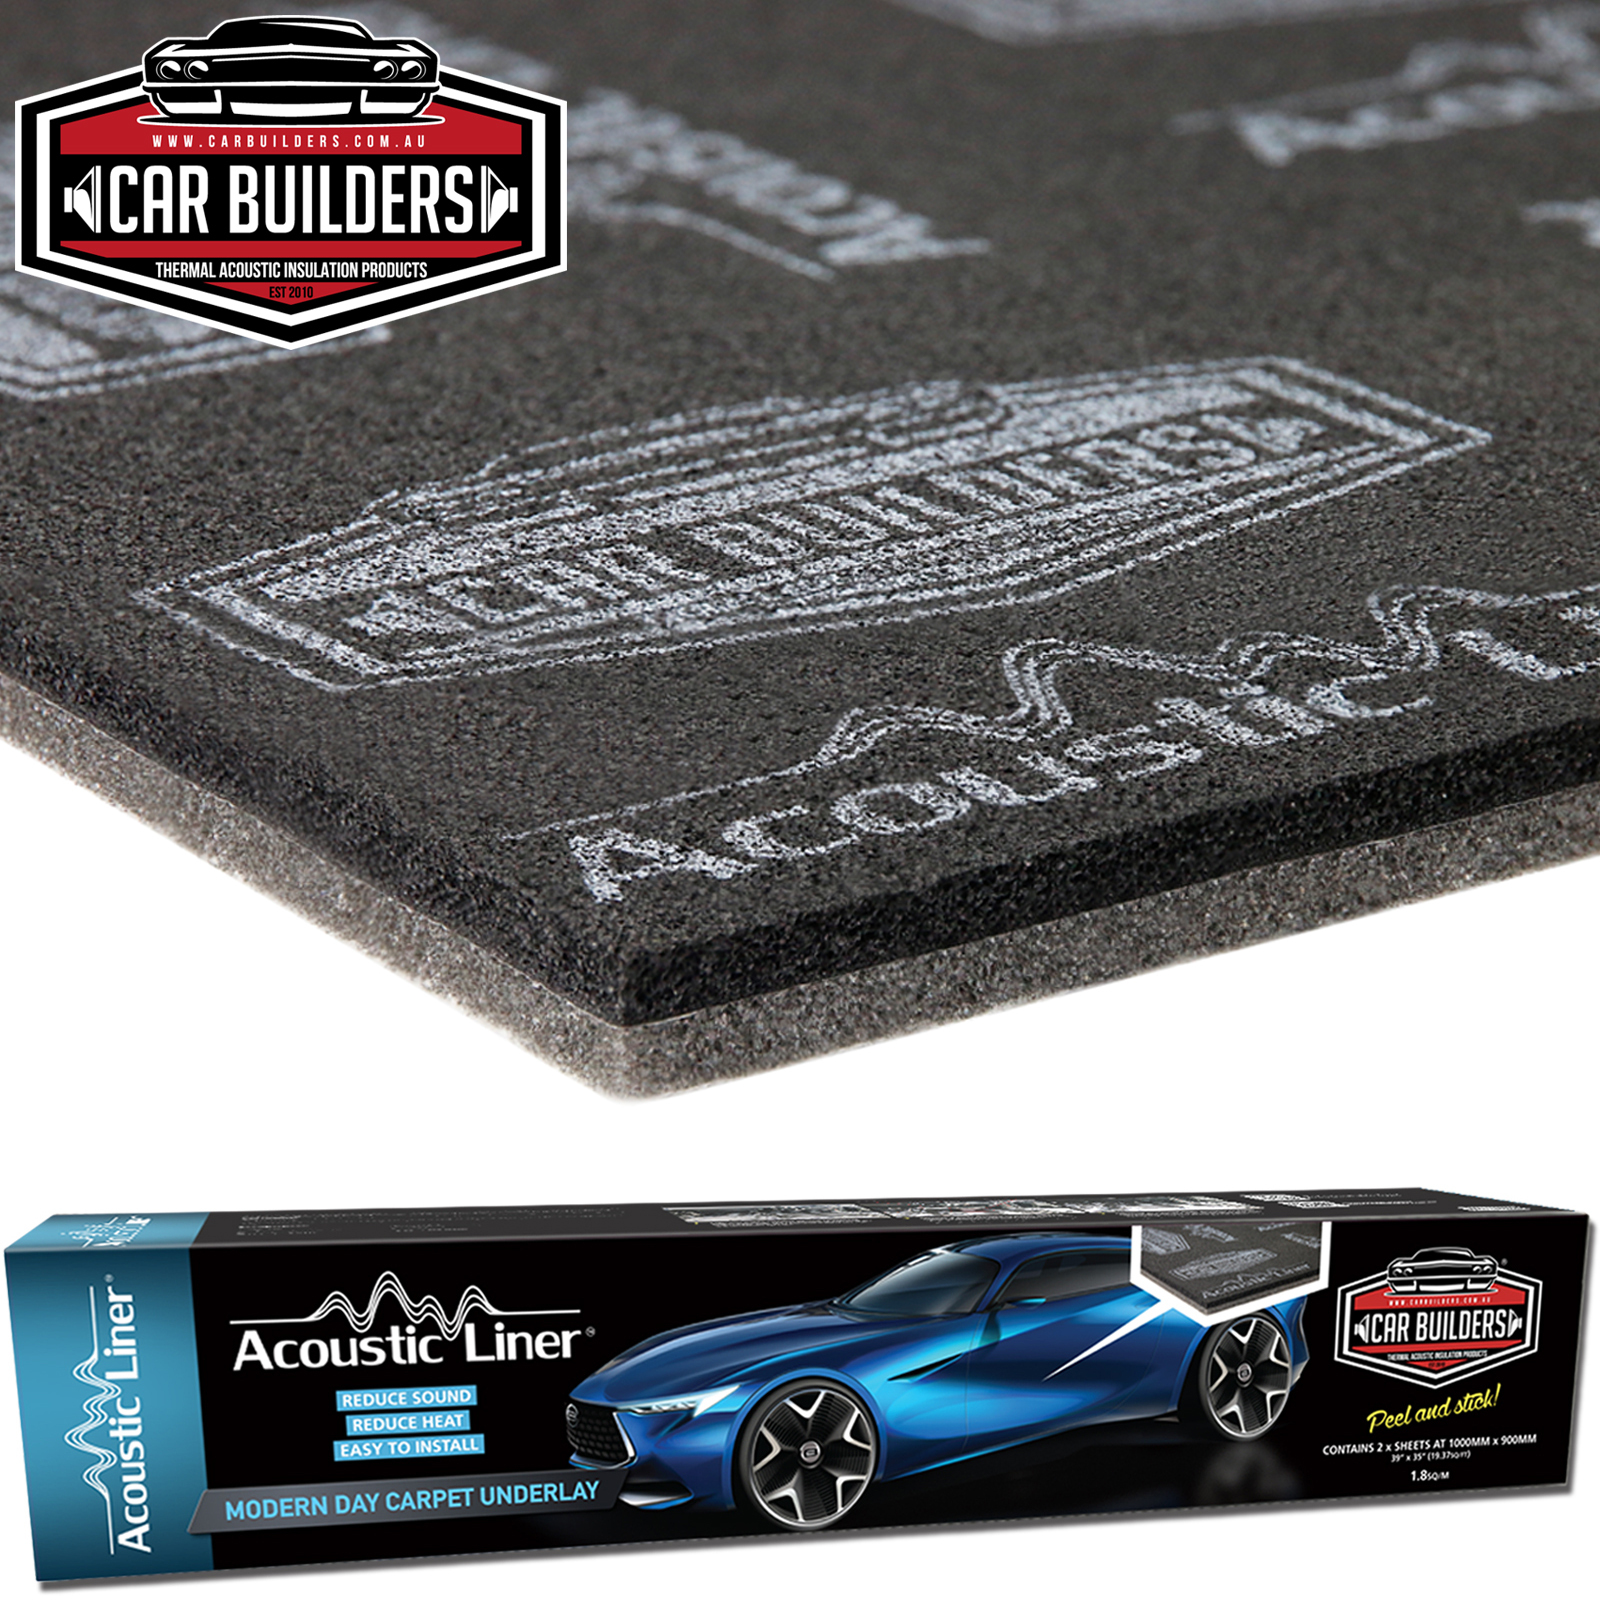 I am also working on fixing the trim panel which runs between the tail lights on my car. It is a type of pot metal or nickel and it has actually rusted right through in some sections. The pitting is incredibly heavy, and after getting it sandblasted the reality is it is borderline whether I can use it or not. The panel I'm talking about is the finned one with the BONNEVILLE script:  I've had it blasted and (since this pic was taken) drilled the BONNEVILLE letters off it.  One suggestion has been to use JB Weld metal filler as a type of bog, which can then be sanded and would be powdercoated over the top.  I have also come up with a To-Do list excluding the paint process... 1. Install the insulation on turret. 2. Have trimmer fit hoodlining. 3. Have front/rear glass fitted 4. Fit & plumb fuel tank 5. Make access hatch for fuel pump in boot floor 6. Paint boot floor in 3-layer insulation & refit the battery & wiring in the boot 7. Install intake manifold & alternator 8. Join accelerator pedal to linkage, & fit a return spring 9. Mount LS1 coils & make up new ignition leads 10. Plumb fuel system. Not with plums. 11. Wire up electric fuel pump 12. Wire up EFI sensors on engine and fire up the Haltech without letting smoke out 13. Wire up Astra power steering 14. Fit 02 sensor to X-pipe. 15. Refit crank balancer & find new drive belts 16. Refit radiator & fans, make an overflow 17. Fit/trim new underlay, carpet, seats, seatbelts, door cards, steering wheel 18. Customise Pontiac ash tray into cupholder 19. Check cabin wiring (currently have no live circuits apart from air suspension and stereo ATM for some reason - I haven't looked at it yet) 20. Have all bolts/fittings electroplated (or buy new stuff where I can) 21. Bleed brakes. 22. Check grease on front-end steering/suspension. . 23. Top up diff oil. Gag at the smell (most likely). 24. Fit different rear wheel cylinders (to suit new disc front-end). 25. Make brackets to mount fuel rails. 26. Powdercoat fuel rails, bumper brackets, left-over dash parts 27. Clean & polish all glass & trim (chrome & stainless) 28. Fit side glass and trim 29. Refit rear lights (needs to happen before bumper goes on) 30. Fit up bumpers, lights, horns and stainless trim 31. Sort out WTF to do with my really rusty/pitted pot metal trim piece that sits between the taillights. 32. Fill trans with fluid (for the 2nd time) 33. Fill tank with fuel 34. Fit Kugel column shift linkage 35. Prime oil pump through distributor drive 36. Fire it up. 37. Test drive 38. Get barge dyno-tuned 39. Get barge passed for engineering approval, then get roadworthy certificate 40. Register barge for operation on Aussie roads |
|
#270
05-25-2018, 12:17 PM
|
|||
|
|||
|
I've seen some restoration guys use silver solder to repair pits on pot metal trim pieces such as your Bonneville panel. Once media blasted, they clean it and get a soldering gun and apply solder to the pits, then sand it all flush. The advantage is that you can plate it, and if done right it looks like new.
__________________
1964 Catalina 2+2 4sp, 421 Tri-power 1965 GTO, Roadster Shop chassis, 461, Old Faithful cam, KRE heads 305 CFM, Holley EFI, DIS ignition. 1969 GTO 467, Edelbrock 325 CFM, Terminator EFI 1969 Firebird Convertible |
|
#271
06-03-2018, 10:52 PM
|
|||
|
|||
|
Thanks for the info Darbikrash - I'll have a look into the soldering. At the moment I'm looking at the scanning/CNC-machining option as it might work out quickest and easiest.
In other news I took my Pontiac's seats and door cards up to the trimmer (Steve at Trim Lab in the NSW Hunter Valley for any Aussies reading) as he will be recovering them in a new simpler style. My front seat needs a fair bit of love.  I had a pretty decent fail, too. I unwrapped my new reproduction kick panels, which I had bought ages ago as I knew my old stock aqua ones were pretty beat up. These new parts were advertised as a direct fit, direct replacement part.  I've also gone through the list of what's needed and ordered new:
On the engine side of things I've made some basic brackets to hold my fuel rails out of 3mm aluminium. The rails and brackets are getting powdercoated now and I'll fit the intake manifold, throttle bodies and fuel system as soon as they're done. As always, more pics and info HERE |
|
#272
06-04-2018, 07:15 PM
|
||||
|
||||
|
Marv, Not too sure about using silver solder on the die-cast metal. The melting point of the pot metal will be lower than silver solder.
What I have seen done (on a 1964 Cadillac Eldorado here), is he had the pot metal chemically cleaned and copper plated. He then drilled into EVERY hole and soft soldered the hole over, wet sanded the pieces smooth, had it copper plated again and repeated the process. From memory, I think he repeated this procedure at least 6-7 times before it was suitable for re-chroming. Even then after chroming, some faults (blisters) were still visible and he had to rework a few items. The end result is magnificent but this is on a very rare and unusual car (1800 built and hardly any over here). Good luck with it. Ian 
__________________
To laugh at men of sense is the privilege of fools. |
|
#273
06-05-2018, 07:56 PM
|
|||
|
|||
|
Thanks for the info Heybuck
I was chatting to a couple of knowledgeable guys yesterday about working with pot metal, and how hard it is to find good platers these days (even down here), and it is looking like I'll get a mate to 3D scan and make a model of this part in SolidWorks, then we'll get it CNC-machined out of aluminium and powdercoated. I'll reuse the stock BONNEVILLE letters as they're actually all in good shape. This will have to happen in August as everything has gone on hold with the car for me. I've been contracted to produce a book for the organiser of the World Time Attack Challenge. He was impressed with the job I did on the book I did for Mighty Car Mods and he wanted a similar coffee table celebration of his event. The issue is I had 9months to get the MCM book done and it was tight. This time I have 6 weeks to write the book, get it designed, proof-read it, get it approved and printed! I better log off PY for a bit! |
|
#274
06-06-2018, 07:41 PM
|
|||
|
|||
|
After ordering and paying for it in January, I finally got the compressor upgrade for my air suspension system. For anyone wondering how it works or why I'd bother to spend this money, I have written a blog post up here: https://bargegarage.com/2018/06/06/w...ir-suspension/
 Old system:  You can hear how noisy the old (brand new) compressors were at 19sec mark: https://www.youtube.com/watch?v=1n3DvBwSEKQ What I will be going to:   More info on the ENDO-CVT from Accuair here: https://www.youtube.com/watch?v=0ebnrwFqHeg |
|
#275
06-09-2018, 11:42 AM
|
||||
|
||||
|
found online ... this is your car ?
__________________
Donate Life 6-7-04 Liver Transplant Recipitant http://www.donatelife.net/ U S A for Organ Donation Thank You 
|
|
#276
06-09-2018, 10:24 PM
|
|||
|
|||
|
Yep that is it when Coby owned it.
|
|
#277
06-25-2018, 05:17 AM
|
|||
|
|||
|
Got some shiny bits done while waiting for paint
United Speed Shop powdercoated my fuel rails and brackets. I had wanted to run the brackets on the inside of the rail to hide them but I am just not that good with fabrication. These will do. They look good in Oxytech Wet Black, IMO.   Al mentioned in passing the other day that my Haltech Elite 950 ECU won't run a GM stepper Idle Air Control Valve (IACV) so I spent about 5minutes making a blanking plate out of 3mm aluminium. I'll trim it down and make it look nicer, then hit it with some satin black to ensure it blends in with the FAST throttle bodies. I've purchased a Ford 2-wire IACV and will hide that somewhere down the back of the motor, probably near the LS1 coilpacks I'll be using.  And my tank all powdercoated and plumbed up. This is the same Ebony Black Texture on my dashboard  More pics and ramblings: https://bargegarage.com/2018/06/25/b...-my-fuel-tank/ |
|
#278
09-04-2018, 06:24 PM
|
|||
|
|||
|
Progress on the bodywork has been glacial, frustrating me massively. However, things look like they're finally progressing so - with some spare time finally popping up - I started throwing parts at my hooptie again.
 Last Friday I got the intake manifold on, radiator and thermo fan in, trigger wheel and bottom pulley back on, test-fitted the fuel tank and filler neck, and cut out the trunk floor.    I have a lot to do in the next 3.5 months... 
|
|
#279
09-07-2018, 07:51 AM
|
|||
|
|||
|
Got a bit done Thurs/Fri as not having doors or guards on it annoyed me. Next step is to hang those panels, then get rear quaters fixed...
I also made a crank sensor mount but thats not as pretty as fresh paint I wet-sanded jambs on Thurs  Went to Semits Smash in Hamilton Fri  Masked  VE Poison Ivy   
|
|
#280
09-07-2018, 10:08 AM
|
||||
|
||||
|
Wow, that green really pops. It will be a stunner.
|
| Reply |
|
|
The PY Online Forums is the largest online gathering of Pontiac enthusiasts anywhere in the world. Founded in 1991, it was also the first online forum for people to gather and talk about their Pontiacs. Since then, it has become the mecca of Pontiac technical data and knowledge that no other place can surpass.




 Linear Mode

