


| FAQ |
| Members List |
| Social Groups |
| Calendar |
| Search |
| Today's Posts |
|
|
|
#1
 04-27-2014, 09:15 PM
|
||||
|
||||

I just looked at the prior page's photos. She sure looks nice!
And, yes you will never get that lock plate depressed without that darn $5 special tool. |
|
#2
04-27-2014, 09:16 PM
|
|||
|
|||
|
This is why I said 99% sure..wasn't completely confident in my statement. I know my 71 deluxe interior car does not have tape and that car was almost 100% complete when I got it, still had original V belts,rubber hoses etc.. for some damn reason I have it in my mind that the tape wasn't used all years.. who the he!! knows why?? guess I'm getting old....

|
|
#3
04-27-2014, 09:26 PM
|
||||
|
||||
|
I wish someone would sell the correct size, paintable tape inserts. All the repro houses sell the stuff for the shorter, later door handles.
|
|
#4
04-27-2014, 09:33 PM
|
|||
|
|||
|
yea.. definately wrong.. just found it in the assembly manual under custom trim options.. really bothering me.. who knows.. sorry to have started that..
|
|
#5
04-27-2014, 09:44 PM
|
||||
|
||||
|
Steve, two years ago I wanted to see what they would look like on my car. I just painted some electrical tape and put it on the handle trimmed it with a razor blade. Its still on there.
Last edited by Norwood; 04-27-2014 at 09:53 PM. |
|
#6
04-27-2014, 09:57 PM
|
||||
|
||||
|
I used the whte reflector tape on my T/A and it worked great.
|
|
#7
04-28-2014, 08:14 AM
|
||||
|
||||
|
I bought a roll of 3m tape and painted it. Then I cut it to the length of the handle. It's been 7 years now and still looks perfect.
|
|
#8
04-28-2014, 11:02 PM
|
||||
|
||||
|
Well the steering wheel is back in place. MPD got his hands on the special tool and that was that - more or less. The ignition lock works great including the accessory position and buzzer, and everything that is supposed to be on one key is on one key. Also got the license plate light and bracket installed on the tail panel tonight. Like a dumba_s I didn't check the bulb prior to installing it and of course it is burned out. Two steps forward and one step backward. MPD is coming over tomorrow evening and we hope to get the bumper installed.
I have a question tonight I need help with. One of the wire retainers/clips on the left front inner fender has lost it ability to stay in the hole. I have spread, bent and prodded, but it keeps coming out. I remember seeing a post recently about where to get these and the quality of the repop's, but can't remember where or find the post. I would appreciate it if someone could point me in the right direction. and where to buy these. Here's a picture of the clip. Thanks for any help.  
|
|
#9
04-28-2014, 11:45 PM
|
||||
|
||||
|
Bob, the repops of that clip that I have are excellent. If you just need one or two I've got some extras I can mail if you want. Just PM your address.
__________________
'72 Formula 455HO TH400, Revere Silver, black deluxe '74 Trans Am SD 4 speed, Admiralty Blue, blue deluxe |
|
#10
04-29-2014, 10:20 PM
|
||||
|
||||
|
Night shift at the Hot Rod Garage
Well we had a little night shift action at the Hot Rod Garage tonight and low and behold the bumper has been installed. It looks great, really great, and it pretty much dropped into place with few issues or tweaking. We measured the brackets and the mounting holes in advance to get everything close, and I am sure that helped. The right side wrap needed some persuasion to get close to the correct horizontal position and we used a bottle jack which worked very well. It looks like it could stand to go up another 1/8" or so, but it's hard to tell with the car sitting on the lift with the side so close to the wall. We also had one rear bracket that was about 1/4" off, but MPD was able to get a gear wrench in without removing the bumper and loosen the bracket. Once it was loosened the bracket had enough play to make the mounting holes.
The list is getting a lot shorter. The plating guys called today and the jack shaft and MC cap are getting plated tomorrow. Now all I need is for a radio to show up and we'll be back on the road. BTW - I do need one correct long bumper mounting bolt. If anyone has one I would be very appreciative. Here's the pictures.       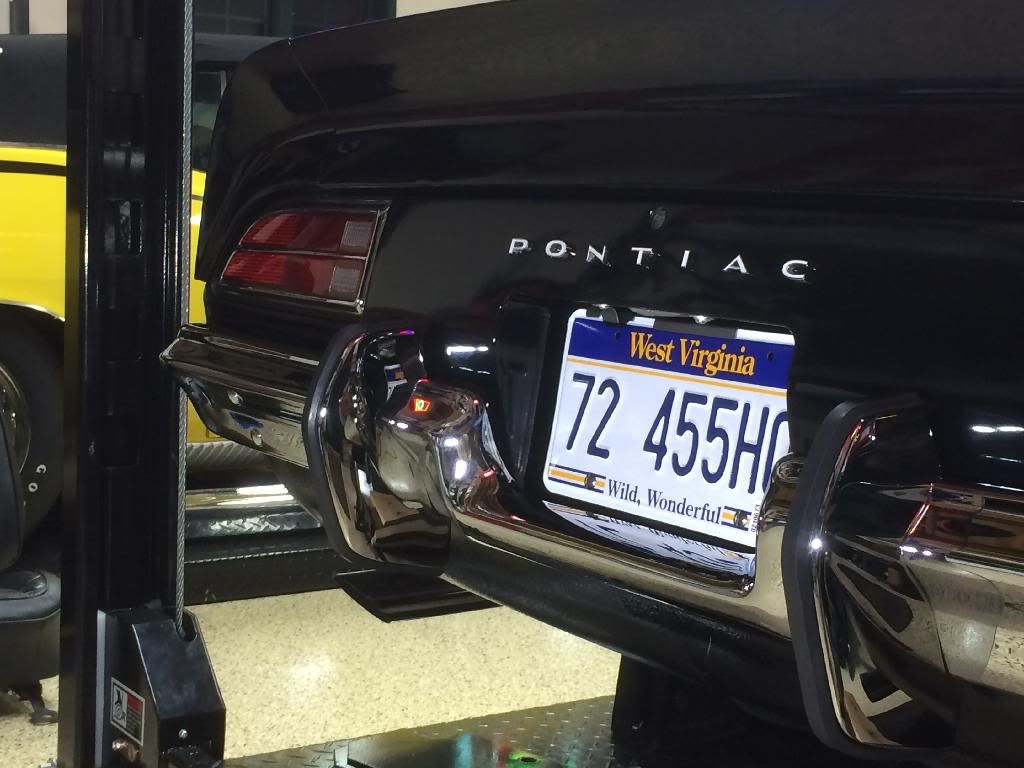
|
|
#11
04-29-2014, 10:43 PM
|
|||
|
|||
|
Quote:
The bolt that you need, are you talking about the ones that come from the trunk out?? If yes, post a picture of what you need., I have bags of the original bolts already replated.. |
|
#12
04-30-2014, 08:27 AM
|
||||
|
||||
|
Nice work for sure! Don't bump into anything now...
__________________
Mike/Illinois |
|
#13
05-03-2014, 03:15 PM
|
||||
|
||||
|
Matte Black Hot Rod Formula
So the paint on the Black Car has been really bothering me. No matter how hard I work, it is 29 year old paint with lots of problems. Not the least of which is acid rain spots. I've been planning to get it painted after this season, so I've decided that I am just going to go with matte black hot rod paint for this season to hide the imperfections. Rustoleum makes a great hot rod black paint that sprays well, and the car is looking good. I can't decide whether to spray the hood or not since the paint on it is in good shape. Here's some pictures...
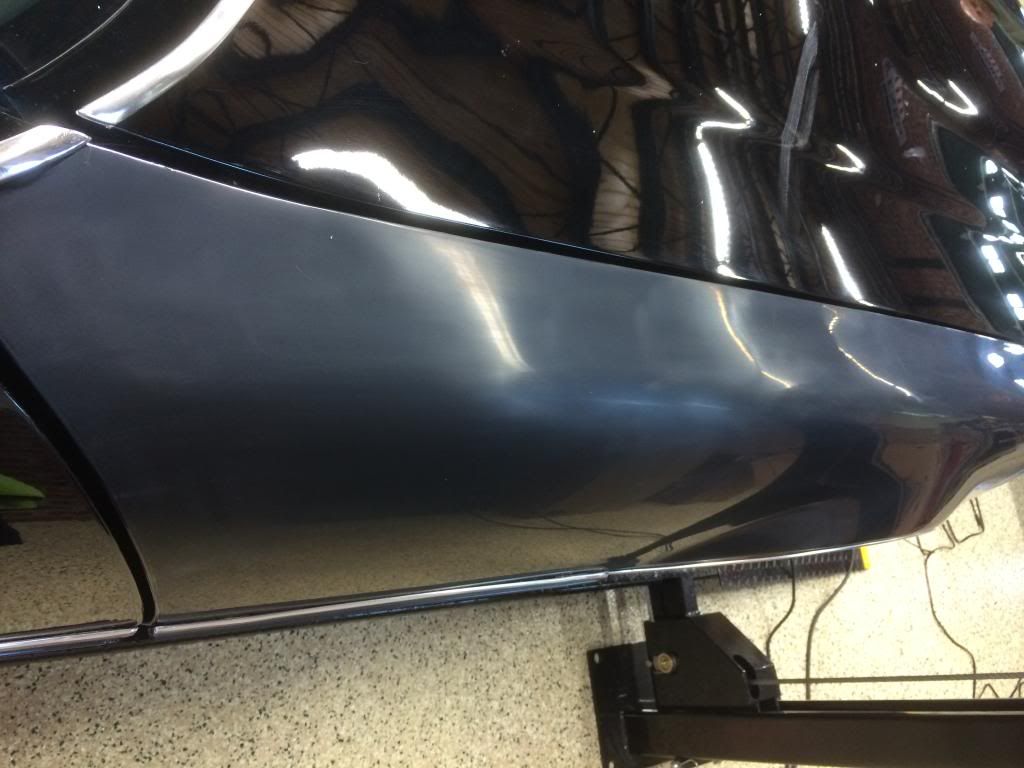  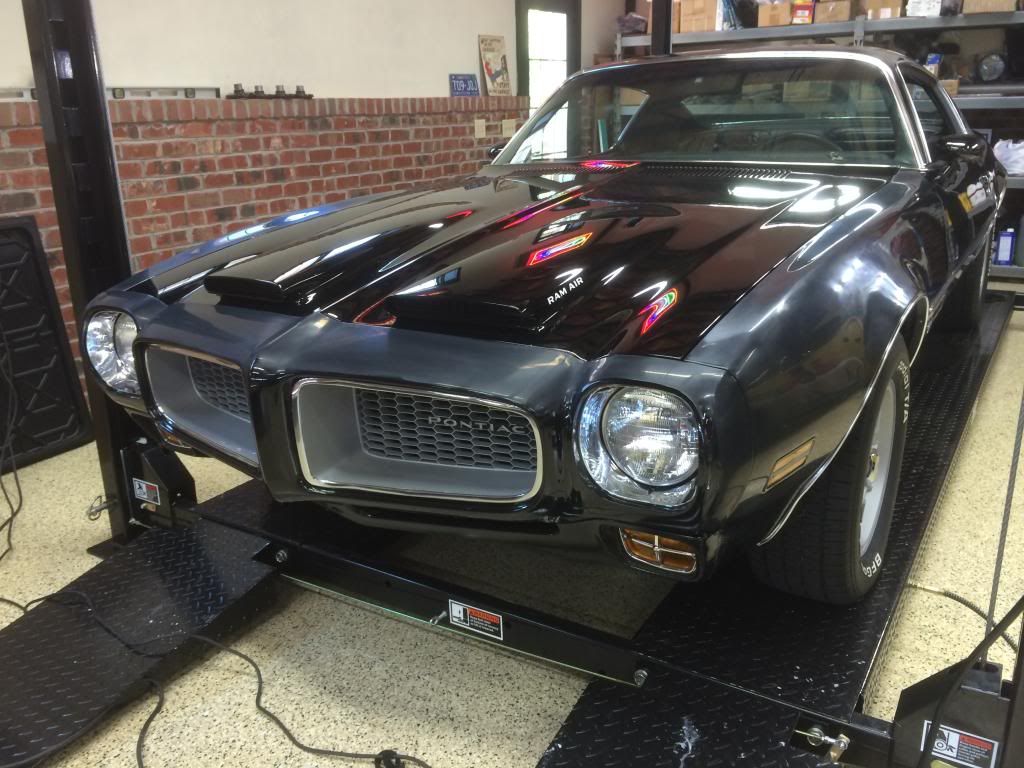 Of course I might be wet sanding the front of the car and it could be really looking great. Like exceeding my wildest expectations great... |
|
#14
05-03-2014, 04:17 PM
|
||||
|
||||
|
April's fools!!!
 BTW, it has not gone unnoticed who does all the dirty work/heavy lifting there & who holds the camera! 
__________________
Some guys they just give up living And start dying little by little, piece by piece, Some guys come home from work and wash up, And go racin' in the street. Bruce Springsteen - Racing In The Street - 1978 |
|
#15
05-03-2014, 05:24 PM
|
||||
|
||||
|
Quote:
|
|
#16
05-03-2014, 07:32 PM
|
||||
|
||||
|
Can't wait to see this car....not sure if I will shake my head or be amazed.............GRAVEL-GAURD....oh my
|
|
#17
05-03-2014, 10:11 PM
|
||||
|
||||
|
Wow...It looks good. I am happy. So I have gradually gotten more comfortable using the buffer and working on the Black Car's paint. Even so, wet sanding the front fenders and front end was a bit scary. I was worried about the thickness of the paint especially. However, all's well that ends well, and this ended well. Almost all the imperfections have been removed, including the acid rain spots. The difference is quite frankly unbelievable.
I sanded everything with 2000 grit, 3000 grit and 5000 grit. After that I polished with all 3m products - rubbing compound, scratch remover and shine restorer. Following that I applied Wolfgang deep gloss paint sealant. I still need to do the roof, and now that I have gotten comfortable with the wet sanding I will go back and redo a few areas that I have already done, namely the trunk lid. Here's some pictures. I'll post most of them as before, during and after shots of the same panels. 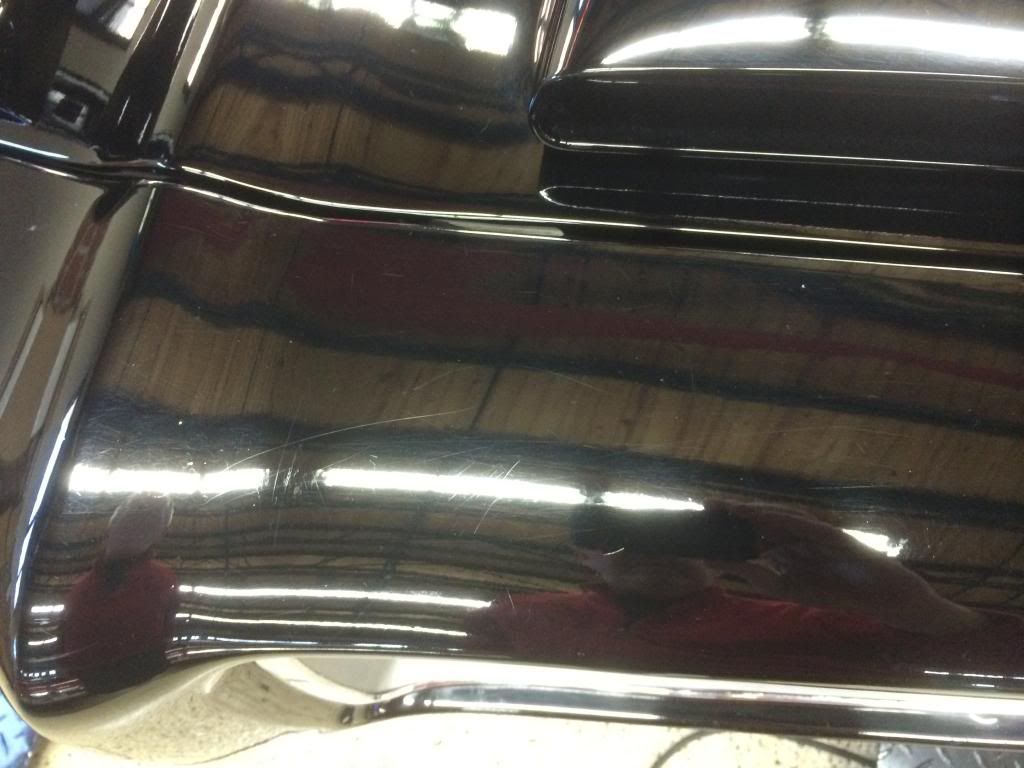 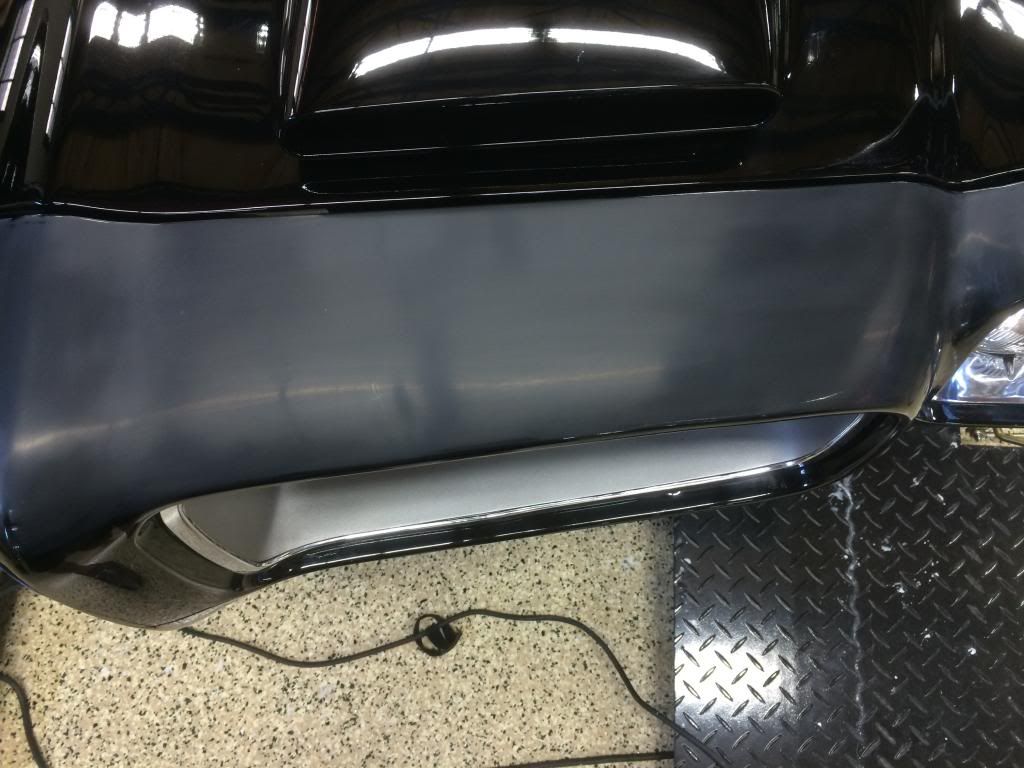 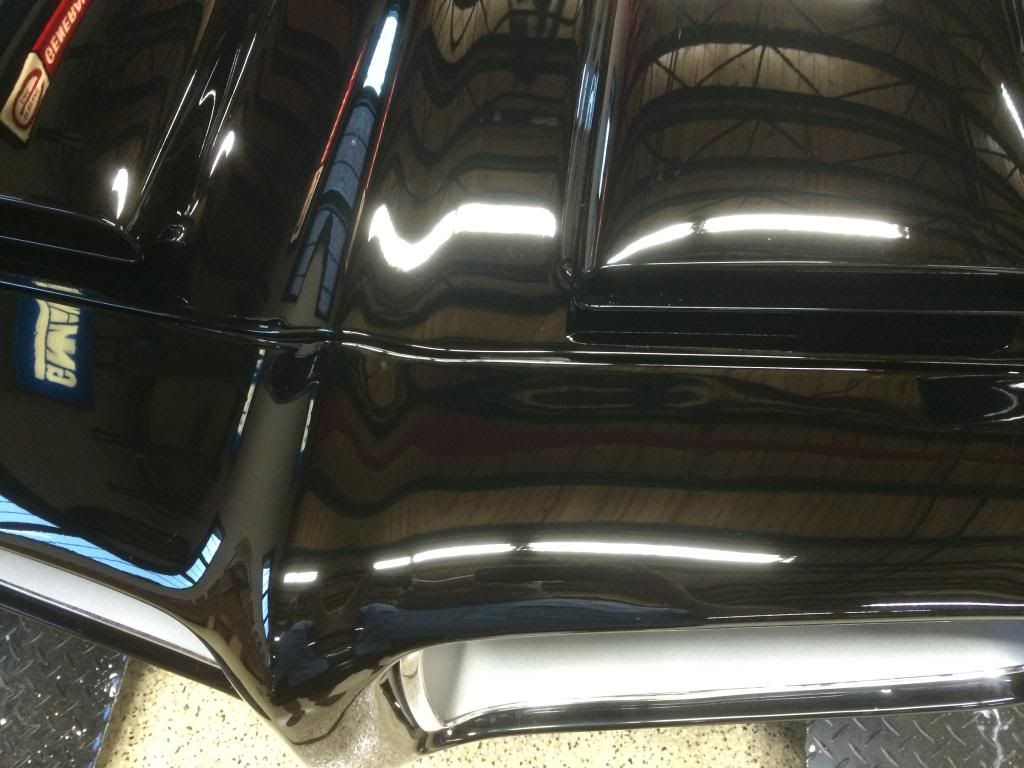 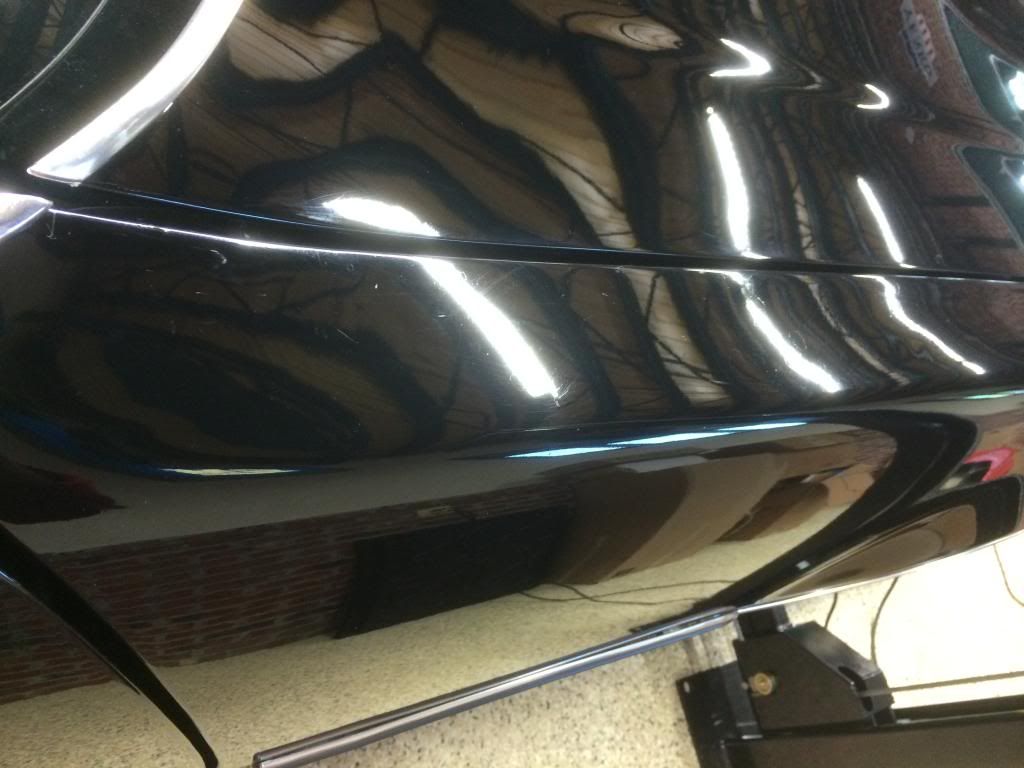 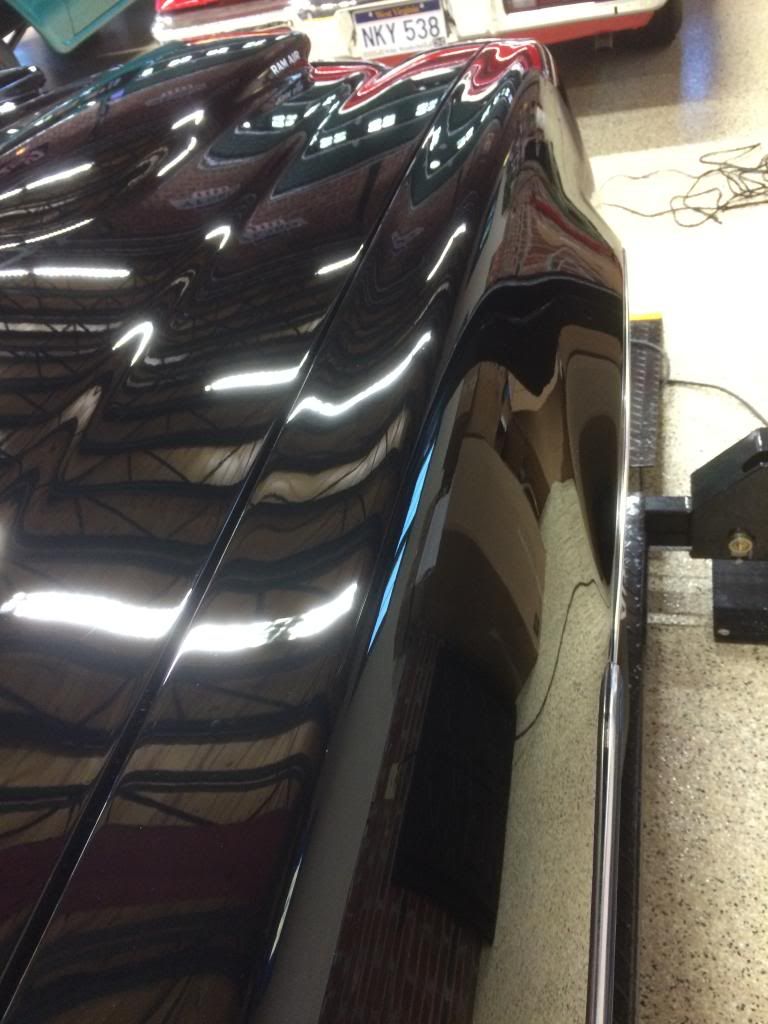 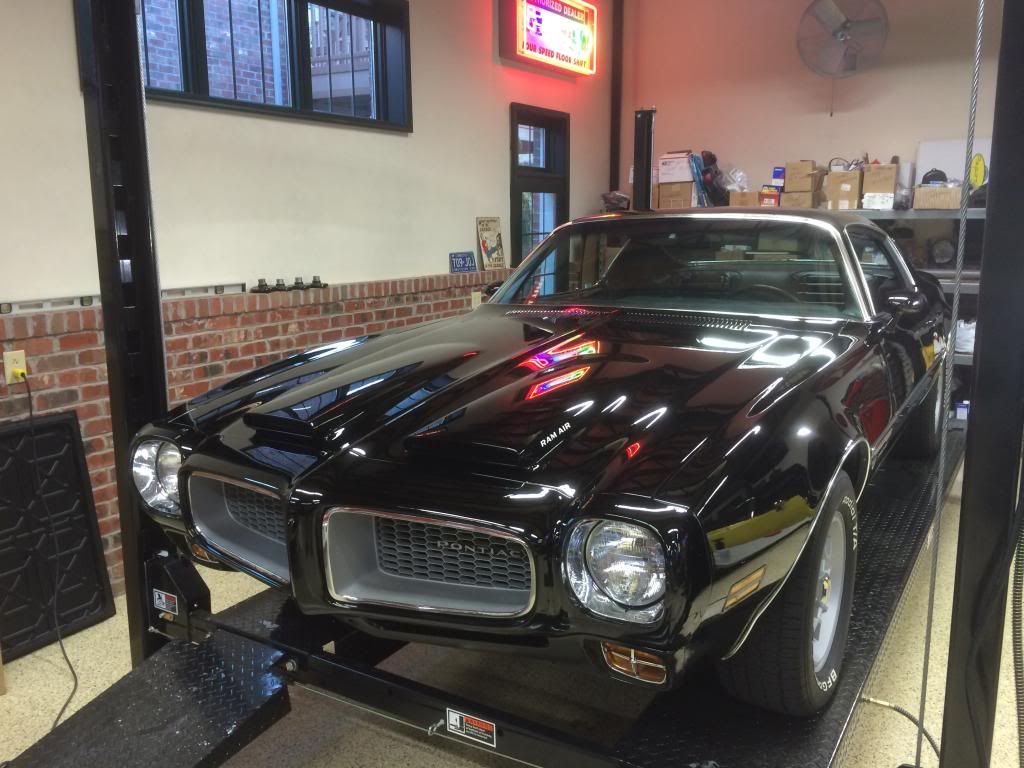 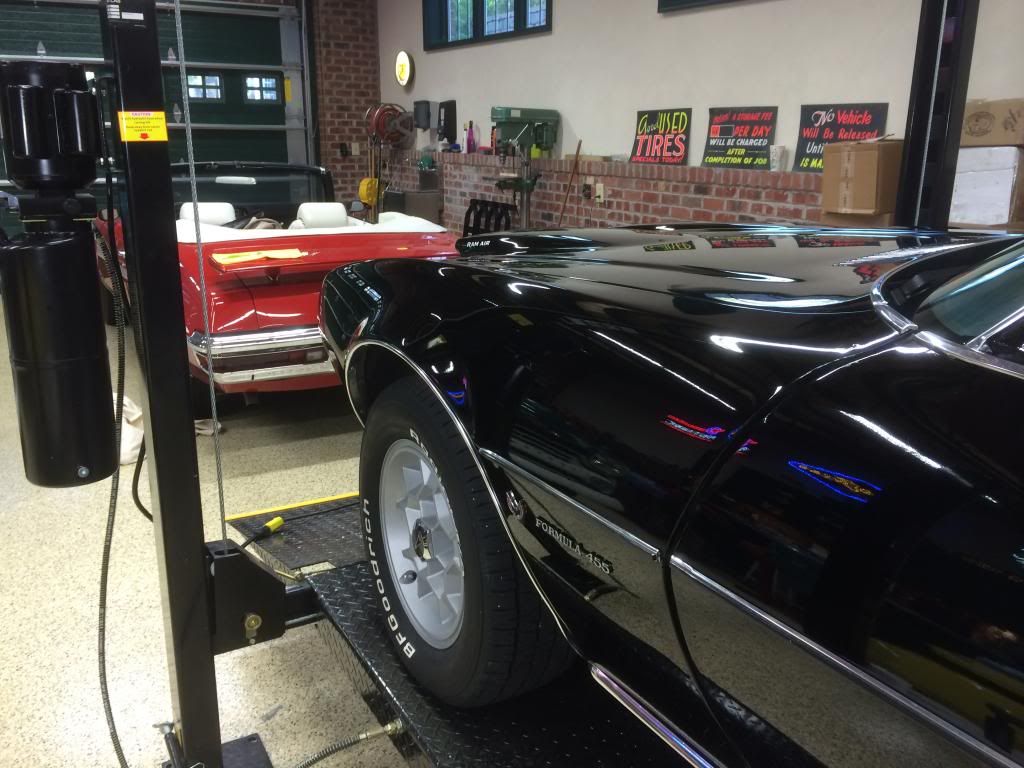 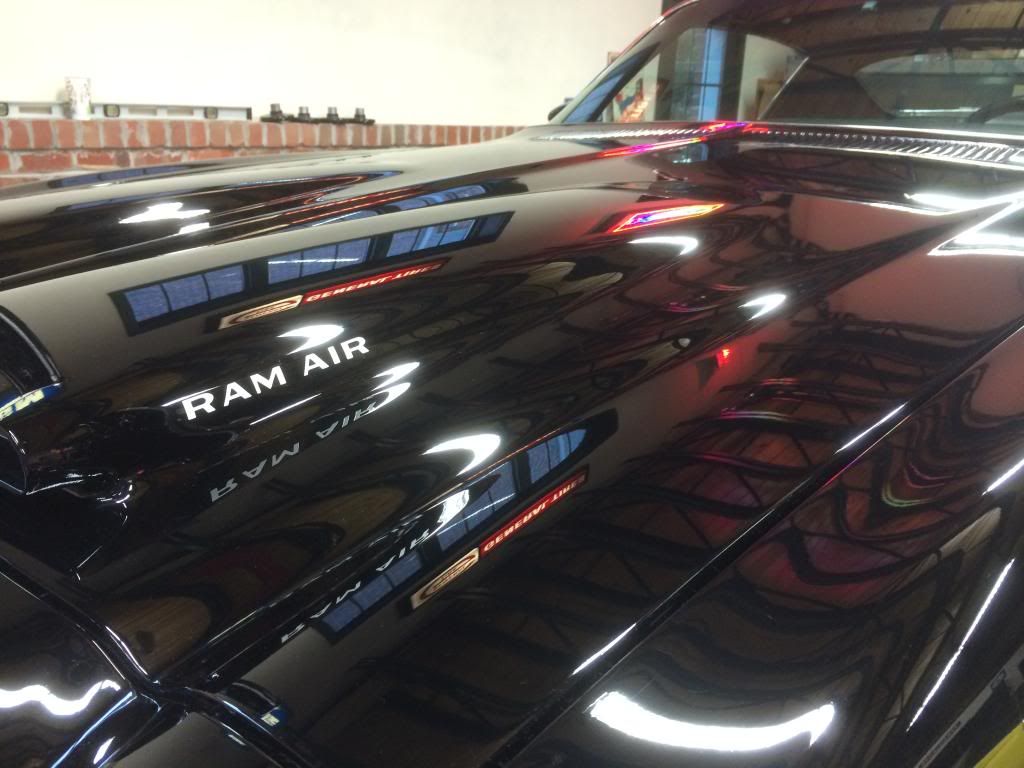
|
|
#18
05-03-2014, 10:31 PM
|
||||
|
||||
|
Wow! That looks amazing - great work!!
BJ
__________________
1971 GTO 455 HO 4-speed - Cameo White, White Vinyl Top, Jade Green Interior, Ram Air Hood, AC, Honeycombs and 8-track 1974 Formula 455 I Owned in 1975-1976. Now Own Its Twin From Same Dealership 
|
|
#19
05-04-2014, 06:32 AM
|
||||
|
||||
|
Bob, My back is killing me just thinking about how hard your working. This hobby brings it out if us that's for sure.
|
|
#20
05-04-2014, 08:52 AM
|
||||
|
||||
|
Impressive work!
I'll gladly buy lunch! 
__________________
Some guys they just give up living And start dying little by little, piece by piece, Some guys come home from work and wash up, And go racin' in the street. Bruce Springsteen - Racing In The Street - 1978 |
| Reply |
|
|
The PY Online Forums is the largest online gathering of Pontiac enthusiasts anywhere in the world. Founded in 1991, it was also the first online forum for people to gather and talk about their Pontiacs. Since then, it has become the mecca of Pontiac technical data and knowledge that no other place can surpass.








 Hybrid Mode
