


| FAQ |
| Members List |
| Social Groups |
| Calendar |
| Search |
| Today's Posts |
|
#161
 08-19-2011, 11:45 PM
|
||||
|
||||

I've been following this thread and all I can say is, wow!
Just out of curiousity, why no hood scoop?
__________________
"What ain't no country I ever heard of. They speak English in What?" - Jules Winnfield ------------------------------ 2015 Jaguar F-Type 340hp Convertible, Polaris White/Ebony Interior 1964 Pontiac GTO, Tri-Power, 4 Speed, Grenadier Red/Black Interior 1965 Chrysler 300 Convertible, 383/727TF, Factory Air, Spanish Red/Red Interior/White Top |
|
#162
08-20-2011, 09:22 AM
|
||||
|
||||
|
It didnt have a GTO hood, they are $400-$500 plus truck freight, so around $700 to get one here. For now its getting the Tempest hood that came with it, and next year I will get a GTO hood, paint it and put it on. I have been thinking of hand fabricating one, and I would if I had a pattern, then just weld it to this hood. Maybe a winter project and a reason to buy an english wheel and a shrinker/stretcher.
|
|
#163
08-20-2011, 11:07 AM
|
|||
|
|||
|
Perhaps someone out there can donate the scoop area from a rusted GTO Hood. Certainly Todd has the metal working ability to graft it onto a Tempest/Lemans hood.
__________________
John '68 Firebird Ram Air 4-spd Conv. John 14:6 Semper Fi 
|
|
#164
08-20-2011, 01:20 PM
|
||||
|
||||
|
I actually have a good original GTO hood that I want to donate to this project, but I have no means of shipping it or crating it up for shipping.
|
|
#165
08-20-2011, 02:34 PM
|
||||
|
||||
|
Springs and a hood Andre? You are too nice my friend. I wonder if Hooter's friend who pulled the GTO up here is going to be in the area any time soon.
|
|
#166
08-20-2011, 04:17 PM
|
||||
|
||||
|
If anyone is going up your way from South Florida, (West Palm Beach area), I'll make arrangements to meet them so they can take it.
They will have to come and get it at my house however. |
|
#167
08-20-2011, 11:01 PM
|
||||
|
||||
|
I dont know anybody in Florida. I'll PM Hooter and see if his bud is still driving parts around.
Ugrh. I am so sick of block sanding high build primer. Hopefully it wont need much more after this. It needed some epoxy to seal stuff up and adhere to the bare metal spots I found. Part of me wants to just paint it, but part wants me to fix the small bits that stand out. 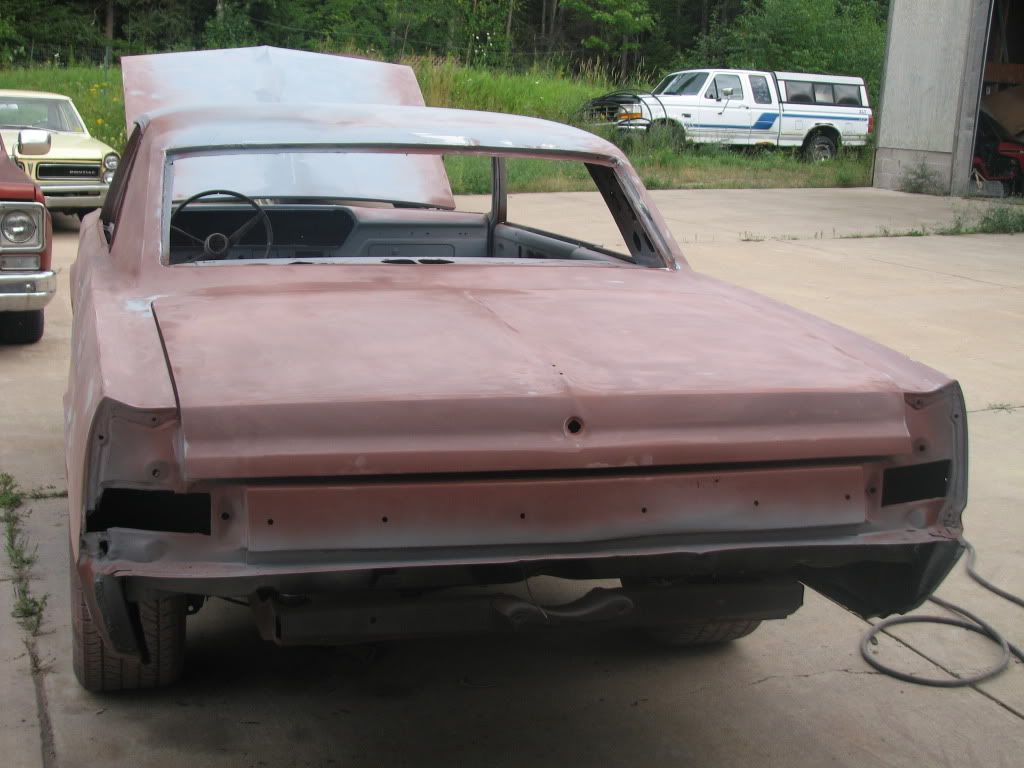 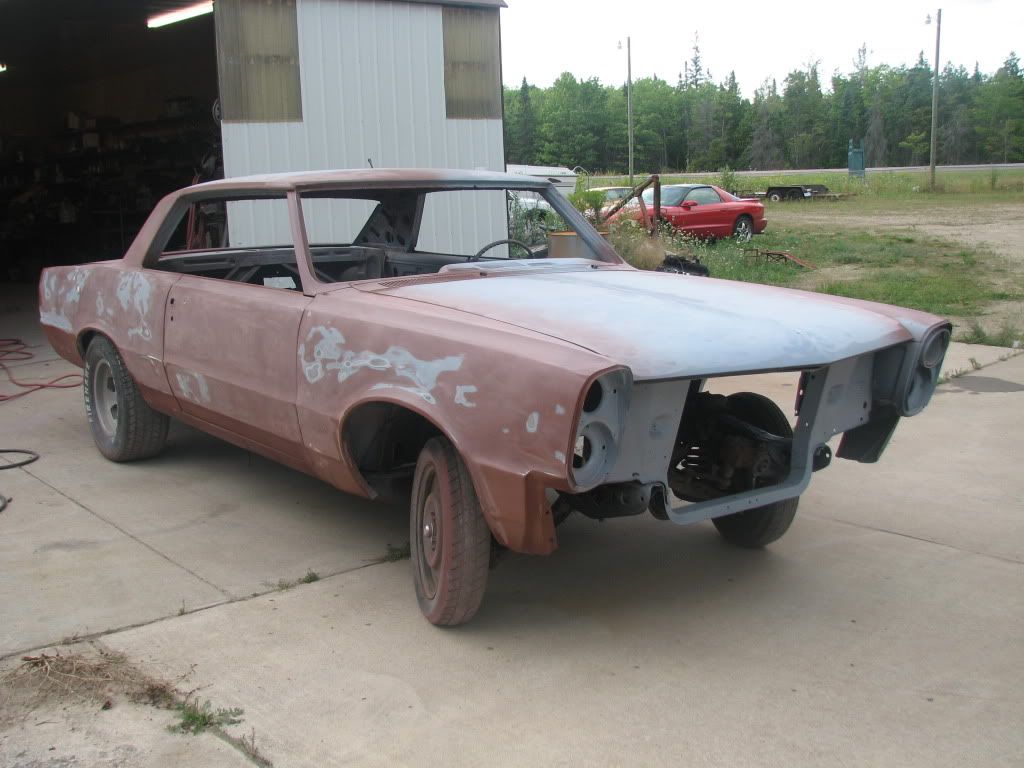 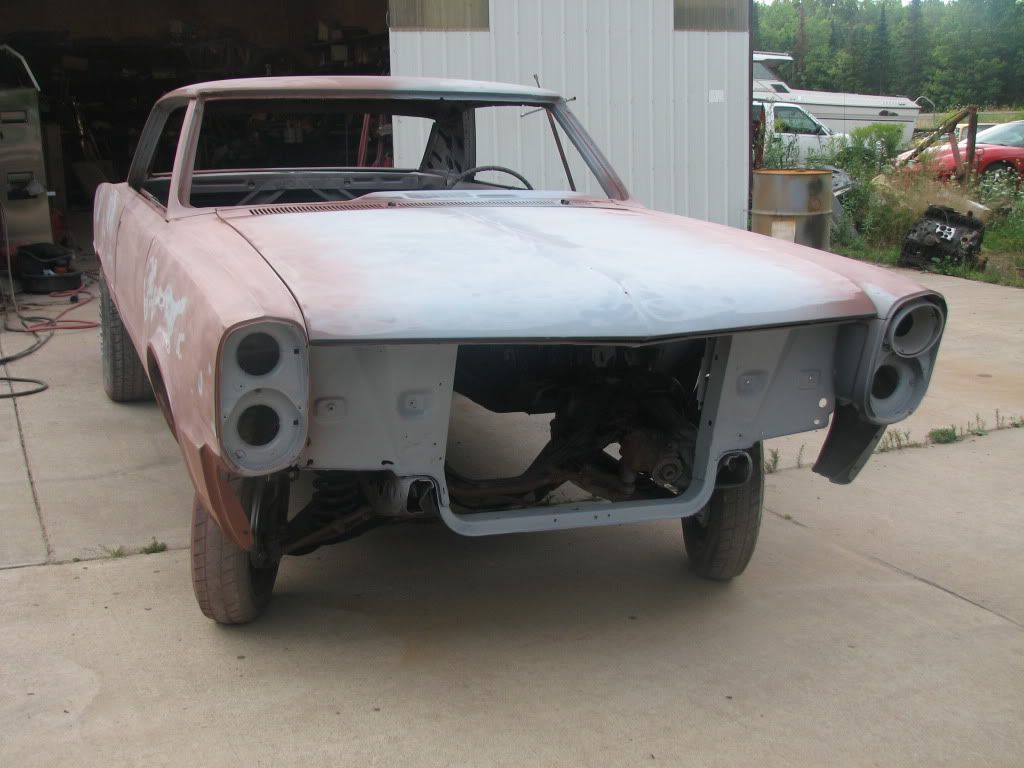 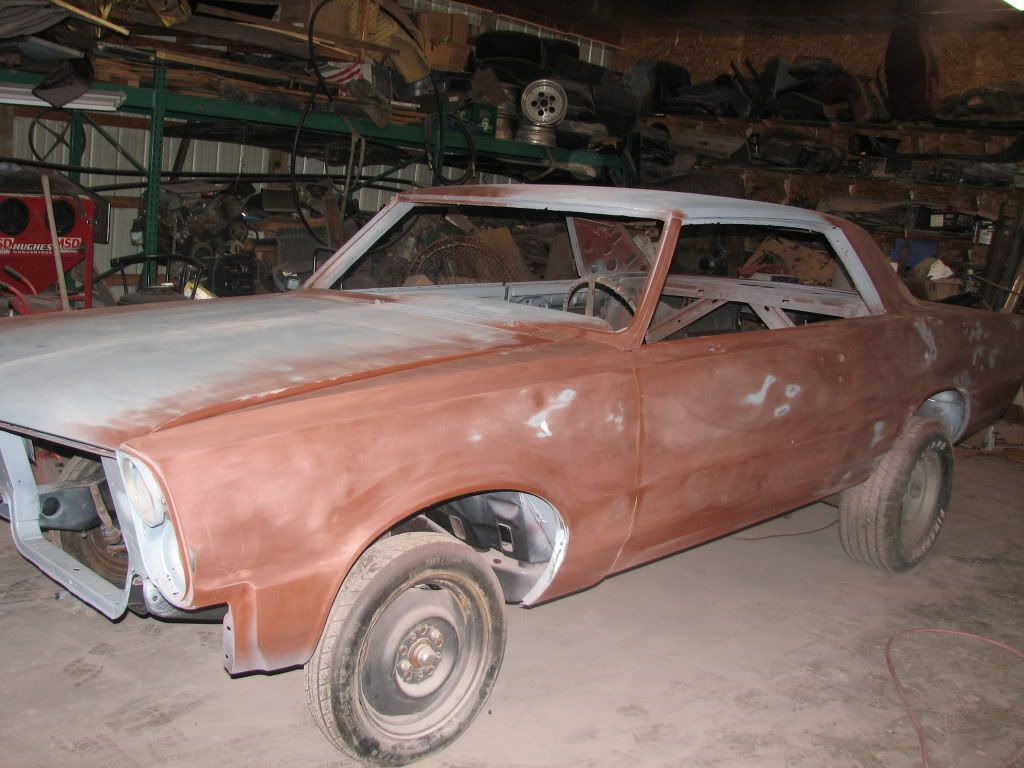 One of the spots that needs reworked, not sure what happened but it hit bare metal and then wrinkled up. Also have some filler to knock down. 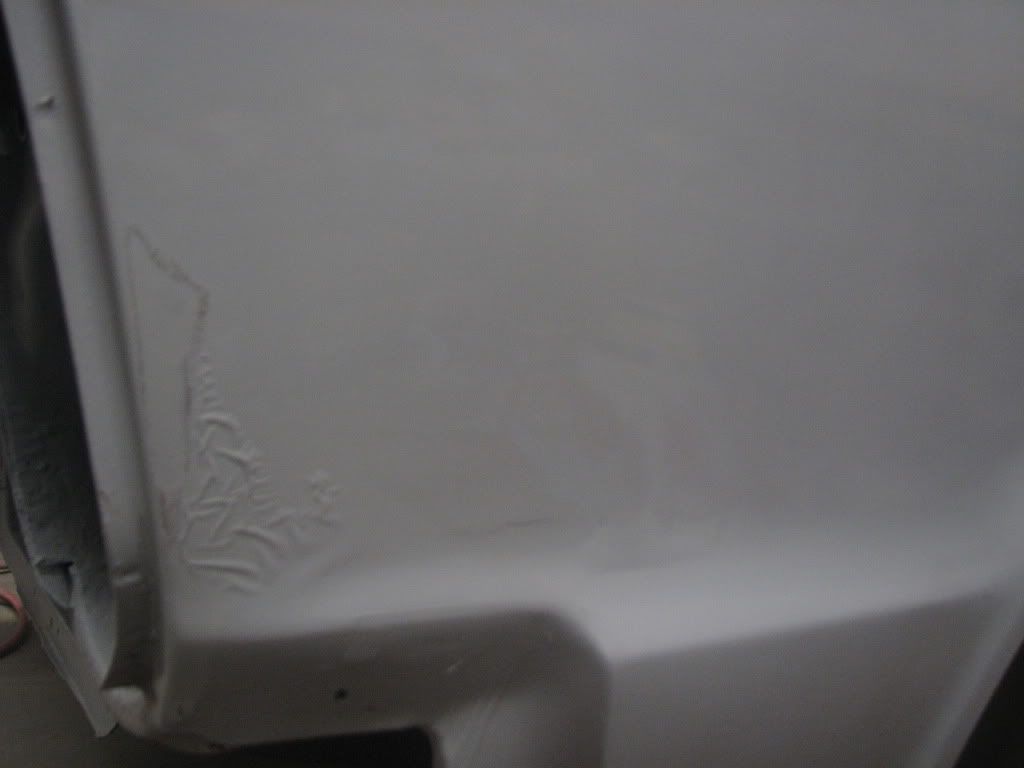 And another coat of epoxy primer. 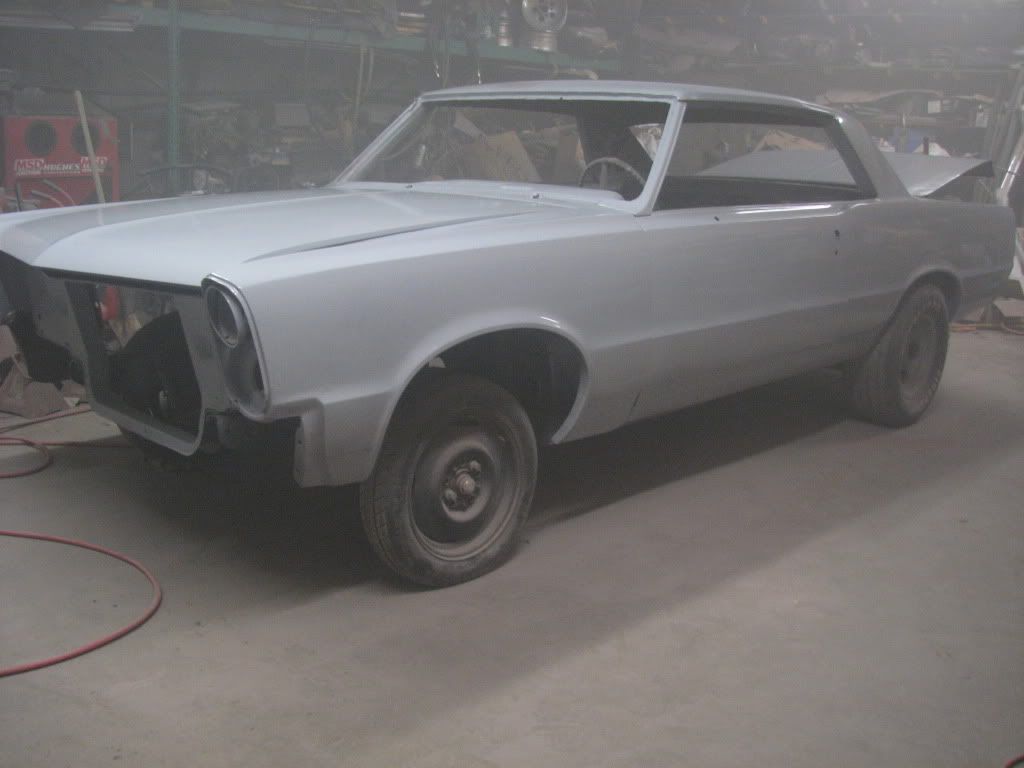
|
|
#168
08-22-2011, 12:40 AM
|
||||
|
||||
|
Well my metal working might be ok, but when it comes to filler and bumping dents so the panels are smooth, well I am not so good at that. Today was spent adding filler to the spots where it was still low, reworking a major part of the drivers side quarter, and trying to fix flaws without screwing up the good stuff I had done. Worked most of today for marginal improvement, if any. Self learning this is a pain, I wish someone would show me how to make the quarters flat and not have my repairs show through. I think from now on I will take someone's advice and just wire wheel the metal, then clear it so all the Frankenstein metal work shows. Making it pretty and straight hurts too much. I am really sore tonight, and I just got in.
Here is the front quarter after fixing the not so great stuff.. 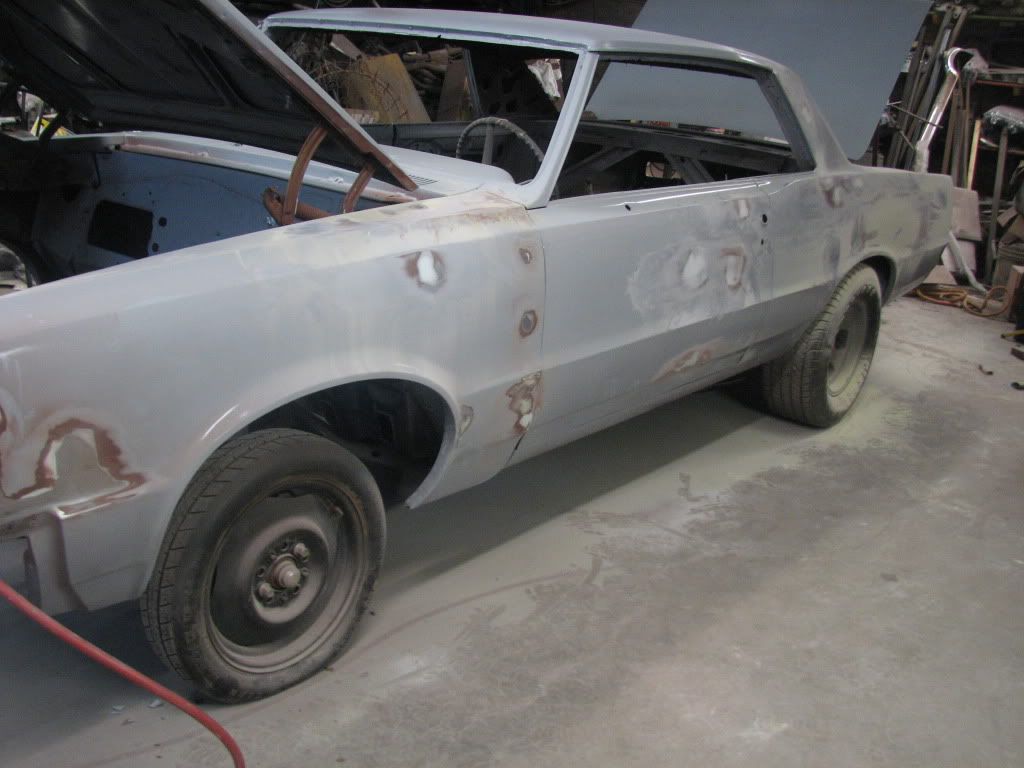 Then after primer, but you cant see if its straight or not. It just looks gray. I know it will look good in pics, but in person well that is another thing entirely. 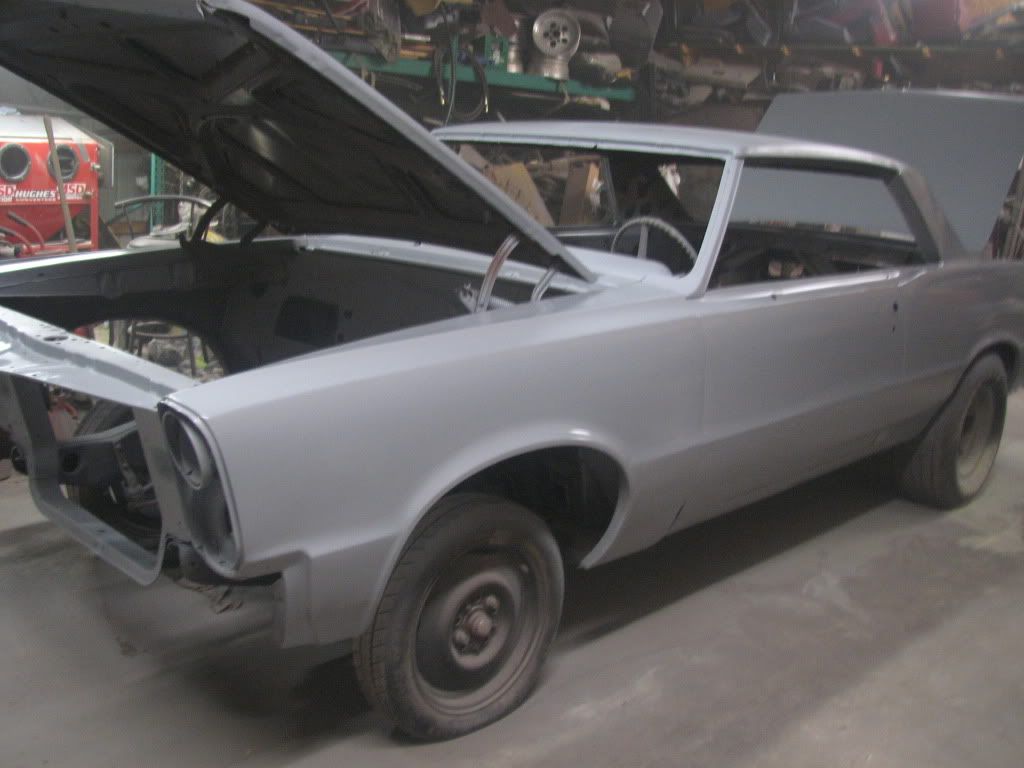 Passenger side needed attention too. 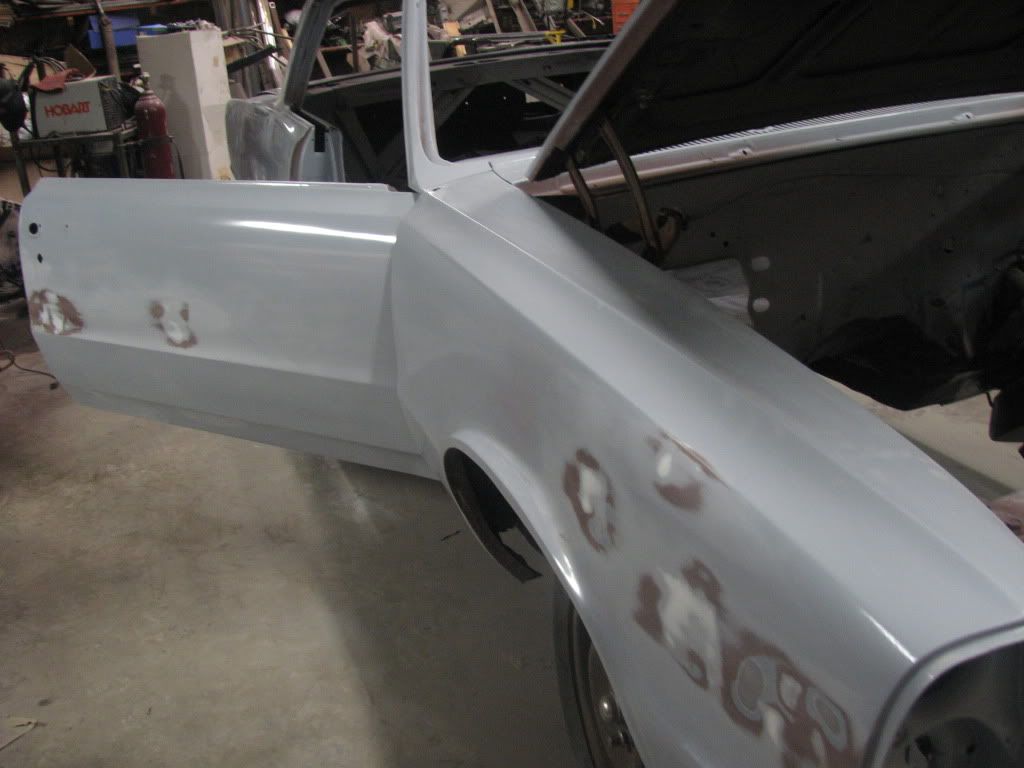 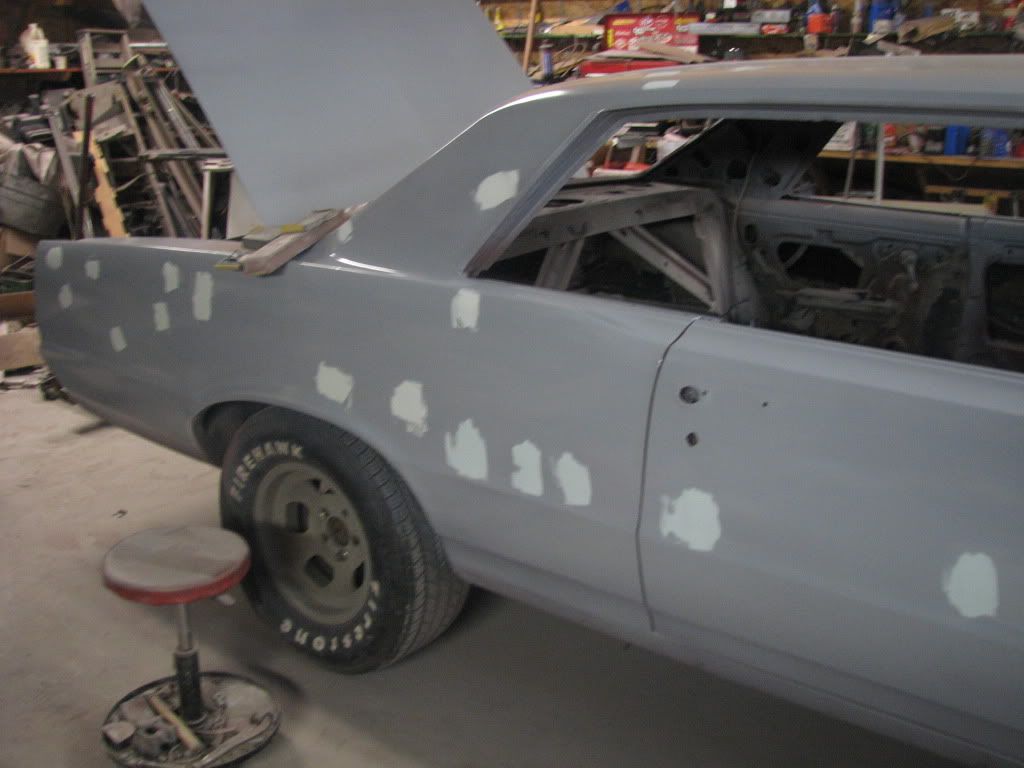 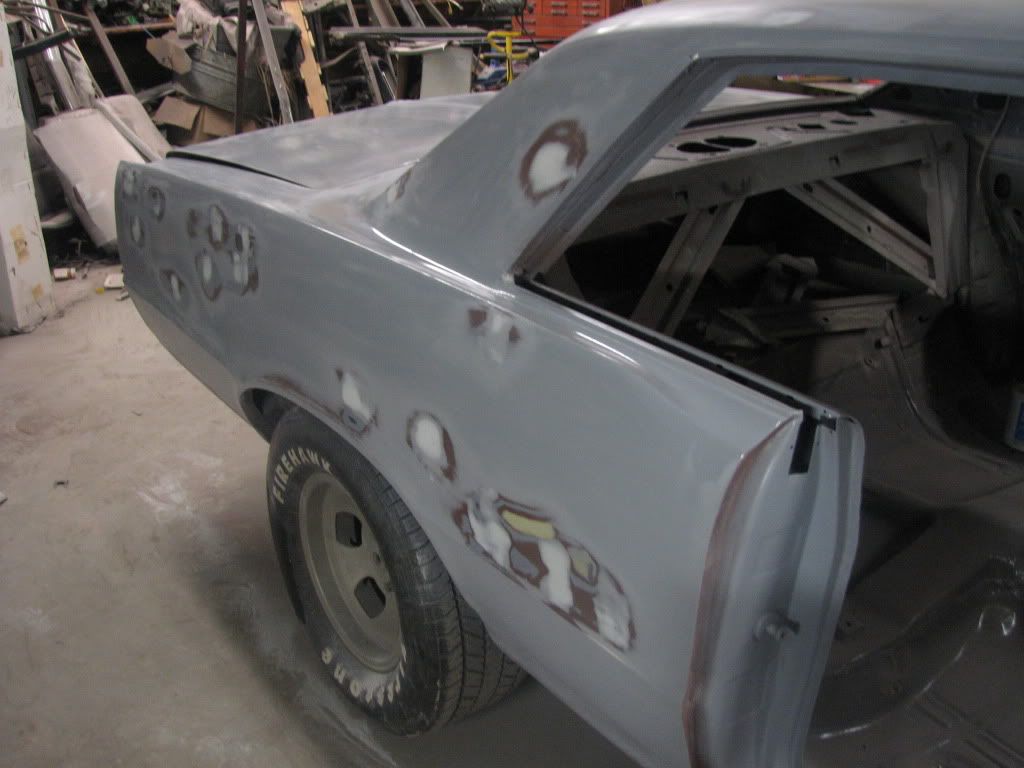 and after again.. 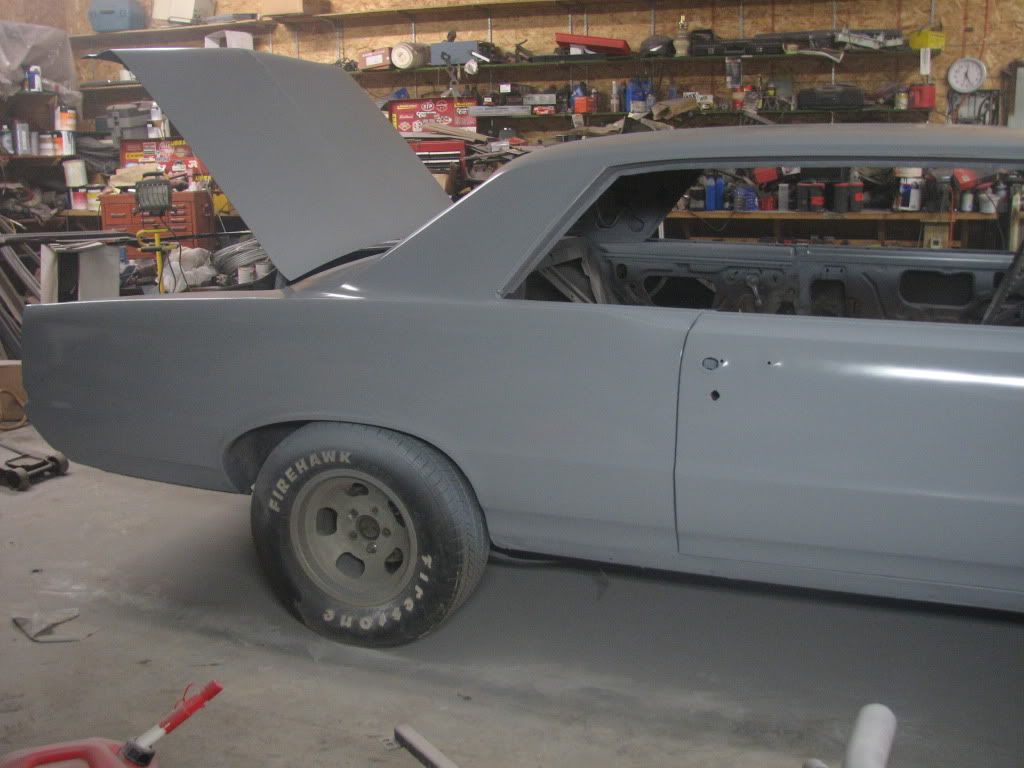 Oh look here is the dash and the quarter extensions! 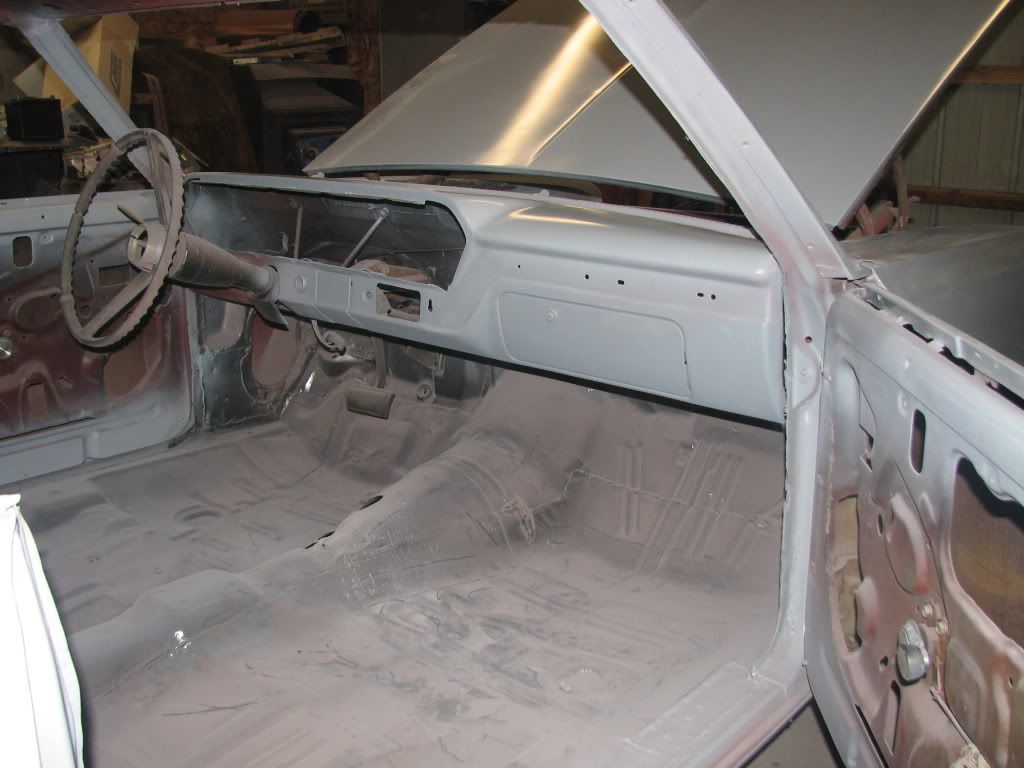 My daughter bead blasted these for me, they came out nice. 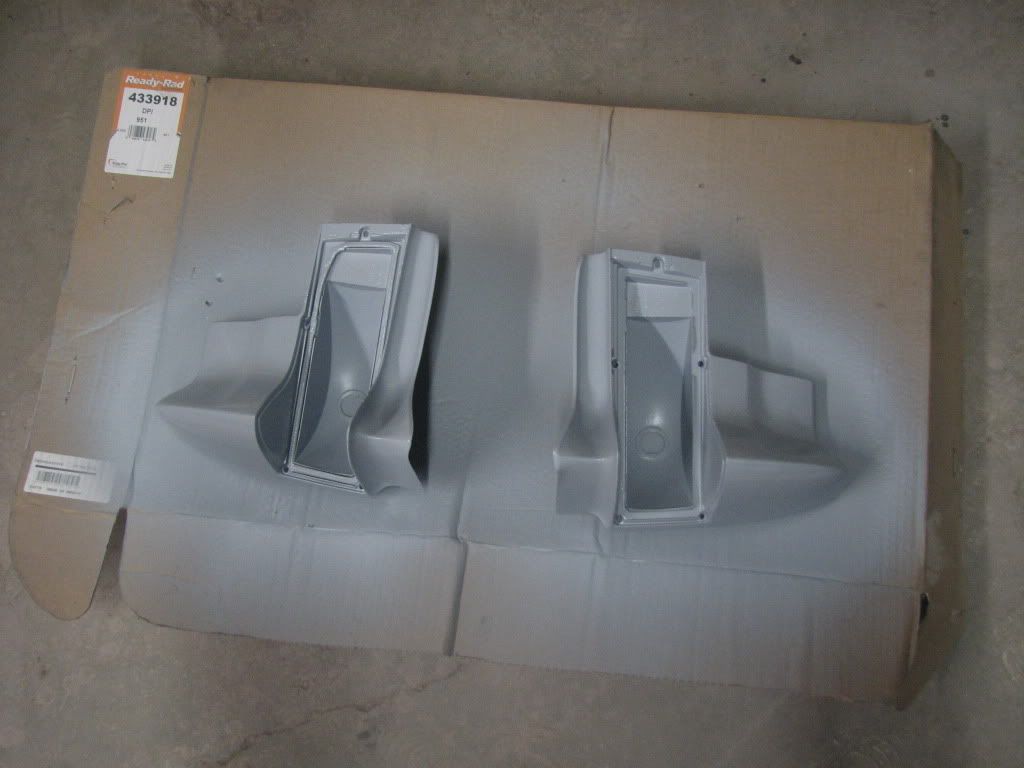 I am really sore and tired, going to bed. Might not even get up tomorrow. |
|
#169
08-22-2011, 07:47 AM
|
||||
|
||||
|
Time to get out the longboard, and I don't mean surfin'
|
|
#170
08-22-2011, 09:47 AM
|
||||
|
||||
|
I have a hood here in S.C. if that would be better for you. It seems like you have some connections here from reading your posts. I could take some pictures if you like. I know it has surface rust and a hole about the size of a nickle on one side. Just let me know and its yours.
|
|
#171
08-22-2011, 10:34 AM
|
||||
|
||||
|
Dave's 65
The quarters don't look bad at all. Two or three wet coats of 2k high build primer and several hours of wet sanding will make those quarters perfect. Just turn the radio up and start out with 320 wet/dry then go over everything with 400 wet/dry. I usually go over that with 600 grit wet or dry but a lot of guys stop at 400.
regards
__________________
Ron 64 GTO convertible, gone but not forgotten 76 CB750K 72 CB350F " why yes, I am old school, so what?" |
|
#172
08-22-2011, 12:39 PM
|
||||
|
||||
|
Quote:
|
|
#173
08-22-2011, 04:07 PM
|
||||
|
||||
|
Those long panels need to be done with a long board with 320 or 400.A little long board blocking using an X pattern will make a world of difference in your work as close as it is.........JB.

|
|
#174
08-23-2011, 07:30 PM
|
||||
|
||||
|
Yeah JB I did that quite a bit already, its much straighter than it was months ago, or even three weeks ago. Lots of bumping and blocking with long boards, and almost 3 gallons of high build sanded off. I am getting the hang of it, but I dont know if I will do anymore and try to make them nice from what this one was like. I think if they are this rough, they are going to be flat black, white, or painted so it looks like a barn find. Its just easier that way.
Honestly it doesnt look too bad, only a few spots will really show, its just the perfectionist in me wanting it to look like a $15k paintjob instead of a $1500 one. I have gone over it again, and shot more epoxy on it to cover the bare metal spots. I will rest while the epoxy cures, then tomorrow I will set everything up, wipe it down, and get to making this thing yellow. The only thing I will rework will be if there are any bugs or runs in it when I check it later tonight. Barring that, it gets painted tomorrow, flaws and everything. You can see the spot I reworked because the tape pulled some up in this pic. Just sanded it down, feathered it and shot more epoxy over it. Done. Doesnt look like it will wrinkle up, so maybe its good to go now.  Here is the quarter extensions and A pillar fairings with the drivers side fender I had to grind the welds on, fill, and then slather some primer on it. Its under the hood, and heck this thing is no show car, so its good enough.  And the car, as it sits now waiting for its first coat of base color. 
|
|
#175
08-23-2011, 08:42 PM
|
||||
|
||||
|
I have watched your thread from the start and you have done a fine job bringing that old goat back from the dead..........JB.
|
|
#176
08-23-2011, 11:12 PM
|
|||
|
|||
|
By far my fav thread on PY. Keep up the great work!
|
|
#177
08-24-2011, 07:00 PM
|
||||
|
||||
|
Thanks Paul and JB. Im glad to be entertaining and hopefully it will inspire someone else to take on a project.
Its one step closer to not being dead anymore. Ran out of activator so I didnt get to shoot the jambs, the lower part of the drivers door, and the lower front part of the quarter. The rest has the first coat on it, need more stuff to do the second.    
|
|
#178
08-24-2011, 07:47 PM
|
||||
|
||||
|
Better pics.
  
|
|
#179
08-24-2011, 08:14 PM
|
||||
|
||||
|
Where did the pinstripe come from?
|
|
#180
08-24-2011, 08:41 PM
|
||||
|
||||
|
From tape and some metallic black paint. Its not perfect, but it does a nice job breaking up the expanse of yellow and accenting the body line.
|
| Reply |
|
|
The PY Online Forums is the largest online gathering of Pontiac enthusiasts anywhere in the world. Founded in 1991, it was also the first online forum for people to gather and talk about their Pontiacs. Since then, it has become the mecca of Pontiac technical data and knowledge that no other place can surpass.






 Linear Mode

