


| FAQ |
| Members List |
| Social Groups |
| Calendar |
| Search |
| Today's Posts |
|
#1
 05-14-2009, 11:23 PM
|
||||
|
||||
|
Back in the 1994 I bought a '69 Firebird 400 project, it was an original 4-speed car. Not long after that I decided I wanted a set of Tri-Y headers for it just like the set I bought from H-O Racing for my '64 GTO. I had access to a TIG welder at my work and I had very little money.
Perfect way to start out on a project, a lot of ambition and broke. ") Well, not exactly 'just like' those fine new well-designed headers by H-O Racing. My Firebird Tri-Ys were cobbled together out of an old used set of banged-up 'generic' 4-tube GTO D-port headers that I pulled off my ratty old '64 GTO. Here's another old set of 4-tube headers exactly like the set I started with, I pulled these ones off of my '67 GTO. Must have been a fairly popular brand 'back in the day', so far I have pulled off 2 sets of these that must have been bought by the previous owners 30 years ago or more. Speedshop-specials that needed a lot of hammering to fit the confines of the engine compartment. Bottom tubes were nicely flattened from lack of ground clearance, most 4-tube headers end up like these.  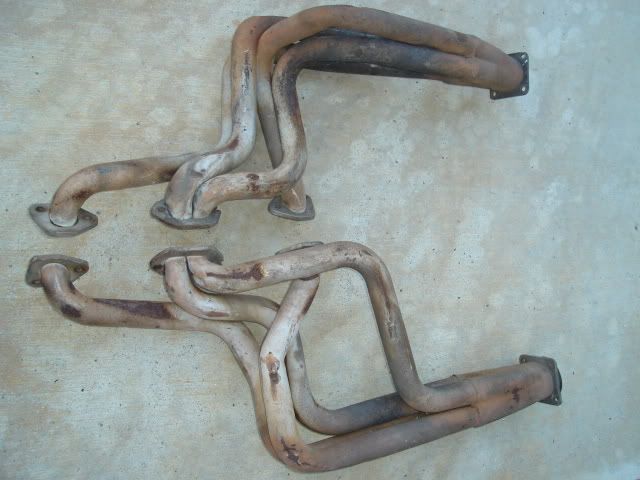 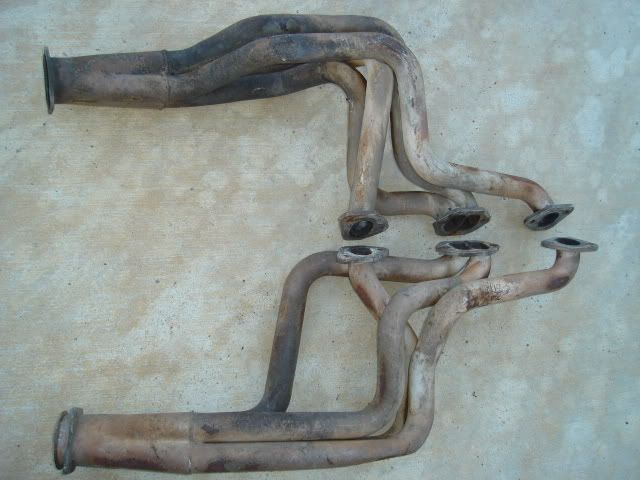 Here's what I ended up with, I think they came out looking pretty good considering what I started with. I built these right on the car with the clutch linkage in place. They will come out without lifting up the engine off the mounts, oil filter and starter removal is easy with the headers in place. I marked each tube for position with a sharpie permanent marker and tacked them together with an oxy-acetylene torch. I then took them to work to TIG weld them together in several steps. I must have crawled in and out from under the car to cut and fit up the different pipe sections hundreds of times. Really makes you appreciate the cost of custom headers, but of course the pros actually have the right materials, tools and knowledge to make it happen a lot faster and easier. Driver's side. 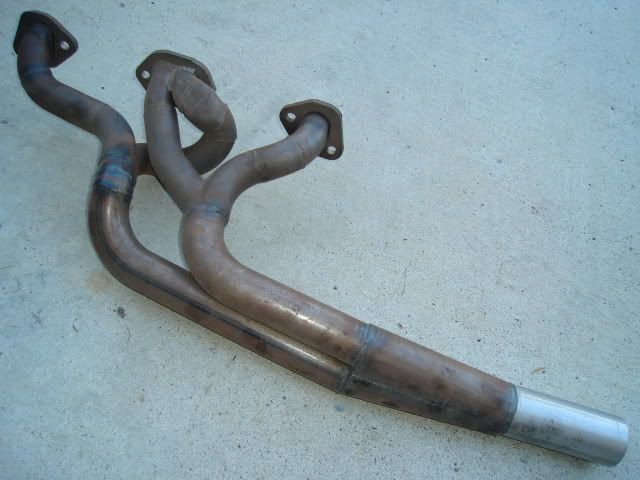 Passenger side. 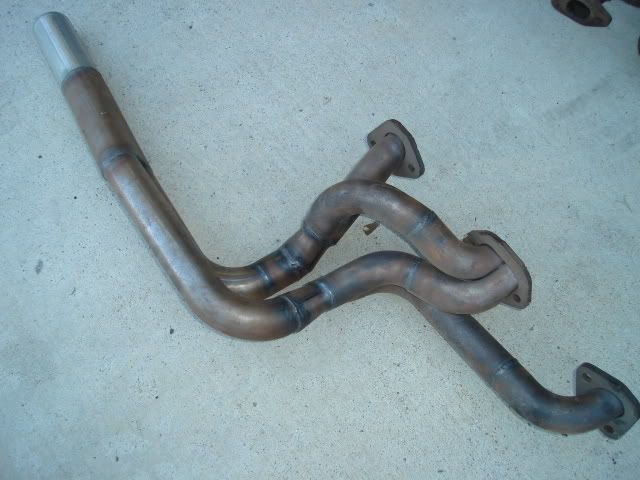 Closeup shot of the driver's side where there is about 1/4" of clearance between the #5 cylinder pipe and the steering box. I had to fab up a flattened section here and try to keep as much crossectional area as possible. Kind of ugly, but it works. 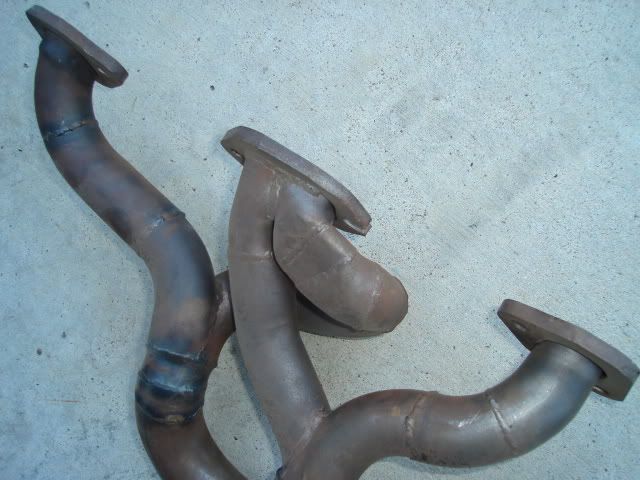 Driver's top view. I added some weld beads to build up some material on the head side of each flange and then ground the welds flat on a 12" disc grinder to aid header gasket sealing. 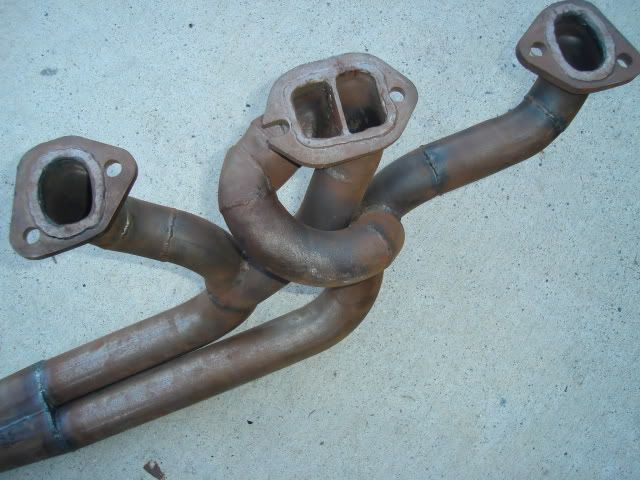 Driver's back side. 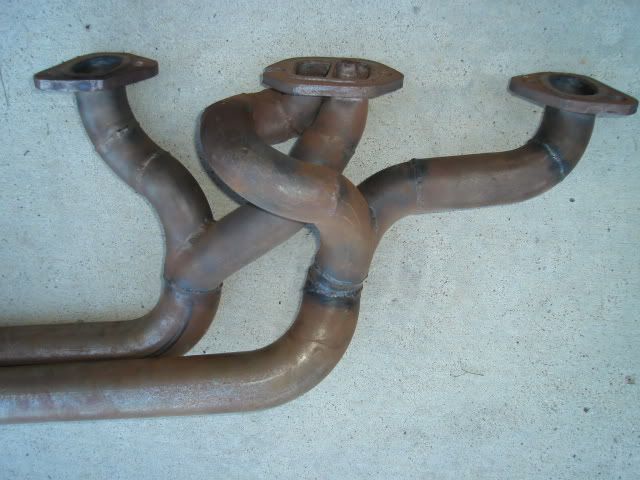 Passenger top view. 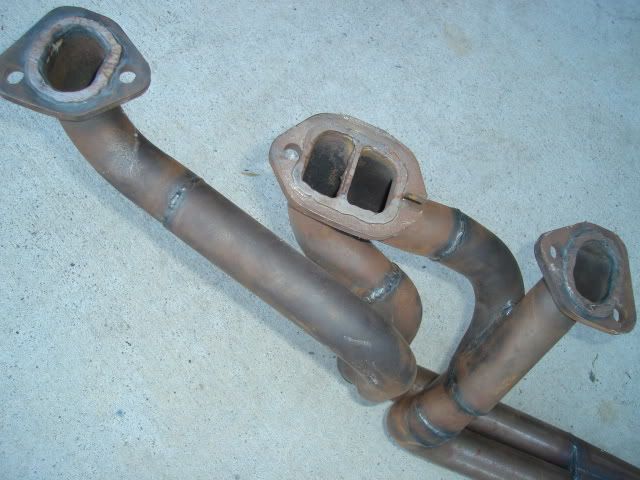 Passenger back side. 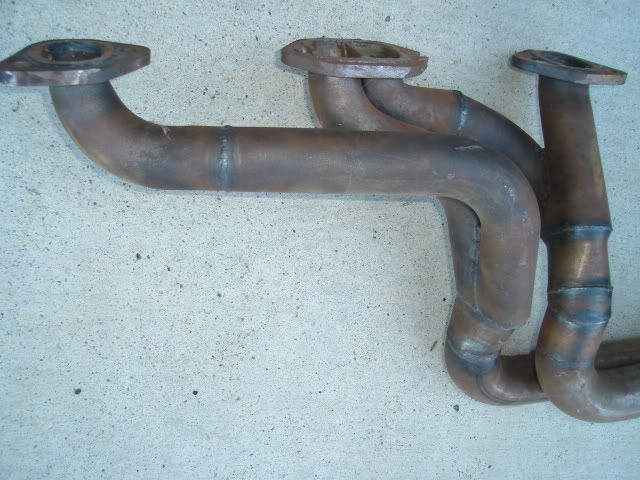 Primary pipe size is 1.75", secondary pipes are 2" and the collector is 2-1/2". The 1.75" pipe was all cut from the old headers, the 2" pipe came from a couple of new mild steel mandrel-bent U-bends I bought. My brother made up the collectors on a sheetmetal brake, there are a lot of folds in the sheetmetal forming the transition from the two 2" pipes to the single 2-1/2" exit pipe. A 3" collector exit pipe could easily be substituted for the 2-1/2" one. Bucks-down with a lot of time on your hands and need to practice some welding? Make up some headers (from some old junk headers if you're truly broke).  
|
|
|
The PY Online Forums is the largest online gathering of Pontiac enthusiasts anywhere in the world. Founded in 1991, it was also the first online forum for people to gather and talk about their Pontiacs. Since then, it has become the mecca of Pontiac technical data and knowledge that no other place can surpass.


 Threaded Mode