


| FAQ |
| Members List |
| Social Groups |
| Calendar |
| Search |
| Today's Posts |
|
#41
 02-17-2010, 09:28 PM
|
||||
|
||||
|
Quote:

__________________
Mitch  67 GTO...Gulf Turquoise w/Black bench and 4 speed... Follow the resto in pics here...http://s1357.beta.photobucket.com/us...28454765976114 67 Camaro ss/rs 350 66 Chevelle SS 396 70 Chevelle SS 396 |
|
#42
02-18-2010, 12:58 AM
|
||||
|
||||
|
Well that could explain it.
 Obviously we are not "normal." Obviously we are not "normal." I rather like not being normal though. |
|
#43
02-18-2010, 01:07 PM
|
|||
|
|||
|
First off, kudos on the resto. I also have been fascinated by the progress.
For the '64 only "on housing" upper rear control arm bushings, if those are the bushings you need, somebody found a link to a Chevelle parts place that had them. Link is still good, check for it in this thread. http://forums.maxperformanceinc.com/...ol+arm+bushing Unfortunately, the bushings are expensive, about $80 for a pair. But they are identified by the correct original '64 Pontiac A body p/n 9773067. So I assume they are same as offered for the Chevelle. If you are looking for some other bushing, maybe they have that as well. |
|
#44
02-18-2010, 02:18 PM
|
||||
|
||||
|
I just need one lower front arm bushing, the replacement arm has same sized holes and the 65s had one about 1/4" larger. Its still will work, just need the right bushing.
Im probably going to get aftermarket rear arms, these are pitted and Im not sure they would survive the bead blaster and press. Jegs has replacements relatively cheap, something less than $300 for the whole set and a bit more for adjustable. |
|
#45
02-18-2010, 04:58 PM
|
||||
|
||||
|
If you are trying to save some bux, I am sure that someone has a full set of rear arms in good condition for significantly less than $300. With your skills you could easily box the lower ones and add the rear sway bar.
|
|
#46
02-19-2010, 12:04 AM
|
|||
|
|||
|
Quote:
|
|
#47
02-19-2010, 12:26 AM
|
||||
|
||||
|
You made nice work of that trunk. This resto should be made into a book...seriously. Keep up the great work and keep the pics coming.
__________________
Norm J |
|
#48
02-19-2010, 12:39 AM
|
||||
|
||||
|
I have 4 A bodies to do, and this one can have the boxed arms from the 70 when I get that one in the shop for the same treatment. Doesnt take long to swap them out, but right now the 70 is buried in a drift.
Thanks again guys. I think I'll go take some pics of the sandblasting just so I can update this. The package shelf has a ton of holes in it, good thing it is covered up. I can slather on the POR or encapsulator and not worry about it, just get the flaky stuff off. Need to patch the floor under the seat, its really swissed under there, and the dash needs a bit more work. My hood's lens was heavily pitted so I gotta cut another one for it, couldnt see anything while I was doing under the dash. The blaster needs both valves replaced, a new hose, and its a bit small, so I think I will order a larger new one instead. 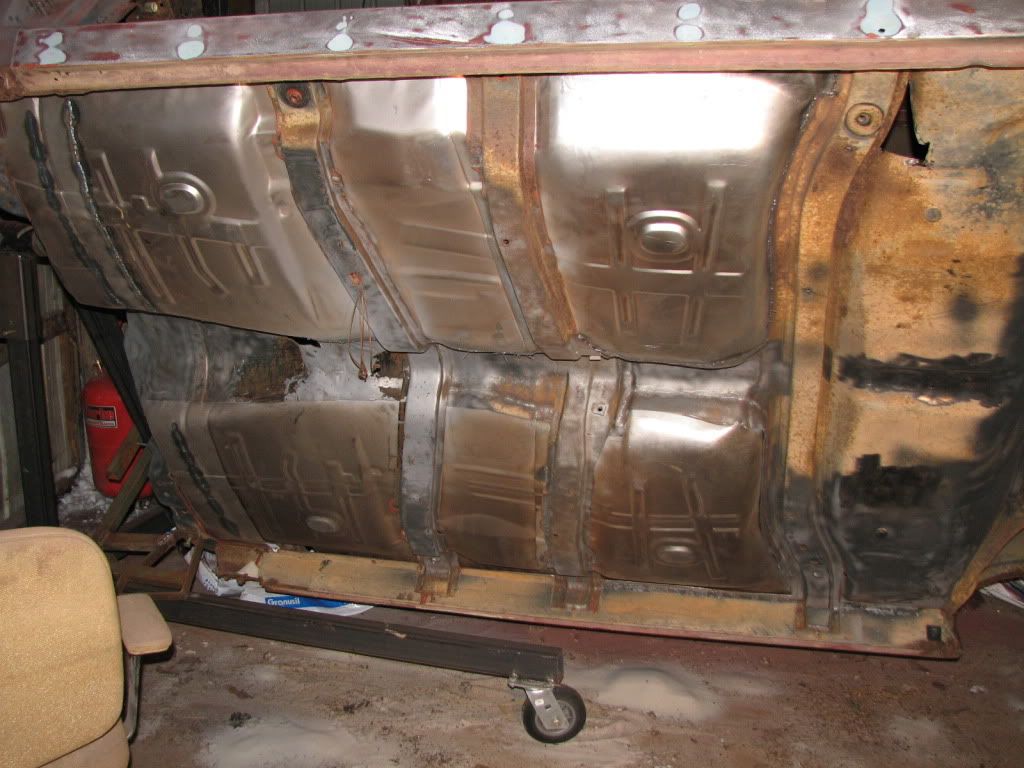 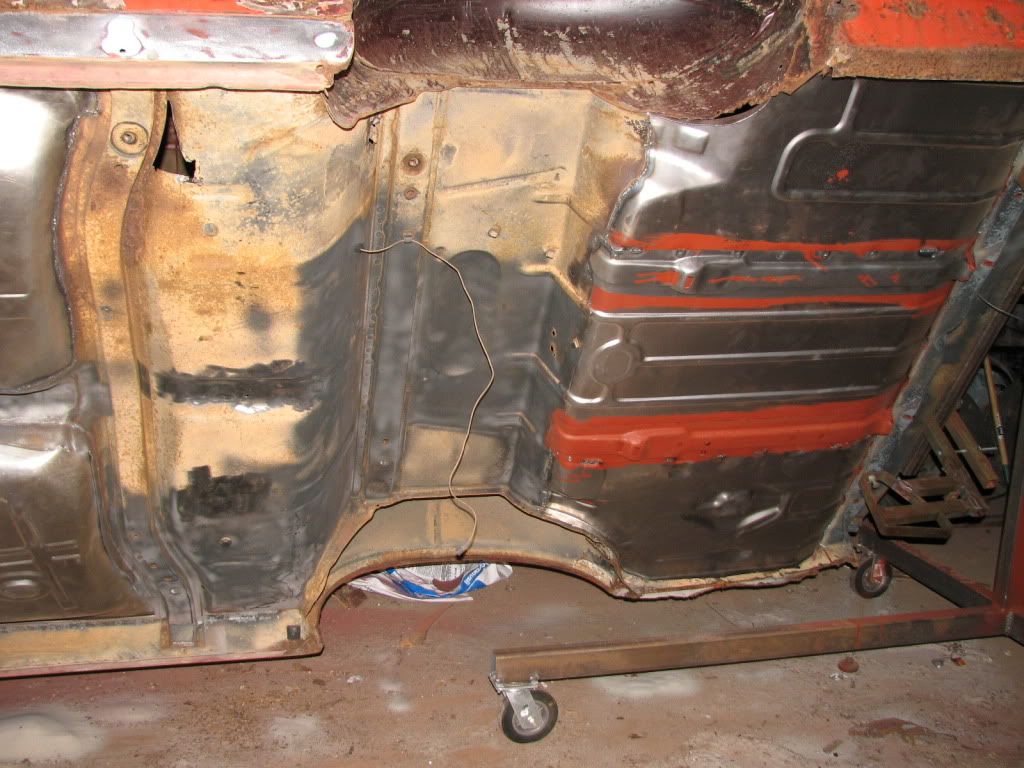 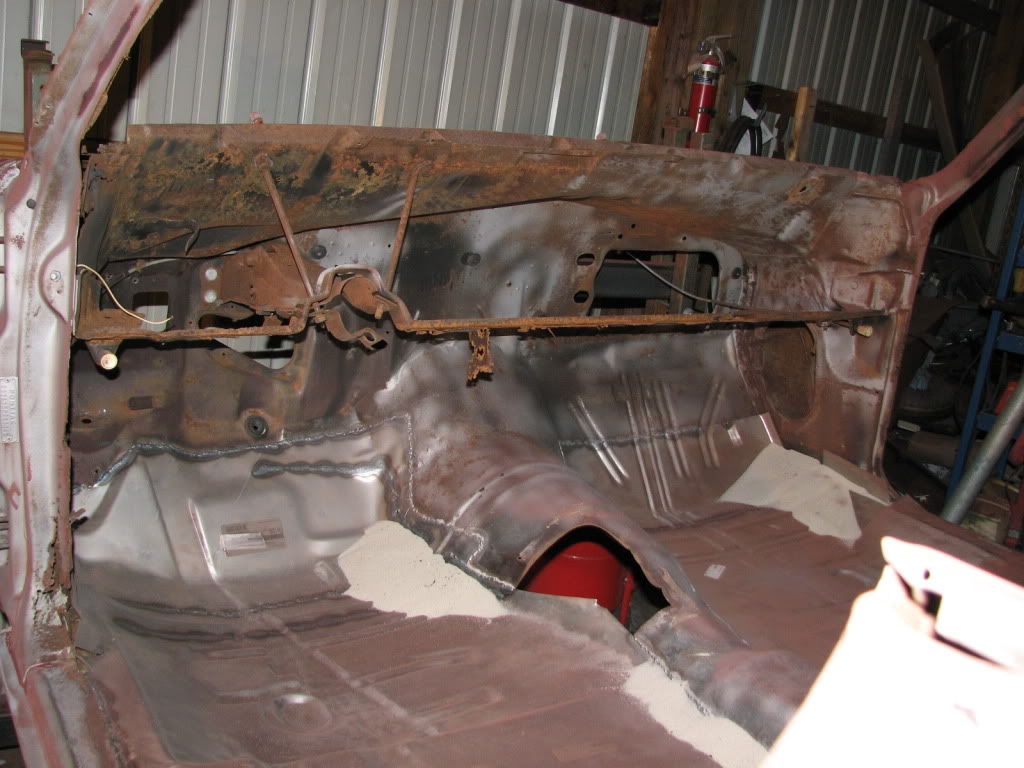 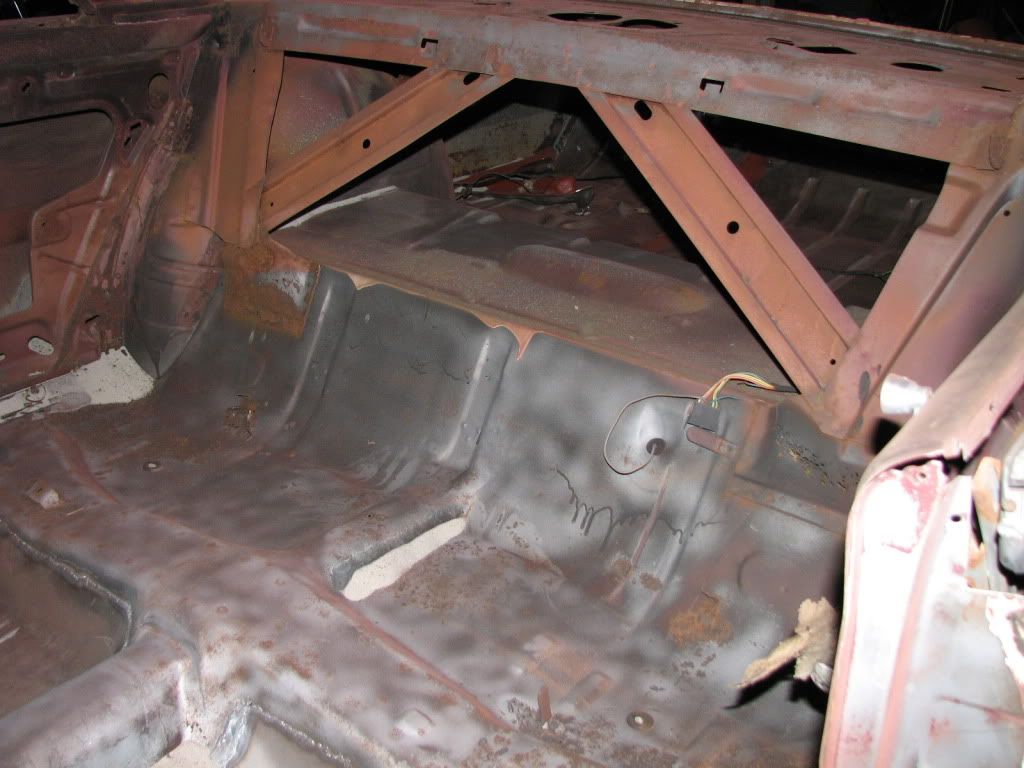 
Last edited by Thumpin455_GTO; 02-19-2010 at 01:08 AM. |
|
#49
02-22-2010, 02:14 PM
|
||||
|
||||
|
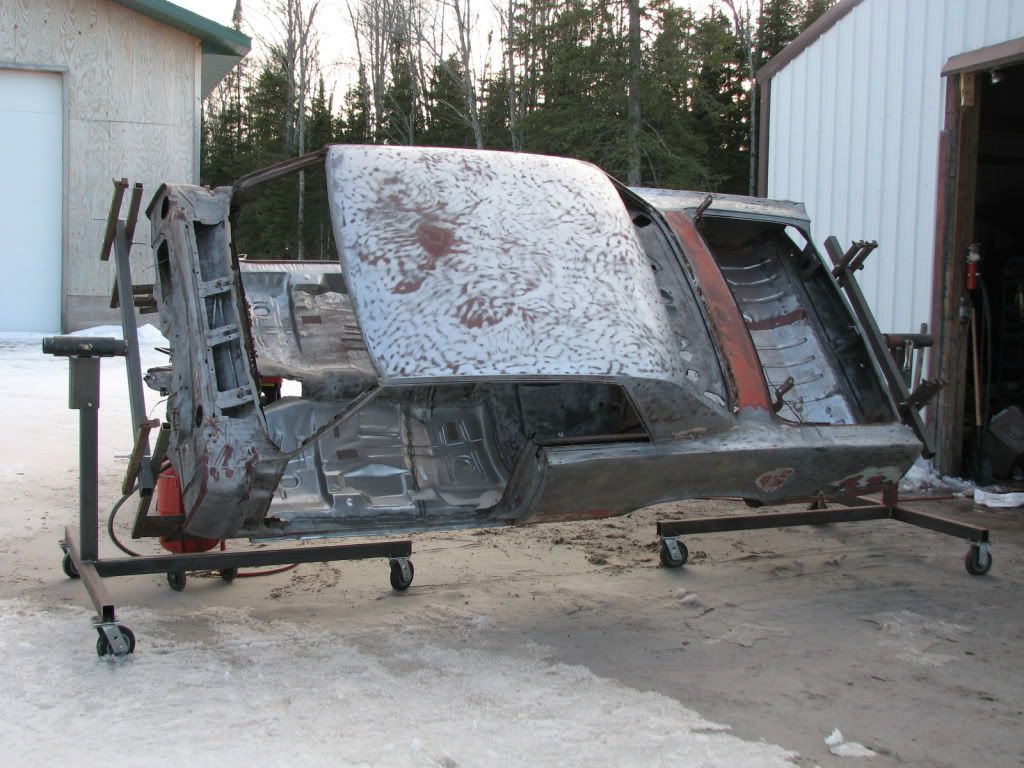
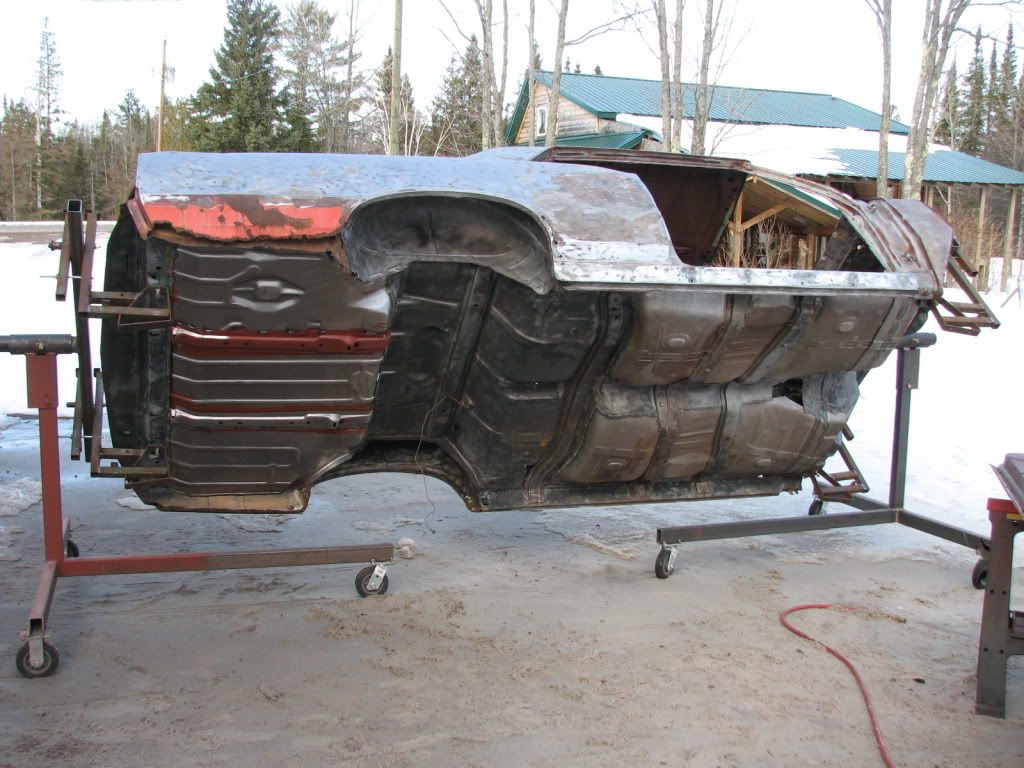
Got the rest of the blasting done, there is a bit more to do but now I can start on the metal work. If it isnt bare metal its getting cut off and replace at this point. Starting on the metal work today.
|
|
#50
02-23-2010, 07:19 PM
|
||||
|
||||
|
NICE !!!!!!
__________________
64 tempest wagon 421 gasser 
|
|
#51
02-25-2010, 10:08 PM
|
||||
|
||||
|
Thanks WD.. I want your wagon. Bring it to the UP and leave it here ok?
here are the pics of the quarter patch, I pulled the dent out of the top body line too so it would relieve the oil can effect on the quarter. Worked perfectly and now the back half of the quarter wont need a half inch of mud to be straight. Here is the drop and patch, need to grind in the wheel well a bit yet, and the shoot it full of POR15 so it doesnt rot again.  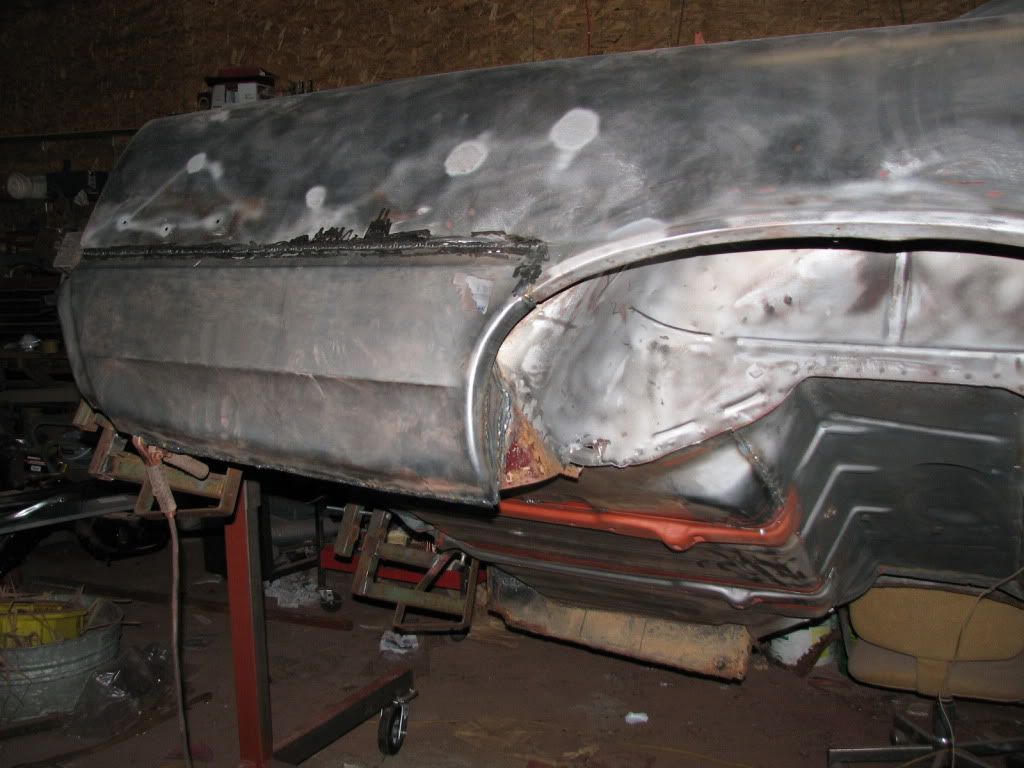 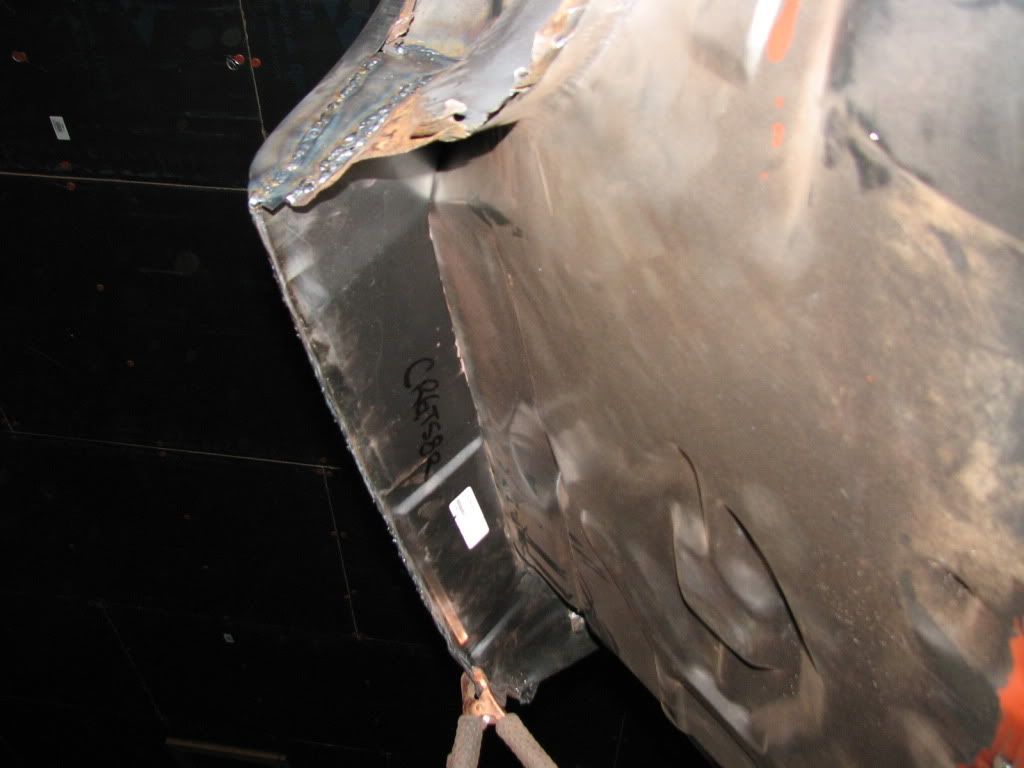 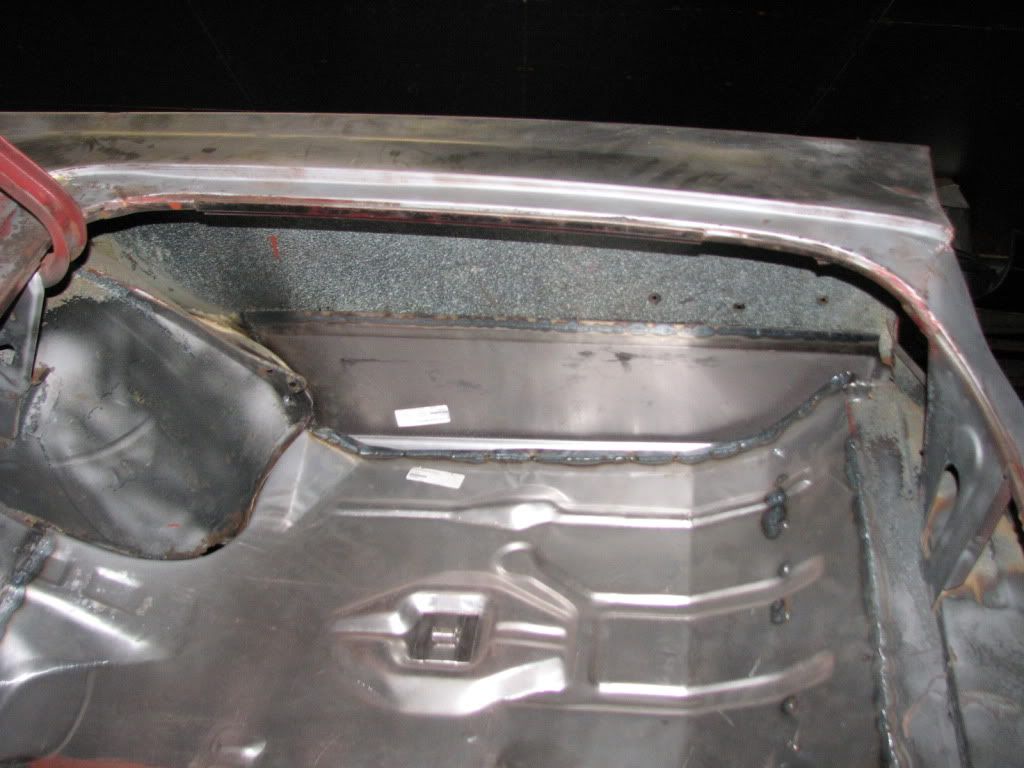
|
|
#52
02-26-2010, 03:32 PM
|
||||
|
||||
|
Were you able to get a doner dash and "a" pillars?
|
|
#53
02-26-2010, 07:28 PM
|
||||
|
||||
|
Working on it, need to get down state and pick up the parts car, and the post tempest out in the trees. Dave needs to pick up a marine 454 near Detroit, so we are trying to work that into the trip.
|
|
#54
02-26-2010, 11:44 PM
|
|||
|
|||
|
Quote:
|
|
#55
02-27-2010, 11:52 PM
|
||||
|
||||
|
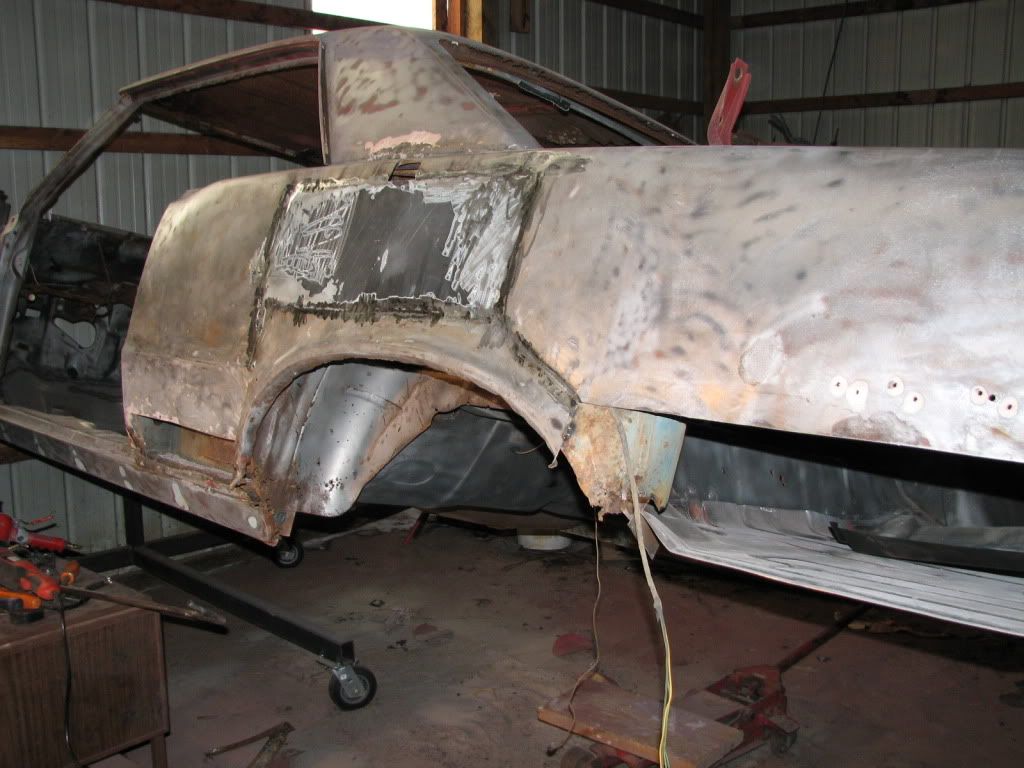
More work today, started the patch and drop repair and found some messed up work from years ago. They left a huge chunk of the outer wheel house attached to the quarter skin and never bothered to weld it to the wheel house. The only way I could see to fix it was to do some cutting, and I could repair the rusted, oil canned, and full of holes section right above the wheel. I have the patch welded in, but the batteries died in the camera before I could shoot it. I'll finish up the patch tomorrow and post some pics of it then.
  Had to do some major straightening on the wheel lip before I put it back on, this is going to take a while to make everything right enough to keep water and dust out. 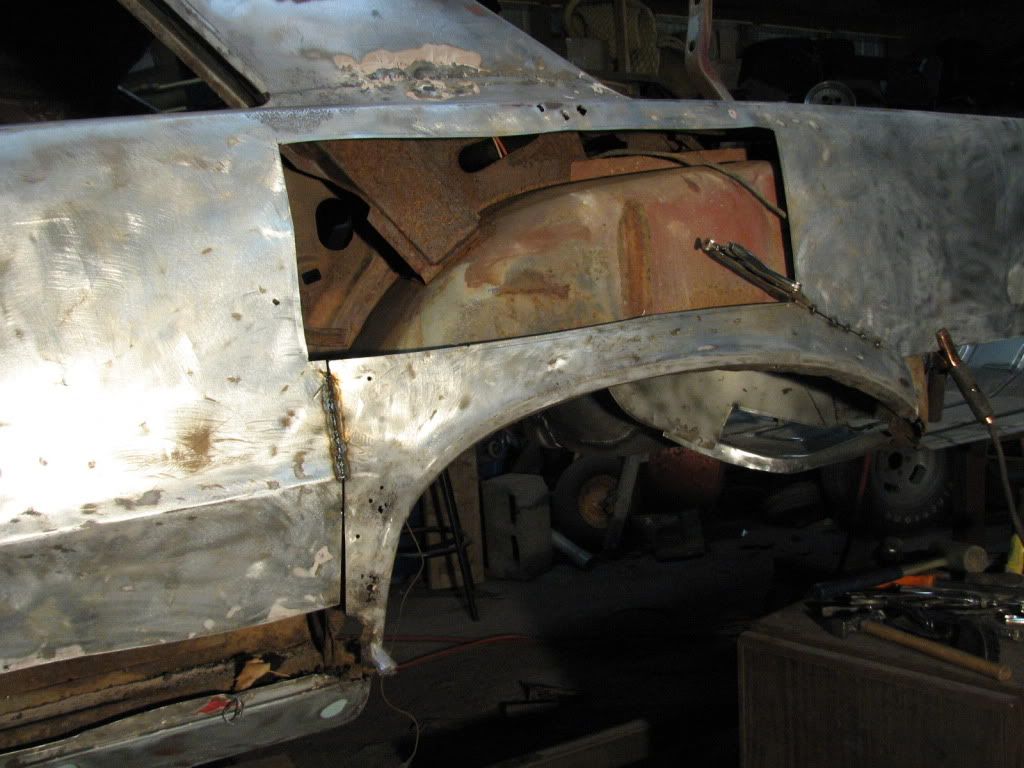
|
|
#56
02-28-2010, 04:23 PM
|
||||
|
||||
|
I got the patch welded in yesterday, and ground most of the welds down, I gotta remember to wear my hearing protection next time. The patch moved around a bit so I need to do some bumping to get the panel flat again, right now it has a slight bend to it along the front seam. I can use the bottom where it attaches to the rocker to help move it outward, but it really needs some persuasion. I found a wedge of wood stuck in that spot when I cut the panel off so I am working against the natural bend of the metal.
|
|
#57
02-28-2010, 07:17 PM
|
||||
|
||||
|
I don't know but I think I would have went with a full quarter panel and saved a whole bunch of welding and body work
 JB. JB.
|
|
#58
03-01-2010, 12:15 AM
|
||||
|
||||
|
Yeah it would have but nobody had one in stock so I ordered a rear patch, and found nastiness inside. About the same amount of welding really, just more filler in places I'd rather it not be.
|
|
#59
03-01-2010, 10:48 AM
|
||||
|
||||
|
Ames has them......Just wondering......
....JB.
Last edited by valkyrie9901; 03-01-2010 at 10:51 AM. Reason: ------ |
|
#60
03-01-2010, 12:06 PM
|
||||
|
||||
|
I don't mean to jump in on your thread but I'm working in the same area as you are at the moment. I'm in the final stretch though once these two lower patches are done I'm ready for primer and paint. I have to give you a lot of credit for the work you are doing on this car. I don't think I would have done it .
Looks like that was a Fontain blue car originally from the color inside the wheel well. I'm just putting on lower patch panels on my 65. The area between the lower wheel house and the lower quarter was full of silt which intern held moisture and rusted out that section of the quarter it was full of pin holes once I stripped the paint off. The rear upper section of the wheel house extension had also been hit and wadded and that was easier to straighten with the lower section of the quarter removed.I'm trying something different on the wheel lip and bottom sections of the repair panel I used panel glue and let it set now I'm going to butt weld in the seam between the panel and the quarter. |
| Reply |
|
|
The PY Online Forums is the largest online gathering of Pontiac enthusiasts anywhere in the world. Founded in 1991, it was also the first online forum for people to gather and talk about their Pontiacs. Since then, it has become the mecca of Pontiac technical data and knowledge that no other place can surpass.


 Linear Mode

