Reply
 
Thread Tools Display Modes
  #21  
Old 03-04-2008, 02:32 PM
johnsma22's Avatar
johnsma22 johnsma22 is offline
Ultimate Warrior
 
Join Date: Jun 2005
Location: Taunton, Ma
Posts: 1,928
Default

Quote:
Originally Posted by keepat
John, I have look at your car pictures on other thread (looks Awesome) and I'm considering using the same size tires you have, 255/50-17 right?
Thanks!
Pat
Yup, 255/50/17's all the way around. The wheels are 17x8's with 4.75" back spacing.

__________________
John


"There are no stupid questions, but there are a LOT of inquisitive idiots!"
  #22  
Old 03-13-2008, 10:13 PM
keepat's Avatar
keepat keepat is offline
Senior Chief
 
Join Date: Feb 2008
Posts: 404
Default

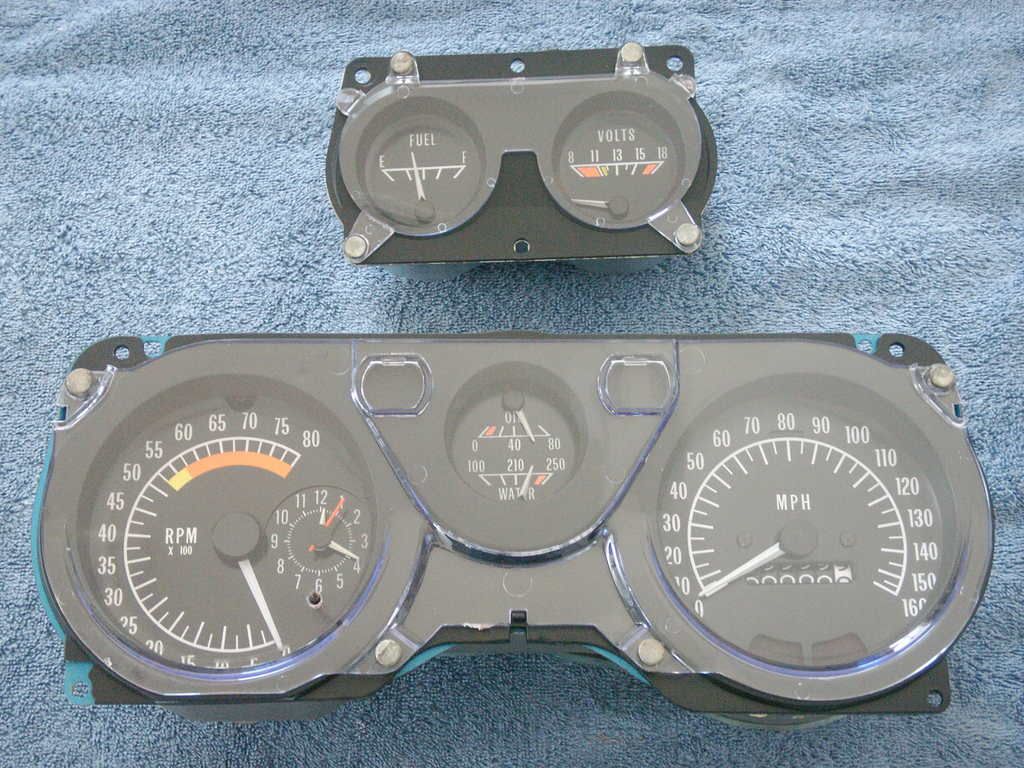
Check out the awesome job Auto Instruments did restoring my gauges.
Pat


The Following User Says Thank You to keepat For This Useful Post:
  #23  
Old 03-13-2008, 11:46 PM
RicksGTO's Avatar
RicksGTO RicksGTO is offline
Ultimate Warrior
 
Join Date: Jan 2003
Location: Colleyville, Texas
Posts: 3,486
Default

gauges look very nice, did they have to do anything to the tach or was it working well when you got the car? My '72 had the original 8k unit but the needle had broken off so I replaced the tach with another one. I'm not sure if it is accurate yet as these are sometimes out of balance. If you run across two of the little black set knobs that seems to be missing on most of these, keep me in mind as I need one too!

__________________
'72 Formula 455HO TH400, Revere Silver, black deluxe
'74 Trans Am SD 4 speed, Admiralty Blue, blue deluxe
  #24  
Old 03-13-2008, 11:58 PM
TransAmRIP's Avatar
TransAmRIP TransAmRIP is offline
Chief Ponti-yacker
 
Join Date: Jun 2006
Location: Slidell, La.
Posts: 780
Default

Quote:
Originally Posted by keepat
Check out the awesome job Auto Instruments did restoring my gauges.
Pat


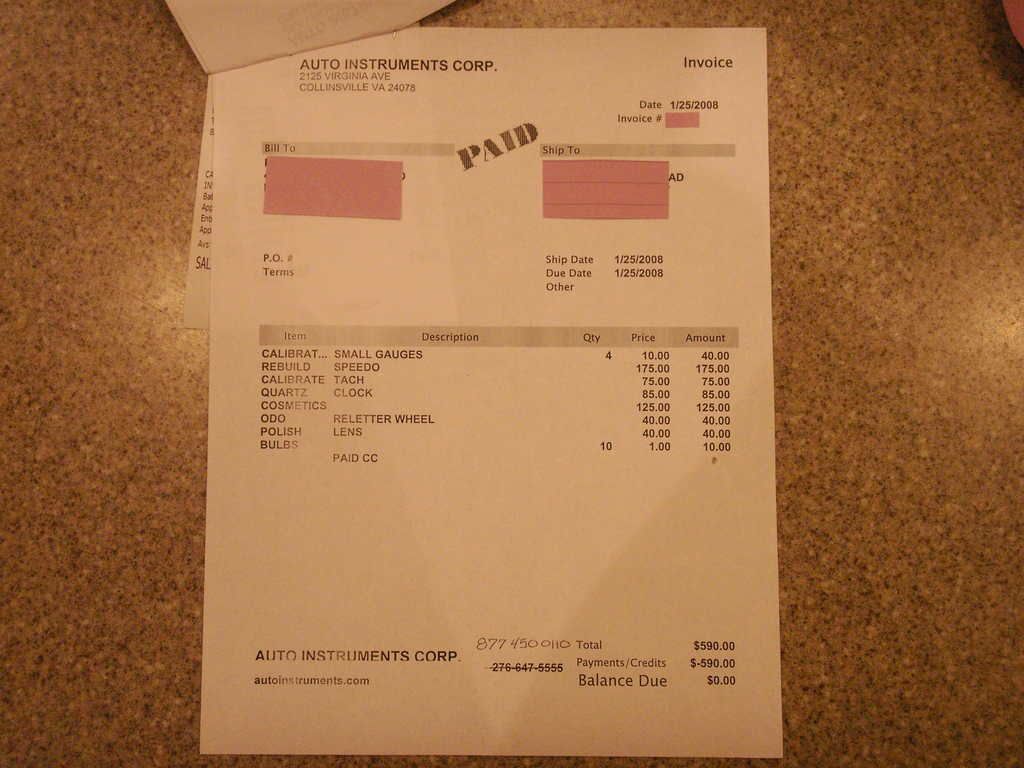
Looks great Pat. I have to get all my gauges done as you did. Can you give me a ball park figure they charged you?

Thanks

__________________
1974 400 4 speed
  #25  
Old 03-14-2008, 07:42 AM
keepat's Avatar
keepat keepat is offline
Senior Chief
 
Join Date: Feb 2008
Posts: 404
Default

Rick,
The tach worked great on the drive home from TN to MD late December, but with over a 100 k on the car I had it rebuilt.
Thanks!
Pat

Bub,
See pic!
Thanks!
Pat

  #26  
Old 03-23-2008, 09:37 PM
keepat's Avatar
keepat keepat is offline
Senior Chief
 
Join Date: Feb 2008
Posts: 404
Default

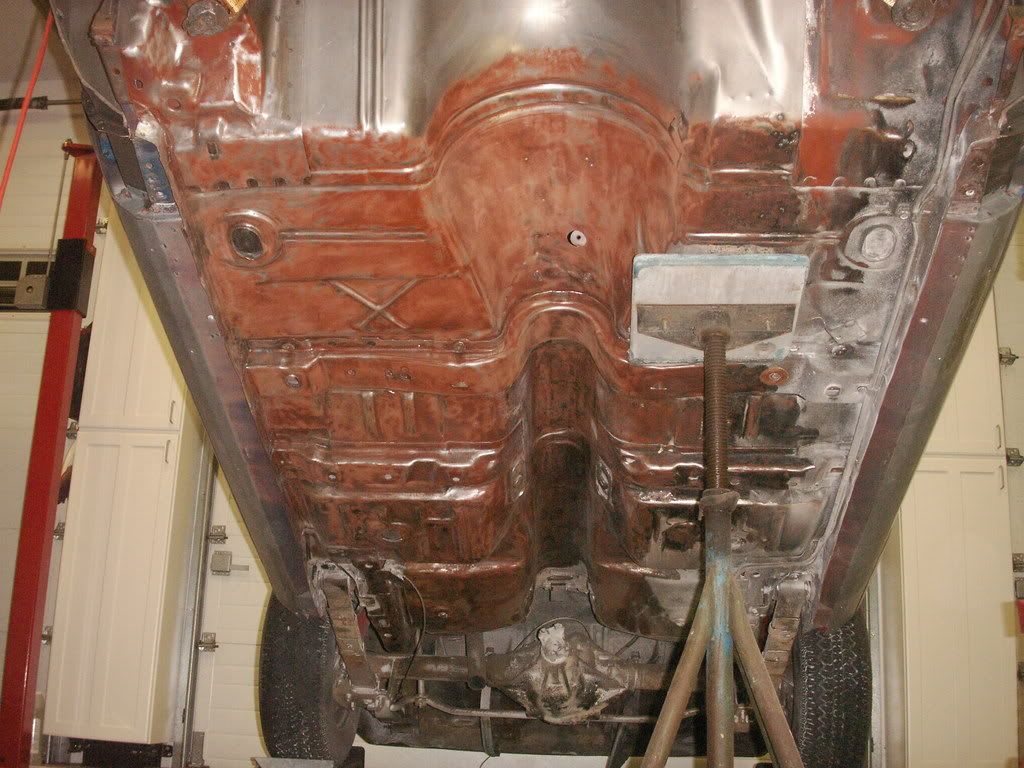
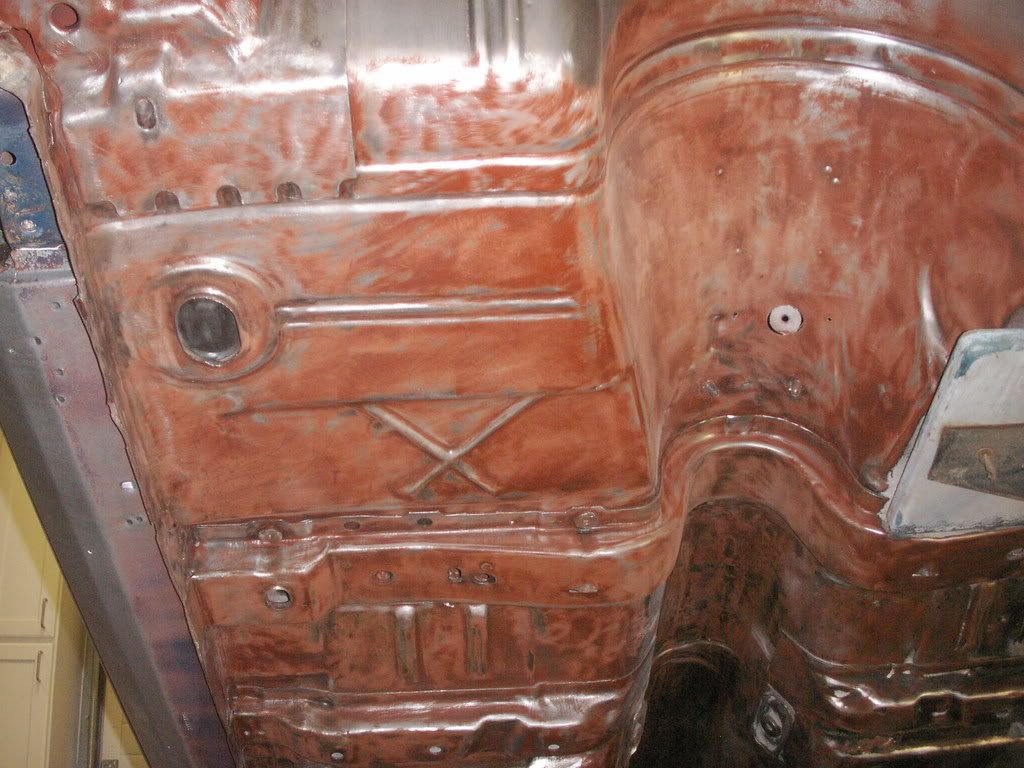
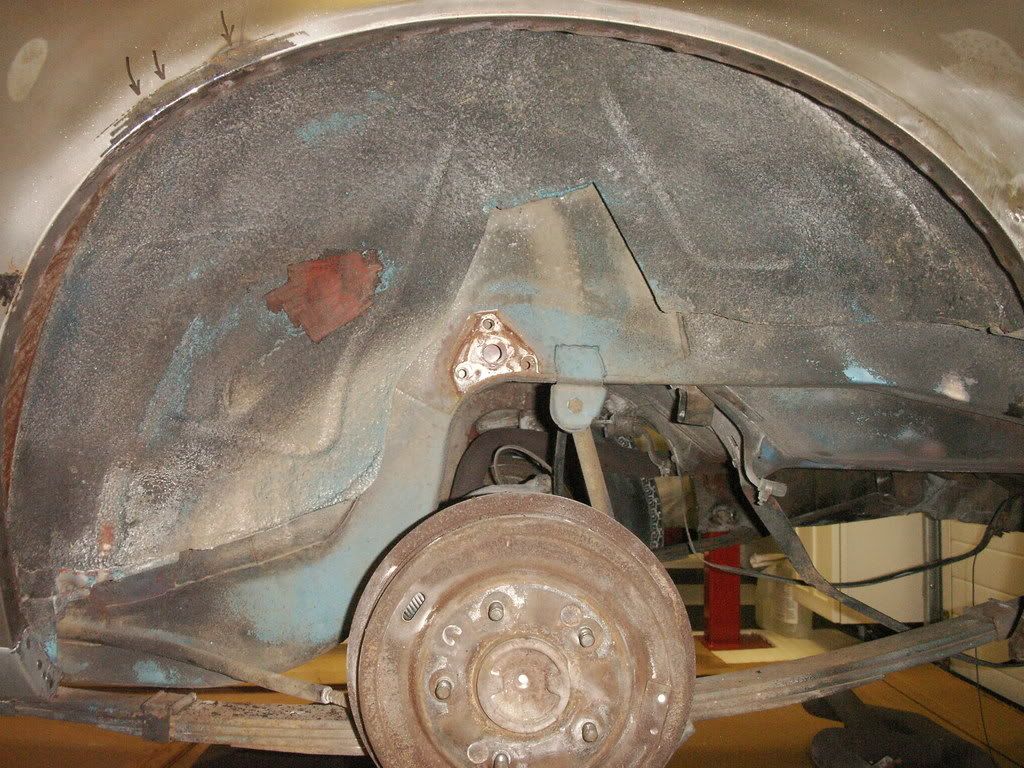
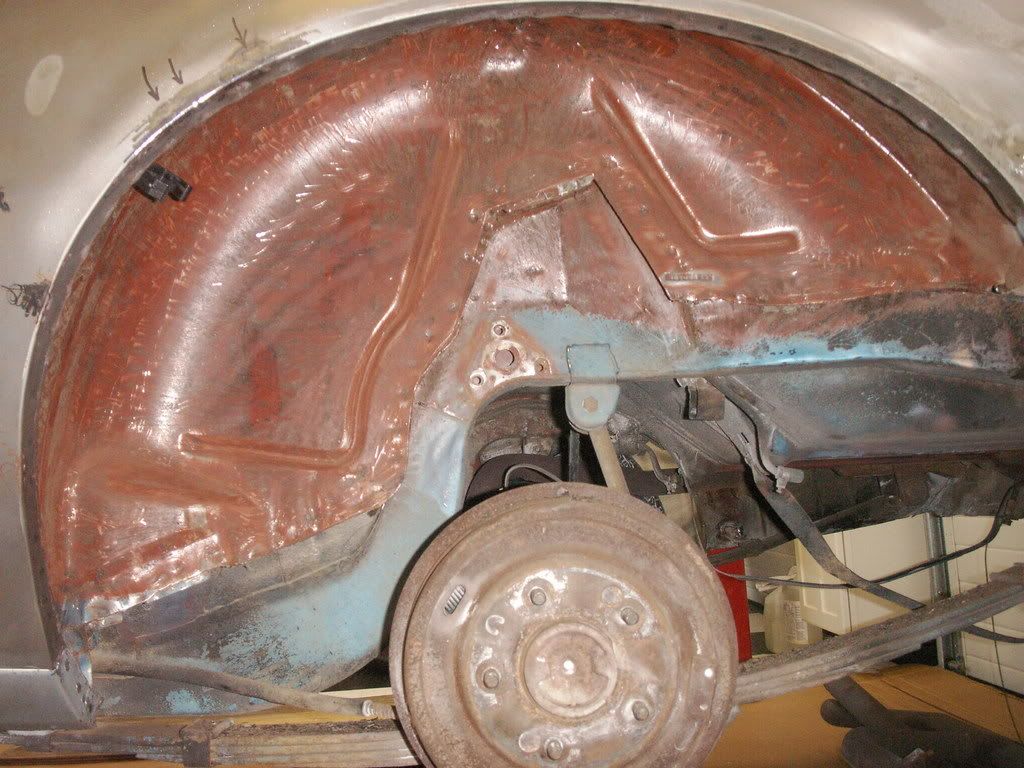
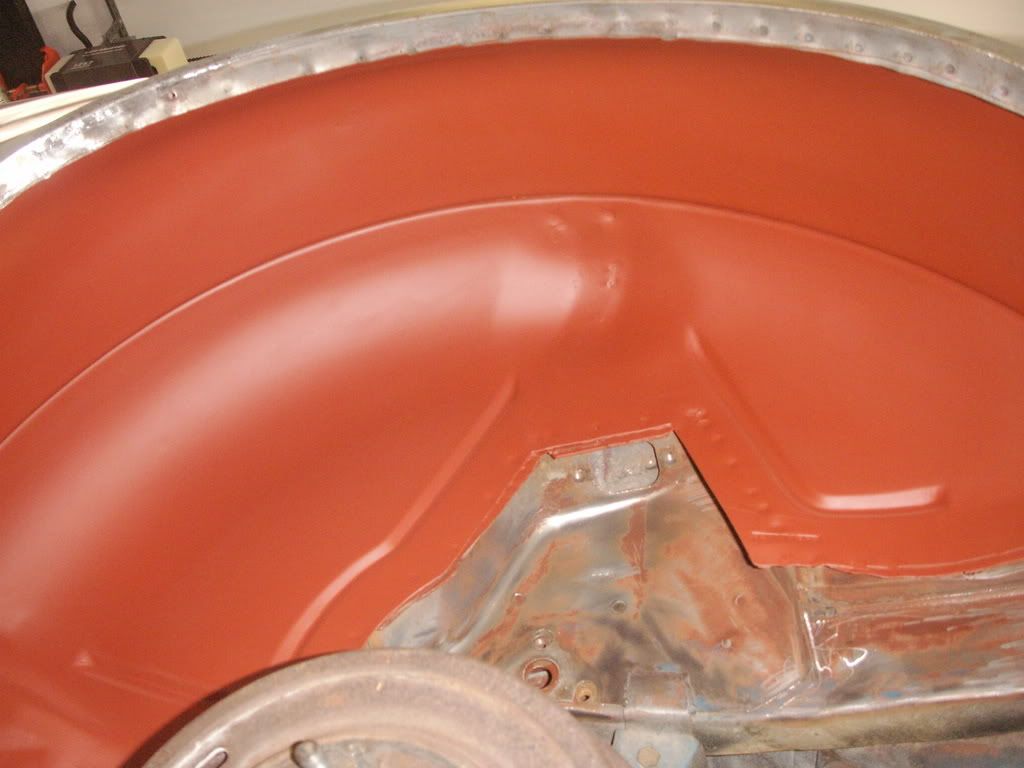
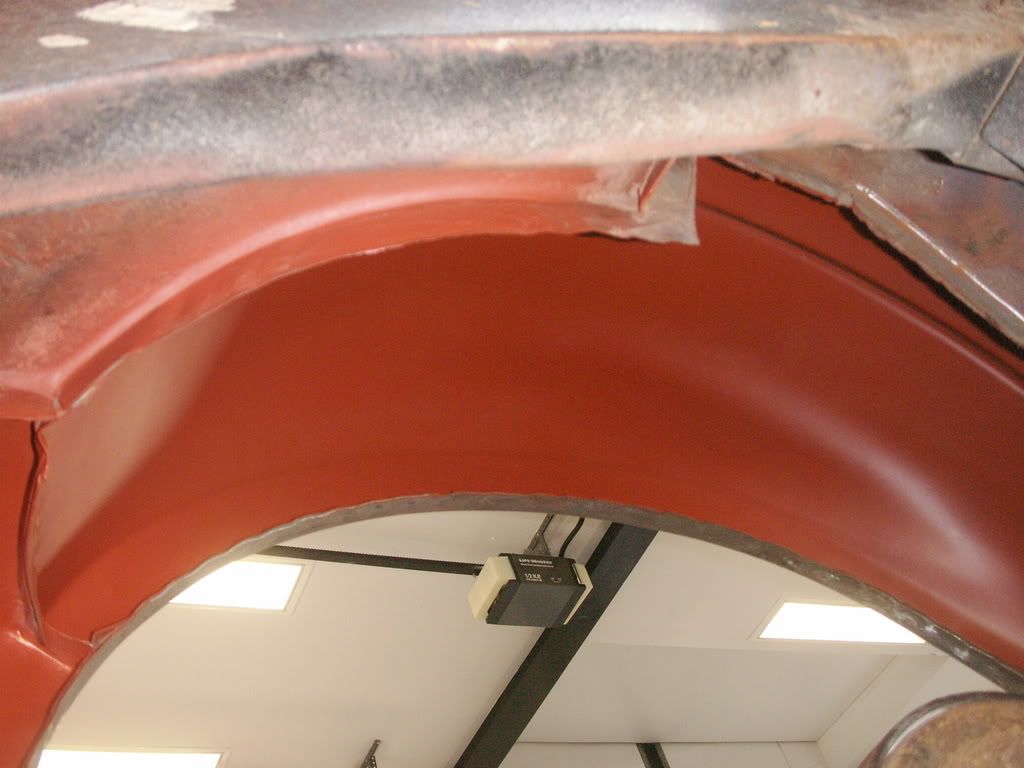
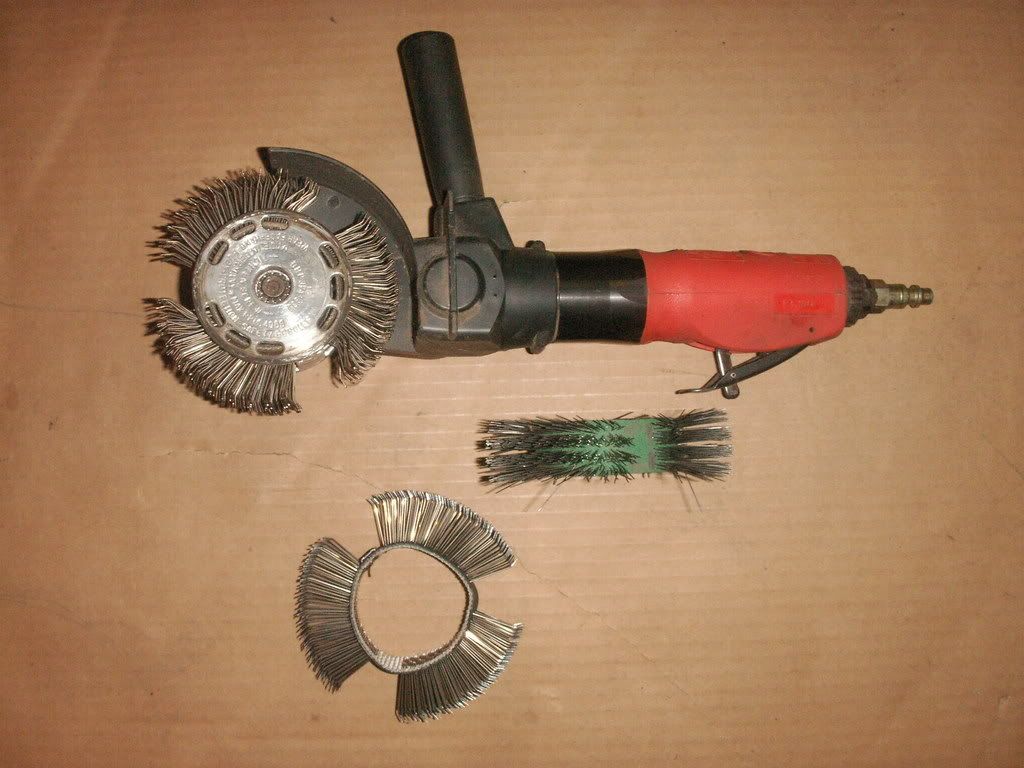
Check out this Kick-A$$ air tool for striping undercoating, paint, and rust. I used it today on the bottom of my T/A with the fine wheel and it went through the undercoat like butter! I also painted one wheel well to test the color, looks to red? Looks like I will have to tint the paint darker.
Pat


The Following User Says Thank You to keepat For This Useful Post:
  #27  
Old 03-23-2008, 09:55 PM
455hota's Avatar
455hota 455hota is offline
Chief Ponti-yacker
 
Join Date: Oct 2006
Location: Holt, MI
Posts: 727
Default

Looks like great progress on removing the undercoat. The air tool you showed in the pic, was it designed for use with those special wire wheels? Or did you get the wire wheels separate and just use your own air tool? It looks like the tool was designed for the wire wheels.
I have some undercoating to remove and your setup looks good... Please post any info on the tool. Thanks.

__________________
...Steve T.
"Resurrection of a 1970 Trans Am" Blog
www.455hota.wordpress.com
-------------------------------------
1966 GTO 4 speed Hardtop Alabama car (Marina Turquoise w turquoise interior)
1970 TA 4 speed Canadian car (Lucerne Blue w bright blue interior)
  #28  
Old 03-23-2008, 10:27 PM
keepat's Avatar
keepat keepat is offline
Senior Chief
 
Join Date: Feb 2008
Posts: 404
Default

Quote:
Originally Posted by 455hota
Looks like great progress on removing the undercoat. The air tool you showed in the pic, was it designed for use with those special wire wheels? Or did you get the wire wheels separate and just use your own air tool? It looks like the tool was designed for the wire wheels.
I have some undercoating to remove and your setup looks good... Please post any info on the tool. Thanks.
I browed it from a friend who used it on a 70 Cuda he is restoring. It's made by Snap-on just for this application. But I think Northern Tool sell one like it but cheaper.
Pat

  #29  
Old 03-24-2008, 06:49 AM
TransAmRIP's Avatar
TransAmRIP TransAmRIP is offline
Chief Ponti-yacker
 
Join Date: Jun 2006
Location: Slidell, La.
Posts: 780
Default

Pat, I was wondering if you could get the name for the tool and the attachments for it also. I looked on snap-On's web sight but could not find it also looked on Northern tools

Thanks

__________________
1974 400 4 speed
  #30  
Old 03-24-2008, 08:06 AM
keepat's Avatar
keepat keepat is offline
Senior Chief
 
Join Date: Feb 2008
Posts: 404
Default

Bub,
Snap-on #PT 280 Crud Thug and the belt NO. are PT 280-302 fine, & PT 280-301 coarse
Hope this helps
Pat

The Following User Says Thank You to keepat For This Useful Post:
  #31  
Old 03-24-2008, 01:21 PM
TransAmRIP's Avatar
TransAmRIP TransAmRIP is offline
Chief Ponti-yacker
 
Join Date: Jun 2006
Location: Slidell, La.
Posts: 780
Default

Quote:
Originally Posted by keepat
Bub,
Snap-on #PT 280 Crud Thug and the belt NO. are PT 280-302 fine, & PT 280-301 coarse
Hope this helps
Pat
Thanks Pat

__________________
1974 400 4 speed
  #32  
Old 03-30-2008, 10:27 PM
keepat's Avatar
keepat keepat is offline
Senior Chief
 
Join Date: Feb 2008
Posts: 404
Default

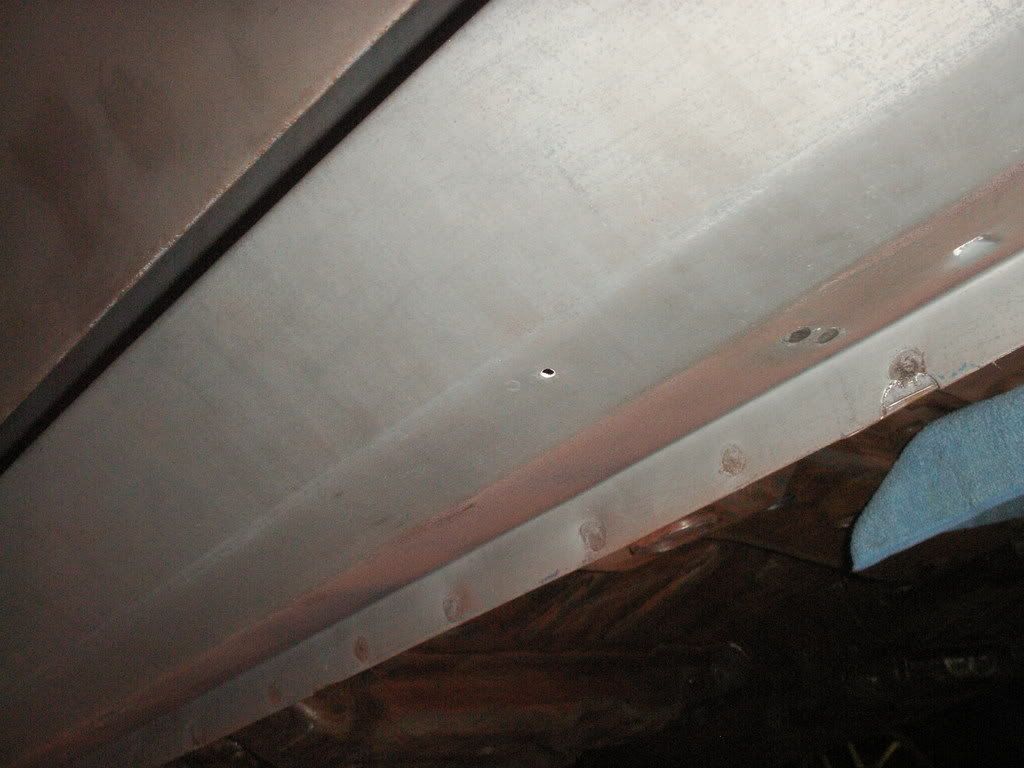
What are the five 1/8" holes along the bottom of the rockers for? and should they be filled? Or are they drains?
Thanks!
Pat

  #33  
Old 03-31-2008, 08:36 AM
njsteve's Avatar
njsteve njsteve is offline
Ultimate Warrior
 
Join Date: Sep 2004
Location: New Jersey
Posts: 5,044
Default

They are factory drain holes. (I asked the same question last year when I was looking closely at mine). Nice progress on your car, by the way!

  #34  
Old 03-31-2008, 09:23 AM
weranc55's Avatar
weranc55 weranc55 is offline
Ultimate Warrior
 
Join Date: Jun 2004
Posts: 2,383
Default

Looks great. Nice progress. I think I have to get one of those tools.

  #35  
Old 03-31-2008, 09:31 AM
keepat's Avatar
keepat keepat is offline
Senior Chief
 
Join Date: Feb 2008
Posts: 404
Default

Steve,
As drains they should be lower, to let all the water out!
Thanks!
Pat

  #36  
Old 03-31-2008, 10:34 AM
2manyT/A'S's Avatar
2manyT/A'S 2manyT/A'S is offline
Ultimate Warrior
 
Join Date: Jul 2006
Posts: 8,021
Default

Quote:
Originally Posted by 455hota
Looks like great progress on removing the undercoat. The air tool you showed in the pic, was it designed for use with those special wire wheels? Or did you get the wire wheels separate and just use your own air tool? It looks like the tool was designed for the wire wheels.
I have some undercoating to remove and your setup looks good... Please post any info on the tool. Thanks.
A 4 1/2" or 5" stringer bead brush on a mini-grinder (electric) is a scaled down version of this & was worked VERY WELL for me in this type of application.
The brush is thinner so it fits in tighter spots,but obviously slower in the larger areas.
(it's also great for cleaning pinchwelds)

  #37  
Old 04-06-2008, 12:47 PM
keepat's Avatar
keepat keepat is offline
Senior Chief
 
Join Date: Feb 2008
Posts: 404
Default

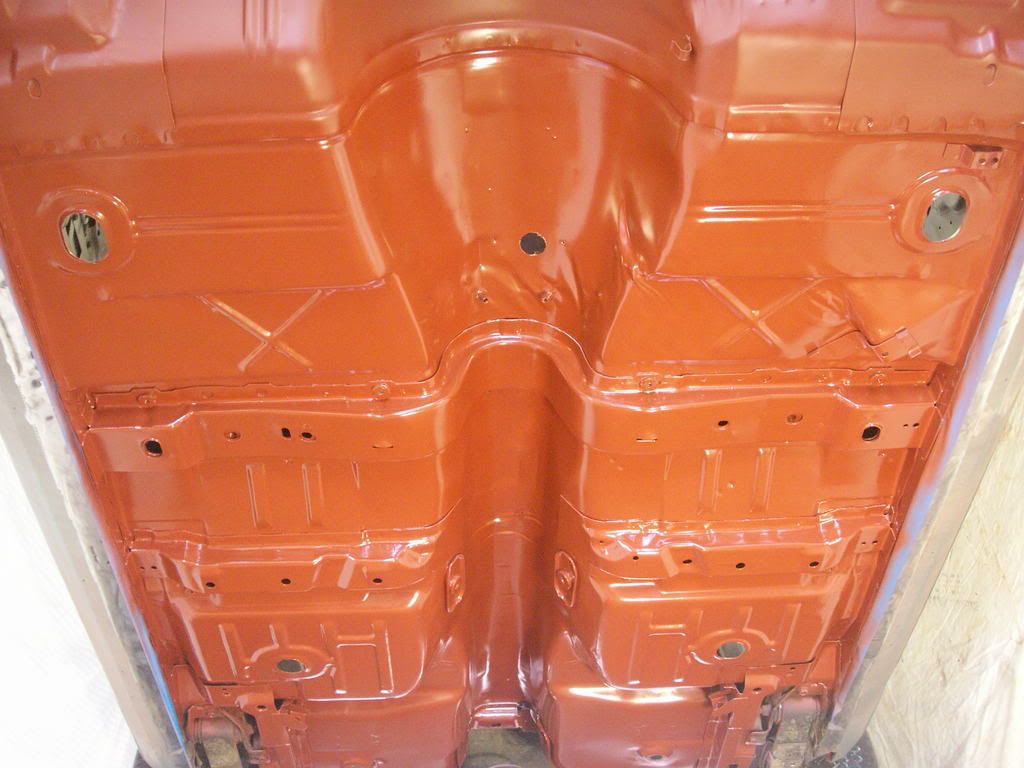
Most of the underside of the T/A is cleaned, red oxide primer, and clear coated! Now it time for the rear aft. Most of the work is fun, but this under the car cleaning stuff suck! At what point would the black paint for the firewall start from the bottom of the car? a picture would be great! Thanks
Pat

The Following User Says Thank You to keepat For This Useful Post:
  #38  
Old 04-06-2008, 05:14 PM
cdoggy81's Avatar
cdoggy81 cdoggy81 is offline
Chief Ponti-yacker
 
Join Date: Mar 2005
Location: Florida
Posts: 911
Default

Wow, good stuff & great progress so far!!!

__________________
************************************************** *******************

73 TA 4 spd #'s match red/white - "STOLEN" AT TERRY SPEAR's SHOP IN Columbia TN ~mid 2014
Last offical pic of the car can been seen here:
http://clubs.hemmings.com/pontiactn/...%20-%20rev.pdf
People have seen it posted FS on Craigs List back in late 2013 early 2014....

^^^^^^^^^^^^^^^^^^^^^^^^^^^^^
IF YOU HAVE ANY INFO ABOUT IT PLEASE CONTACT ME!!!
  #39  
Old 04-06-2008, 05:44 PM
njsteve's Avatar
njsteve njsteve is offline
Ultimate Warrior
 
Join Date: Sep 2004
Location: New Jersey
Posts: 5,044
Default

This is a shot from the bottom of my 72's original underside. The blackout ends at the seam where the firewall panel meets the floorpan. The black you see farther down the tunnel by the shifter hole is actually factory undercoating.
Attached Thumbnails
Click image for larger version

Name:	frnttranstunnel.JPG
Views:	372
Size:	188.6 KB
ID:	128272  

  #40  
Old 04-06-2008, 06:22 PM
keepat's Avatar
keepat keepat is offline
Senior Chief
 
Join Date: Feb 2008
Posts: 404
Default

Steve, Thanks for the picture!
Pat

Reply


Posting Rules
You may not post new threads
You may not post replies
You may not post attachments
You may not edit your posts

BB code is On
Smilies are On
[IMG] code is On
HTML code is Off

Forum Jump


All times are GMT -4. The time now is 01:02 PM.


About Us

The PY Online Forums is the largest online gathering of Pontiac enthusiasts anywhere in the world. Founded in 1991, it was also the first online forum for people to gather and talk about their Pontiacs. Since then, it has become the mecca of Pontiac technical data and knowledge that no other place can surpass.


Copyright © 2017