


| FAQ |
| Members List |
| Social Groups |
| Calendar |
| Search |
| Today's Posts |
|
#1
 11-30-2014, 08:43 PM
|
||||
|
||||
|
It was kind of a big day. I have exactly two "car friends." One works every day but Monday, so we really can't do projects together. The other lives five hours away, but I see him a few times a year when he visits family and he is always down for a project. Today was one of those days, and my wife reciprocated some time she "owed" me after I spent a day watching kids recently while she attended a scrapbooking workshop. A day in the barn with a friend is a super-rare treat!
                     
__________________
|
|
#2
12-04-2014, 12:44 AM
|
||||
|
||||
|
Removed a few small items from the firewall the other night (wiper motor, coil, "custom" HVAC block-off plate and "custom" coil bracket.
Pulled the PS bucket seat and pulled the carpet up. Plenty of surface rust, some pinholes. Not sure what that will become after removing the loose stuff and treating the surface.  Small piece of aluminum sign for "custom" coil bracket, and a sheet of aluminum for "custom" block-off plate. :eyecrazy:     If you are in the area and want to buy some seemingly new racing buckets, let me know. I won't be using them. 
__________________
|
|
#3
12-04-2014, 12:53 AM
|
|||
|
|||
|
Looks like you have a project in front of you. Excuse my ignorance, but did they put formula hoods on TAs?
|
|
#4
12-04-2014, 01:07 AM
|
||||
|
||||
|
Quote:
I understand that the grill/nose are incorrect, wheels are wrong, flares might or might not be correct etc. The cowl tag and VIN do establish this as a genuine 400 TA, though.
__________________
|
|
#5
12-07-2014, 12:47 AM
|
||||
|
||||
|
Looks like it will keep you busy for a while.
Amazing how fast it all comes apart compared to the time it takes to put it back together right. When I pulled the front clip off the Lemans my wife was shocked- "What did you do to MY car?"
__________________
1969 Lemans vert, matador red, 462 CI, 3.07 12-bolt posi 1974 455 TA, admiralty blue/red interior HPP "cover car" - sold "The best way to show a car is to drive it" |
|
#6
12-07-2014, 11:13 AM
|
||||
|
||||
|
Quote:
I had a little time yesterday to spend in the garage and I used it to disassemble the 400. Now I can get it back on the engine lift, wheel it to a bay door, and get it the heck out of here so I have some floor space back. I bought this special aluminum socket years and years ago. It fits over the snout of a Pontiac crack and engages the "key" there. Makes turning the engine over a breeze.   I don't know how well you are able to see it, but the journal on which the rod that snapped was attached is dark and scorched. I found a number of other rod bearings that also looked like they had failed. Not sure what caused the initial failure and what is a result of the engine being destroyed by all that exploded metal grit circulating around until it died.  Better view of my new "ventilation" hole.  Not sure the crank is worth saving, but I put it in my pile of parts for now. Parts of the counterweights have big gouges in them.  Trash. A second piston, visible at bottom, cracked when it fell out of the bore (I was pushing it from the back while the block was upside down. It landed in a pile of kitty litter, not on a hard surface. It broke so easily I wonder whether it was already cracked before it came out...?  The name "Brent" is visible in several places on the block and crank. It's the name of the fellow I got the car from.  Not big progress this weekend, but some progress at least.
__________________
|
|
#7
12-13-2014, 11:13 PM
|
||||
|
||||
|
The theme here s going to be geologically slow progress, like how the earth's plates move. I am trying to focus on enjoying the process, which is something that I have missed out on with some other projects, and it killed them.
I had a brief window of time to work in the garage, so after some cleaning I removed the swaybar and attempted to pull the shocks. Three out of four of the stupid little clips that the lower shock mounts to snapped. They are up in the perch for the spring just spinning around now. Access to them sucks since the coil spring is in the way. I was able to get one out by getting needle-nosed vise grips clamped in such a way at the clip couldn't spin. I am having no success with this trick on the driver's side. I'm sure I will get them out eventually but if anyone has any tips, I'm all ears. The thought crossed my mind today while surveying the car and realizing how slow progress will be that I opened a can of whoop-ass on my own self. On the other hand, the car is so so solid overall, and such an uncommon year from what I can tell that it deserves to be "restored," to the extent that the work I will be able to do qualifies for that term. Everything is so greasy and nasty and cobbled together, rubber bushings disintegrating everywhere, interior exhibiting Hacksaw Jim Duggan craftsmanship that I keep telling myself "this needs to happen."   
__________________
|
|
#8
12-14-2014, 09:28 AM
|
||||
|
||||
|
Been there done that. I think the tool of choice was an air-driven cutoff wheel. Cut the head off the bolt, get the shock out of the way, then attack the rest of the bolt and the U-nut. Then add new U-nuts to the parts list.
The cutoff wheel and small acetylene torch set are my best friends for this sort of project. As for pace of progress, I have satellite TV in the garage, it has a good heating-A/C system, and a nice comfortable chair. Just sit back, relax and think it through. It took me about three years to complete my last restoration and based on pics the car was in similar shape to yours when I got started. But I really enjoyed "living in the garage" during that time.
__________________
1969 Lemans vert, matador red, 462 CI, 3.07 12-bolt posi 1974 455 TA, admiralty blue/red interior HPP "cover car" - sold "The best way to show a car is to drive it" |
|
#9
12-14-2014, 09:56 AM
|
||||
|
||||
|
Now that you have that killer garage It would be a shame not to work in it!
 Subscribing
__________________
Some guys they just give up living And start dying little by little, piece by piece, Some guys come home from work and wash up, And go racin' in the street. Bruce Springsteen - Racing In The Street - 1978 |
|
#10
12-14-2014, 01:04 PM
|
||||
|
||||
|
Quote:
My garage does not have those amenities, but I do have a torpedo heater that gets it warm quickly and 220 volt electric heater to maintain temps without the smell. Quote:
I love my garage, but it is way too small for a car addict. My wife understands that there will need to be one more garage/barn built here in the future. That being said, I have seen guys do way more with far less, like frame-offs in a one-car!
__________________
|
|
#11
12-25-2014, 02:27 AM
|
||||
|
||||
|
On Saturday I had a small amount of time to play in the garage. I used my new IR 118MAX air hammer and OTC Stinger pickle fork kit to first chisel away the old shock, then break the tie rod joint and disconnect all of the steering linkage. I am sure many of you have had air hammers for decades, but for me this is a "how did I wait so long??" type of deal.
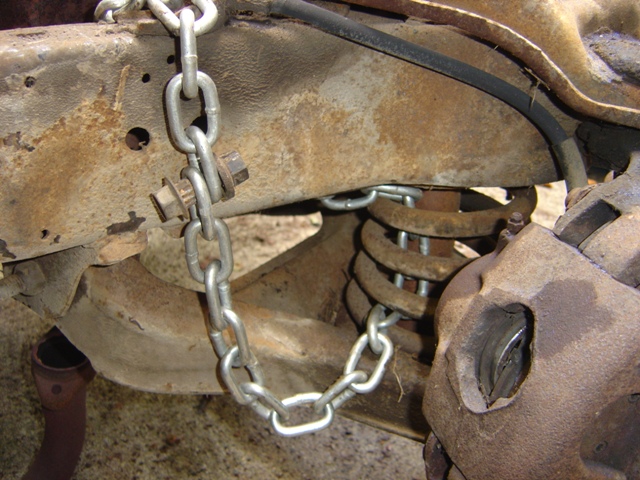
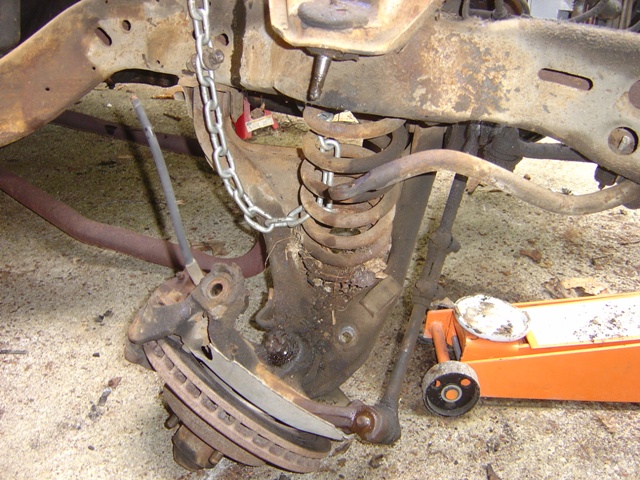
   I went out there late tonight to begin to work on removing the front coil springs. I really do not enjoy dealing with these. The potential energy stored in them unnerves me. I bought the reputed best internal spring compressor I could find (OTC 7045B) and it does give me more confidence than the hook type. However, I don't have enough experience to know whether I am doing things correctly. I followed the directions from OTC to the letter in terms of setting up the tool. I turned it to compress the spring until it just started to twist in its pocket. OTC says to then remove the two "pivot" bolts securing the inboard side of the lower control arm, drop the compressed spring/tool as a unit and then relieve tension on the spring. I am not in love with this idea. I'd rather leave those two control arm bolts there and break the ball joint while keeping a jack under the control arm, then lower the arm and gradually relieve the tension on the spring until it's totally sprung and can be pulled out of the pocket. This is what I started doing, but it was after midnight and I was feeling tired, so I stopped. Not the kind of job to do when you are tired! If anyone has any tips for the process, I'm all ears.  I did pop the ball joint with my air hammer. I kept the castle nut in place but loosened.  I don't feel great confidence in this particular chain, but am hoping it would contain the spring if something went awry. I can't fit a big beefy chain in between the coils while I am compressing them. 
__________________
|
|
#12
12-25-2014, 10:29 AM
|
||||
|
||||
|
Here's how I do it:
   No compressor necessary. Get it through at least half the spring with a beefy chain and it won't go anywhere. The first time makes you super nervous though, I'll admit. |
|
#13
12-28-2014, 12:58 AM
|
||||
|
||||
|
I had a nice chunk of time to work on the car today since my buddy was in town and my wife understands that even a recluse like me needs social time now and again.
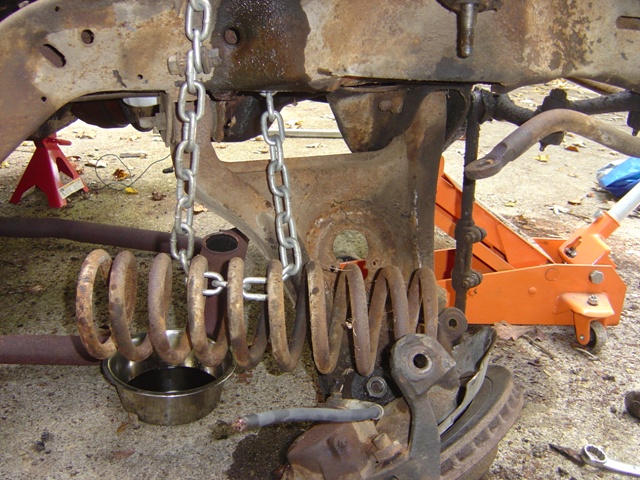
We took more precautions than the average gearheads might, but both agreed that the coil springs needed to be respected and going slowly was preferable to gaping flesh wounds. Some of you guys might laugh at the approach, though. The OTC spring compressor really is a nice design. I installed it and compressed the spring, then popped the lower ball joint while keeping a floor jack under the outside of the control arm. Next we let the jack down a bit to see what the spring would do and let it begin to drop. After that we set up a 15 ton bottle jack under the inboard side of the control arm and removed the two "pivot" bolts fastening that part of the arm to the sub-frame. Once those bolts were out we let both jacks down incrementally while working to free the lower control arm. After the arm was out, my buddy used a large prybar to keep the spring from dropping out of the pocket while I got on the ground to begin backing the spring compressor tool off and releasing tension on the spring. I liked the idea of the spring being in the pocket and chained to the sub-frame until it was totally stretched. Handling it while "live" and doing it then just gave me the willies. It worked well and I am very happy that this job is now safely completed!  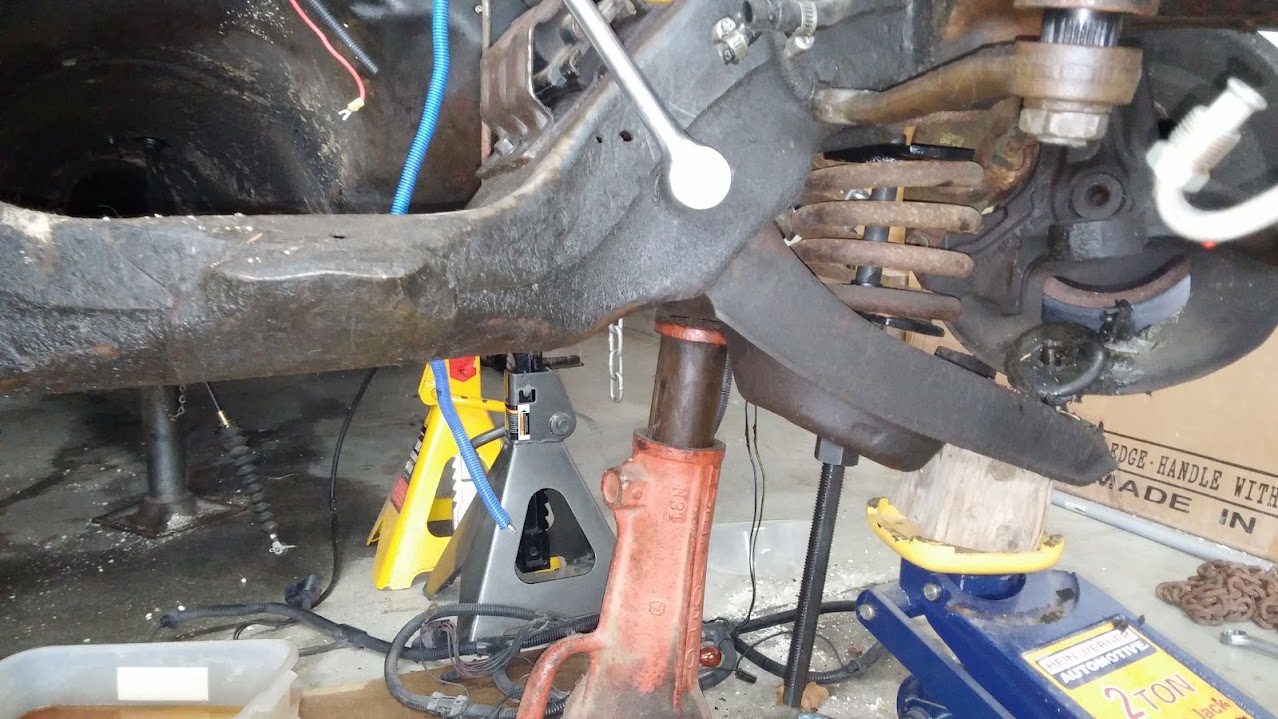   Gross and huge rats' nest from inside the spring pocket. 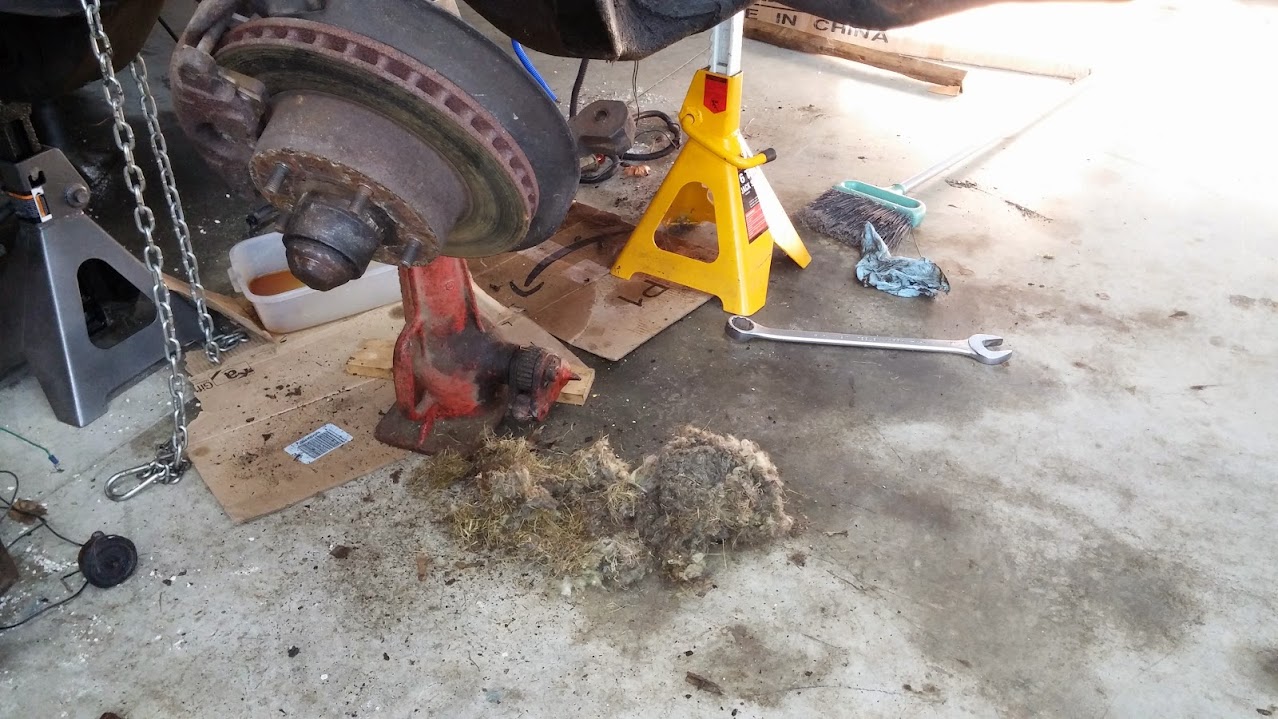     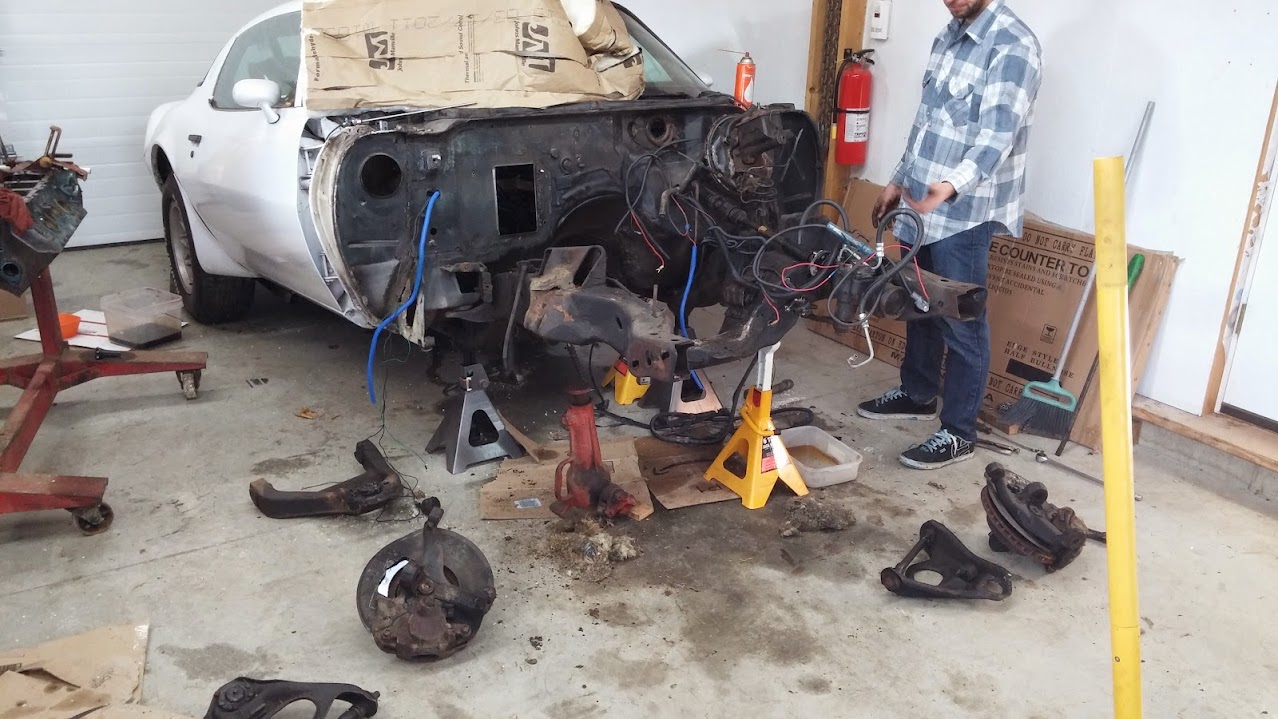 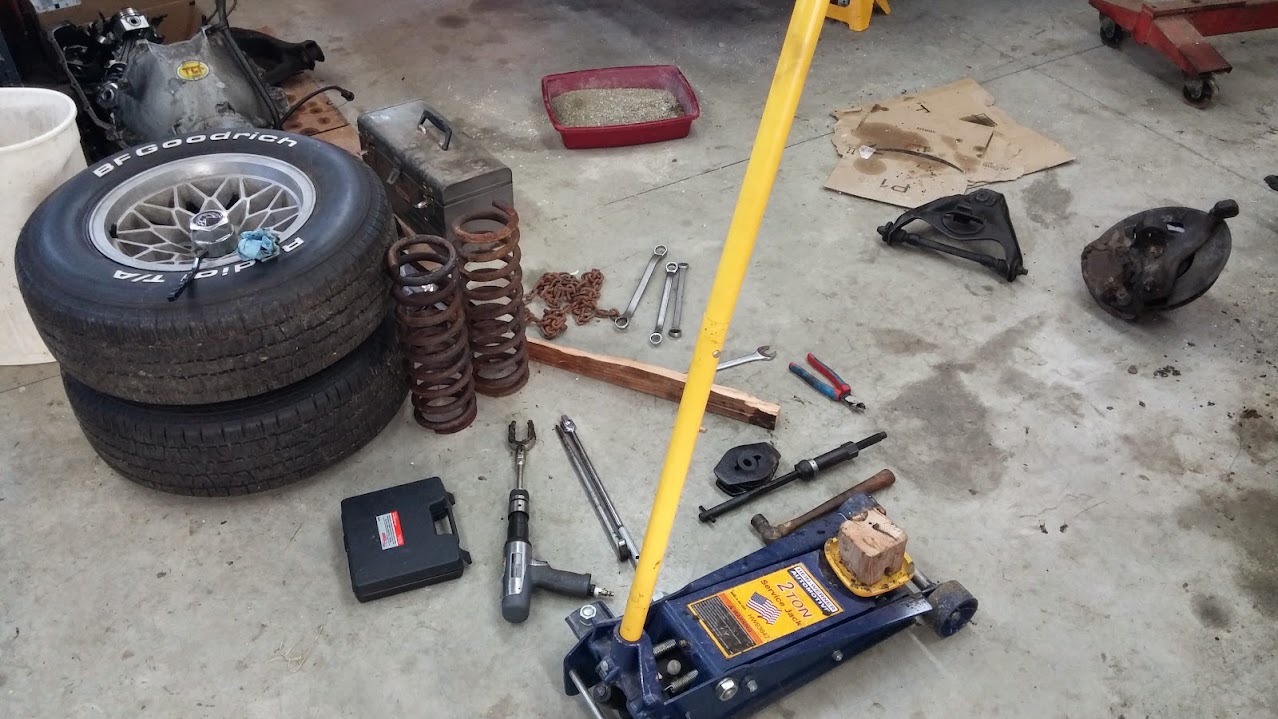 I will need to press out the control arm bushings and am prepared for that to suck. I do not have any kind of press and am open to some suggestions. I was thinking of picking up the OTC ball joint press since I will need to press new joints in at some point. Whether that could also do the bushings for the shafts on the upper control arms I don't know. If you have ideas speak quickly because Zoro's flash sale on Monday is when I am going to try to pick up some tools for this project. Thanks for reading!
__________________
|
|
#14
12-28-2014, 10:11 AM
|
||||
|
||||
|
The main reason for the do-it-yourself approach to this job is that it gives you time to cleanup, detail and paint all the parts before they go back in. So I just drop off the control arms and parts at a shop to have the bushings and ball joints installed. With the proper tools those guys can knock it out quickly so not much cost involved. I only tried doing it myself once and it was definitely not worth it.
Doesn't seem that the mice were afraid of the spring pressure 
__________________
1969 Lemans vert, matador red, 462 CI, 3.07 12-bolt posi 1974 455 TA, admiralty blue/red interior HPP "cover car" - sold "The best way to show a car is to drive it" |
|
#15
12-28-2014, 10:05 PM
|
||||
|
||||
|
The bushing job does suck... I've used an air chisel w/ a blunt pointed chisel, I hammer the bushing shell inward to hopefully compress it, helping bushing come out. I do this around the circumference as close to where the bushing is seated in the control arm.
I've used a large socket to drive the bushings in. You will find the area where the bushings seat to be seemingly real moveable...you will need to adjust things for final acceptable install on each bushing. Getting the ball joint tool is a smart move!!! Painting the control arms can be dicey. You have to pry around on the control arms, getting springs installed, messing up the paint...or least it's been my experience. On your next batch of pictures, snap on of that spring compressor. I have a different brand, just works ok... I don't understand all the fear of the spring removal... a folding chair and the mother sitting in it would keep the spring from going to far out of control...
__________________
1977 Black Trans Am 180 HP Auto, essentially base model T/A. I'm the original owner, purchased May 7, 1977. Shut it off Shut it off Buddy, I just shut your Prius down... 
|
|
#16
12-31-2014, 02:32 PM
|
||||
|
||||
|
I'll get some pics of the OTC tool the next time I am out there.
Oh yes, I am committed alright. To paraphrase Macbeth: "I am in [grease] stepped in so far that, should I wade no more, returning would be as tedious as going forward." I dragged myself out of the warm house a few nights ago to peck away at the car for an hour or so. Thank goodness for my torpedo heater. I got the engine mounts off the frame and also the steering box. I took the brake booster and master off the firewall, too. I figure that most of these parts will be replaced since I am going through all this trouble, but the steering box is only a year or so old, so I will just plan on cleaning and painting it. 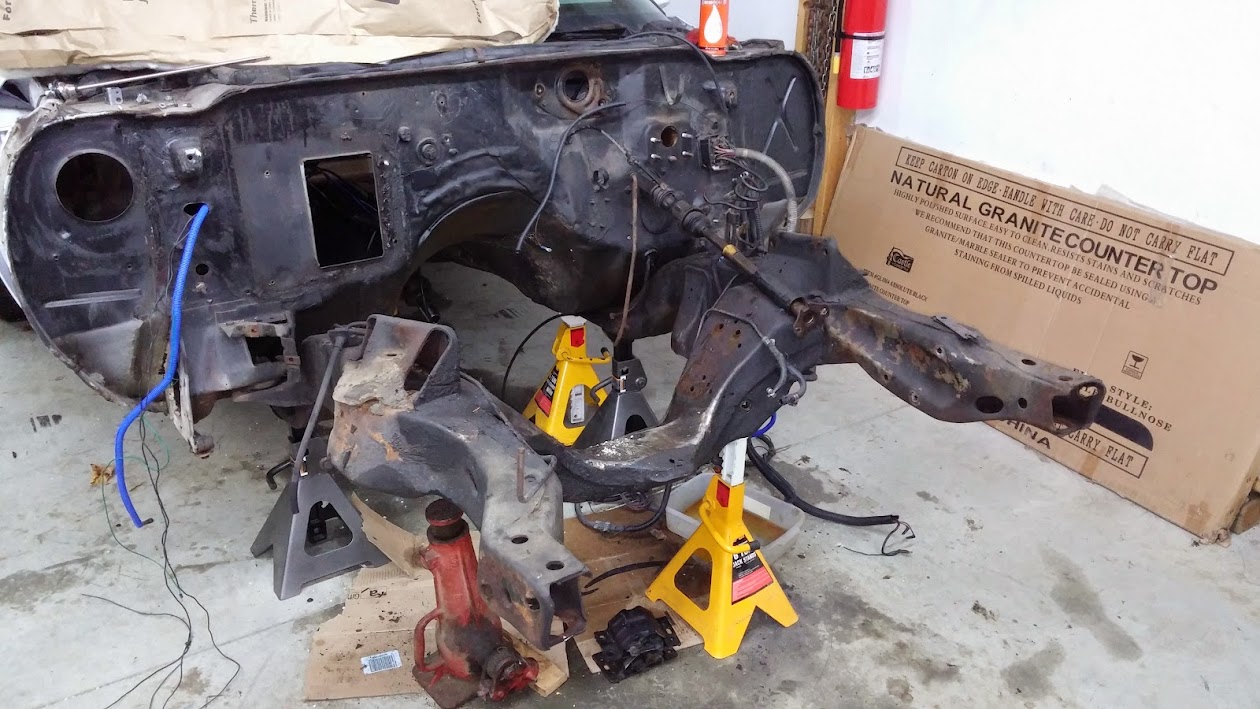   I don't know that I am going to worry too much about trying to keep the car original. I might as well build it to suit my tastes. That likely means that it won't be white, although if I do try to paint it myself that would be the most forgiving color. I think a nice blue would look good, complete with complementary bird decal on the hood. I love those things. I've been swinging back towards the idea of an LSx swap again, too. The custom wiring or other work needed to do that intimidates me a little since I am about as skilled as a Cro-Mag with a club. Thankfully, the internet is a good lifeline.
__________________
|
|
#17
12-31-2014, 04:35 PM
|
||||
|
||||
|
When I bought my car new, there was one white and one black T/A on the lot. I drove the black one, didn't care for the white one, it had red interior. It was completely trashed out within 2 years (hence the user name), and I believed scrapped!!!
I like mine black, but that Pontiac color Lucerne Blue would be at least one choice, Keep in mind that perfect body work can make any color stand out better. I got distracted here a couple of months ago, saw a 79 T/A going around a corner, white w/ t-tops, 6.6 on scoupe, car looked like new!!! Ya NEVER see them on the road any more at all. Need to get to work on mine...
__________________
1977 Black Trans Am 180 HP Auto, essentially base model T/A. I'm the original owner, purchased May 7, 1977. Shut it off Shut it off Buddy, I just shut your Prius down...
|
|
#18
01-10-2015, 10:21 AM
|
||||
|
||||
|
No time for the project in recent days, but I did receive some related equipment that I started to set up last night.
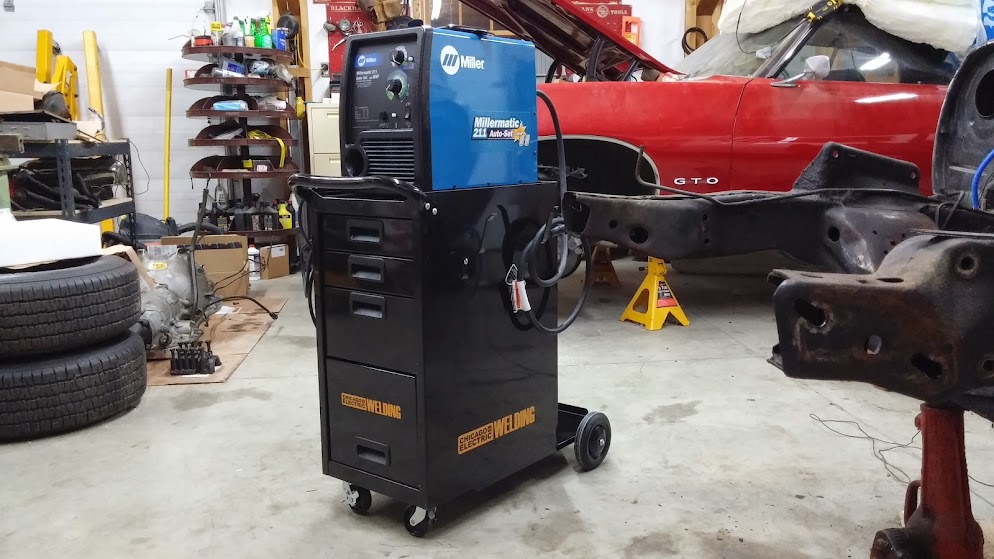 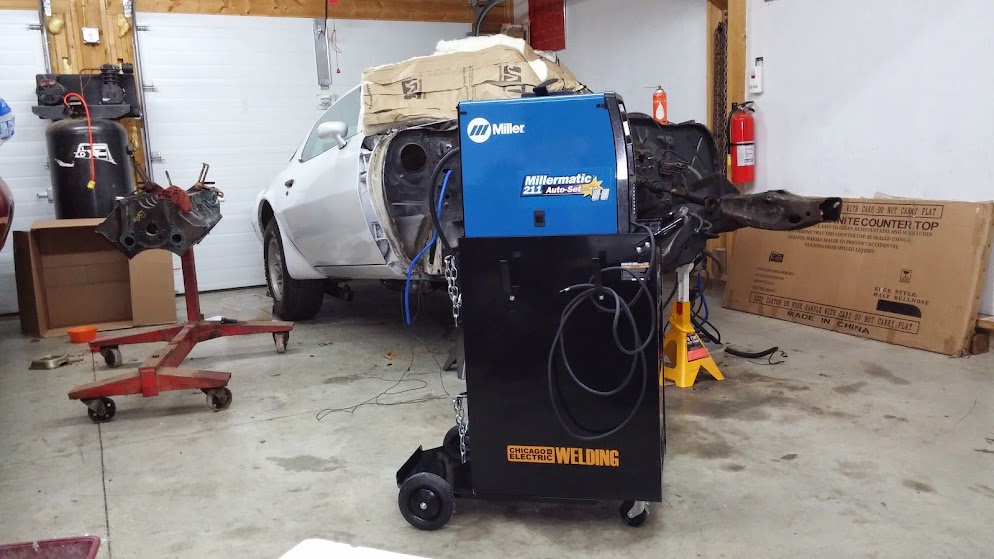 The cart is one of HF's nicer items. Feels very sturdy, drawers are smooth. This is a reflection off one of the drawer fronts. Does that matter much? Not really, but I was just impressed by the finish.  Mine took a pounding in shipping. I called the HF CS line, but they were closed and I said "**** it," because I didn't want to go through the hassle of returning it. It went together properly and the damage does not seem to affect anything except cosmetics.  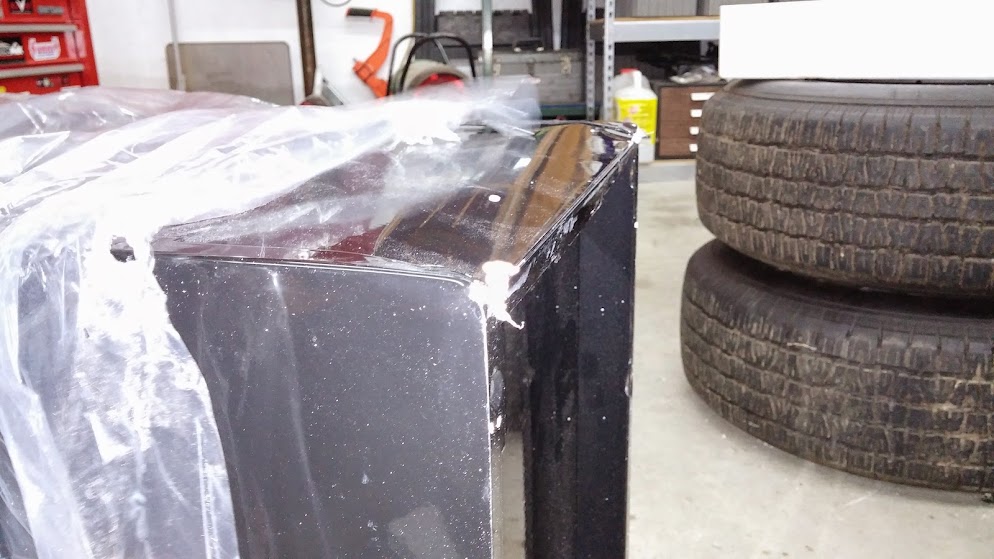 Does this little sliver of rubber sticking out of the Miller gun cable matter? I'm guessing no, right? 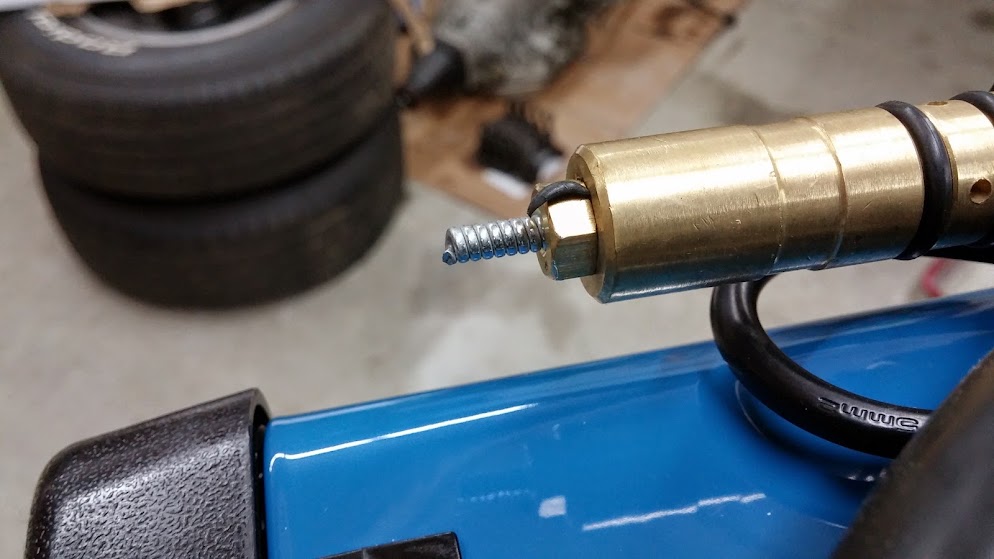 I will call the LWS today and see what a tank of 75/25 Argon/CO2 is going to cost me.
__________________
|
|
#19
02-22-2015, 11:43 PM
|
||||
|
||||
|
Have your figured out what year block crank and heads you have?
The block looks to be older than 76.Due to the threaded bosses for a windage tray to mount to. |
| Reply |
|
|
The PY Online Forums is the largest online gathering of Pontiac enthusiasts anywhere in the world. Founded in 1991, it was also the first online forum for people to gather and talk about their Pontiacs. Since then, it has become the mecca of Pontiac technical data and knowledge that no other place can surpass.


 Linear Mode

