


| FAQ |
| Members List |
| Social Groups |
| Calendar |
| Search |
| Today's Posts |
|
#81
 10-07-2012, 12:16 PM
|
|||
|
|||
|
Been working on the radiator support for the past week. Looks like someone smashed it with a hammer up on top and then used body filler to flatten it back out. Other than that, it looks good with little rust issues. It prolly should be replaced but I cannot justify $300 for a new one at this point....gonna fix it with new metal on top.
On another note, I finally got my headlight bezels back today from the chrome shop....they look amazing!!! 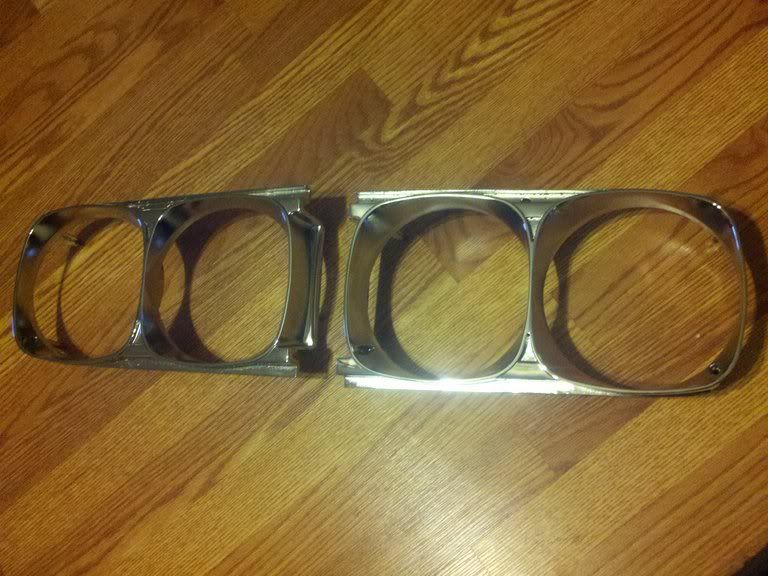 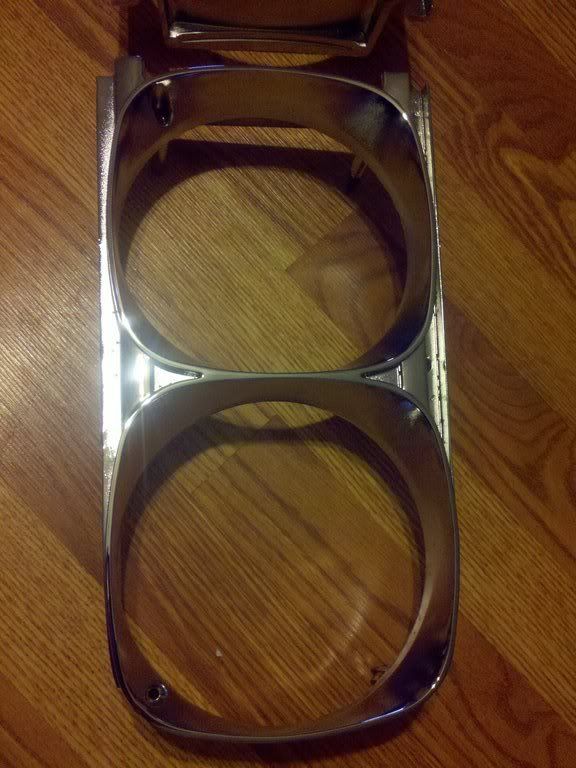
__________________
Good judgement comes from experience.....experience comes from....well....that comes from bad judgement. Build thread for my poppa ~~> CLICKY CLICKY |
|
#82
11-06-2012, 09:40 AM
|
|||
|
|||
|
OK guys, it's been a while since an update, so here we go....
Got the driver door and driver side fender done...blocked and ready to go. Looks like the front fender was in some sort of fender bender at one point. Wasn't real bad, not enough to make me go get a new fender, so I just fixed what I had. Lots of hammering and shrinking so there is minimal filler. Also patched the lower part so that's way better than before. The door wasn't all that bad. Door dings, someone opening the door up on things, the normal stuff. Since I hate to have an engine just sitting there not running, I decided to get her up and going. Got the fresh built carb on, fan shroud and radiator installed, HEI dist, custom length wire with nice set of wire looms, got exhaust back on, custom bent (by me) trans cooler lines and fuel lines, fresh oil change, fresh trans oil and filter change, installed driveshaft (it's bent and I need another one if anyone is listening), finished the revamped engine harness, new gas tank, etc....she fires up and purrs like a kitten....err...ummm....Tiger. Puller her out of the shop so I could clean and reorganize the shop. As of now, I think besides a few vacuum lines and a few other small details on the engine, I believe that it's for the most part done. That means I have body, paint and interior left to do!!! Some pix.... 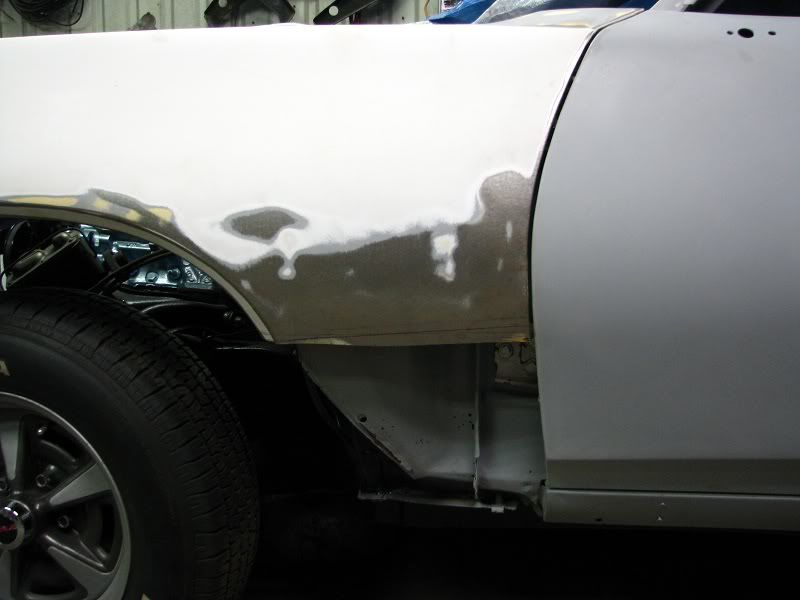 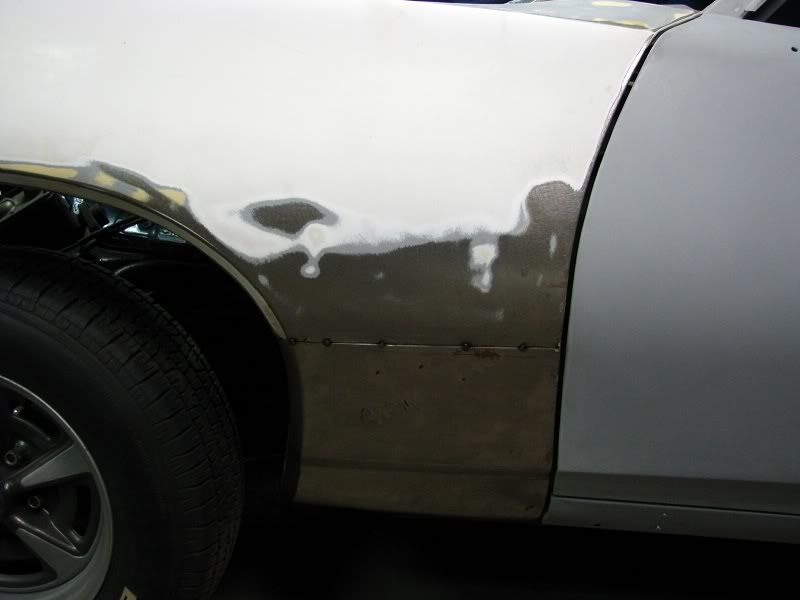 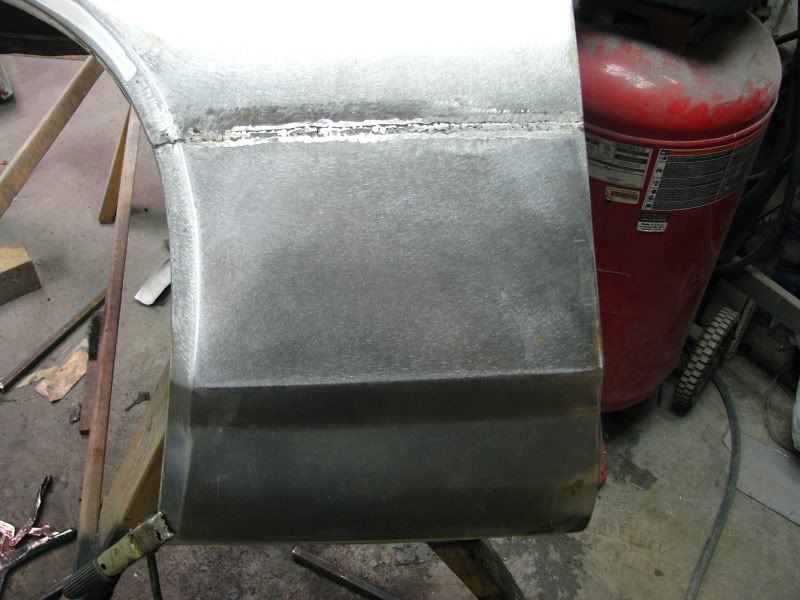 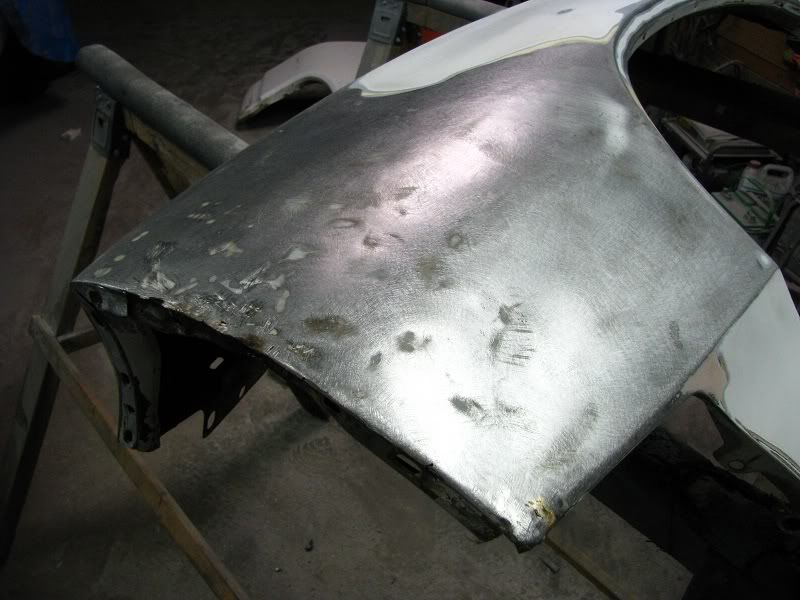 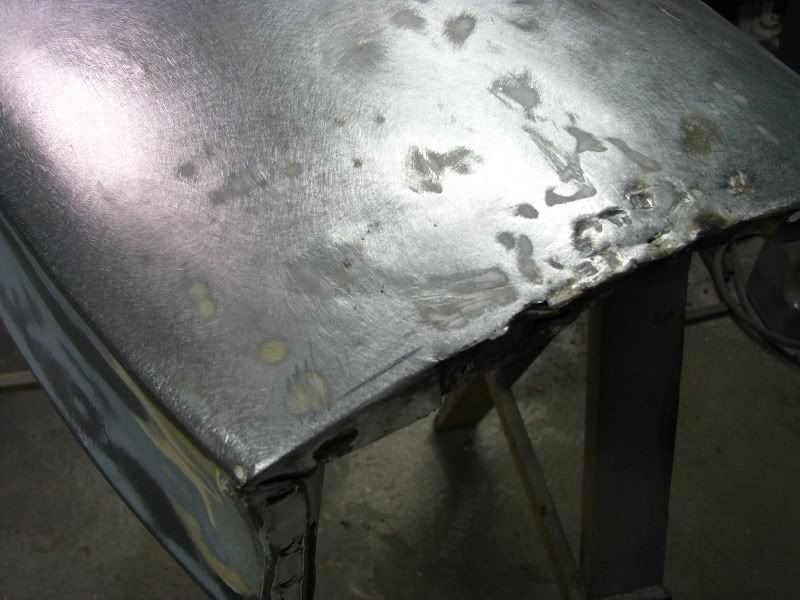 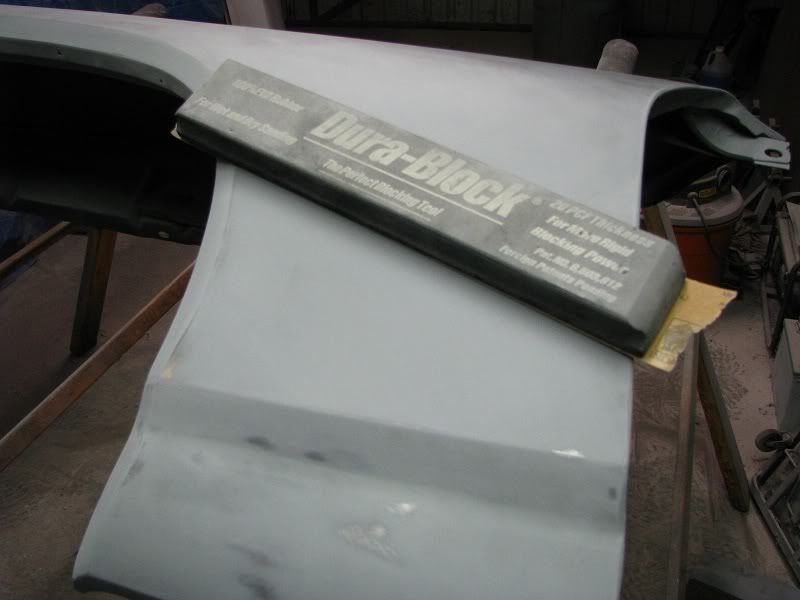 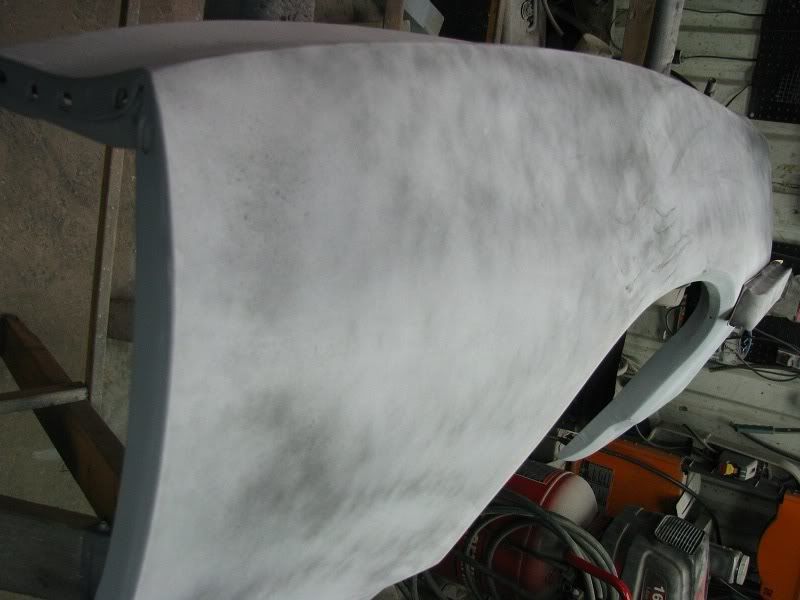 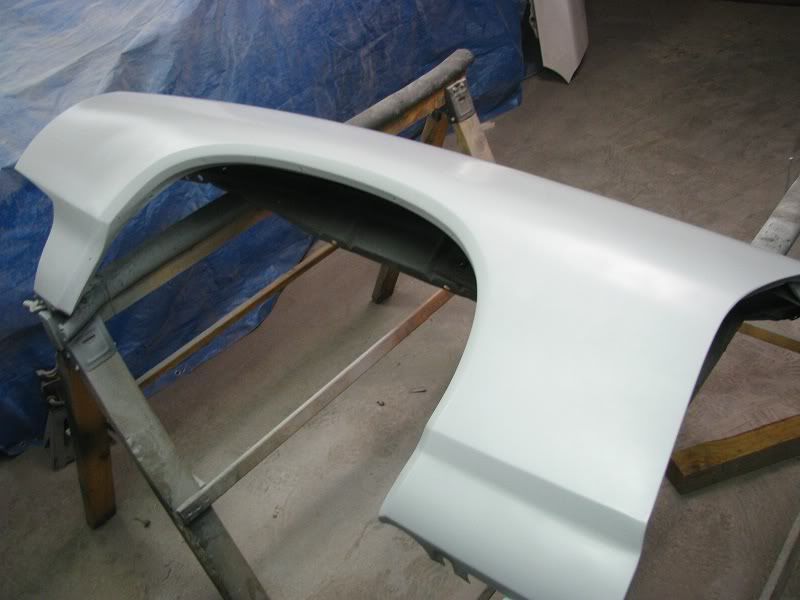 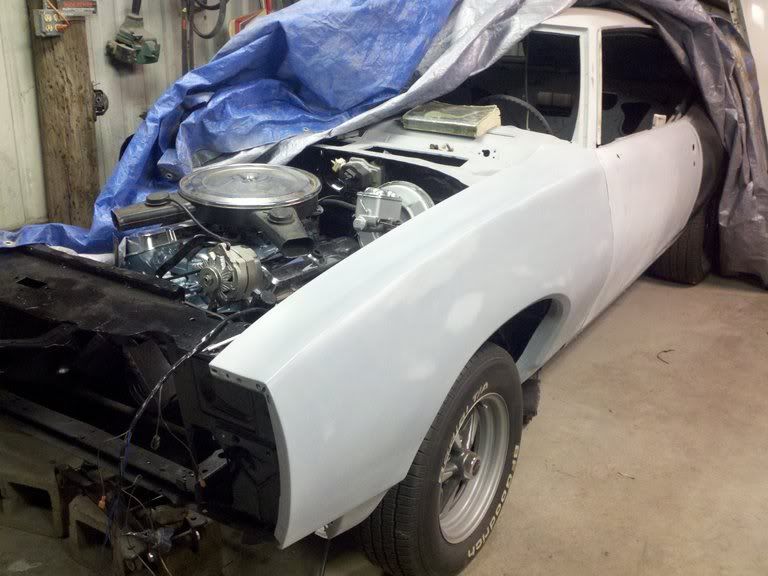 I did some re-wiring to clean up the engine compartment....a little cleaner than stock.... 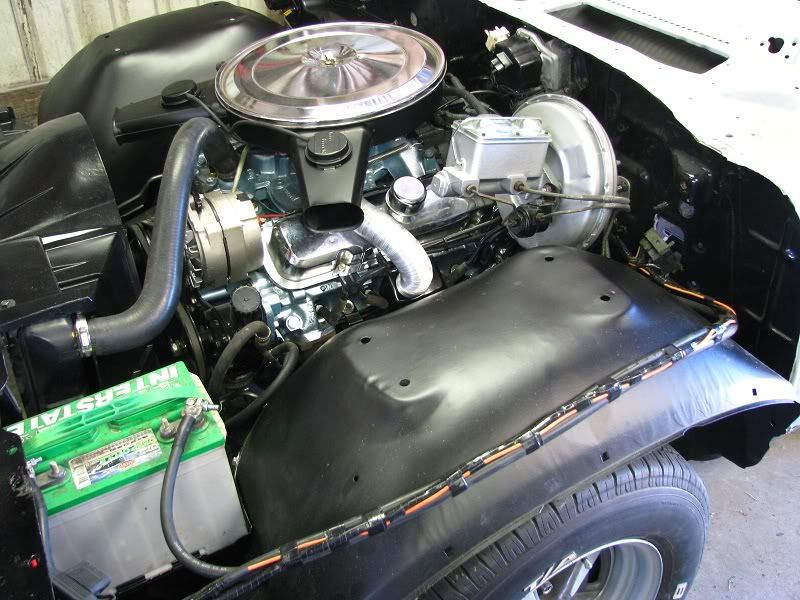 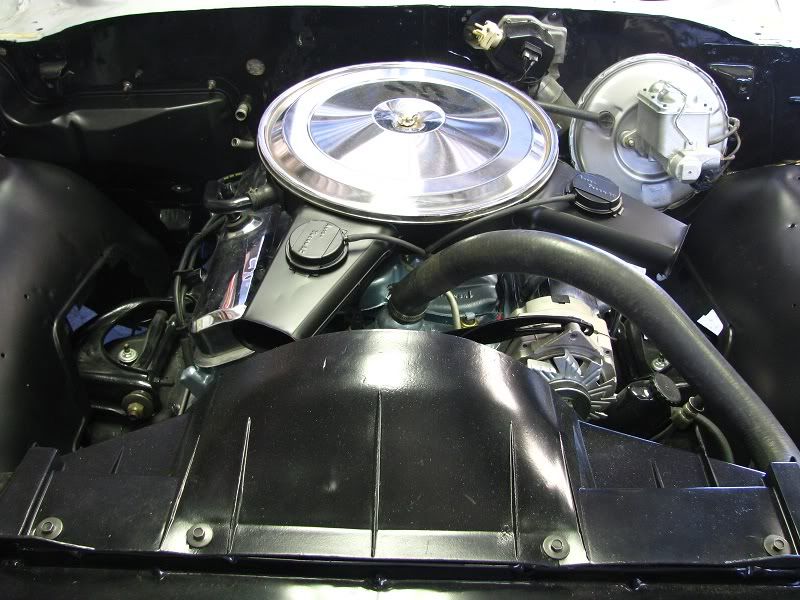 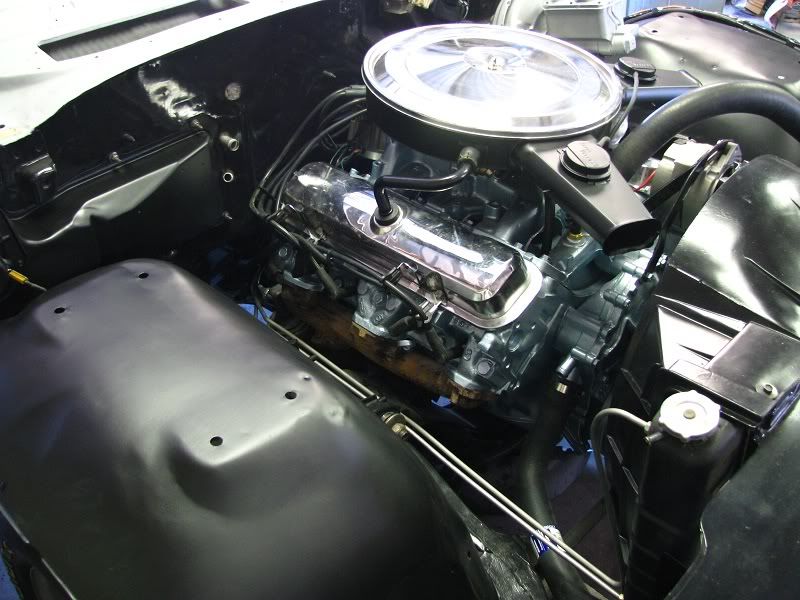 Cant wait to get this thing DONE!!!!! More to come!!!
__________________
Good judgement comes from experience.....experience comes from....well....that comes from bad judgement. Build thread for my poppa ~~> CLICKY CLICKY |
|
#83
11-06-2012, 04:17 PM
|
||||
|
||||
|
Very nice work there...
__________________
Greg Reid Palmetto, Georgia |
|
#84
11-24-2012, 01:19 AM
|
|||
|
|||
|
Any updates? This thread makes me want to go out to the garage and work on mine!
You are doing a awesome job with it. Makes me wish I knew anything about how to do body work. |
|
#85
11-24-2012, 10:53 AM
|
|||
|
|||
|
Hello Scott, yes, there is a small update, but I'll get the pics up later today or tomorrow.
Ok, so I really haven't made alot of progress as I have been doing some side jobs to pay for this monstrosity. I painted a tailgate for a neighbor, front crank seal on a Chevy Lumina, etc.....stuff to pay for materials and what not. As far as progress, pretty much all last week I was fitting the passenger door and passenger front fender, making sure the gaps were decent. Turns out the gaps were way further off than the drivers side was. Also, the new 1/4 panel looks to be about 1/4" too low...or not tall enough, thus the door will sit a little lower than it's intended, which throws off the entire side of the car. This is why it's so important to have quality 1/4 panels. So, I made some adjustments to the door and fender to compensate and they look good.....or decent. Prolly better than it would from the factory, but at least satisfactory for me. So I got the fitting done, then commenced on getting the door ready. Right off I found a repair that had not been done very well. Just feeling the outside of the door by hand, it felt pretty flat, but the minute my block hit it, the block completely disagreed with me. Looks like the pass door had been hit right around the 1/3rd mark from the front....you can see drill holes from a puller that go in a vertical line for almost the length of the door, then there is a mass of filler on the outside of the door.....not real thick, but someone just didn't take the time to block it out very good. Got the straitened out, then fixed a few small door dings, and with only 1 coat of 2k build primer, this thing was blocked out perfect. Literally took me an afternoon to get this door ready to go. As for the pass fender, it's on the table as of this minute. I found an old rust repair that had been poorly done (like the rest of the car) in the lower portion of the fender just behind the wheel (normal spot). Someone cut out the rust, then put a piece of metal behind it (not flush) and brazed it in. Yes, brazed it. I have been all over this car and I have not found one single real "weld" done with a mig or gas welder. Whoever did the work on this car must not have had access to a welder....braze work is all over this car. Anyway, I cut out the old crap along with any rot, POR'd any of the rust on the brace, then cut out a piece to fit the hole, mig'd it up and it looks like a pro done it. Will need very minimal filler, if any to block out. I'll try and get some pics up today. Thanks for following everyone! ~Joe BTW, I took off for the next 10 days with intentions of performing mass amounts of work on this car during my time off. Updates should show plenty of work in the next few days.
__________________
Good judgement comes from experience.....experience comes from....well....that comes from bad judgement. Build thread for my poppa ~~> CLICKY CLICKY |
|
#86
11-25-2012, 02:15 PM
|
||||
|
||||
|
Car coming along nicely. Your description of the your doors brings back memories the same guy that repaired yours must have done mine. I had bondo on my doors that had to be 5 inches thick so I decided to replace them with skins. Turned out good just waiting on a engine wiring harness and I will soon be able to start her up. Keep up the good work.
|
|
#87
11-28-2012, 12:26 AM
|
|||
|
|||
|
Thanks for the encouragement there Chipper. I sure need some motivation for this project. It's starting to get cold outside and I'm not a cold weather kinda person. Good thing I have a fairly large wood/oil stove in the shop.
So the last few days I have been working on the trunk lid and hood. Decided to have the hood media blasted. Going to do that tomorrow myself. The trunk lid looks good for the most part. Looks to be a Lemans with the "PONTIAC" emblem holes. Welded them up and made the correct ones for the "GTO" emblem. Scratched most of the white paint off and down to the factory color of the lid which looks to be gold (see pics). What a time consuming amount of work that is....took forever and a day just to sand everything smooth on the underside. Got that done and primed. Fixing to work on the topside. Looks to be some minor dings and low spots here and there....not too bad. Also, looks like I need to get a new/another lower valence. This one has been smashed and bent back and now looks like a steaming pile. I do not want to go with a repro, and I found a factory original one on the other side of town, prolly take 3 hours to go there and back. Not sure if it's worth it to get that one for 50 bux or fix what I have. I'll decide later. Ok, pics as promised..... Didn't like the gaps.... 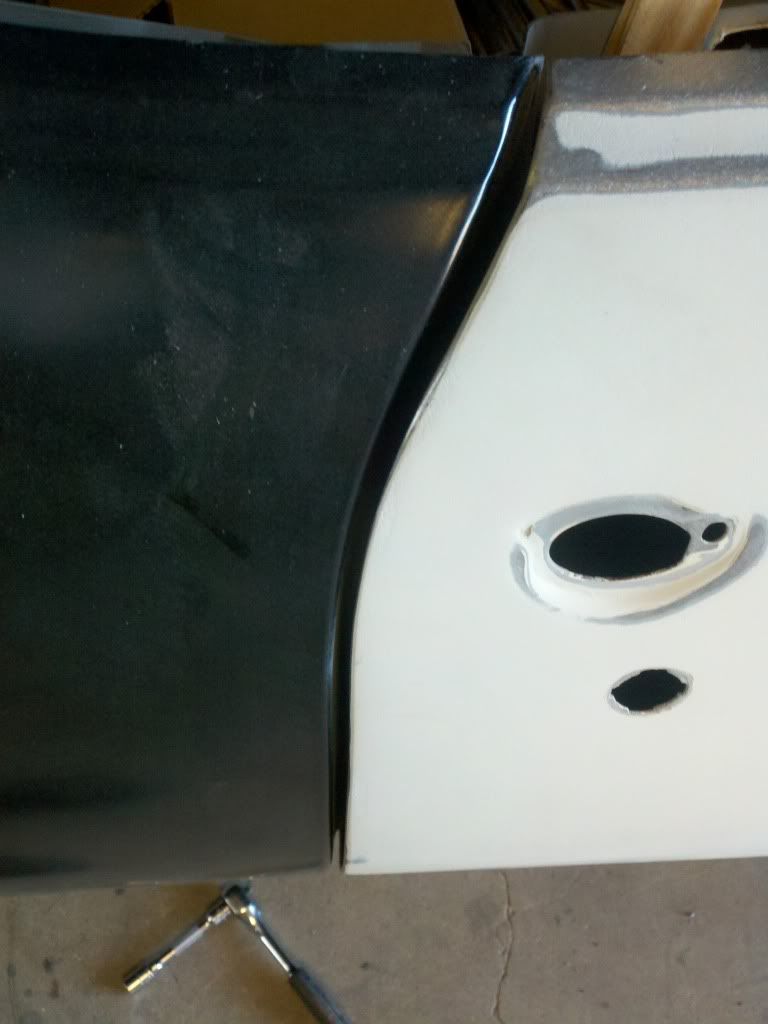 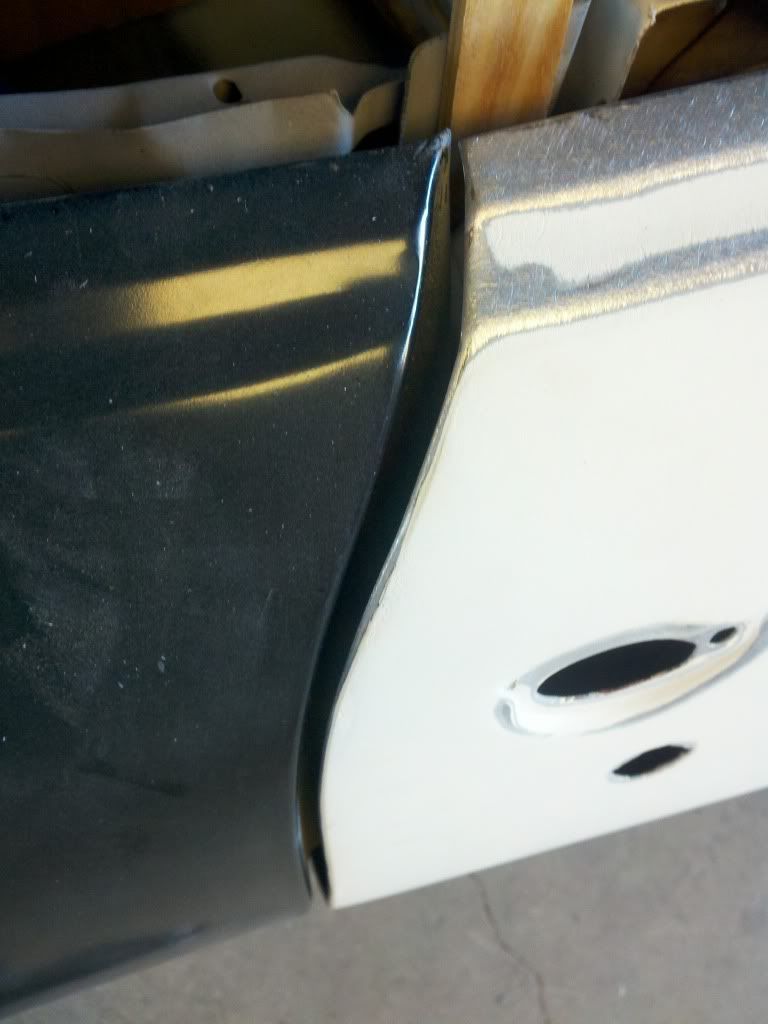 So I did the best I could.... 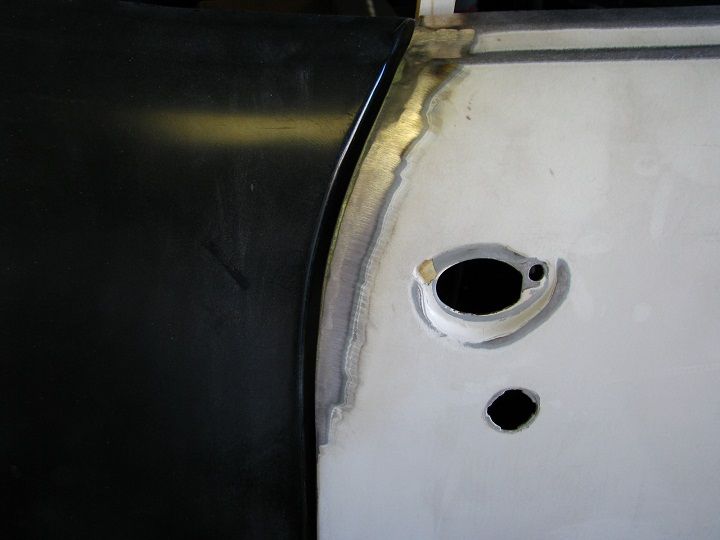 I think it looks ok... 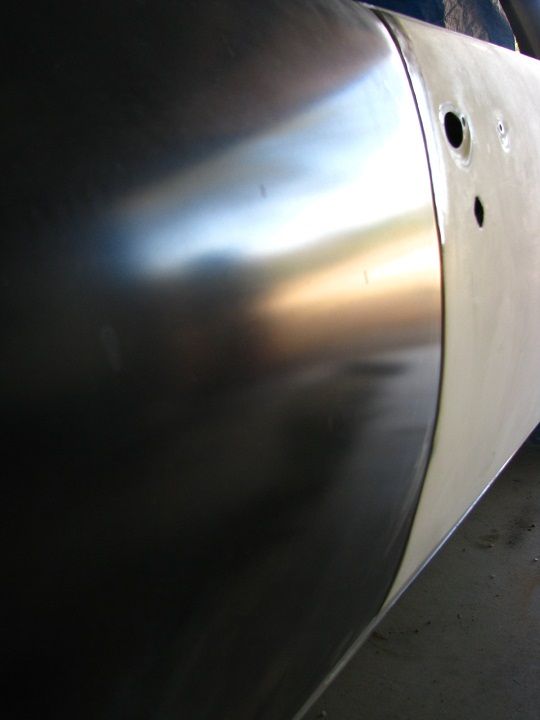  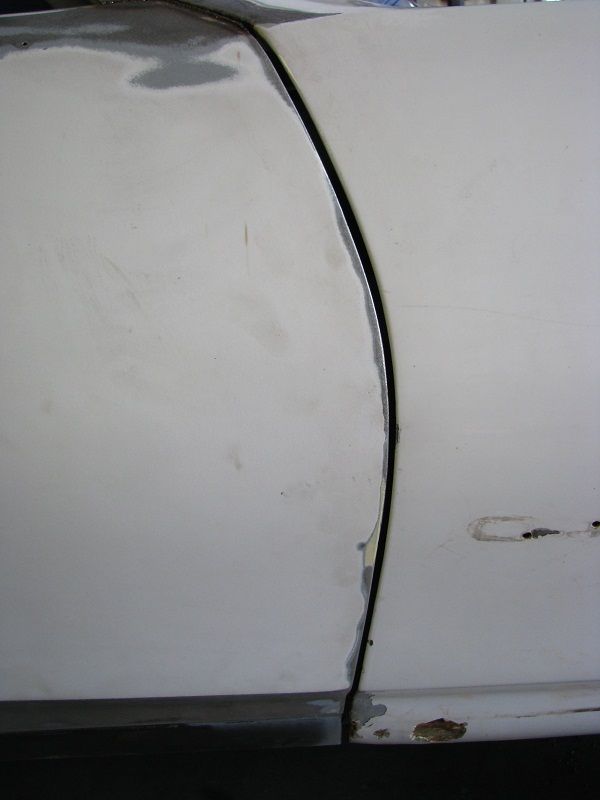 You can sure see where the repair was.... 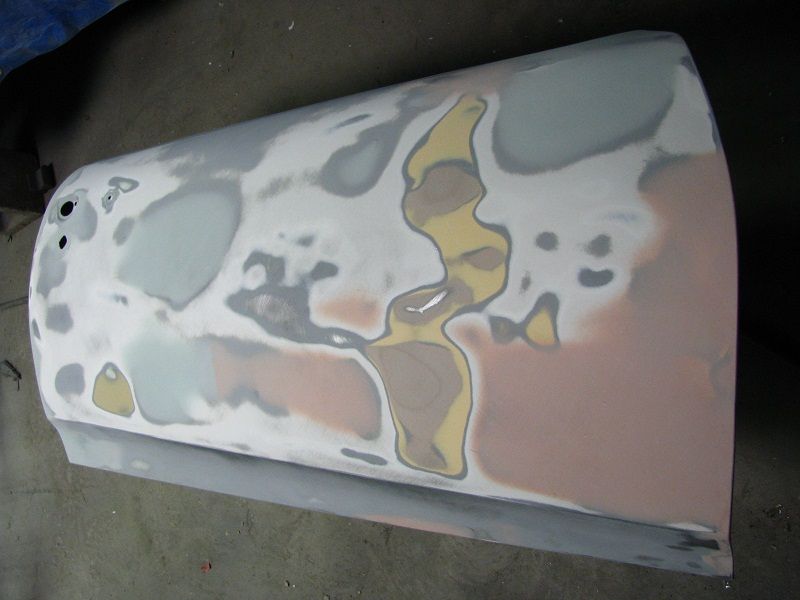 Took a little bit, but.... 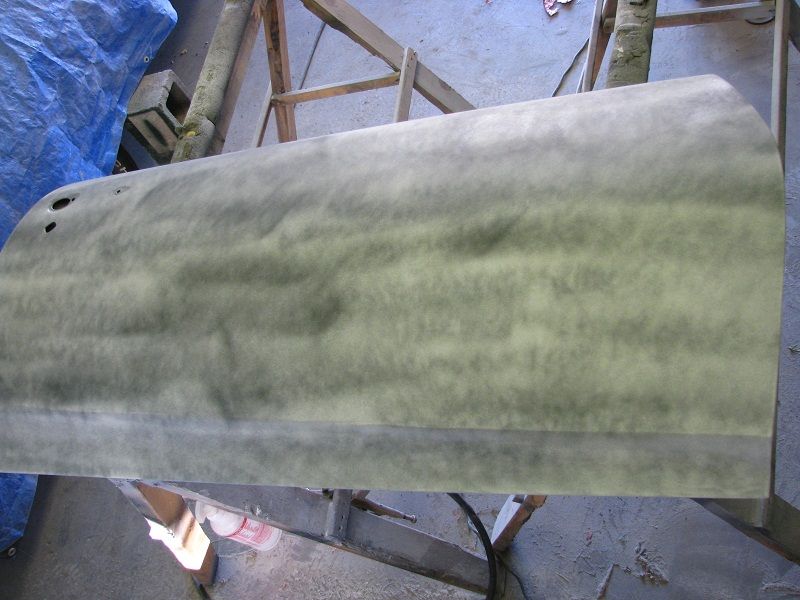 Both doors ready.... 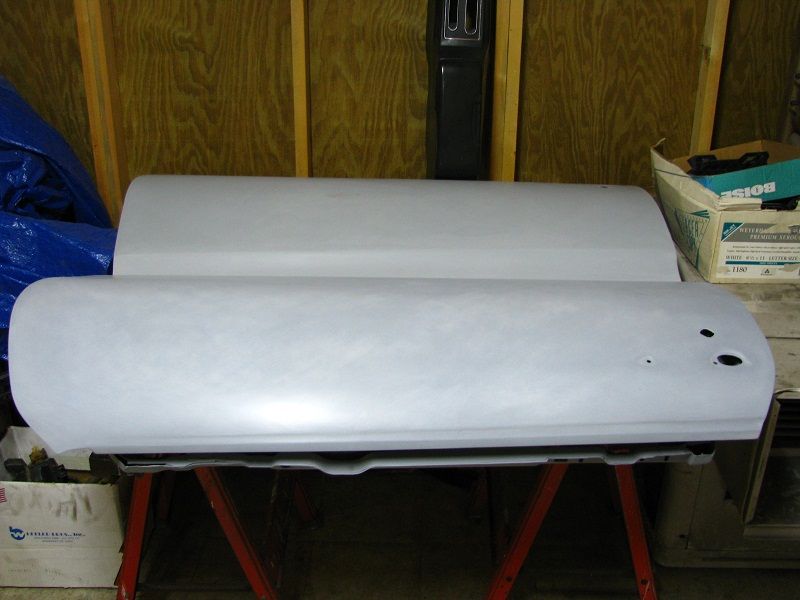 Typical place for rot in lower fender....this was a blotched repair that utilized a ton of filler...and it didn't even fix the rust.... 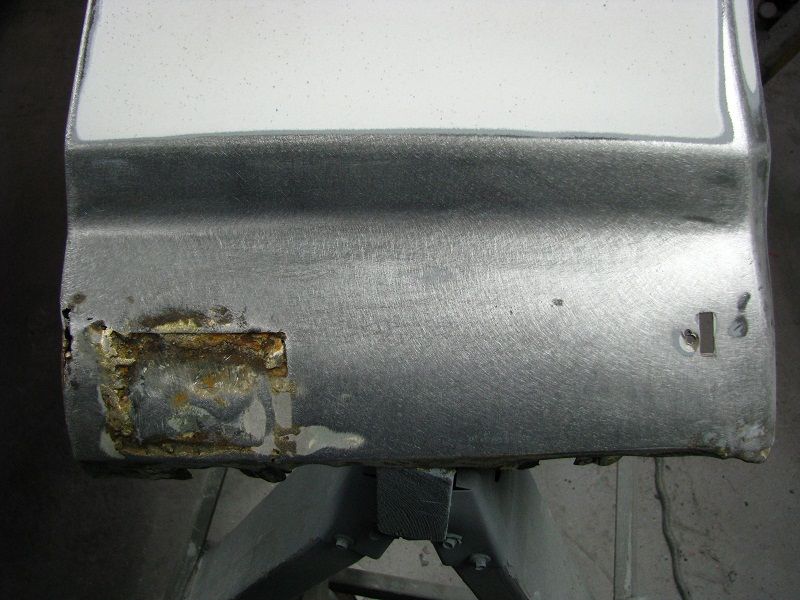  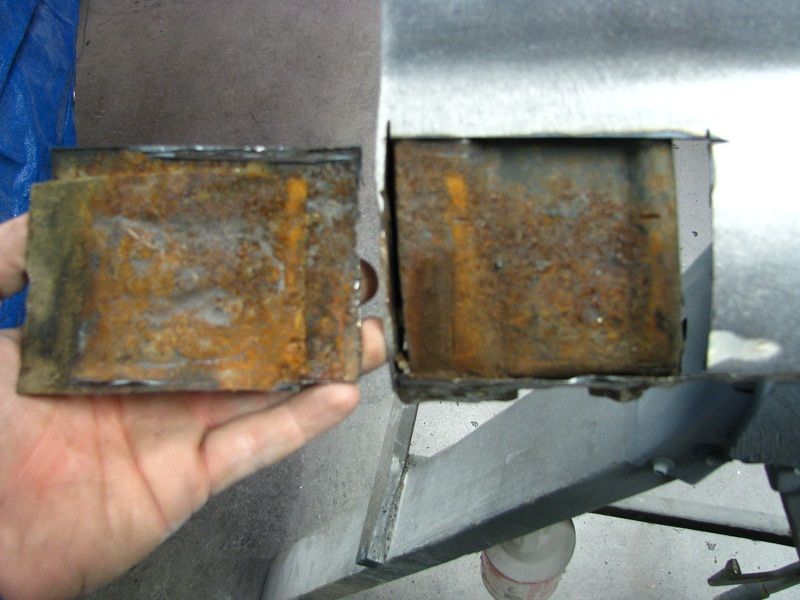 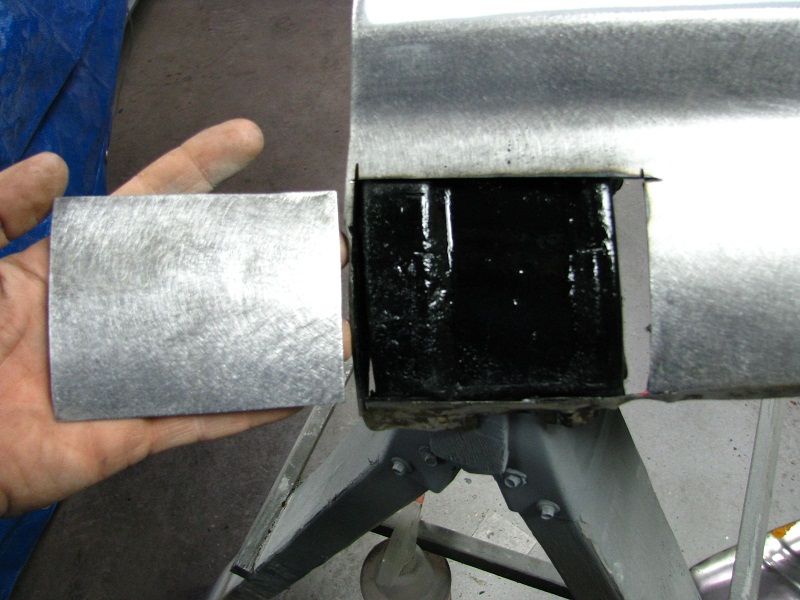 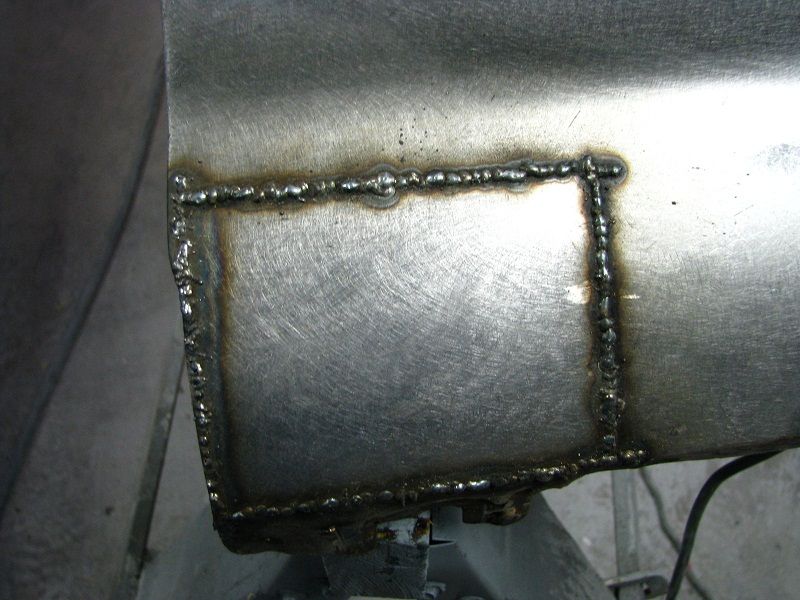 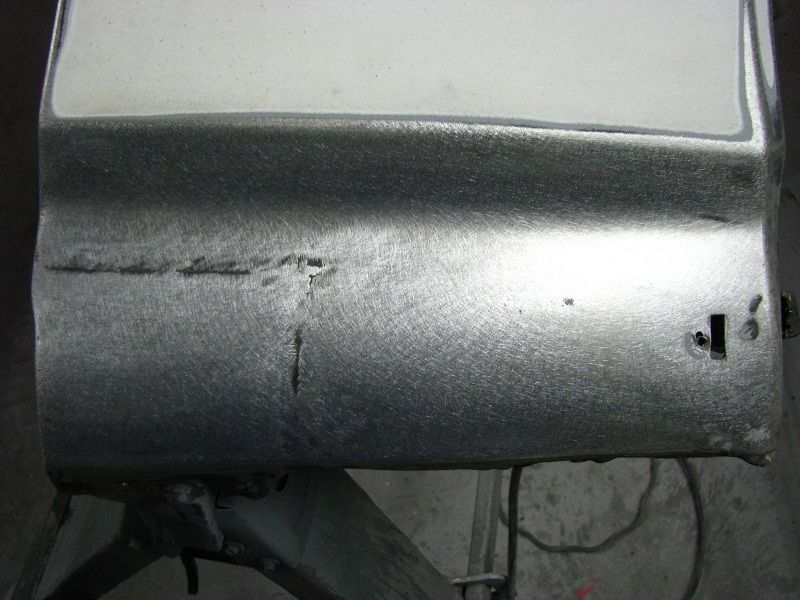  Fully blocked and ready to go.... 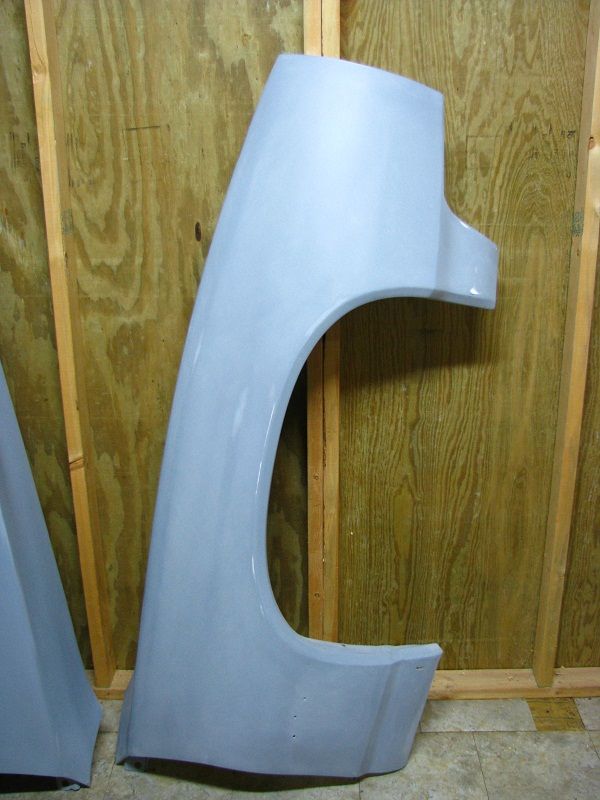 Trunk lid in progress.... 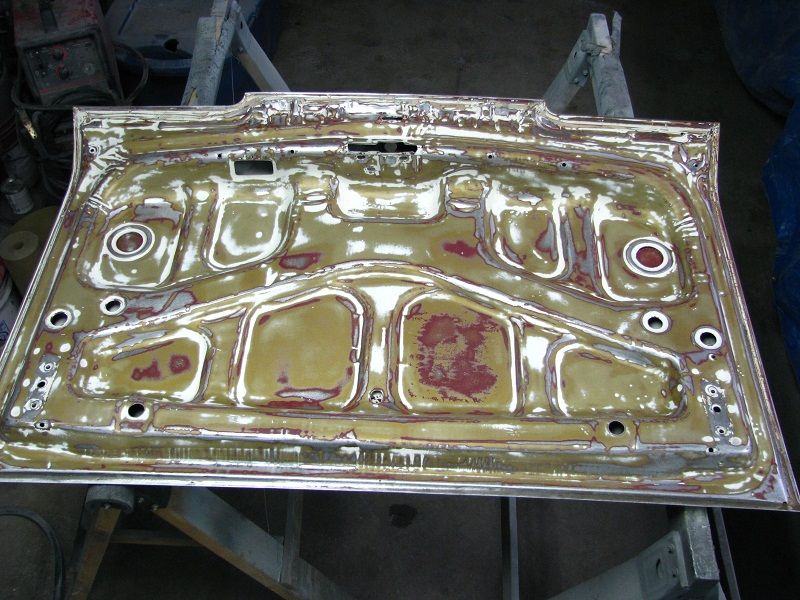 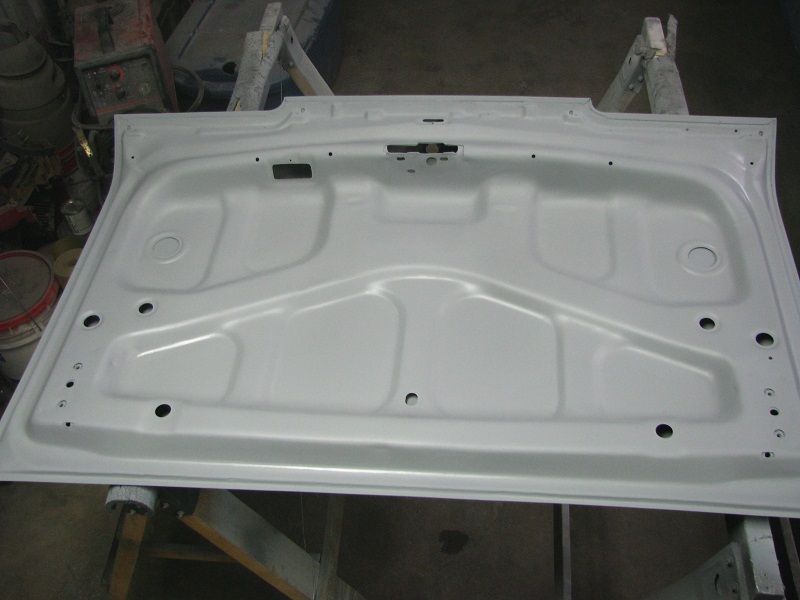 More to come as usual....
__________________
Good judgement comes from experience.....experience comes from....well....that comes from bad judgement. Build thread for my poppa ~~> CLICKY CLICKY |
|
#88
11-28-2012, 12:37 AM
|
|||
|
|||
|
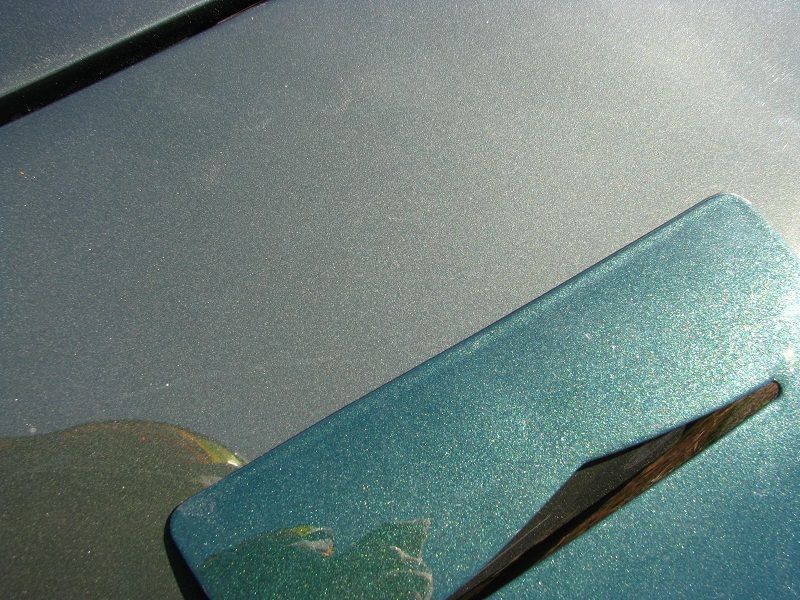
Oh yeah, I forgot...I managed to get a sample of the paint. This paint is Valspar BC/CC, not cheap, thankfully this mixes 1:1 so I will have a full 2 gallons to work with. This green is code 57 (midnight green metallic). I hope it's close, if not, I think it should look good either way...I already have the gallon mixed up and ready to go.
Out in the sun this looks amazing....the picture makes it look like crap...... 
__________________
Good judgement comes from experience.....experience comes from....well....that comes from bad judgement. Build thread for my poppa ~~> CLICKY CLICKY |
|
#89
12-01-2012, 09:52 PM
|
|||
|
|||
|
(at a pause waiting for 2K filler primer to dry)
OK, some stuff done here in the past few days. Got the trunk lid done. Boy that took some work. Seems to have been stomped on as well, but the metal wasn't oilcanning, so I preceded with it. It was originally a Lemans lid since it has the holes for "LEMANS" under the lock hole. So I welded them up and drilled new holes for the "GTO" emblem. After 3 long blocksands, I finally made it look as good as I can make it. There was low spots all over it. Pics..... First paint scratch. I decided not to strip it completely since the paint was very thin all over and the adhesion was excellent.... 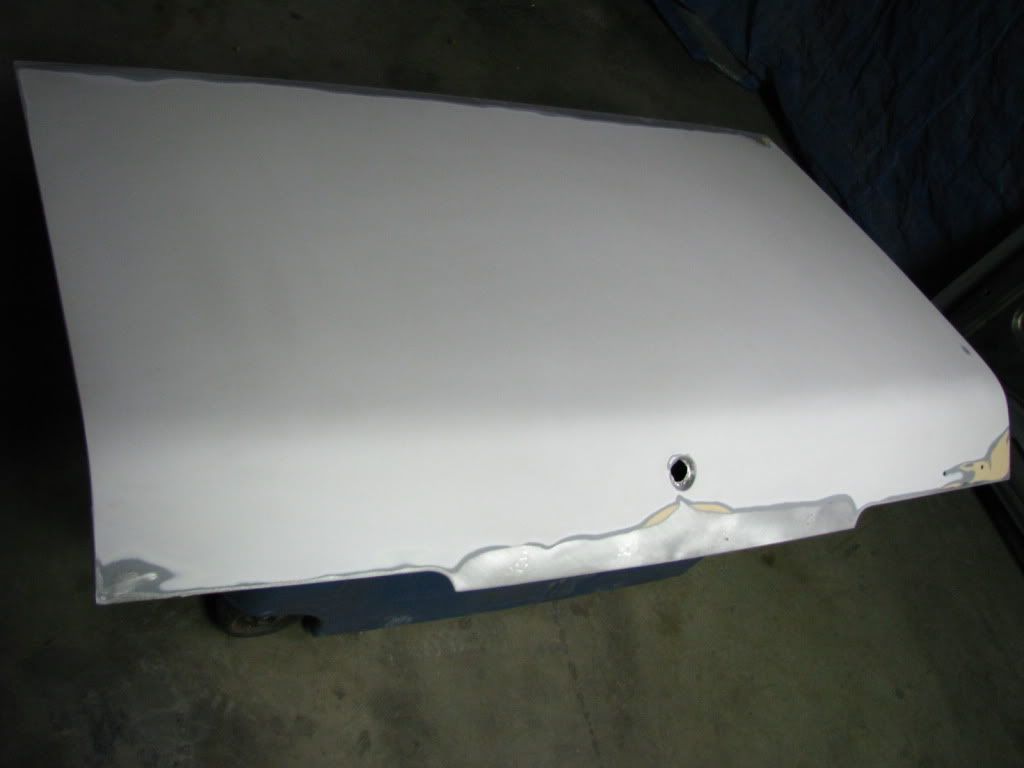 Holes welded up.... 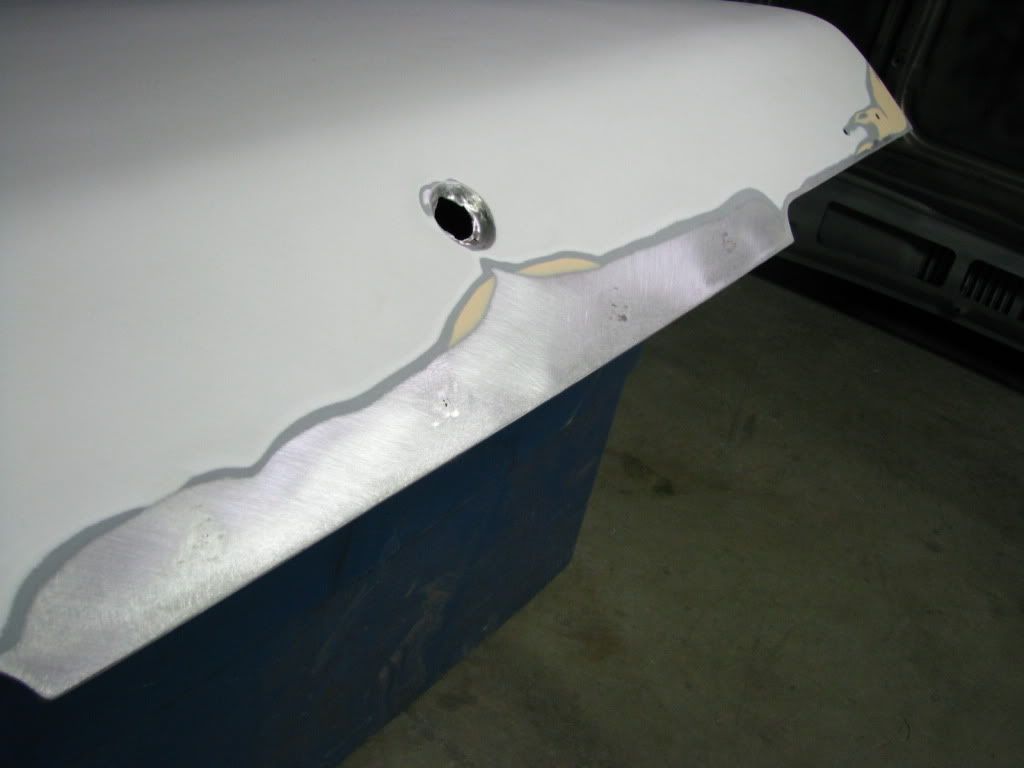 First block.... 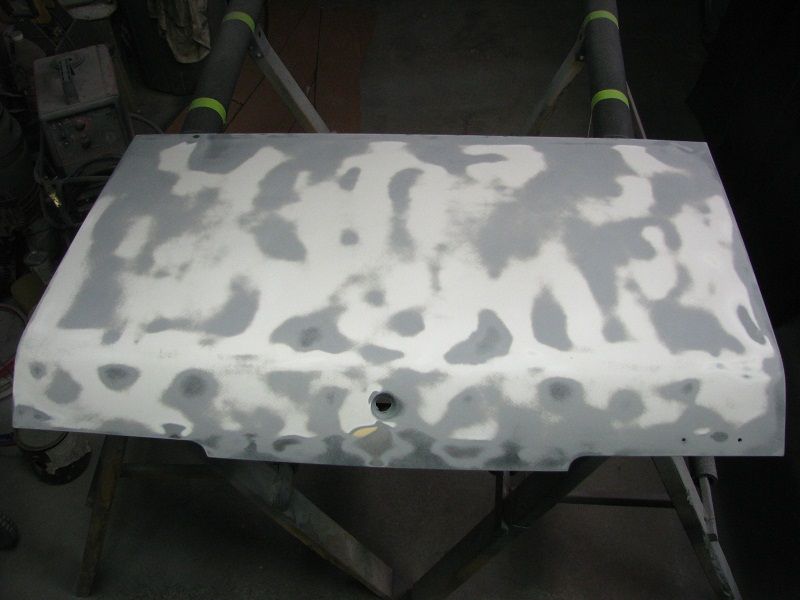 Second block..... 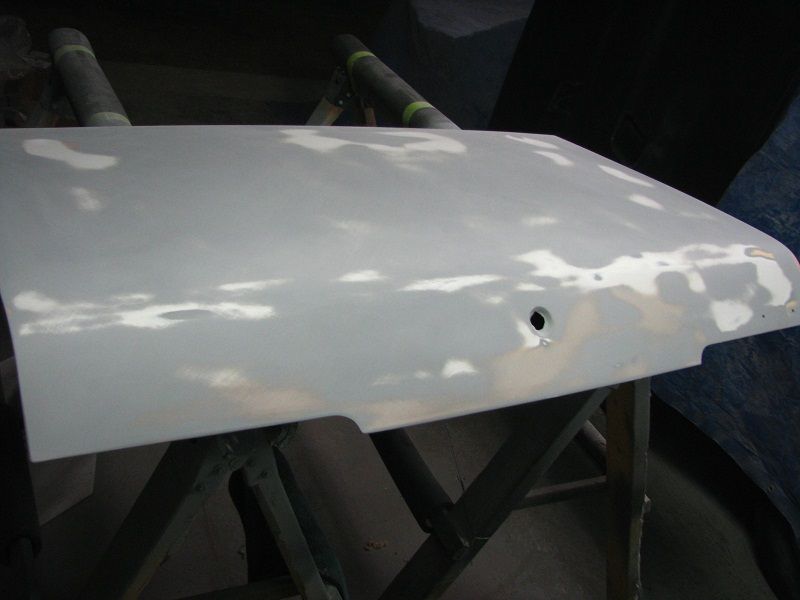 3rd and final block..... 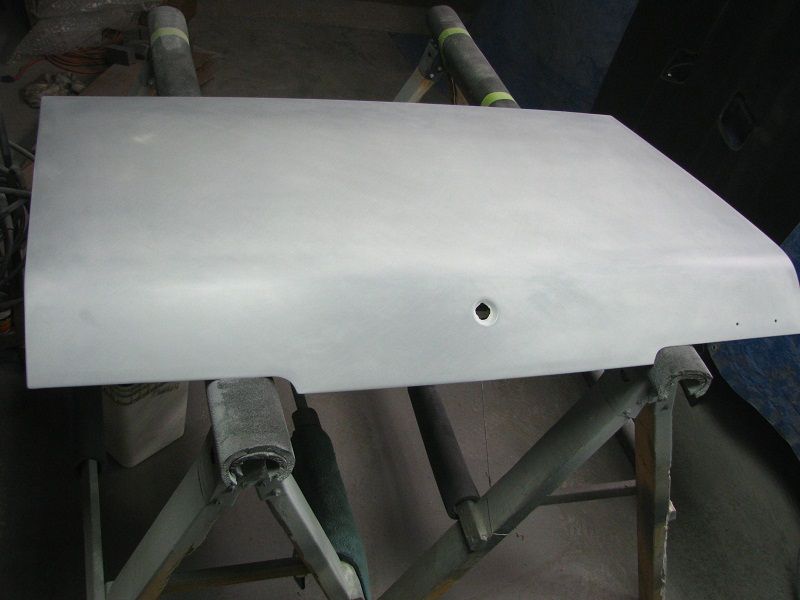 Just needs a topcoat.... 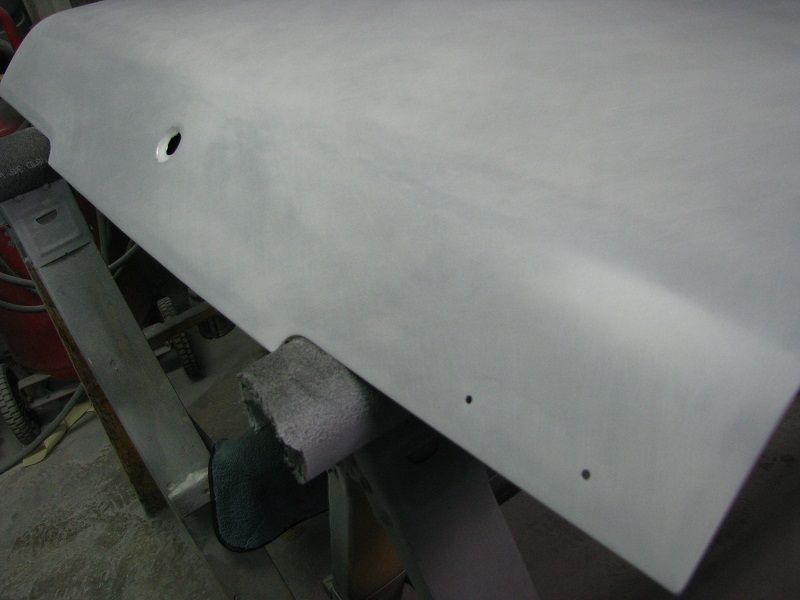 Underside.... 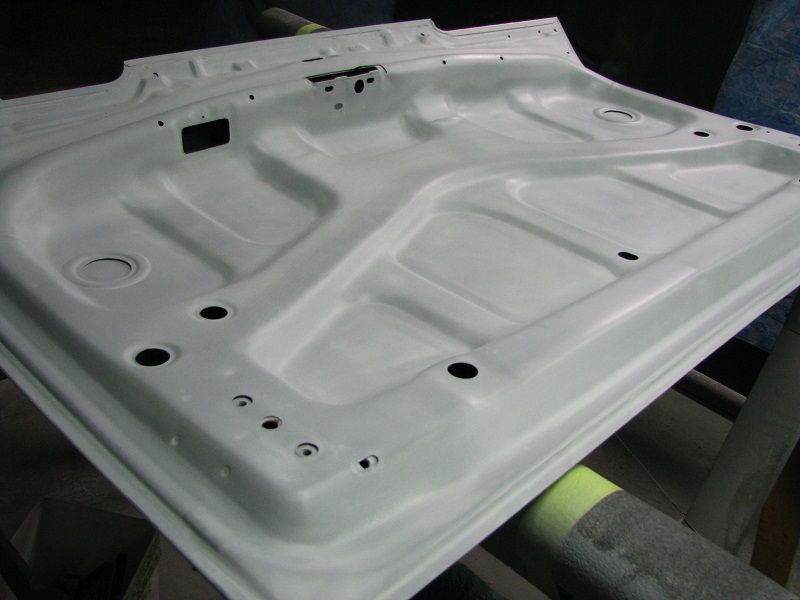
__________________
Good judgement comes from experience.....experience comes from....well....that comes from bad judgement. Build thread for my poppa ~~> CLICKY CLICKY Last edited by Kokamo; 12-01-2012 at 10:11 PM. |
|
#90
12-01-2012, 10:19 PM
|
|||
|
|||
|
Once the trunklid was done, I preceded to the hood. I took the original hood down to my local powdercoat shop and the owner let me media blast it. I spent 150 bucks worth of material (dry soda) and over 3 hours of labor....the further I got with it, the more disgusted I felt about it. Several repairs done over the years. Some rust repair, hood pin holes "repaired" with filler on top and a plate "brazed" in on the underside. Also had plenty of rust repair around the perimeter of the hood. The worst thing about this hood is the fact that someone had stepped/sat/danced on this hood. This bent the inner structure down and away from the actual sheet metal and now the sheetmetal "oil cans" on the right center of the hood. I don't have any idea of how to repair that, so I decided to buy a new hood. Found one a few hours away made by Dynacorn. Very nice piece of metal for sure. Gonna be alot less work I have to do, but sadly, that was a blow to my budget. Oh well, only money I suppose.
Found a few minor thing wrong with the hood right out of the box. I'm currently on my 3rd blocksand and I hope thats my last. Also grit my teeth and cut a hole for the hood tach....Some pics..... 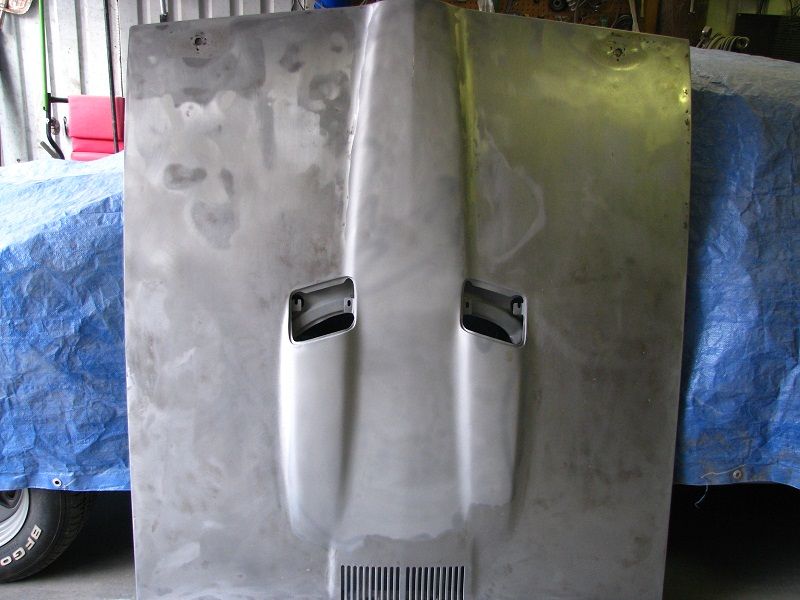 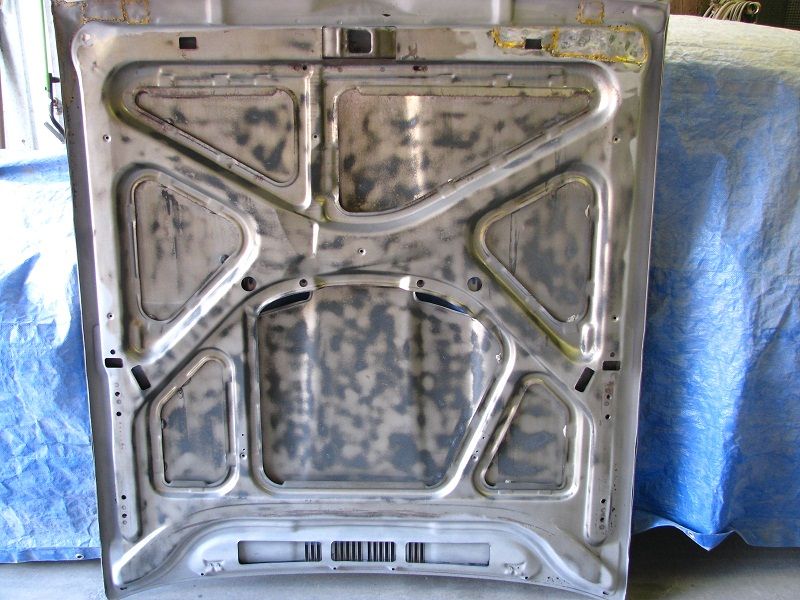 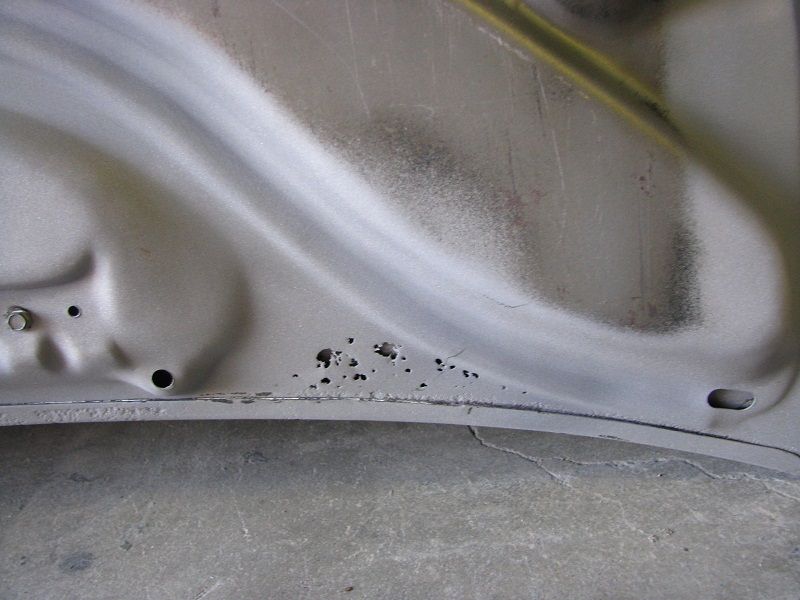 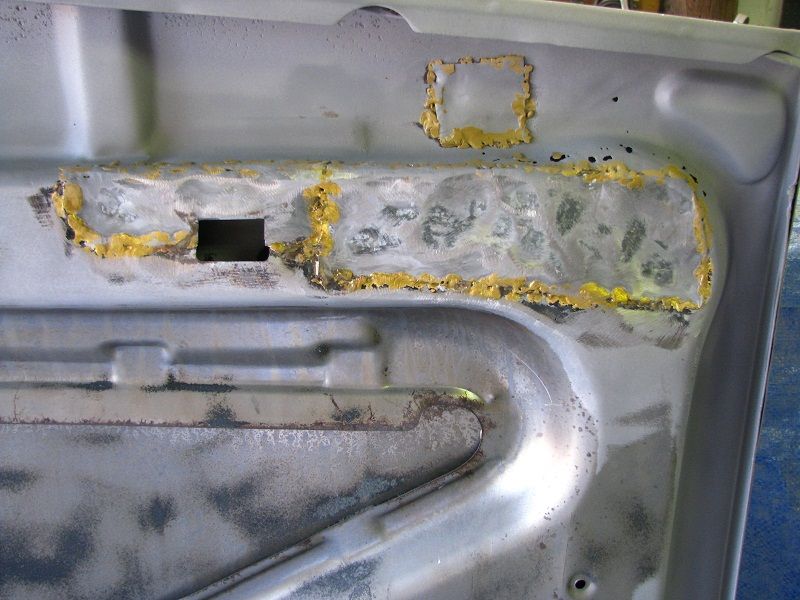  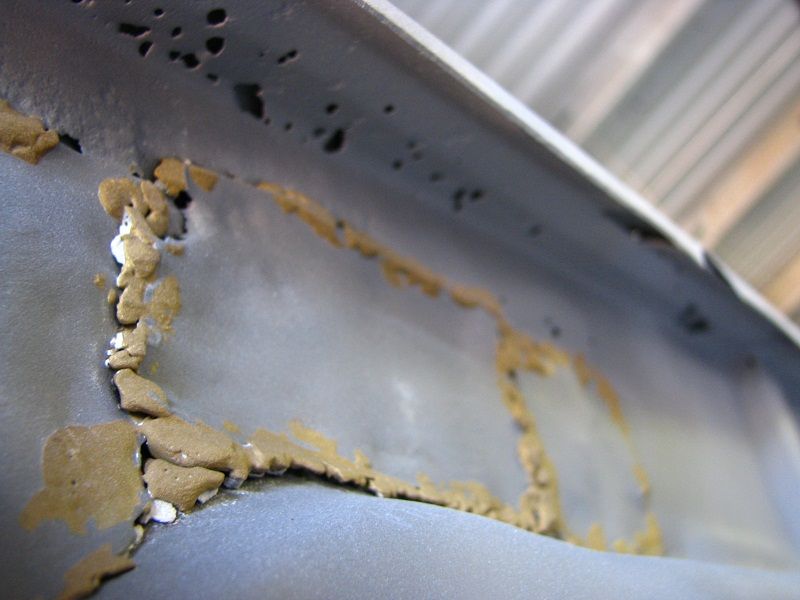 New hood.... 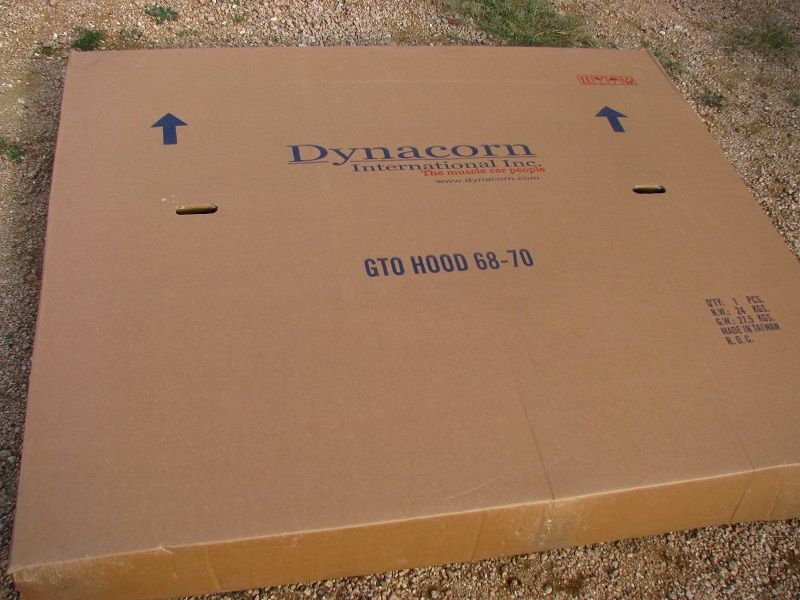 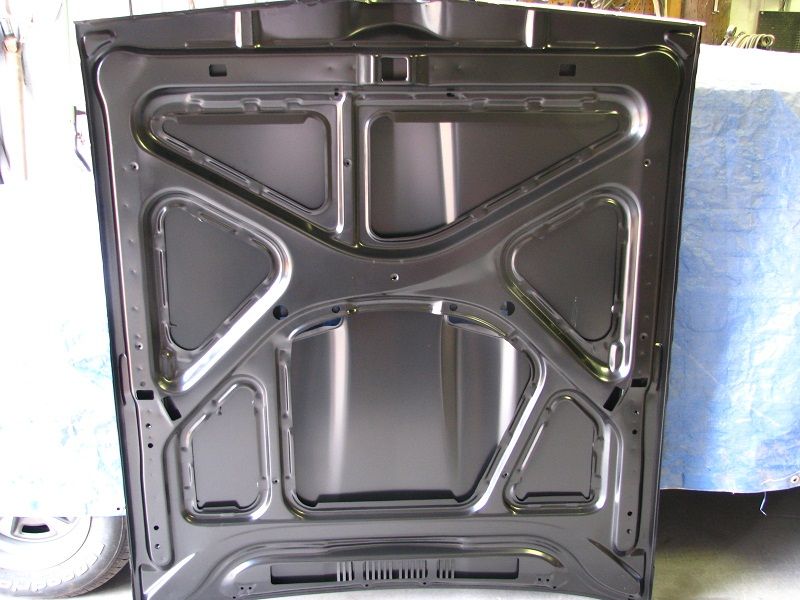 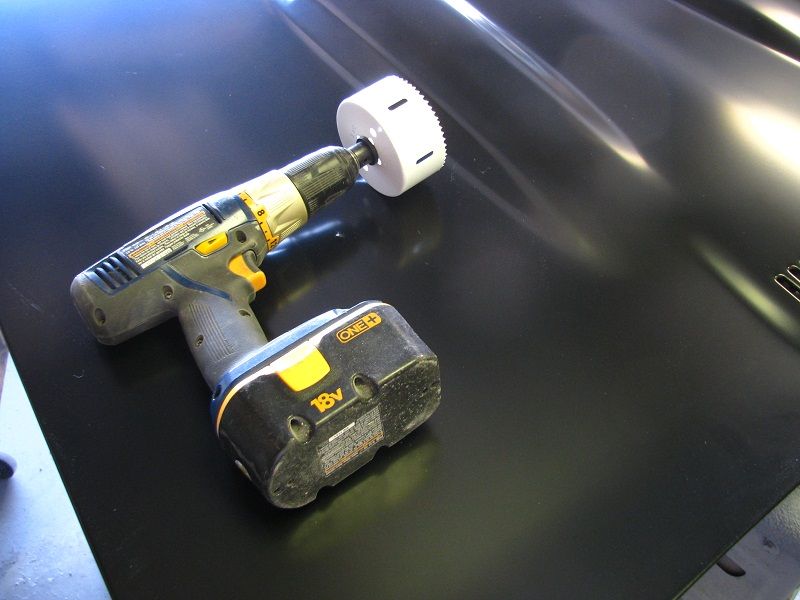 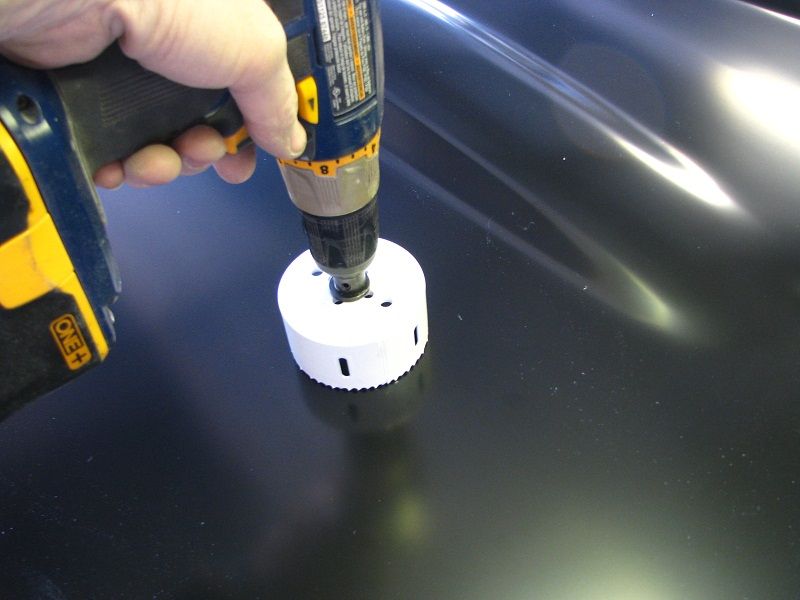  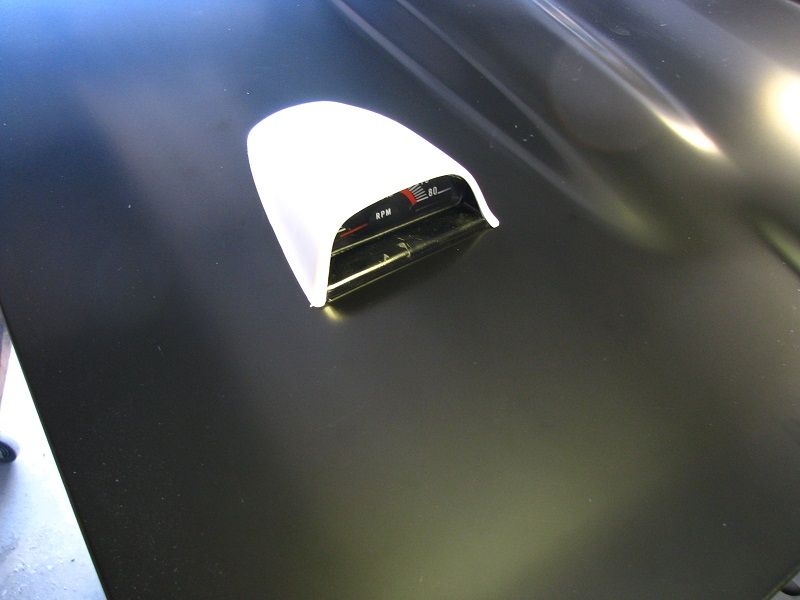 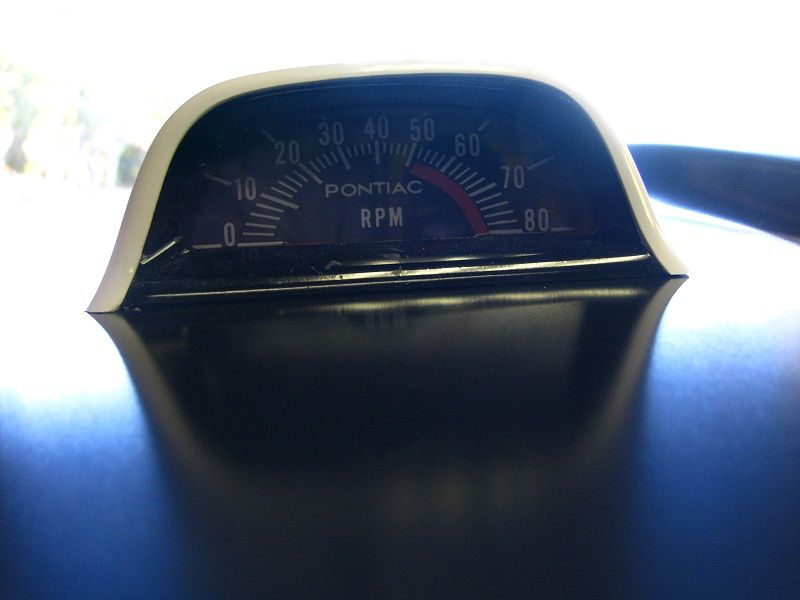 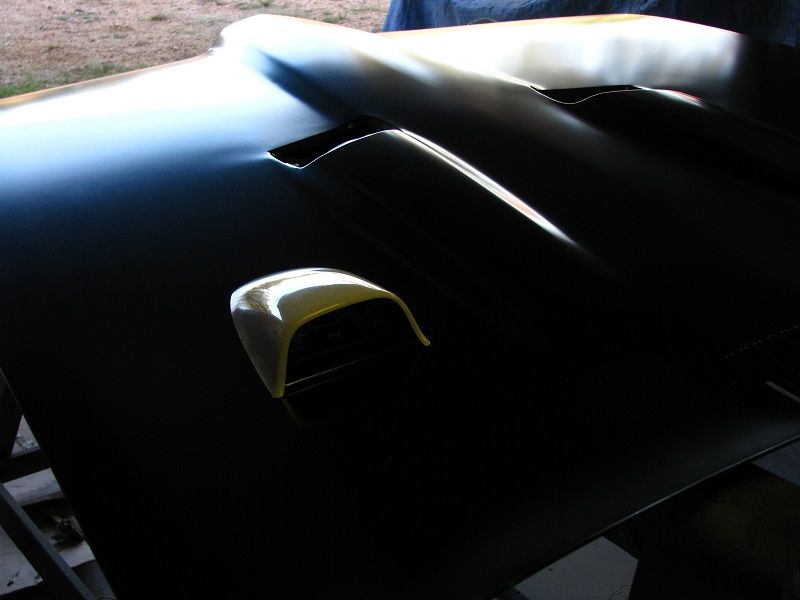
__________________
Good judgement comes from experience.....experience comes from....well....that comes from bad judgement. Build thread for my poppa ~~> CLICKY CLICKY |
|
#91
12-11-2012, 09:20 AM
|
|||
|
|||
|
A few pics this morning. Last week, I worked on the hood. Overall I'm pretty happy with the reproduction hood from Dynacorn. As you can see in the pics, it's not as strait as it looked right out of the box.....
1st coat of 2k build primer....  1st blocksand with a few places of filler skimming.... 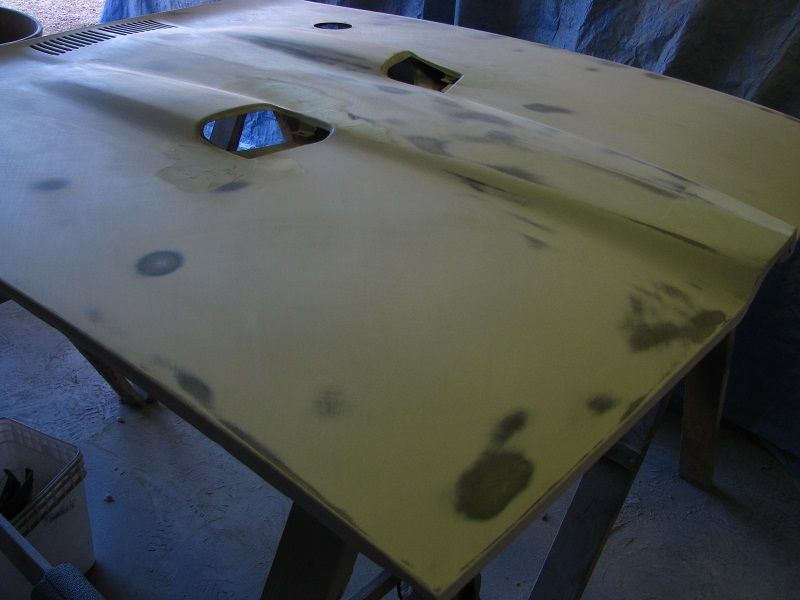 2nd coat of build primer, blocked out fine and here it is after the topcoat..... 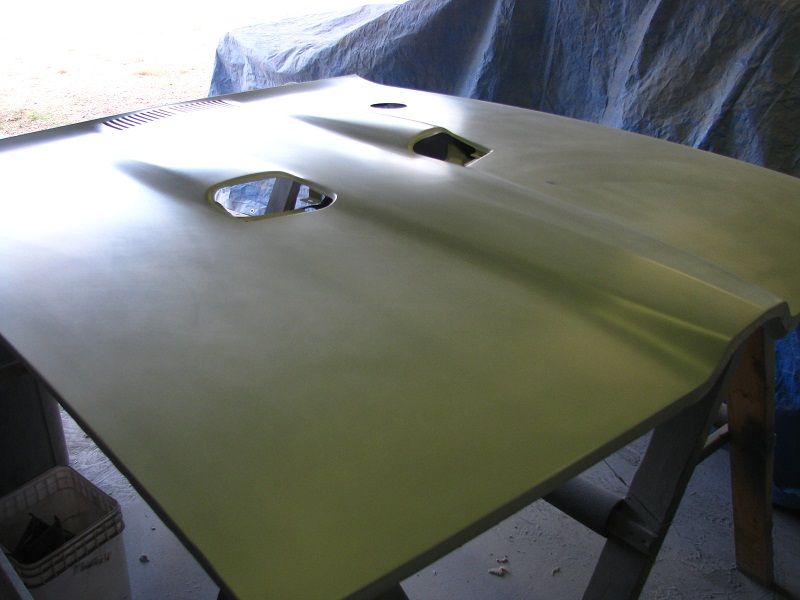 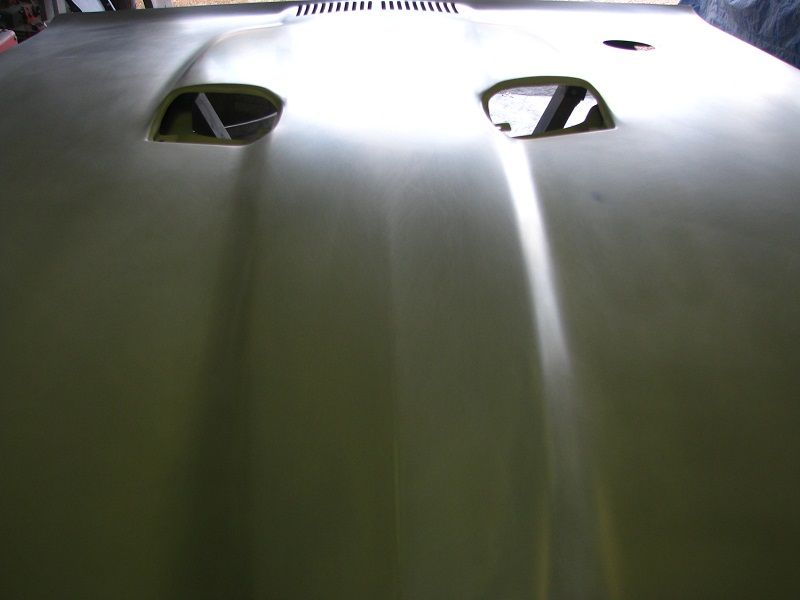 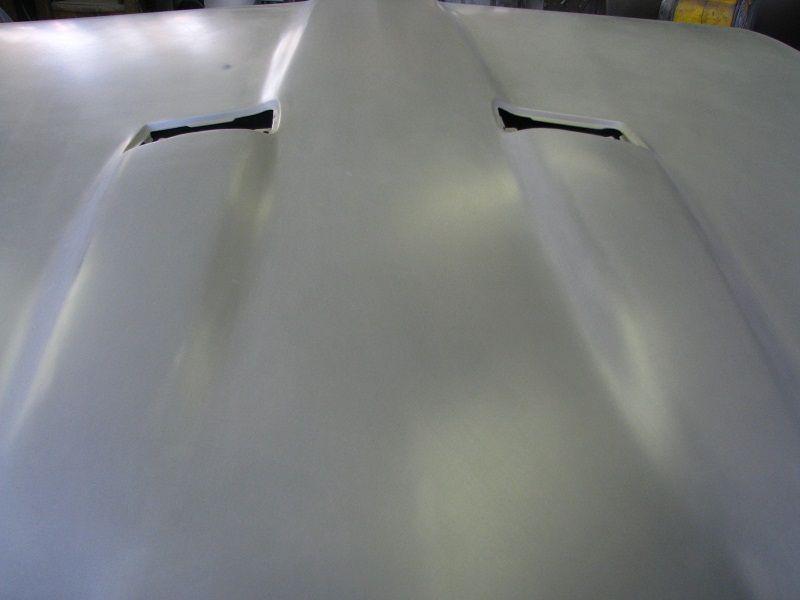 Hood = DONE!!! & ready for color! These are most of the highlights from over the weekend while the temps were in the 70's.....it's now in the 30~40's and motivation has gone in the crapper. Can't spray 2k primer when it's 40 degrees, nor can you sand anything in fear of it not being flat when it actually does warm up. Geeze, I hope it will be good when paint is on it..... 1st coat of build primer.... 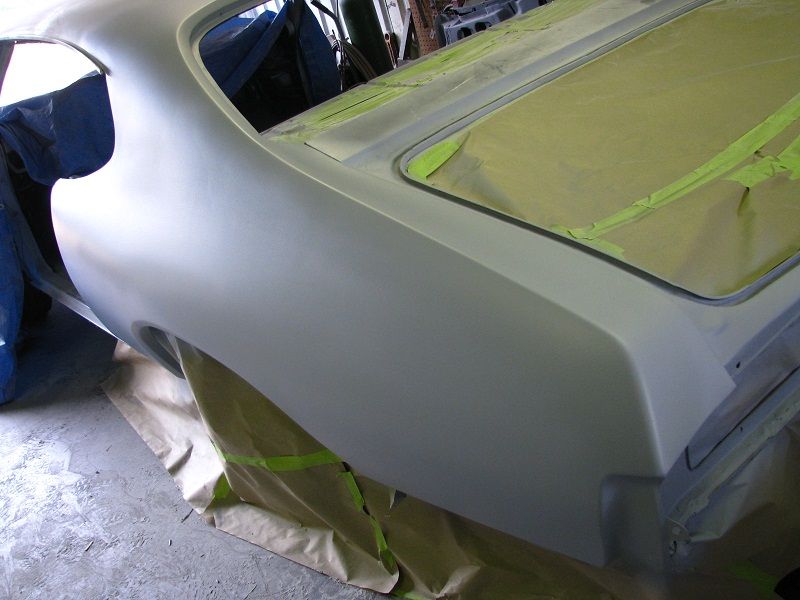 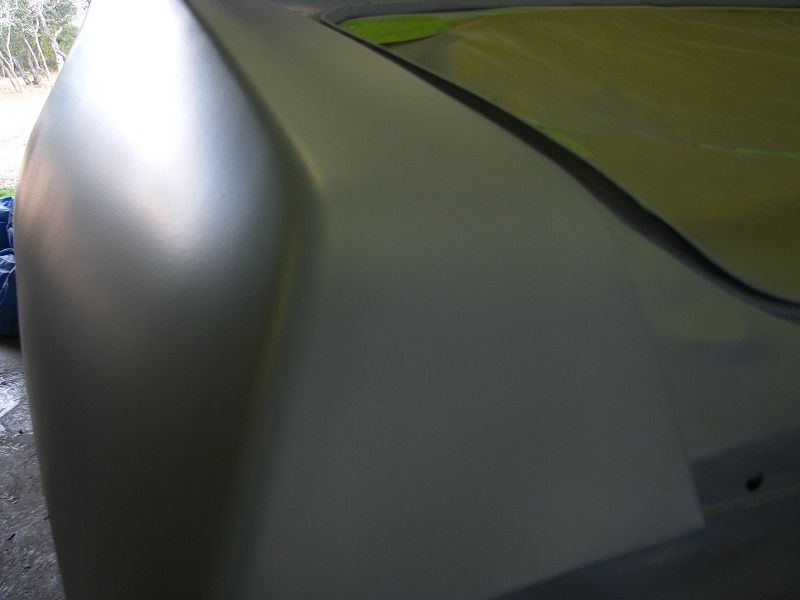 Results after 1st block (not bad at all).... 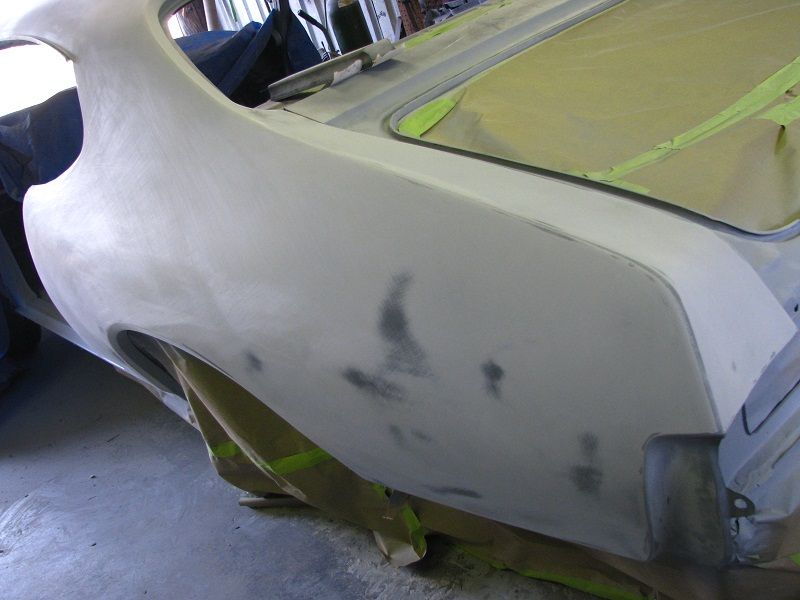 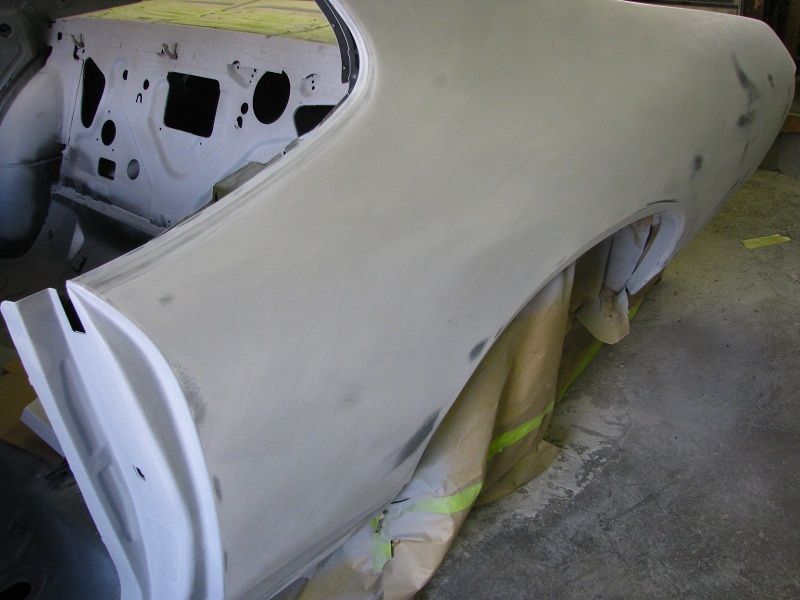 Some minor touch up's with build primer here and there after a few fixes in misc places.... 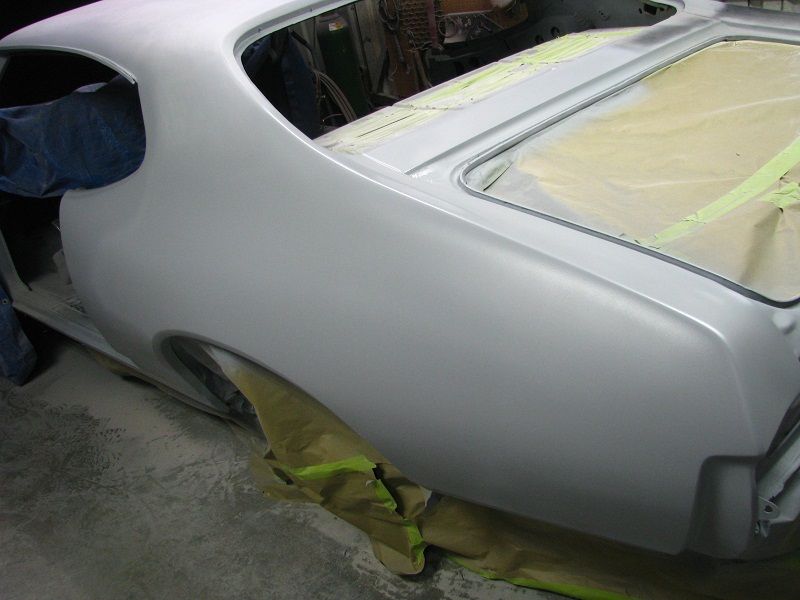 2nd block (notice the addition of the marker light cutout).... 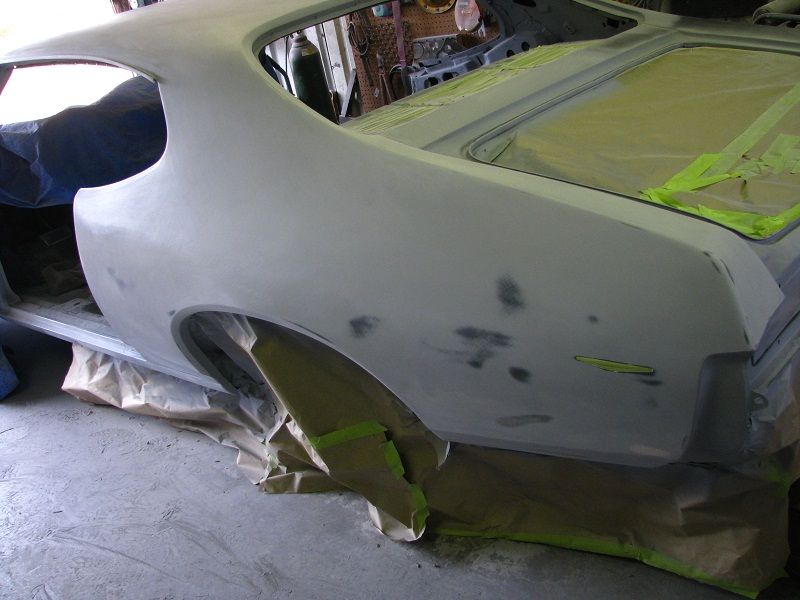 3rd and final block with topcoat (done)..... 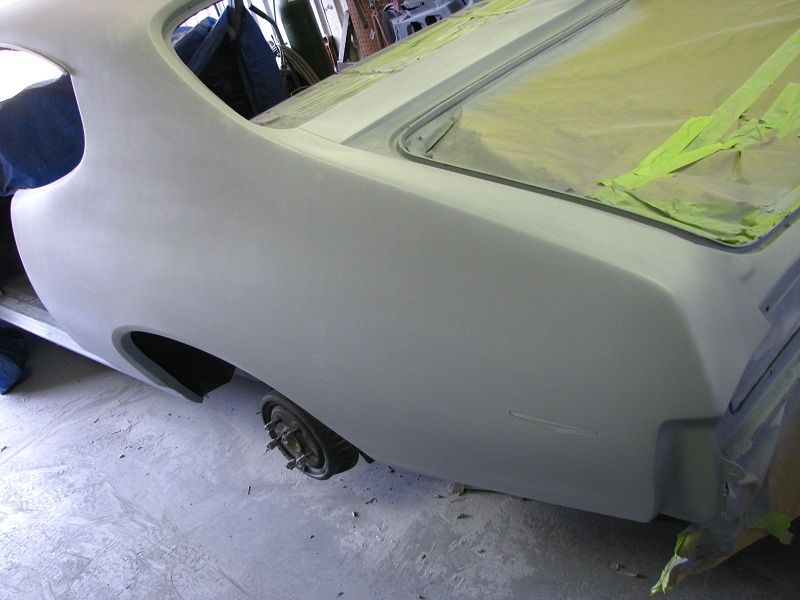 On to the pass side, not looking forward to doing this one in the cold...... 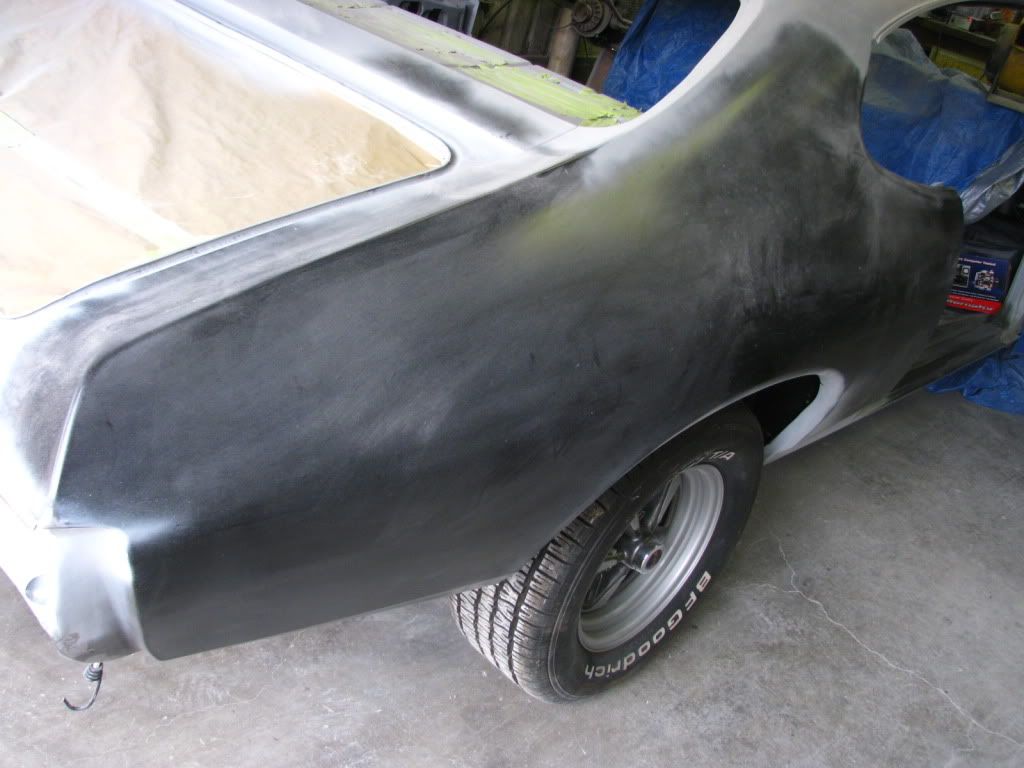 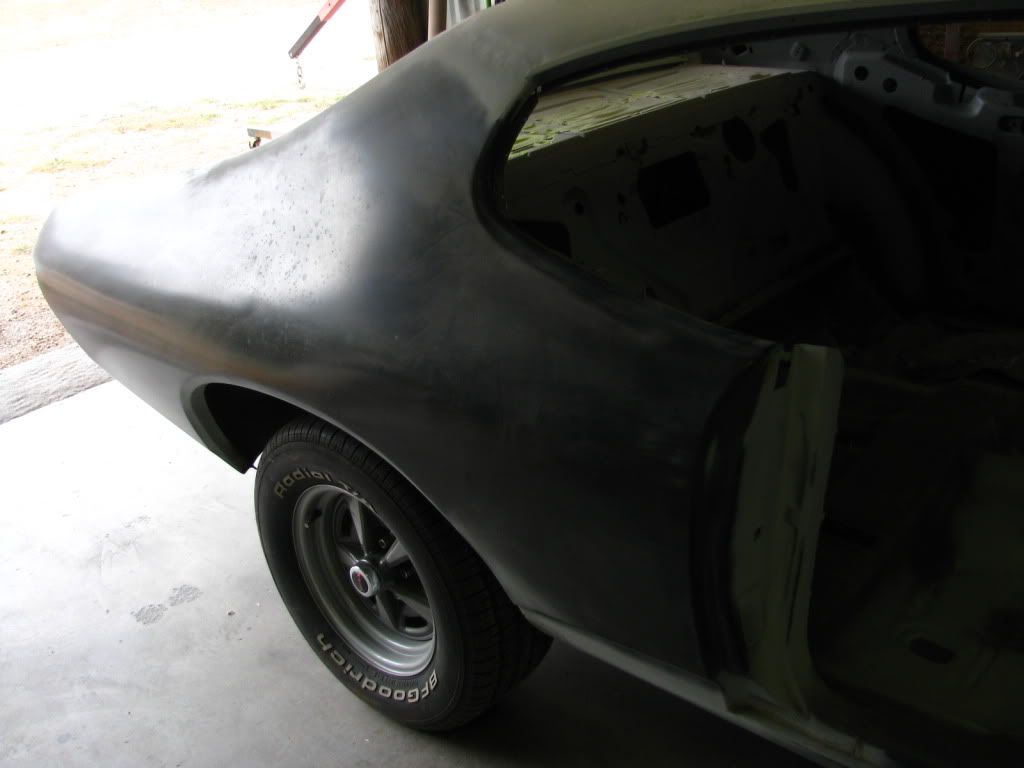 More to come soon!
__________________
Good judgement comes from experience.....experience comes from....well....that comes from bad judgement. Build thread for my poppa ~~> CLICKY CLICKY |
|
#92
12-11-2012, 09:52 AM
|
||||
|
||||
|
Looking great, love the updates!
__________________
Some guys they just give up living And start dying little by little, piece by piece, Some guys come home from work and wash up, And go racin' in the street. Bruce Springsteen - Racing In The Street - 1978 |
|
#93
12-11-2012, 02:57 PM
|
||||
|
||||
|
It's looking really good!
The paint looks like it has a lot of metallic in it, like mine. The amount of metallic for factory colors from paint brand to paint brand is something I never paid much attention to until after I got mine painted. I bet it really sparkles in the sun. Keep the updates coming.
__________________
Ken '68 GTO - Ram Air II 464 - 236/242 roller - 9.5 TSP converter - 3.55 posi (build thread | walk around) '95 Comp T/A #6 M6 - bone stock (pics) |
|
#94
12-11-2012, 08:45 PM
|
|||
|
|||
|
What are you using to do the holes for the rear side marker lights on the quarters ?
And will you ever show your dad all the before and during resto pics after its done ? |
|
#95
12-12-2012, 12:29 AM
|
|||
|
|||
|
Quote:
Quote:
 Quote:
Howdy Baron! Check out THIS PIECE I cut from the original 1/4's on the car. I'm using them as templates. I took some measurements taken from the original placement and put them in the same spot on the new 1/4's...check THIS out. As for showing him before/after pics? ABSOLUTELY! I fully document ALL of my builds and this one is no exception. If anything, I am documenting this one more than any other simply because it's something so special. I actually plan on printing out a few hundred pictures and building a photo book with them. So far I have approx 450 pics documenting so far. I think it'll be cool when done.
__________________
Good judgement comes from experience.....experience comes from....well....that comes from bad judgement. Build thread for my poppa ~~> CLICKY CLICKY |
|
#96
12-12-2012, 12:36 AM
|
|||
|
|||
|
Wish we had sun, your project is coming along Great. Woody
|
|
#97
12-12-2012, 01:03 AM
|
||||
|
||||
|
That trunk lid looks a lot like the '68 color Nightshade Green.
__________________
Greg Reid Palmetto, Georgia |
|
#98
12-12-2012, 02:52 PM
|
||||
|
||||
|
It sure does look like Nightshade.
The variance in color between paint brands is pretty dramatic. I thought my car was in the ballpark, but then I parked it next to my buddy's '68 painted with PPG (mine is BASF). Mine had way more blue in it and lots more metallic. Lesson learned. Don't park your car next to another one that's supposed to be the same color 
__________________
Ken '68 GTO - Ram Air II 464 - 236/242 roller - 9.5 TSP converter - 3.55 posi (build thread | walk around) '95 Comp T/A #6 M6 - bone stock (pics) |
|
#99
12-20-2012, 01:25 AM
|
|||
|
|||
|
Quote:
Ok guys, a small update, Last weekend was pretty productive. I got the 1/4 panel all blocked out and ready to go. Man I can't believe how good and strait a brand new 1/4 panel looks brand new right out of the box....but after you install it, I suppose it does some things to it to make it "notsoflat". Took me a good portion of the week to get it right....or may I say, as best as I know how to get it right. It might not be perfect, but I'd be willing to bet it's better than from the factory. We will see once real paint is on it. So as of now, I mounted the pass door and fender. Got them all lined up and on to the other side tomorrow. Had to start her up and re-position the car for the drivers side assembly. Also, for your viewing pleasure, I made a small idle clip. Has a fresh built q-jet carb, all new ignition and she sounds great! Thanks for following everyone! ~Joe First coat of build primer.... 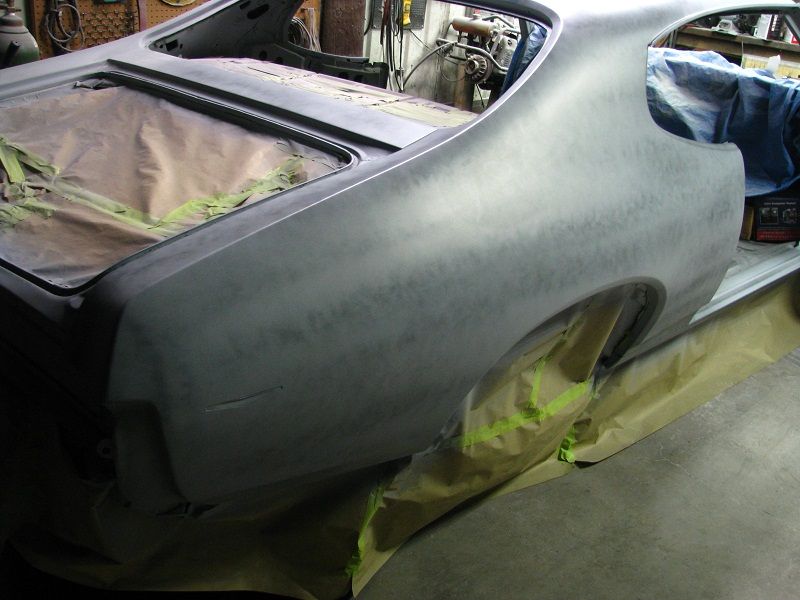 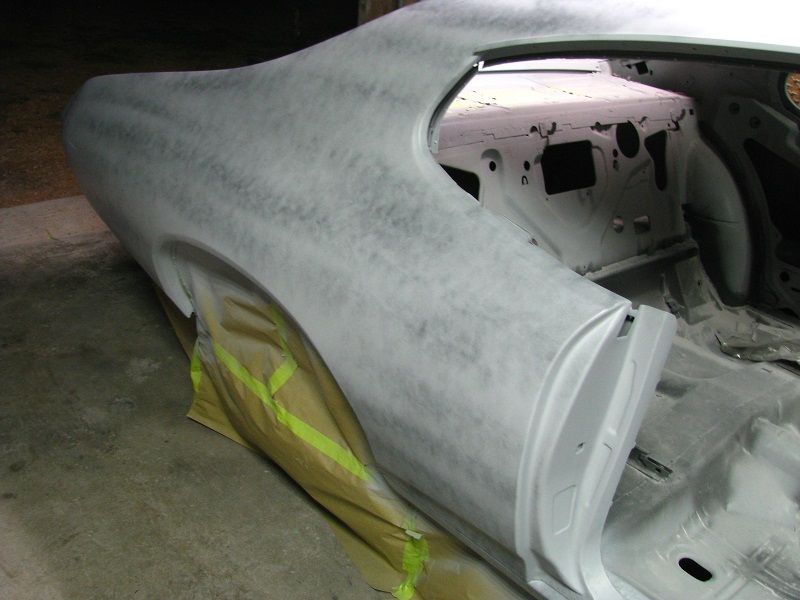 First blockout. You can see how bad it was. Had to fix a few places.......  I think this was the 3rd coat.... 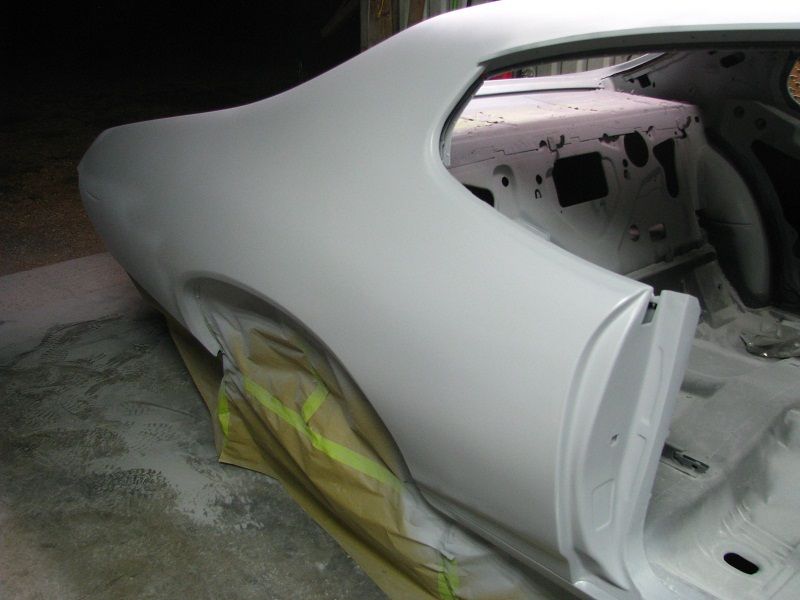 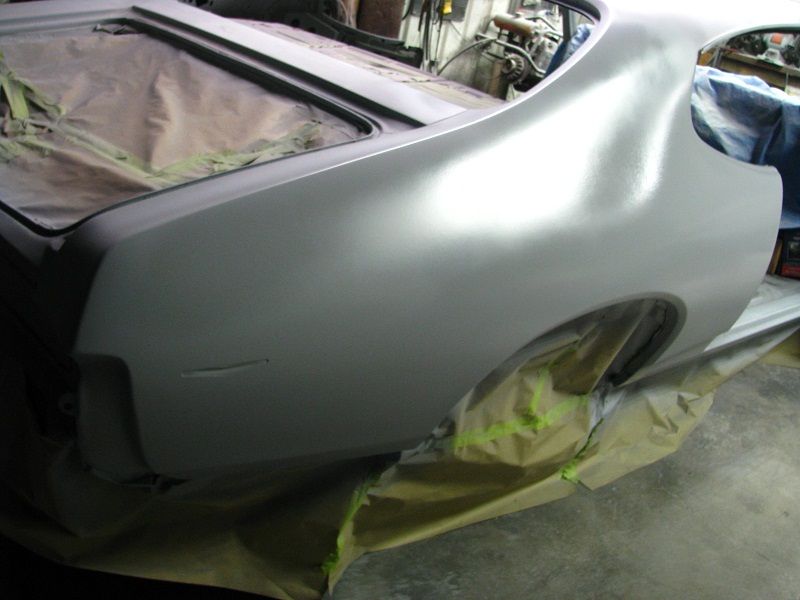 Finished and after topcoat. Notice the addition of the sidemarker light hole and 1/4 vent hole.... 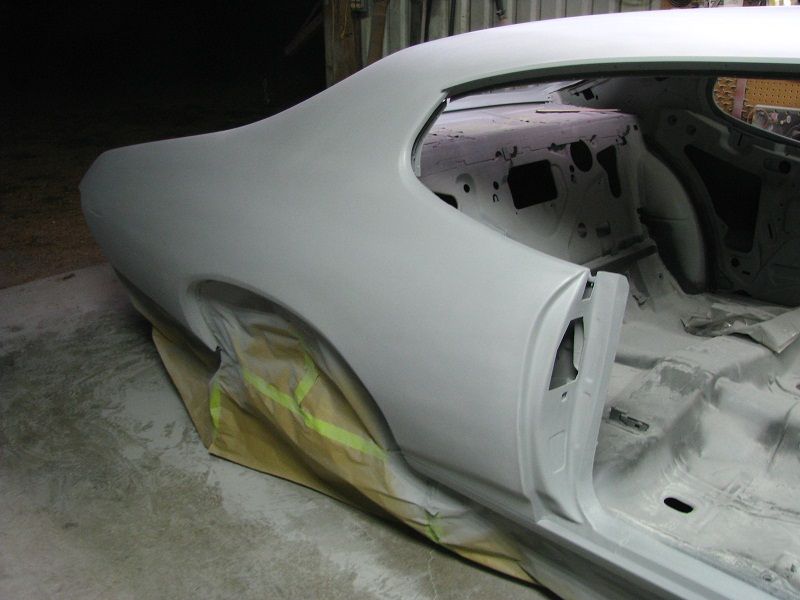 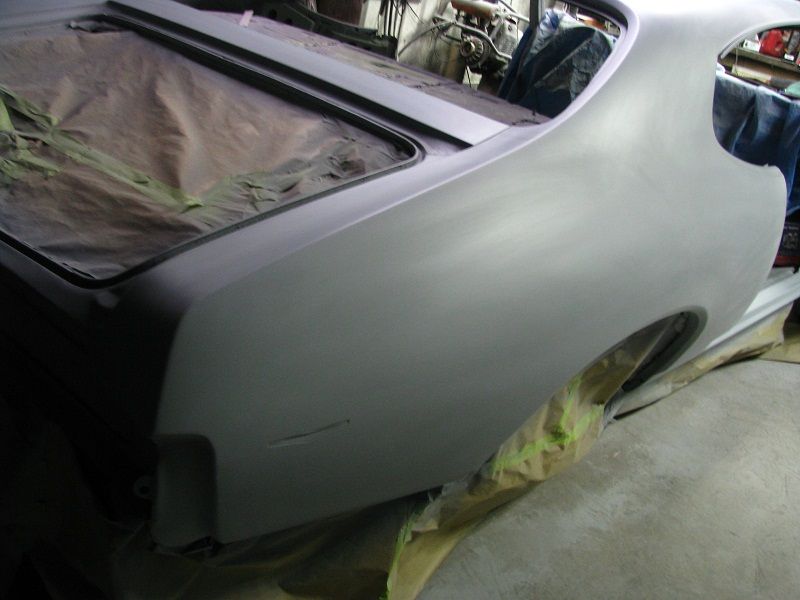 Pass side all fitted.... 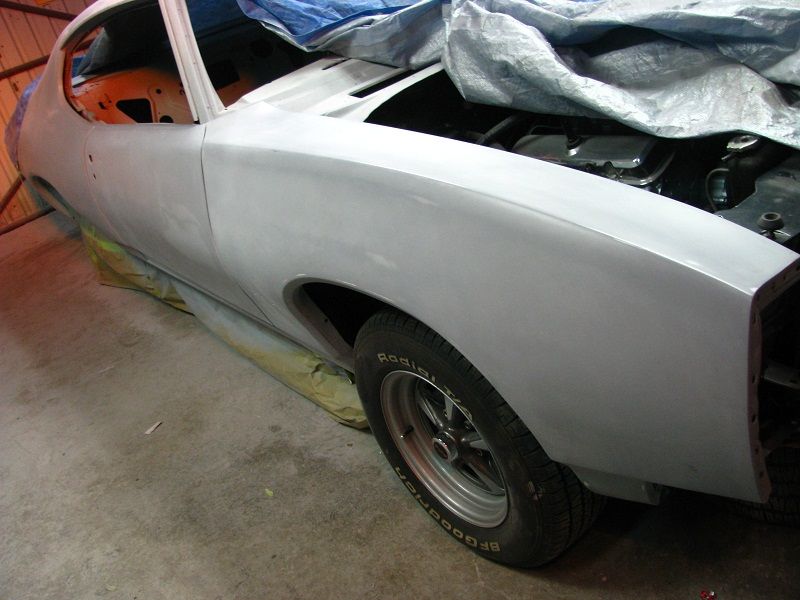 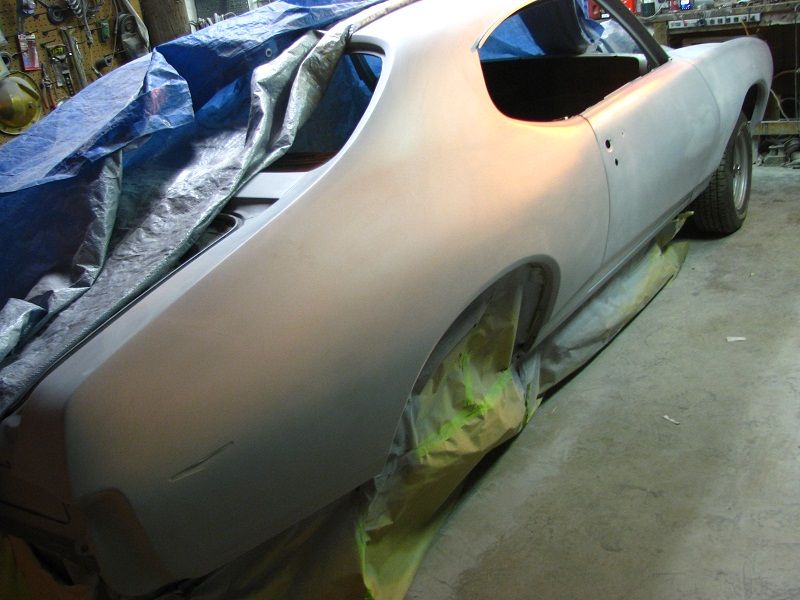 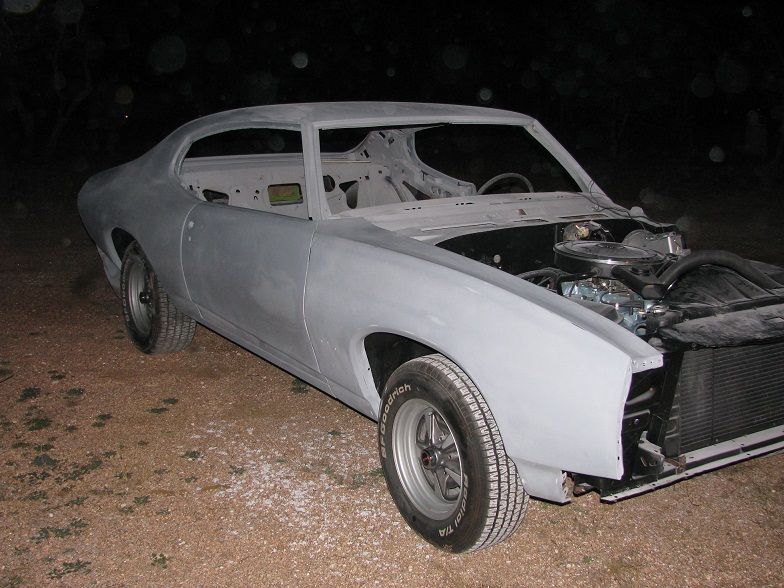 Small idle clip....(turn it up!!!) 
__________________
Good judgement comes from experience.....experience comes from....well....that comes from bad judgement. Build thread for my poppa ~~> CLICKY CLICKY |
|
#100
12-21-2012, 10:10 AM
|
|||
|
|||
|
Did you use someone local for the chrome?
|
| Reply |
|
|
The PY Online Forums is the largest online gathering of Pontiac enthusiasts anywhere in the world. Founded in 1991, it was also the first online forum for people to gather and talk about their Pontiacs. Since then, it has become the mecca of Pontiac technical data and knowledge that no other place can surpass.


 Linear Mode

