


| FAQ |
| Members List |
| Social Groups |
| Calendar |
| Search |
| Today's Posts |
|
#521
 02-11-2015, 08:09 AM
|
||||
|
||||

1) 24K 78 W72 SURVIVOR
2) 20K 78 SE W72 SURVIVOR 3) 20K 78 Y88 4SPD SURVIVOR 3) 41K 78 W72 4SPD MARTINIQUE BLUE RESTORED BY TRANS AM DEPOT WITH THEIR FUEL LINE |
|
#522
02-11-2015, 12:35 PM
|
|||
|
|||
|
Here is a closer look at my insulation:
 and a closer look at my vacuum lines: 
__________________
 1972 Formula 455HO 1979 W72 Fire Am 1975 455 4 speed TA Last edited by dreamn69; 02-11-2015 at 12:49 PM. |
|
#523
02-11-2015, 12:55 PM
|
||||
|
||||
|
Quote:
1) In none of the pictures do I see the tape bands (red, white, and/or blue) around the vacuum lines to the right of the carb??? Does anyone have any other pictures showing this detail on survivor cars? 2) An item that seems to be hit or miss in general in the pictures I see (not just these pictures) is the foam insulation on the core to fender strut brace to pad the a/c line. Does anyone know what's correct? Was this plant specific or is there some other reason for the variability? Looks like I just crossed cyberspace with Dream69 and pictures of the tape bands. Any other pictures? Dream69 - Where do the two ends of the red stripe vacuum hose terminate? I would appreciate any other vacuum hose detail you might be able to show. Thanks. |
|
#524
02-11-2015, 01:31 PM
|
|||
|
|||
|
Bob,
The pic I posted on page 26 shows the foam on the brace on my car and it is non-A/C. I would assume it was plant specific but not sure. On the page 26 picture, you can also see there is a white tape band on the two hoses going over to the charcoal canister. Here are a couple of more detailed pics: This one is interesting as the T is right on top of the valve cover. seems unusual, but I see no real reason to doubt it's original since they are all still GM vacuum lines:  The red should be connected to the open port seen here. you can see where it has fallen off below. it is also interesting that it changes to blue striped line as it exits the switch on my car but on the restored car it continues red out of the switch. The other end of the red striped hose is connected to the bottom port on my Thermal Vac manifold switch.  
__________________
1972 Formula 455HO 1979 W72 Fire Am 1975 455 4 speed TA Last edited by dreamn69; 02-11-2015 at 02:08 PM. |
|
#525
02-11-2015, 02:26 PM
|
|||
|
|||
|
I should add that my car has several unexplained anomalies that I haven't seen on other cars. For instance, seat back trim:
 I have yet to see another 79 with standard interior that had these installed, yet mine are aged the same as the rest of the interior and appear to be factory installed. They will be re-installed when restored. Also, the air cleaner lid as seen in other pictures. it is the same flash chrome finish as the W72 valve colors and has a GM part number stamp and is has also aged with the rest of the car, yet every other W72 Formula air cleaner I have seen is black. Your results may vary.....
__________________
1972 Formula 455HO 1979 W72 Fire Am 1975 455 4 speed TA |
|
#526
02-14-2015, 11:41 AM
|
||||
|
||||
 B B B
B B B
Bumping Bob's Build! on the new Max Performance network!
Note To All: Please resume your regularly scheduled postings. Ain't it nice that we STILL have this forum and threads have been saved?  Looking forward to faster page loads and OP subject project Y88 ETs! 
Last edited by Alvin; 02-14-2015 at 11:45 AM. Reason: New Forum Host Name is Max Performance |
|
#527
02-14-2015, 02:59 PM
|
||||
|
||||
|
Quote:
__________________
http://www.highperformancepontiac.co...o_convertible/ |
|
#528
02-14-2015, 07:58 PM
|
||||
|
||||

Quote:

|
|
#529
02-14-2015, 09:02 PM
|
||||
|
||||
|
Parkerizing
Well, I spent most of the day Parkerizing fasteners. I'm pretty happy with how they came out. I started out soaking the fasteners in muriatic acid. After that I bead blasted them and then degreased them with a concentrated cleaner like the Purple Stuff. Following that they were immersed in the Parkerizing solution at about 200 degrees for approximately 15 minutes. After rinsing in hot water I submerged the fasteners in an oil bath for several hours. It was really pretty easy.
The solution I used came from Ebay. I have previously used Palmetto Enterprises solution, but this stuff was in my opinion way better and produced a darker finish. Here's the ebay link and some before and after pictures. http://www.ebay.com/itm/BLACK-MANGAN...item5670bd14f4 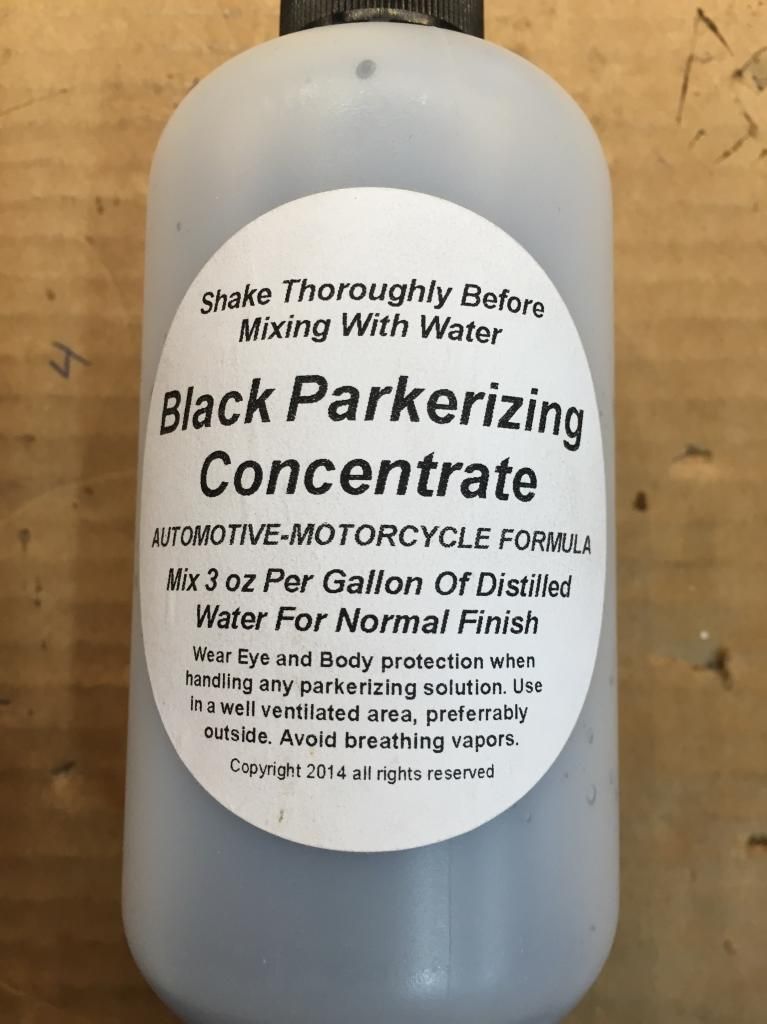 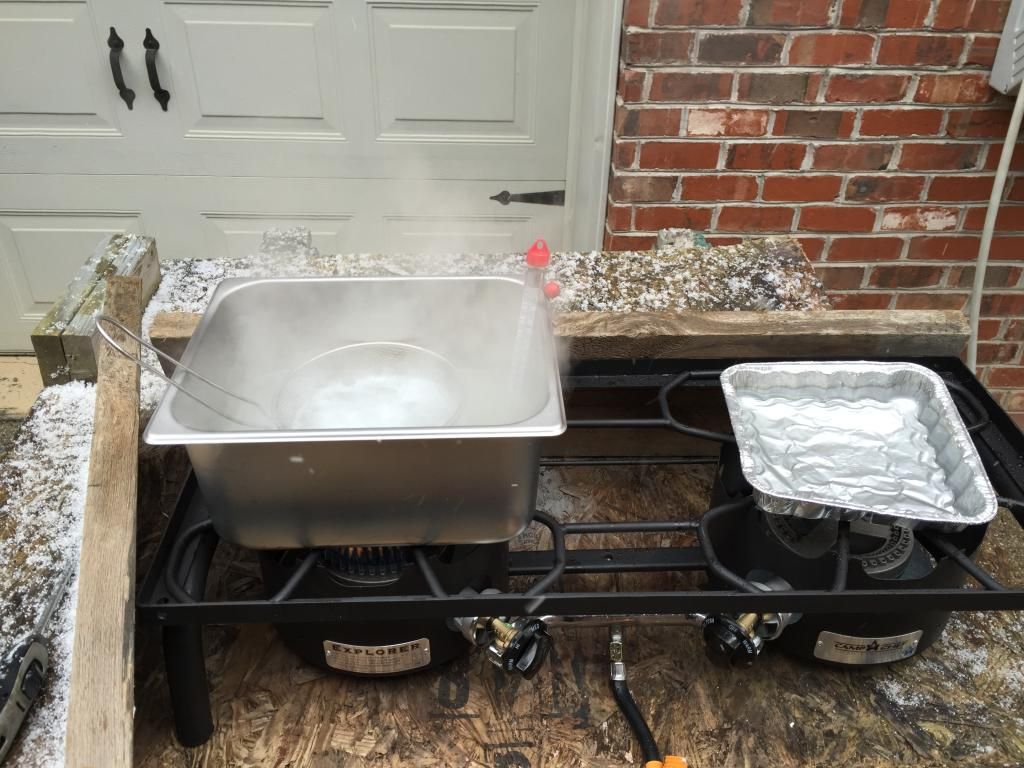  Before 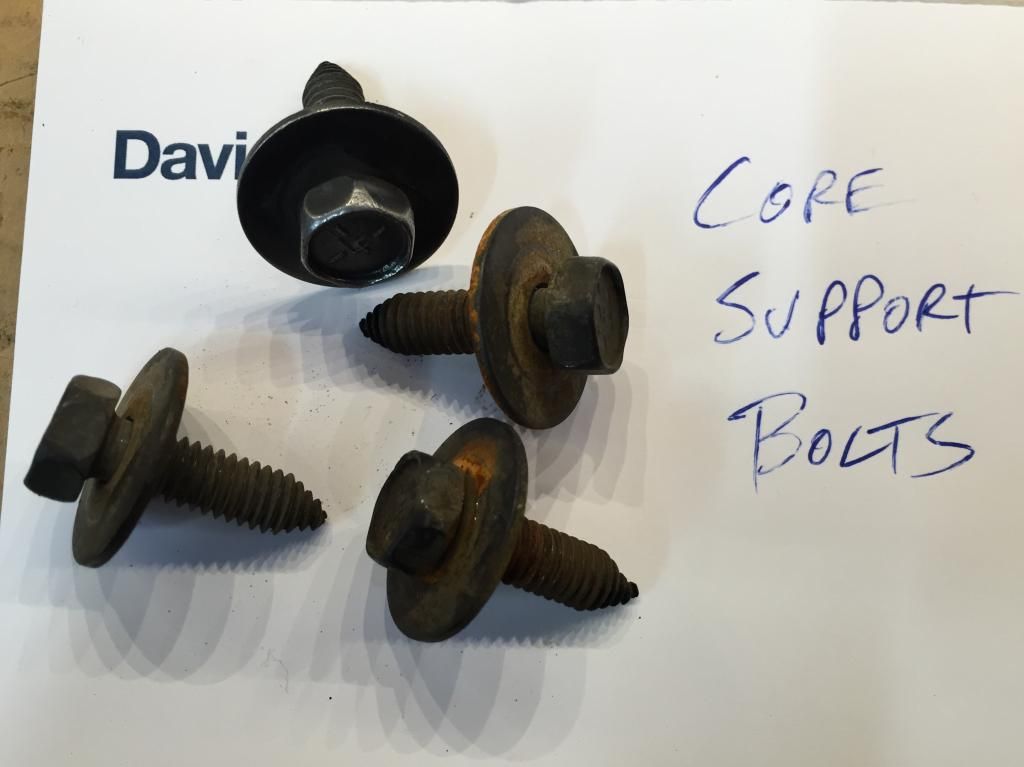  After 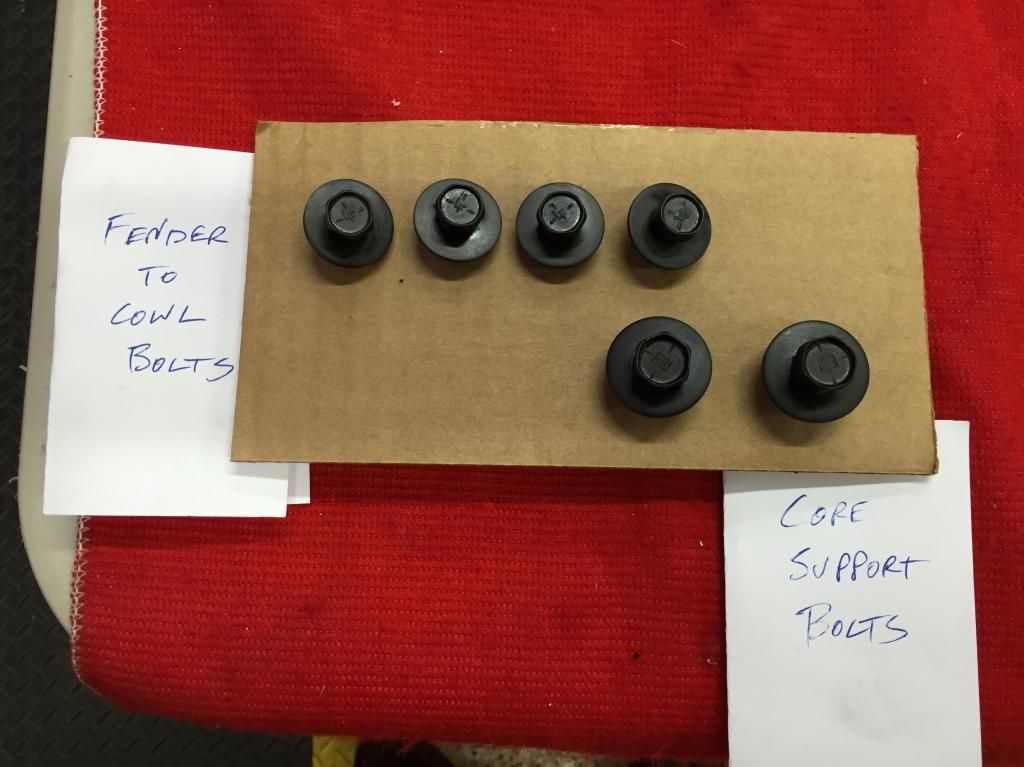 Before  After  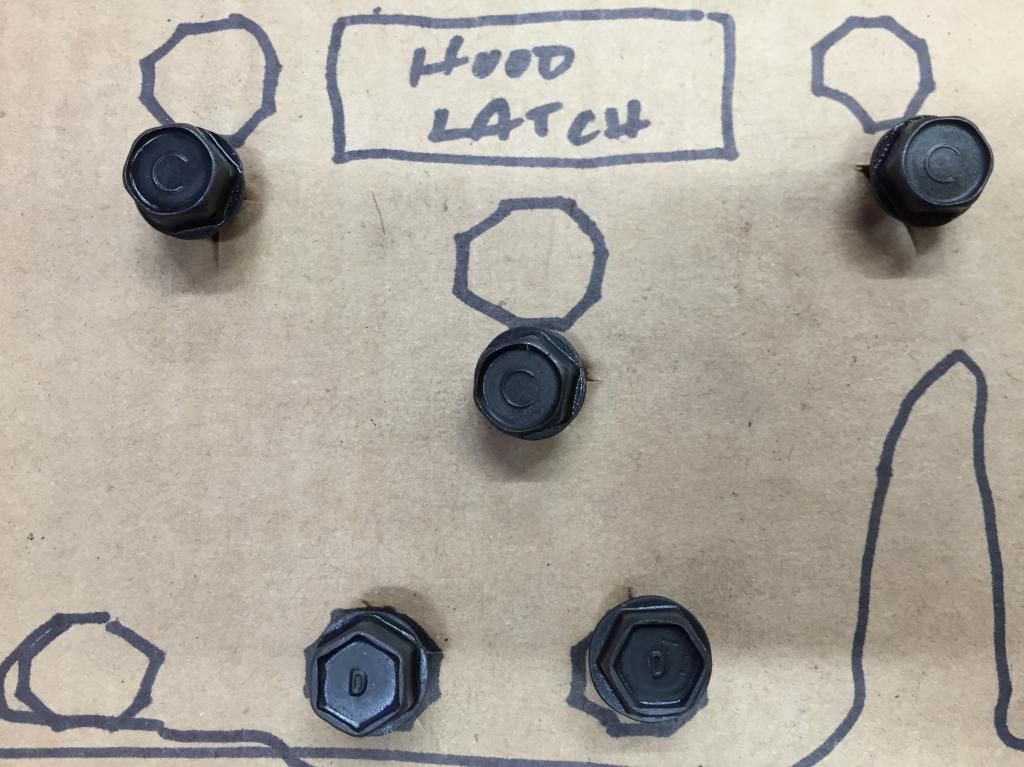
|
|
#530
02-15-2015, 09:18 AM
|
||||
|
||||
|
__________________
Some guys they just give up living And start dying little by little, piece by piece, Some guys come home from work and wash up, And go racin' in the street. Bruce Springsteen - Racing In The Street - 1978 |
|
#531
02-15-2015, 12:12 PM
|
||||
|
||||
|
No kidding Bob, reading your thread is akin to being in Resto Shop 101 w your handy tips.
Question: Did you Parkerize the upper nose bumper brackets too? Reason for my Q is I always though they were painted chassi black...so new one on me. FWIW: Always thought they should have been mfg'd w drain hole in the center to allow rain, washing, etc. water to drain out as it always collects in those channels.  Of course said holes may have been contrary Of course said holes may have been contraryto frontal crash considerations... |
|
#532
02-15-2015, 09:33 PM
|
||||
|
||||
|
Putzed around for the most part today, but did get a few more batches of fasteners run through the Parkerizing process including the inner fender hardware pictured below. The core support is now also mostly back together and looks pretty good.
Alvin - thanks for the compliment. The front end brackets were painted the same as the core. I agree drain holes would have been a big improvement. You can see the rust in the before picture below. 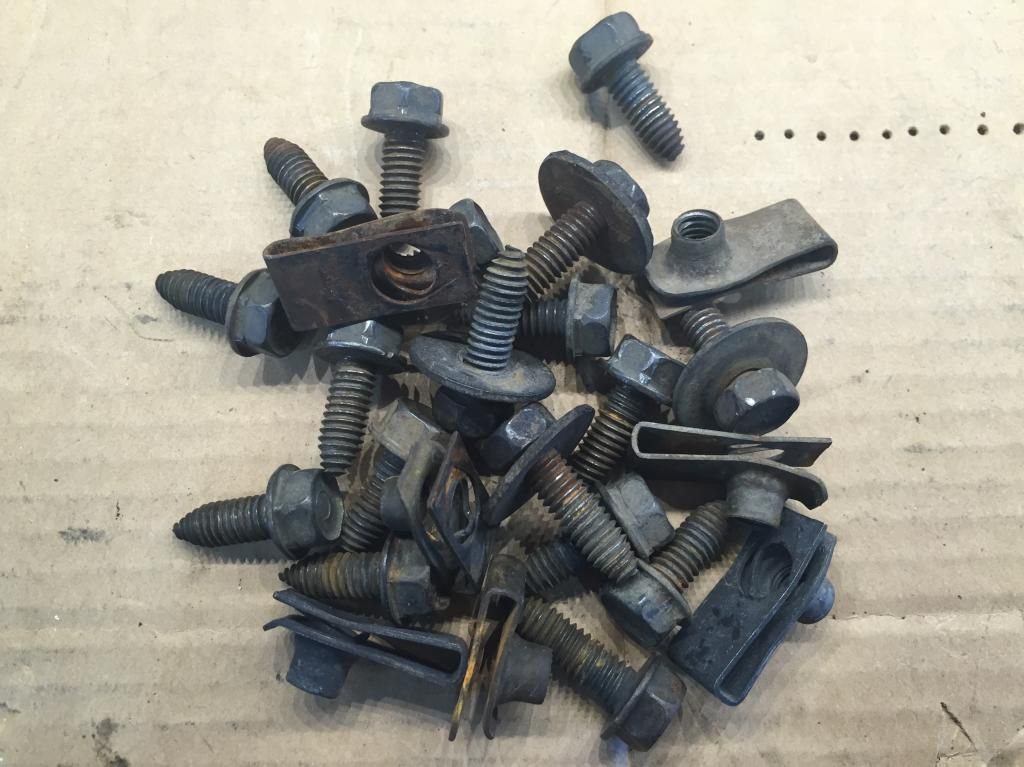 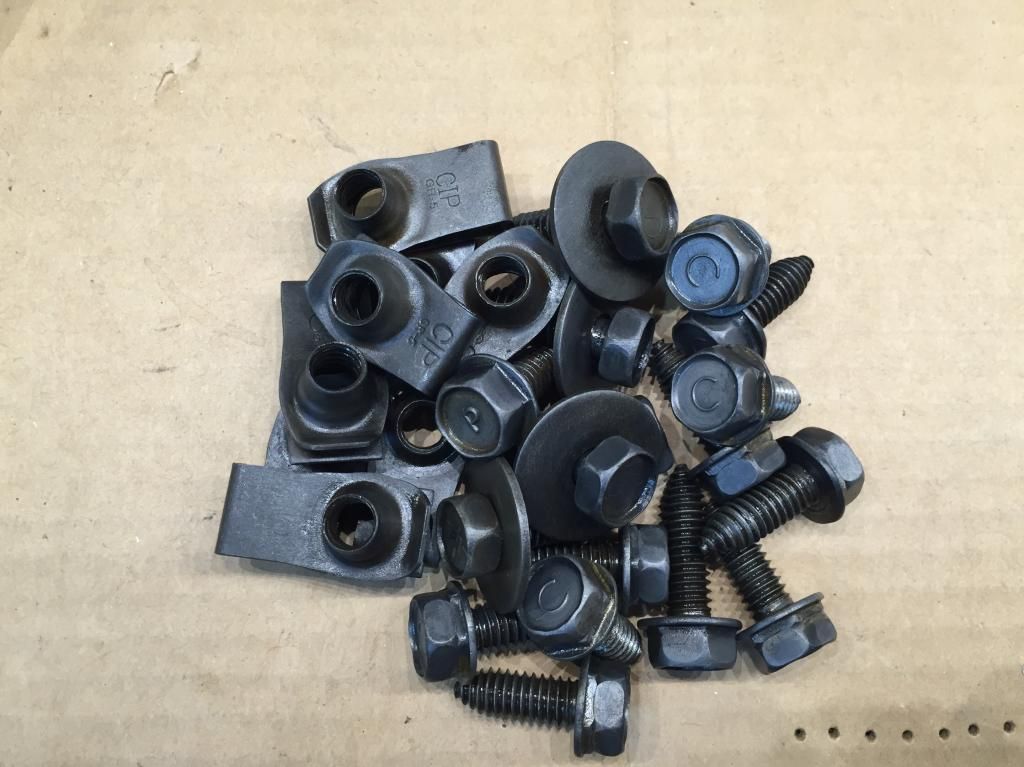 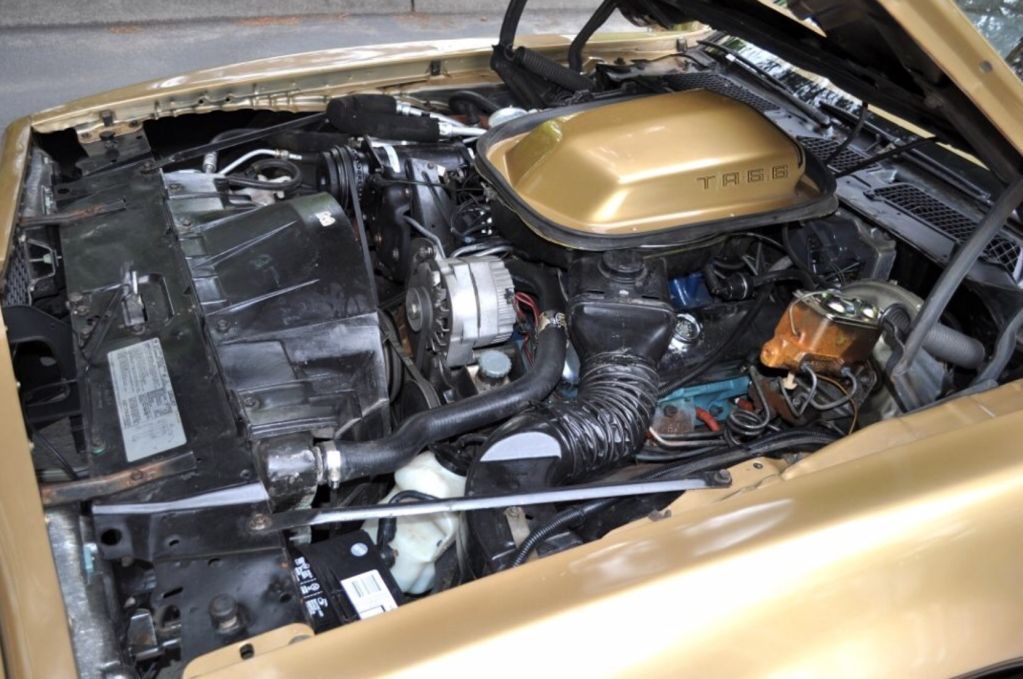 
|
|
#533
02-16-2015, 06:59 AM
|
||||
|
||||
|
Those Fasteners turn out pretty nice Bob. I might have to give that a try on my stuff. Thanks for posting. You duh man!
|
|
#534
02-16-2015, 09:52 PM
|
||||
|
||||
|
So, what is the correct thickness of the fuel line insulation?
|
|
#535
02-16-2015, 11:56 PM
|
||||
|
||||
|
TA depot
It looks like TA depot makes correct line, I will have to call them after my mtr gets here.
|
|
#536
02-17-2015, 12:31 AM
|
|||
|
|||
|
what paint did you use to brush on the subframe? Looks like it laid down really nice with no brush marks.
__________________
1972 Formula 455HO 1979 W72 Fire Am 1975 455 4 speed TA |
|
#537
02-17-2015, 04:09 PM
|
||||
|
||||
|
Quote:
I used Rustoleum Satin Black enamel. It has a long cure time which gives the brush strokes plenty of time to self-level. I sanded with 220 grit paper between coats and slightly thinned it for the second coat. I had used this paint on the sub-frame extensions beneath the floor pan after removing the undercoating as a convenience since I had some on the shelf and wanted to get something on the bare steel before it started rusting. I was pleased with how it looked, and then when we pressure washed the front subframe with one of those high tech rotary pressure washer nozzles and it couldn't remove the Rustoleum from those extension legs I figured it was good enough. I'm happy with it, but almost wish I had used semi-gloss. I might go back and redo the bottom of the crossmember and other areas that will be larger focal points once it is all reassembled. 
|
|
#538
02-21-2015, 08:16 PM
|
||||
|
||||
|
Well, a lot has been accomplished the last two weekends. More than just boiling nuts and bolts.....The front springs and spindles are in as are the brake booster, motor mounts, steering shaft and gear, fuel return and vapor lines, and a lot more stuff. It's really looking good. Kind of like a car again. I can't wait to do a burn out.....
Here are some before and after pictures.         
|
|
#539
02-21-2015, 08:19 PM
|
||||
|
||||
|
Impressive Bob, which one comes to the TA Nats?
|
|
#540
02-22-2015, 07:41 AM
|
||||
|
||||
|
Doug - The Black Car will be at the Nats for the Formula 455 HO family reunion - assuming there are at least 3 or more other participants. I want to bring the Gold Car also, if I can figure out a way to get two cars there in a way that isn't too convoluted or expensive.
|
| Reply |
|
|
The PY Online Forums is the largest online gathering of Pontiac enthusiasts anywhere in the world. Founded in 1991, it was also the first online forum for people to gather and talk about their Pontiacs. Since then, it has become the mecca of Pontiac technical data and knowledge that no other place can surpass.







 Linear Mode

