


| FAQ |
| Members List |
| Social Groups |
| Calendar |
| Search |
| Today's Posts |
|
|
|
#1
 03-02-2014, 09:03 AM
|
||||
|
||||

Quote:
Page 2. |
|
#2
03-02-2014, 09:37 AM
|
||||
|
||||
|
The main, right hand duct was a horrible design. Believe it or not, that was the nicest duct I have seen in a while. The factory molded in a half circle area on the front that employed two star washers and two long screws to retain it in place. But since it is internally unsupported and there is a 1/2" gap between the top and bottom, the moment the screws were tightened, it crushed and shattered the surrounding ABS plastic. Unless you can slide something inside that area and glue it in place to support the outer flange area, there is no way to fix the existing problem. I can't remember, but I may have done that with the duct on the black car.
The ducts don't seal well together to begin with since all the foam stick-on insulation long since turns to dust. Home Depot/Lowes sells really inexpensive stick-on door seal foam tape in various sizes that works well to reproduce the original duct-to-duct seals. Even the SD I now have has cracks in that same mounting area, And I was the first person to ever remove it when I replaced the original heater core last Fall. Last edited by njsteve; 03-02-2014 at 09:51 AM. |
|
#3
03-02-2014, 09:42 AM
|
||||
|
||||
|
Removing the right kick panel is nearly impossible with the heater core in the car due to the depth of the internal duct that contains the air flow door and diaphragm. There is also a large amount of factory installed, tan, body dum-dum that seals it into place that you have to wrestle with.
I had to review my old photos and it looks like I never removed that right kick panel when I did the heater core. Last edited by njsteve; 03-02-2014 at 09:48 AM. |
|
#4
03-02-2014, 10:51 AM
|
||||
|
||||
|
Quote:
MPD wanted me to tell you this thing has more duct tape than his race car used to have at the end of a long weekend.  Console out, glove box out, duct out, kick panel still hanging in.....It's not giving up easily. |
|
#5
03-02-2014, 10:59 AM
|
||||
|
||||
|
Quote:
__________________
1973 Formula 400 4 spd 04C build date Norwood assembly plant. |
|
#6
03-02-2014, 10:55 AM
|
||||
|
||||
|
Thanks HFR, I don't know why that link didn't work, I copied from another posting, must have missed something at the very beginning or end.
Yes, the one HFR shows is it on page 2, I clicked it and went to page 2 then copied it so lets see if this works... http://www.forums.maxperformanceinc....=689157&page=2
__________________
1973 Formula 400 4 spd 04C build date Norwood assembly plant. |
|
#7
03-08-2014, 05:59 PM
|
||||
|
||||
|
Oh my!
Today was so nice I spent a few hours working on cars myself! 
__________________
Some guys they just give up living And start dying little by little, piece by piece, Some guys come home from work and wash up, And go racin' in the street. Bruce Springsteen - Racing In The Street - 1978 |
|
#8
03-08-2014, 06:23 PM
|
||||
|
||||
|
Very Nice!
An FYI for anyone else using the repro bezels: Be gentle when installing them. They don't have the same curvature as the lenses and the center bars tend to be too wide due to casting flash, for the inset area in the lens. If you tighten then down too quickly they will crack your original lenses. Best thing would be to heat up the lenses under some hot lights and then install the bezels. Slowly tighten the nuts in a criss-cross fashion, one turn at a time, so they have time to conform to the bezel. |
|
#9
03-08-2014, 06:54 PM
|
||||
|
||||
|
Quote:
|
|
#10
03-08-2014, 06:24 PM
|
||||
|
||||
|
Quote:
|
|
#11
03-08-2014, 08:00 PM
|
|||
|
|||
|
Sunny and 73 degrees here in California, but the reservoirs are all empty...
Bezels and lenses look nice. Quote:
|
|
#12
03-10-2014, 10:00 AM
|
||||
|
||||
|
Bigger Plans?
|
|
#13
03-10-2014, 10:04 AM
|
||||
|
||||

__________________
1971 GTO 455 HO 4-speed - Cameo White, White Vinyl Top, Jade Green Interior, Ram Air Hood, AC, Honeycombs and 8-track 1974 Formula 455 I Owned in 1975-1976. Now Own Its Twin From Same Dealership 
|
|
#14
03-23-2014, 06:18 PM
|
||||
|
||||
|
Well the shoulder belts are finished and reinstalled. I am please with how they came out. The belts were in good shape so I just cleaned them with gentle detergent. I got new braided elastic at the local hobby supply store and had it sewn on at a shoe repair shop. The anchor covers were pretty scratched up so I replaced them while I was at it. I also replaced the missing rear coat hooks.
Also, after much consideration I purchased a repop rear console. I really like the way the rear consoles finish the backseat and the one I purchased came with two inserts. One was the standard buckle holder with ash tray. The other has a buckle holder, cup holder, and two USB jacks for charging phones, etc - pretty cool. I was very impressed with the quality, and the covering material looks identical to the front console. To avoid the cries of sacrilege and to avoid feeling guilty, I was hoping that just the friction of the seat bottom cushions would hold it in place so that it could be easily removed. I have seen some other postings on here where that has been done with apparent success. I found that it did not work in my case, mainly in that it would not stay firmly against the rear seatback. It is designed with a mounting flange that attaches to the hump under the seatback and a mounting brace in the front that also attaches to the hump. I have attached it at the rear where the holes won't be visible and am still deciding whether to attach the front or not. It really needs to be attached, but... Here's a few pictures. 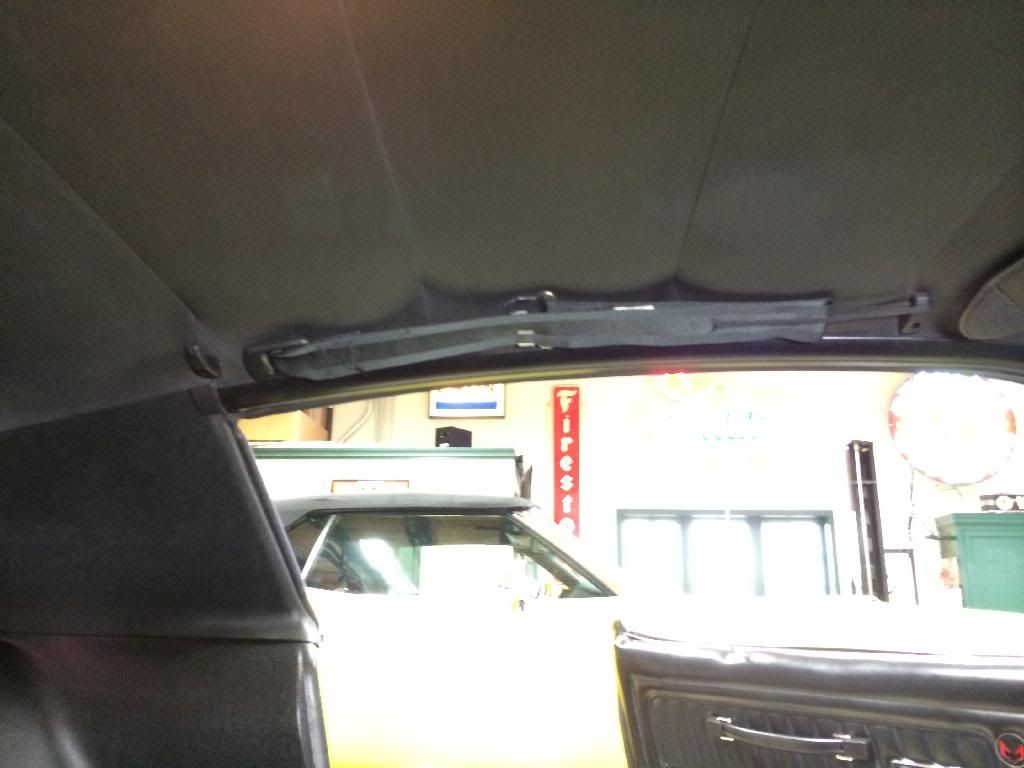   
|
|
#15
03-23-2014, 06:25 PM
|
||||
|
||||
|
On the front Velcro will keep it in place to the OEM carpet ( only use the one side of the velcro on the console). I understand these are made In Australia? and are great quality.
Have also seen a "tuck" bracket on these that you slide under the oem carpet like a "tab". If my 30 year old daughter saw the USB port she would ask me if my car was a wifi "Hot spot" LOL
__________________
" Long may we DRIVE !" |
|
#16
03-23-2014, 06:48 PM
|
|||
|
|||
|
REAR CONSOLE
that looks great!!!..I want one too!!..I was asking about it and NORWOOD makes the bracket..certain it could be installed with sheetmetal screws and not welded..some suggested it would stay in place by itself...not certain what I will do as it becomes problematic..when I order carpet I would need to get the tail and remove that vinyl seat divider...either way that console looks fantastc BOB!!..it goes perfect with the black deluxe interior!!..and a place to install the lap belts..and it matches the front console that I have..that rear console was a FIREBIRD only and up to 77..do not feel guilty, that's a rare option,perfect..plus it looks good too!!..the front seat belts look good too!..and I see they are in the clip..nice!!
Last edited by transam1972; 03-23-2014 at 06:59 PM. |
|
#17
03-23-2014, 07:04 PM
|
|||
|
|||
|
SPACE SAVER
is that still available?..as I have no spare
|
|
#18
03-24-2014, 06:07 PM
|
||||
|
||||
|
Winner, Winner, Chicken Dinner.....
Quote:
|
|
#19
03-24-2014, 07:16 PM
|
|||
|
|||
|
SPACE SAVER SPARE
BOB, thankyou very much for your very generous gift, my birthday is this week..MARCH 27th..1962...I did not realize how much I needed that part until I saw the photo in your thread...I look forward to us working on our cars to make them even better than they are!...really this P.Y. forum has been so helpful to me and you have always been there since my first post on my thread with help & advice for me on my car..I look forward to finding you an equally, much desired part for your car!..thank you again..all the best GLENN
|
|
#20
03-23-2014, 07:16 PM
|
||||
|
||||
|
Love it!!! Want one!!!
Where did you source it?
__________________
Some guys they just give up living And start dying little by little, piece by piece, Some guys come home from work and wash up, And go racin' in the street. Bruce Springsteen - Racing In The Street - 1978 |
| Reply |
|
|
The PY Online Forums is the largest online gathering of Pontiac enthusiasts anywhere in the world. Founded in 1991, it was also the first online forum for people to gather and talk about their Pontiacs. Since then, it has become the mecca of Pontiac technical data and knowledge that no other place can surpass.









 Hybrid Mode
