


| FAQ |
| Members List |
| Social Groups |
| Calendar |
| Search |
| Today's Posts |
|
#341
 03-02-2014, 02:38 AM
|
|||
|
|||
 RH DUCT REMOVAL
one last thought BOB,..you may need to loosen up the entire duct if the right side one is hard to get out..as it fits inside the center one and connects to the right hand dash vent...I probably pulled all 3 pieces at once but I would try to remove just the problem one first and see how well it goes...if I recall 1972 drivers side with a/c is unique..possible that is one year only and it changed to a different design
|
|
#342
03-02-2014, 07:49 AM
|
||||
|
||||
|
Quote:
Pepi - Can't get the link to work. Can you check it and repost if possible. Glenn - thanks for your suggestions. |
|
#343
03-02-2014, 09:03 AM
|
||||
|
||||
|
Quote:
Page 2. |
|
#344
03-02-2014, 09:37 AM
|
||||
|
||||
|
The main, right hand duct was a horrible design. Believe it or not, that was the nicest duct I have seen in a while. The factory molded in a half circle area on the front that employed two star washers and two long screws to retain it in place. But since it is internally unsupported and there is a 1/2" gap between the top and bottom, the moment the screws were tightened, it crushed and shattered the surrounding ABS plastic. Unless you can slide something inside that area and glue it in place to support the outer flange area, there is no way to fix the existing problem. I can't remember, but I may have done that with the duct on the black car.
The ducts don't seal well together to begin with since all the foam stick-on insulation long since turns to dust. Home Depot/Lowes sells really inexpensive stick-on door seal foam tape in various sizes that works well to reproduce the original duct-to-duct seals. Even the SD I now have has cracks in that same mounting area, And I was the first person to ever remove it when I replaced the original heater core last Fall. Last edited by njsteve; 03-02-2014 at 09:51 AM. |
|
#345
03-02-2014, 09:42 AM
|
||||
|
||||
|
Removing the right kick panel is nearly impossible with the heater core in the car due to the depth of the internal duct that contains the air flow door and diaphragm. There is also a large amount of factory installed, tan, body dum-dum that seals it into place that you have to wrestle with.
I had to review my old photos and it looks like I never removed that right kick panel when I did the heater core. Last edited by njsteve; 03-02-2014 at 09:48 AM. |
|
#346
03-02-2014, 10:51 AM
|
||||
|
||||
|
Quote:
MPD wanted me to tell you this thing has more duct tape than his race car used to have at the end of a long weekend.  Console out, glove box out, duct out, kick panel still hanging in.....It's not giving up easily. |
|
#347
03-02-2014, 10:55 AM
|
||||
|
||||
|
Thanks HFR, I don't know why that link didn't work, I copied from another posting, must have missed something at the very beginning or end.
Yes, the one HFR shows is it on page 2, I clicked it and went to page 2 then copied it so lets see if this works... http://www.forums.maxperformanceinc....=689157&page=2
__________________
1973 Formula 400 4 spd 04C build date Norwood assembly plant. |
|
#348
03-02-2014, 10:59 AM
|
||||
|
||||
|
Quote:
__________________
1973 Formula 400 4 spd 04C build date Norwood assembly plant. |
|
#349
03-02-2014, 12:37 PM
|
||||
|
||||
|
Quote:
Here's the 73 when I did the heater core and you can see that its seal had decomposed into oblivion leaving only the original outline of the sticky tape. http://forums.maxperformanceinc.com/...ct#post5054228 As for that kick panel, you may want to try a heat gun. That body dum-dum turns to concrete when its cold (and 40+ years old). The inset portion of that panel goes in quite a way, maybe about 5 inches or so, and at the deepest point is where the ring of sealant was placed during factory assembly. The sealant is on both the flange and the outer face of the panel - where the red is on the following photo: Last edited by njsteve; 03-02-2014 at 12:54 PM. |
|
#350
03-08-2014, 05:52 PM
|
||||
|
||||
|
Taillight lens restoration
Well I am waiting on a few more pieces for the kick panel and interior project, so I decided to clean up and polish the taillight lenses. I used a 3M headlight restoration kit and they came out fantastic. The kit include a foam sanding pad with velcro on one end to hold the sanding discs. The other end is bare foam for applying the final polish. It includes sanding discs of the following grits - 500, 800, 1000, 3000, and it also includes a liquid polishing compound. Everything is hand applied as opposed to being applied with a drill or rotary tool. I wasn't thrilled after applying the final polish with the liquid polishing compound, so I did a final polish using Griots Machine Polish 3. This final step made a big difference.
While I was at it, I also replaced the taillight bezels. I purchased repops from OER and was pretty pleased with the quality. They claim to be triple chrome plated and seemed to be as heavy as the originals, but the casting quality on the back side was not as nice as you might expect. The chrome finish was probably a 9 out of 10. There was one big problem though in that the holes for the studs were metric instead of SAE. You have to remove the studs from the old bezels and reuse them, so this presented a problem. It was possible to re-tap the holes to the proper size, but it seems like a big oversight and they will hear about it. Here's a bunch of pictures.... 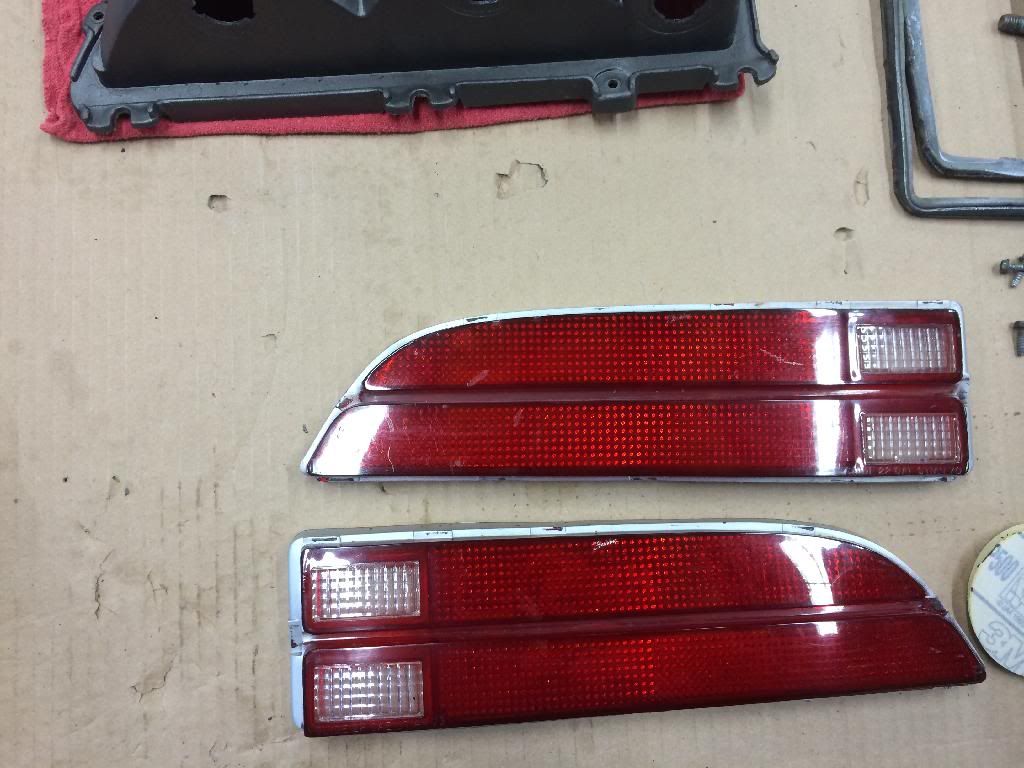 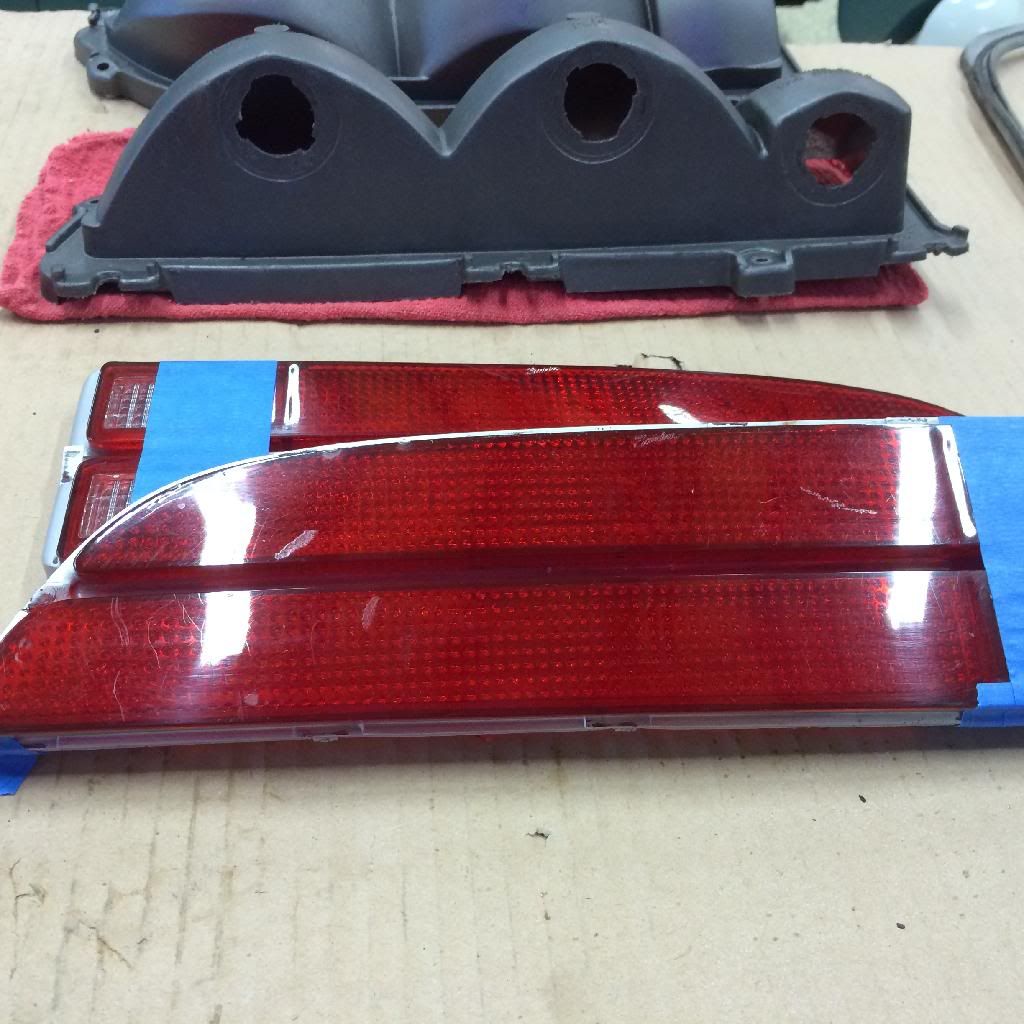 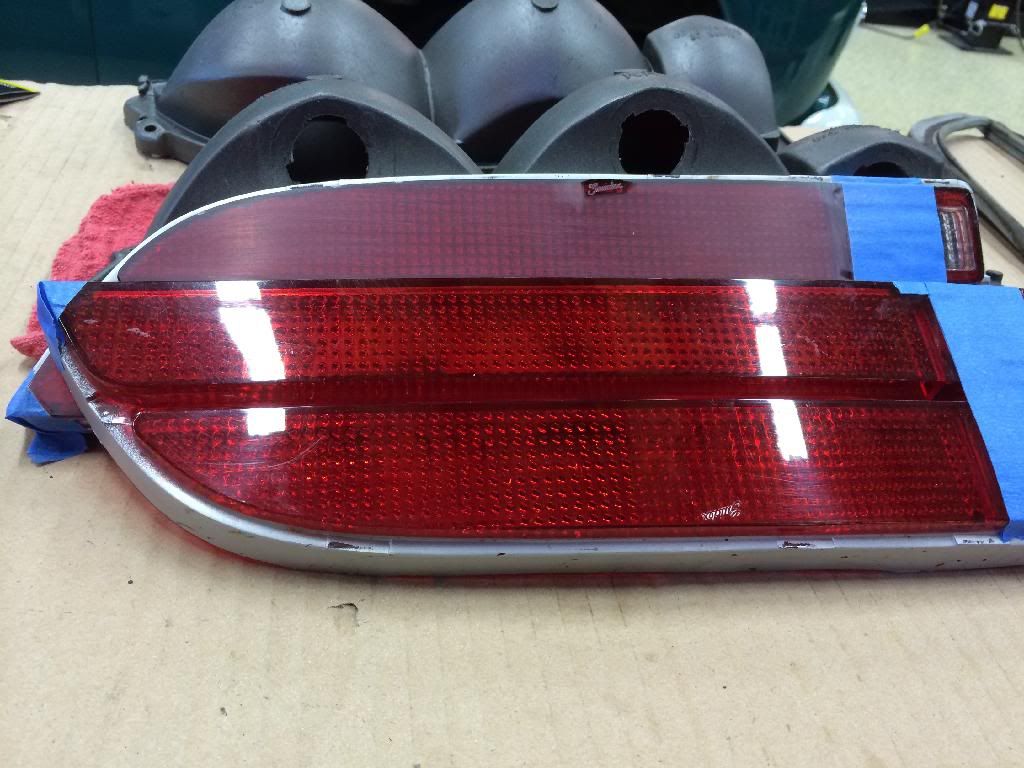 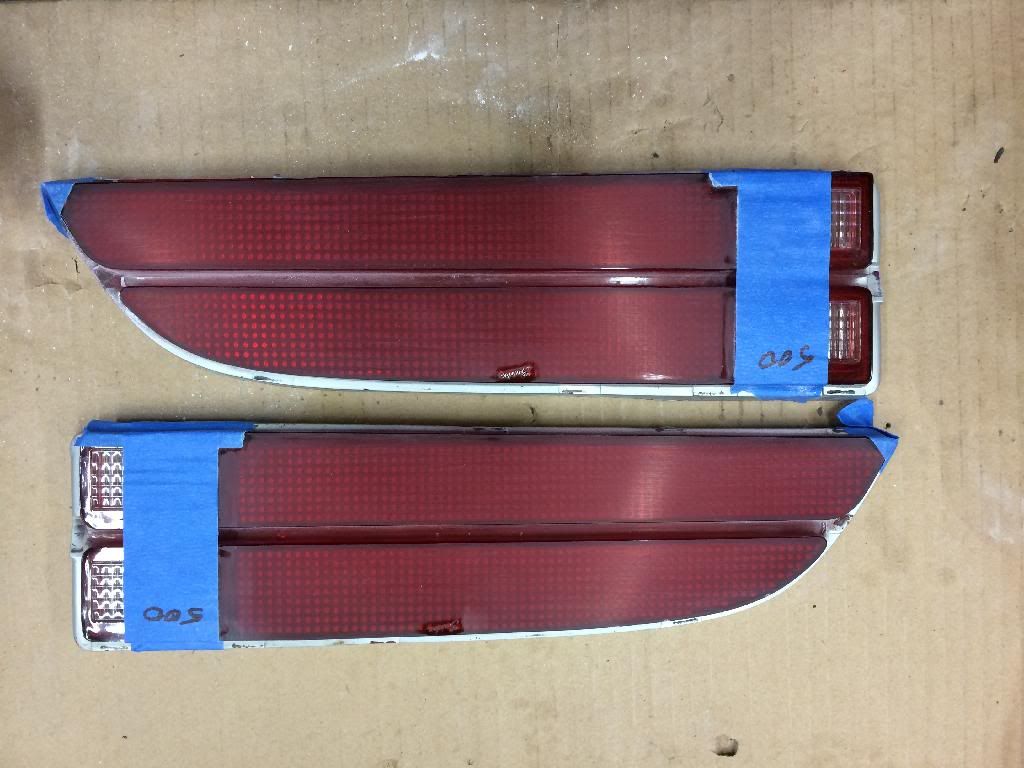 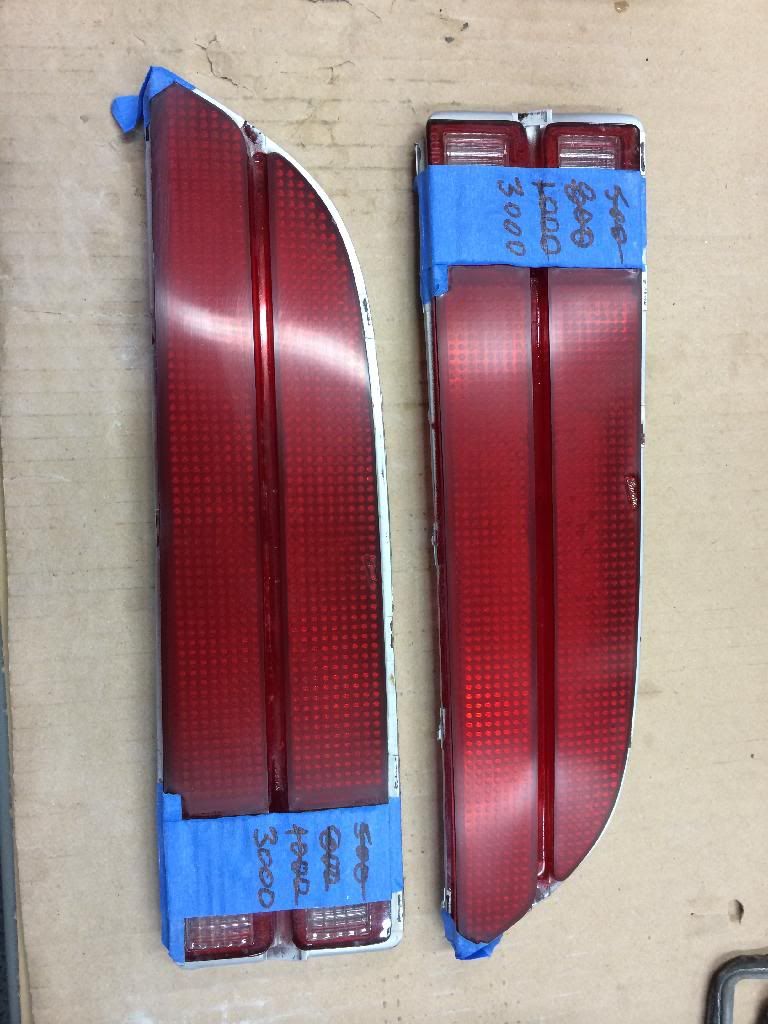 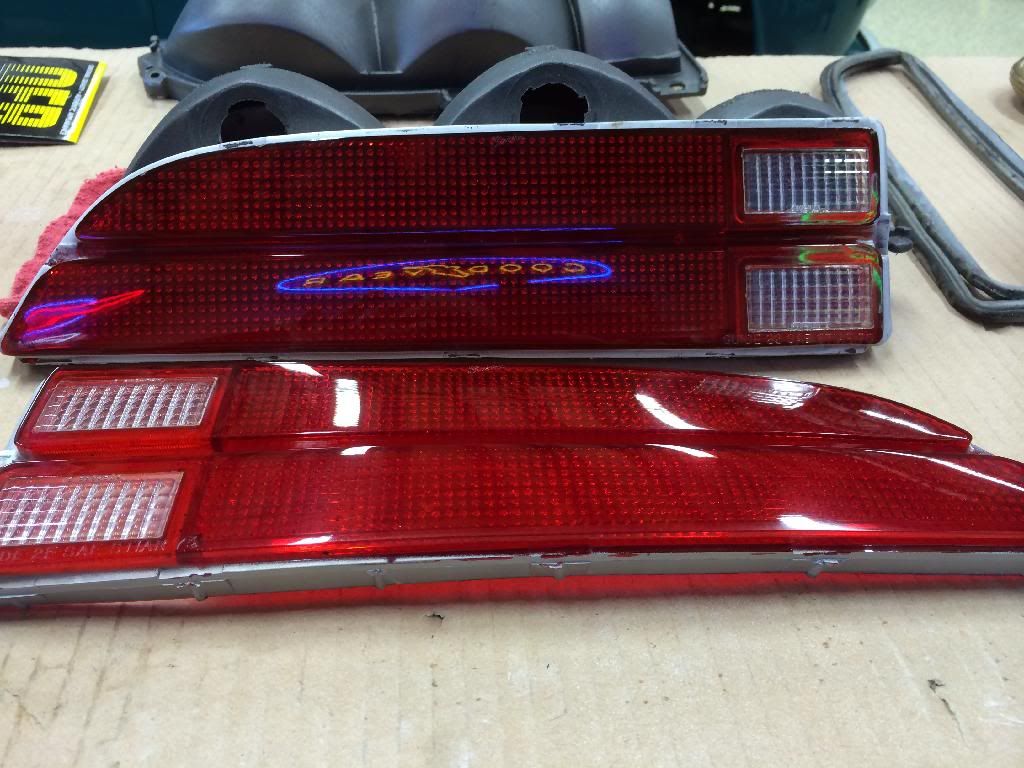 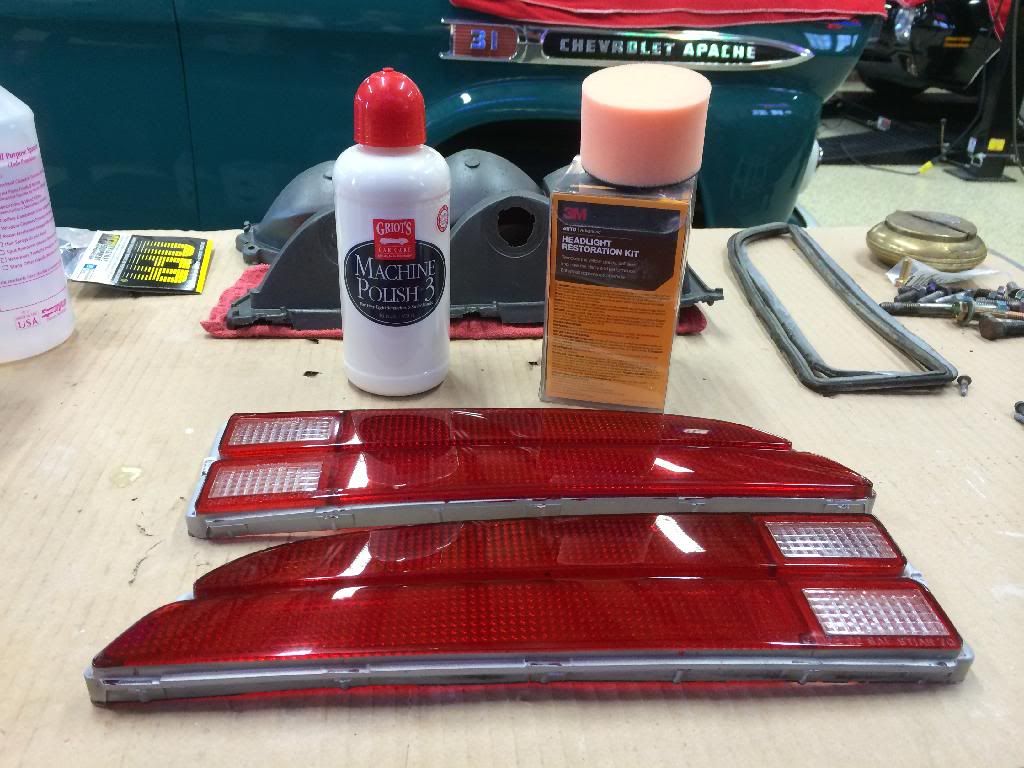 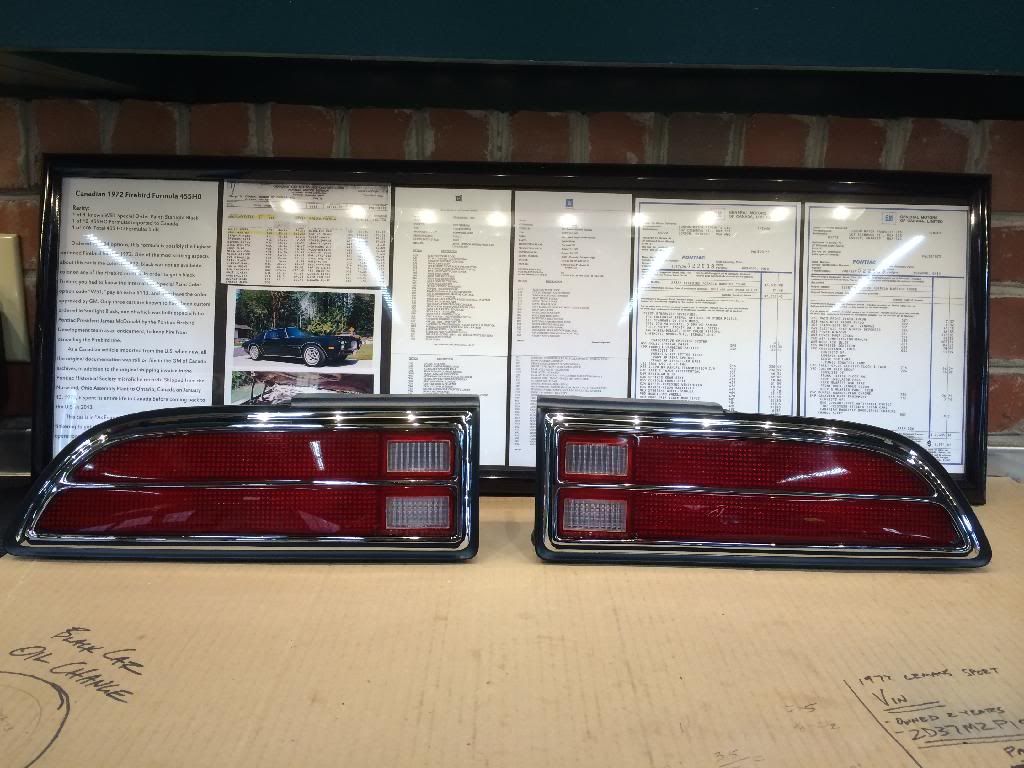 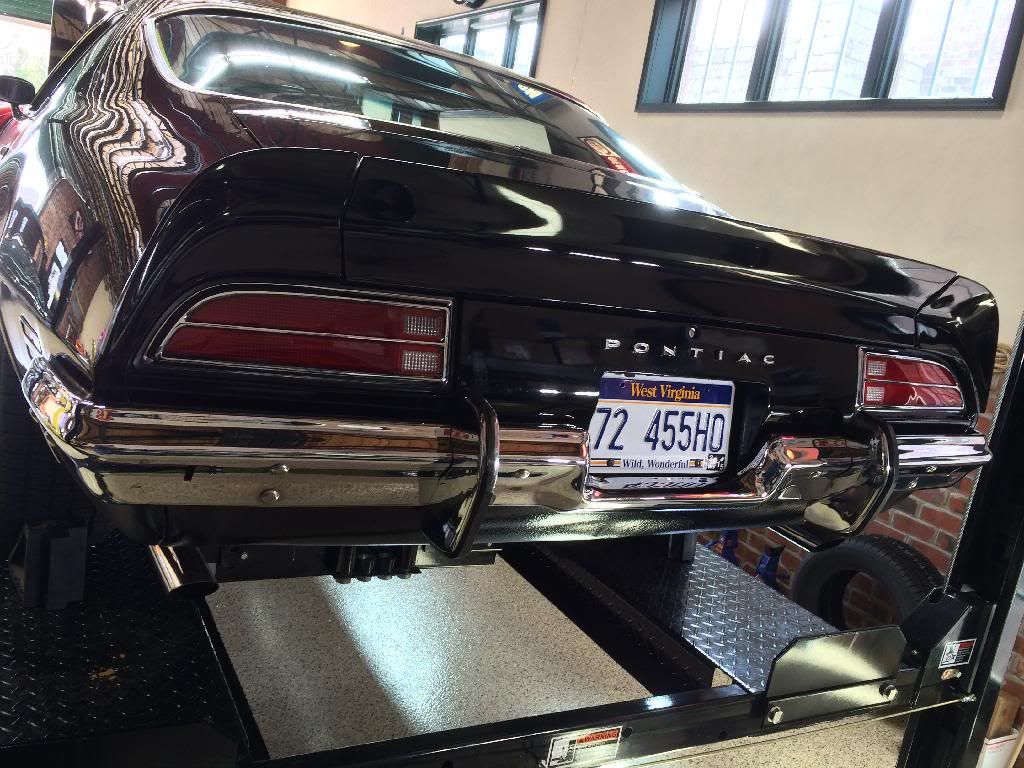
|
|
#351
03-08-2014, 05:59 PM
|
||||
|
||||
|
Oh my!
Today was so nice I spent a few hours working on cars myself! 
__________________
Some guys they just give up living And start dying little by little, piece by piece, Some guys come home from work and wash up, And go racin' in the street. Bruce Springsteen - Racing In The Street - 1978 |
|
#352
03-08-2014, 06:23 PM
|
||||
|
||||
|
Very Nice!
An FYI for anyone else using the repro bezels: Be gentle when installing them. They don't have the same curvature as the lenses and the center bars tend to be too wide due to casting flash, for the inset area in the lens. If you tighten then down too quickly they will crack your original lenses. Best thing would be to heat up the lenses under some hot lights and then install the bezels. Slowly tighten the nuts in a criss-cross fashion, one turn at a time, so they have time to conform to the bezel. |
|
#353
03-08-2014, 06:24 PM
|
||||
|
||||
|
Quote:
|
|
#354
03-08-2014, 06:54 PM
|
||||
|
||||
|
Quote:
|
|
#355
03-08-2014, 08:00 PM
|
|||
|
|||
|
Sunny and 73 degrees here in California, but the reservoirs are all empty...
Bezels and lenses look nice. Quote:
|
|
#356
03-09-2014, 05:37 AM
|
|||
|
|||
|
Bob ... you had mentioned this thermal vacuum switch that is located in the air cleaner. The originals were black. couldn't sleep tonight and was killing time searching ebay ads.this came up and thought of you..check it out..correct color black vs the green or white newer ones:
http://www.ebay.com/itm/68-69-70-71-...item4d19c7e647 |
|
#357
03-09-2014, 07:15 AM
|
||||
|
||||
|
Quote:
|
|
#358
03-09-2014, 10:17 PM
|
||||
|
||||
|
Got a few things done today. Blasted the honeycomb I got for the spare, blasted the jack shafts for the Black and Red cars, and installed in the positive battery cable clip that Glenn was kind of enough to send to me. The jacks cleaned up well and I look forward to getting them back. I took Bill's advice and after media blasting I sanded the shafts down with 320 grit wet/dry. They look nice.
The Black Car came with a G78X14 space saver spare. Since the car has 15" wheels and I am going to be using a full size spare, this space saver is in need of a good home. If you need it for your project, it yours for the shipping cost - no resellers please. Here's a few pictures.  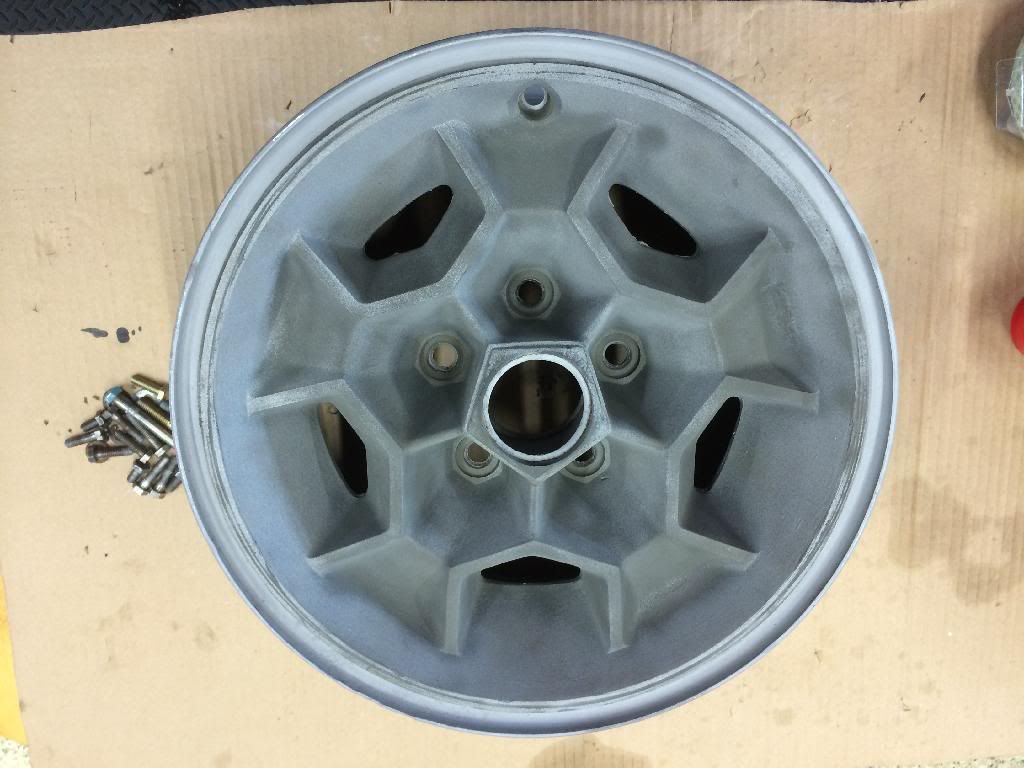     
|
|
#359
03-10-2014, 12:02 AM
|
|||
|
|||
|
Hey Bob.. didn't 1972 Firebirds use the washer fluid cap that had the port coming from the center vs 90 degrees out the side??I know 70 and 71 did. The original style,port in center, is reproduced. You have to buy one for a 1969 Firebird,exact same as the originals, just doesn't have the part number embossed on it. You appear to be trying to tidy up any parts missing/incorrect.This would be an easy call to Ames or PY's. Just confirm it has the center port. Pretty sure the one I saw the guy bought from Ames. I have NOS ones, but they are pricey and quite frankly.. the repo I saw, well 99% will never know the difference.. looking nice..
p.s. I think I have a set of 73 dated NOS tail light lenses if you care..may even have a single 70 dated one, need to check.. know I have some, just need to keep enough for me.. PM me if need be.. |
|
#360
03-10-2014, 12:08 AM
|
|||
|
|||
|
Heck..I just checked and their new repo cap is only $4.50 and it has the correct "Stepco" embossed and the part number embossed on the cap.. so much for NOS being pricey.. You should add one of these in your next Ames order,assuming 72's used this design.. I think the engine compartment looks better with this correct part.. AMes lists it for 69-71, but I still think this was used in 72.. If your car's body was built in 9,10 or 11 of 71 I bet for sure it used this style cap..
|
| Reply |
|
|
The PY Online Forums is the largest online gathering of Pontiac enthusiasts anywhere in the world. Founded in 1991, it was also the first online forum for people to gather and talk about their Pontiacs. Since then, it has become the mecca of Pontiac technical data and knowledge that no other place can surpass.







 Linear Mode

